


Chapter 9: Faron Woods – Second Visit
Table of Contents
The Silent Realm
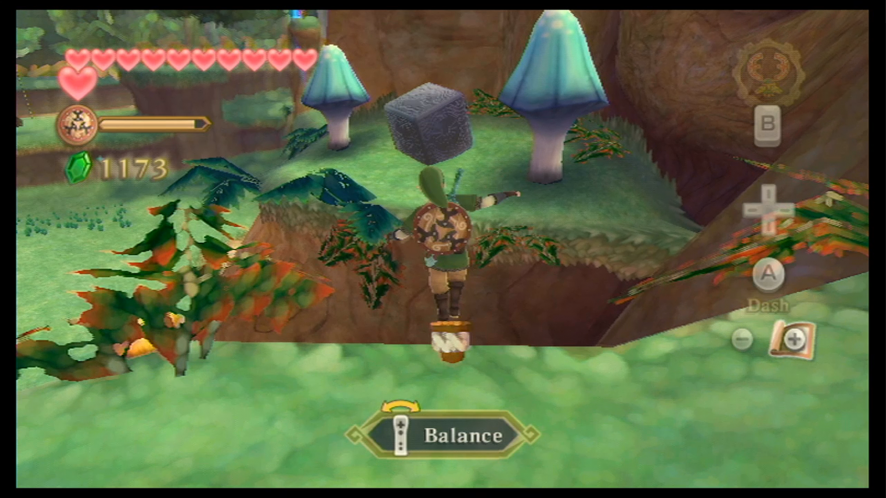
Fly over to Faron Woods, and land at the In the Woods Bird Statue – before we go ahead, we can get a Piece of Heart here. A few more monsters have begun roaming these woods since we were last here, including a lot more Keese, Quadro Babas, and a new species of monster, the Blue Bokoblin. This species of Bokoblin are harder to defeat as they have more health than a typical Red Bokoblin. You’ll also come across a few large Moblins, but we can ignore these for now.
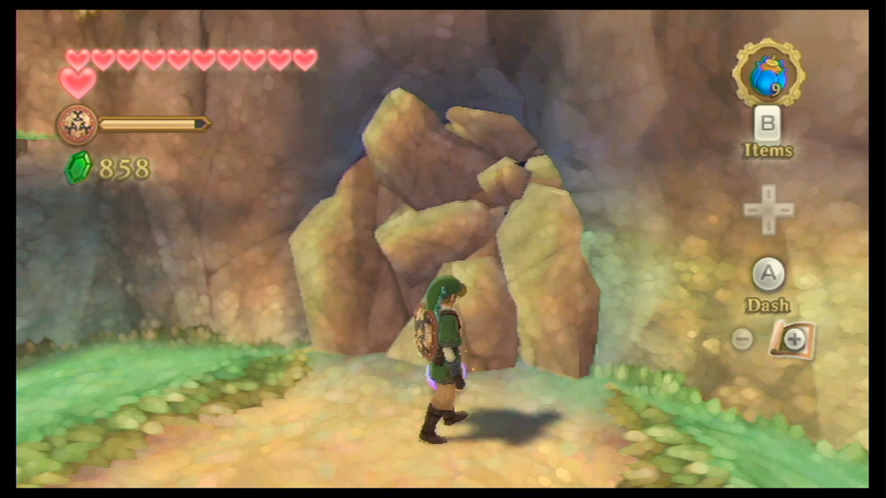
Right from the Bird Statue you landed at, head down the pathway. There’s a boulder blocking another path on the right. Now that we have the Bomb Bag, we can go and blow this up, so let’s do that. Behind the rock, you will find Piece of Heart #11.

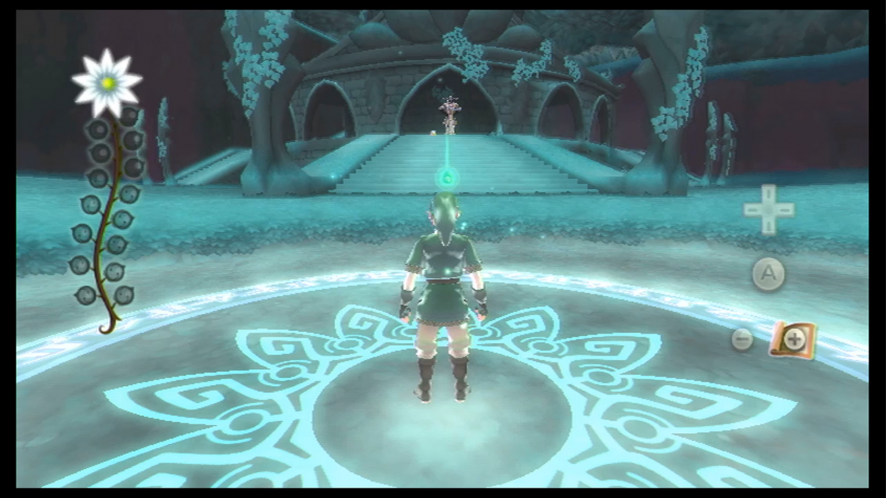
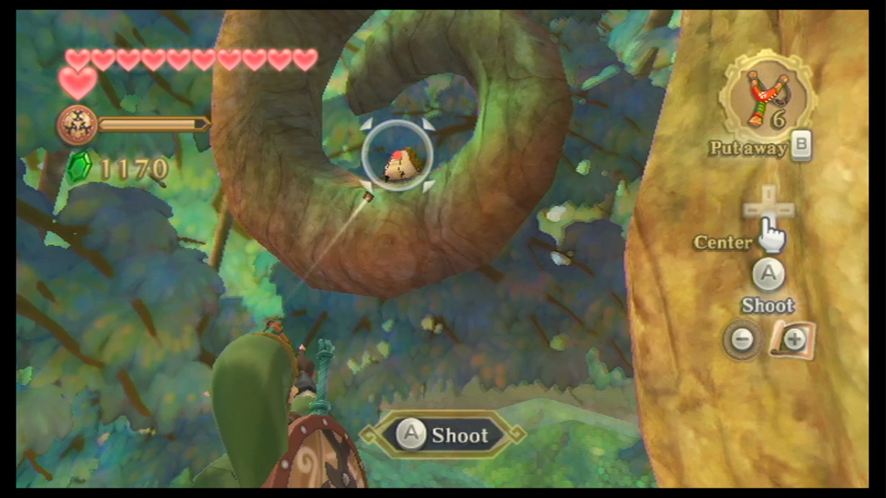
Head up to the northeast section of Faron Woods where the Skyview Temple is located, right at the platform. Use your dowsing ability to find a circular area in front. Equip the Goddess’ Harp and then play along with the moving ring of light. When you’ve played Farore’s Courage, a mark that looks like a flower will appear on the ground. Walk into the center of the mark and thrust your sword into the ground. This will allow you to enter what’s known as the Silent Realm.


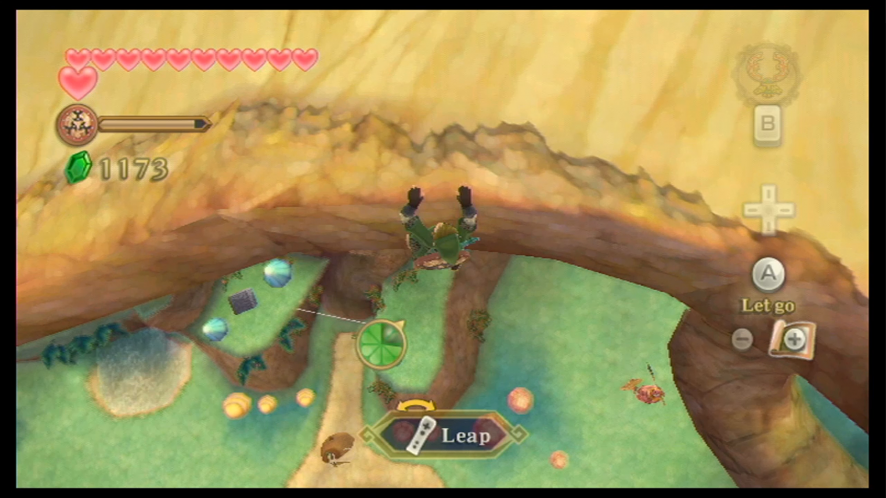
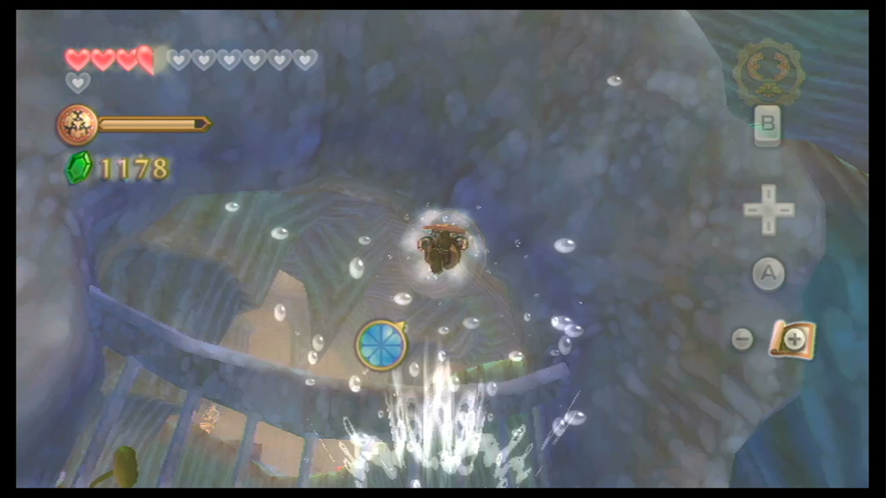
When you’re in Farore’s Silent Realm, Fi will give you the Spirit Vessel. To pass the Goddess’ trial, you will have to fill the vessel with Farore’s Tears. There are fifteen of them scattered around the woods. But of course, there’s a catch. The moment you step out of the circle, the Guardians that are posted around the forest will wake and will come after you with weapons. If they hit you once, you’ll die and you’ll have to start all over again. However, when you collect a tear, the Guardians will be stilled for 90 seconds. There are also special fruits called Light Fruits, which will create a beam of light that will lead you to the location of any tears you haven’t collected yet.
Along with the Guardians, there are Watchers. Each one patrols a certain area with their lantern, and if you come into contact with the lantern’s light, they will spot you and awaken the other Guardians. And if things couldn’t possibly get any worse, there are sections of water called Waking Water. If you do happen to walk into this shimmering water, then the Guardians will wake. You’ll want to avoid Waking Water and Watchers as much as possible to avoid waking the Guardians – not to mention if you don’t collect another tear within 90 seconds, the Guardians will awake, so you’re under a time constraint. The whole experience is kind of terrifying, really, because you’ll find yourself constantly checking the timer as well as your surroundings for both Watchers, Waking Water, Light Fruits, and tears.
Also, while you’re on the look for tears, keep an eye out for the Dusk Relics that are laying around. You can only get these in the Silent Realm, so it’s a good idea to pick up any you come across while collecting tears, as you can use them to upgrade items.
It’s really up to you how you want to collect the tears. Here is a list of all the tears located in Farore’s Silent Realm and where to find them:
– At the entrance to the viewing altar 
At the top of the viewing altar. 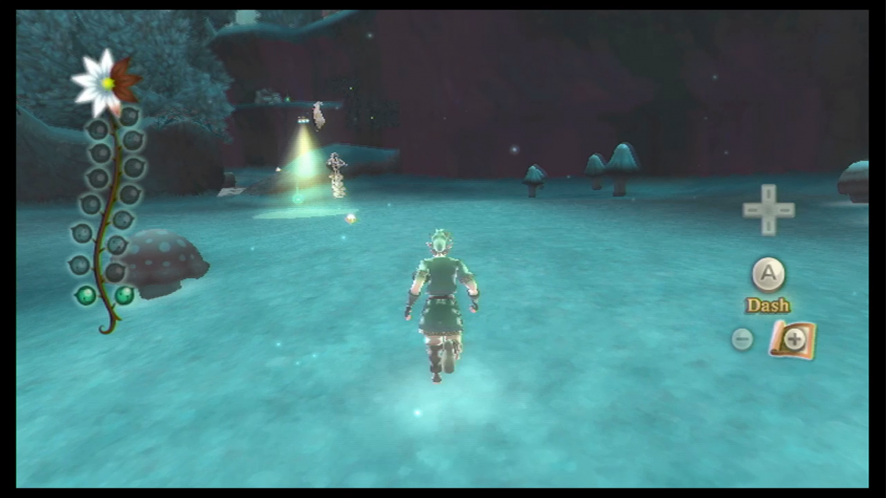
Towards the northwestern corner of the map 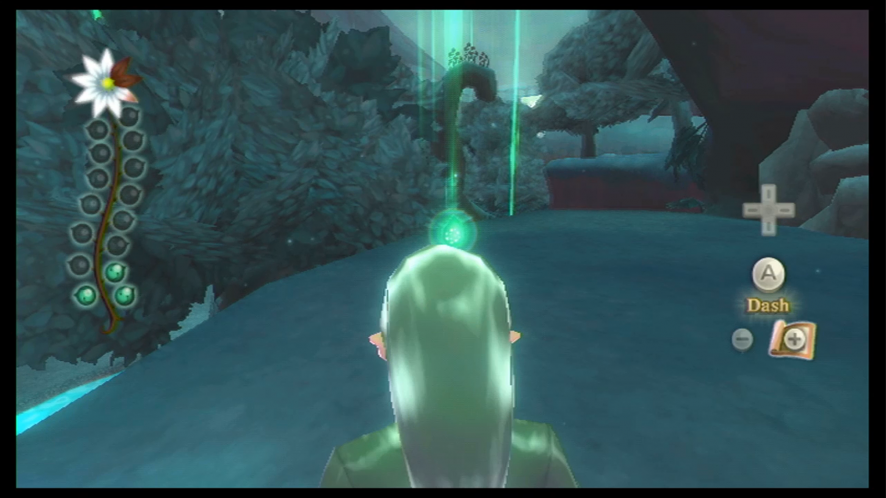
In the northwestern corner of the map. Climb up the vines along the northwestern wall and get the tear on a platform. 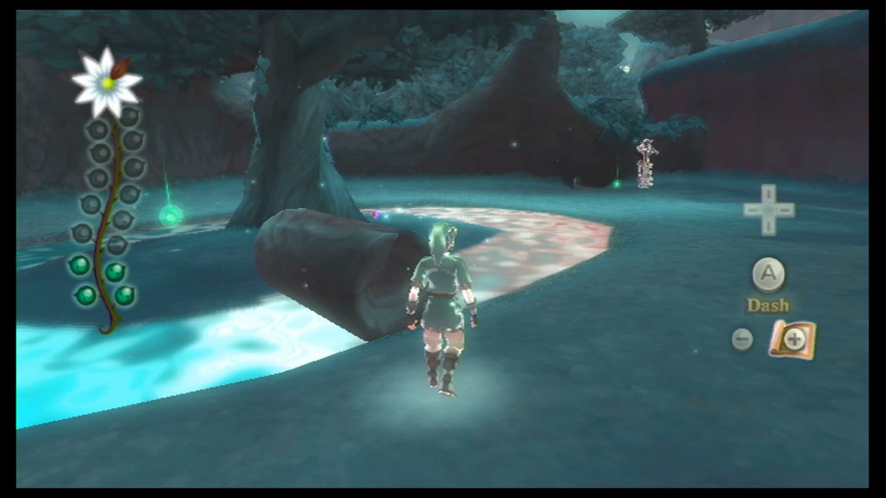
To the southeast of the tear on the ledge, on an island in the center of a Waking Water pond. 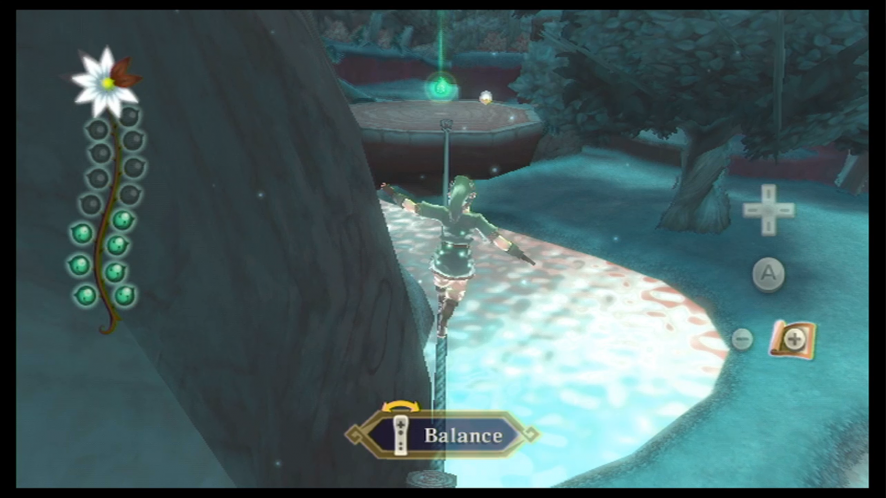
To the southeast of the tear on the island; you’ll have to climb up a ledge and follow it to a tightrope that you have to cross to reach the tear. 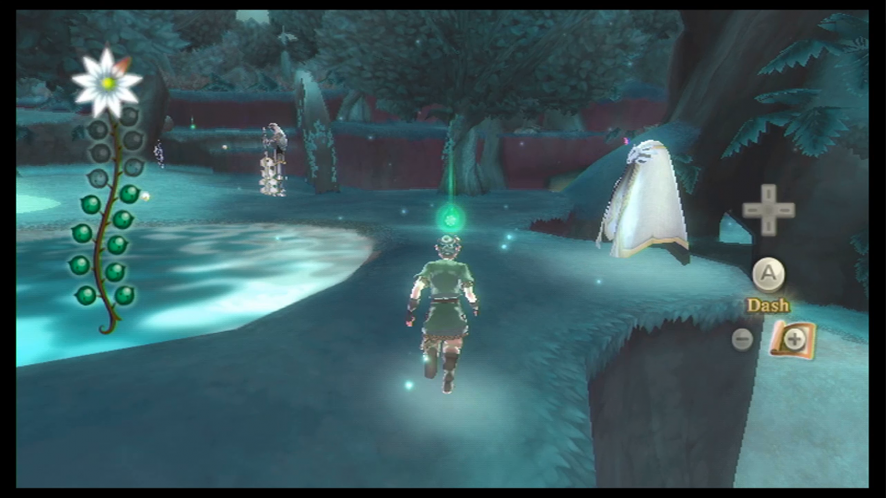
To the southwest of the tear on the island, right in front of an Earth Guardian. 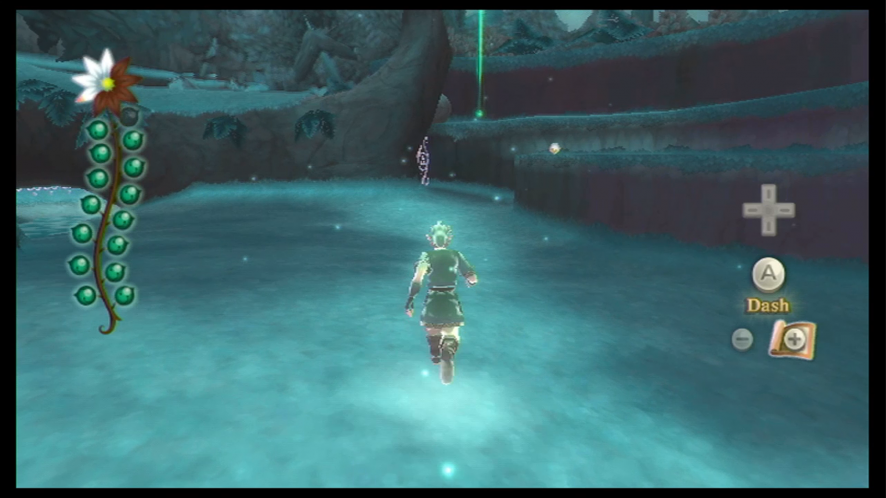
On the far west side of your map, sitting on a ledge that you can climb right from level ground. 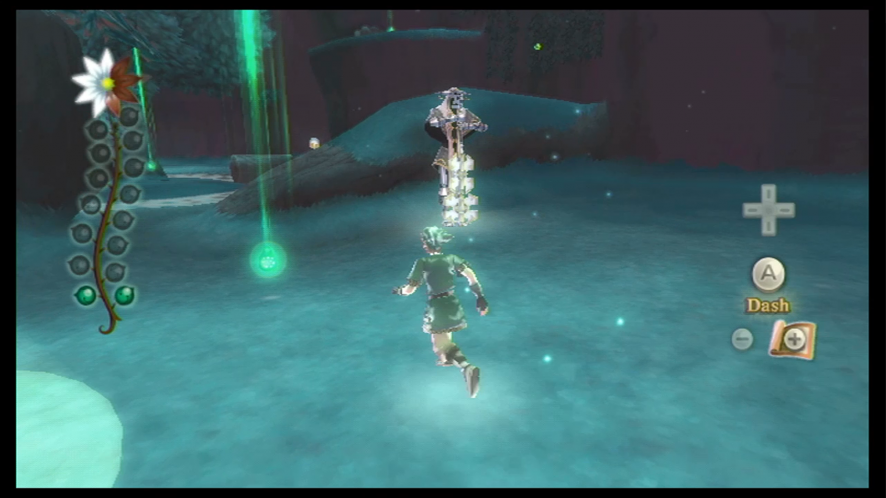
To the southeast of the tear on the ledge, right behind an Earth Guardian. 
To the west of the tear behind the Earth Guardian; jump off the ledge onto the platform where the tear is sitting. 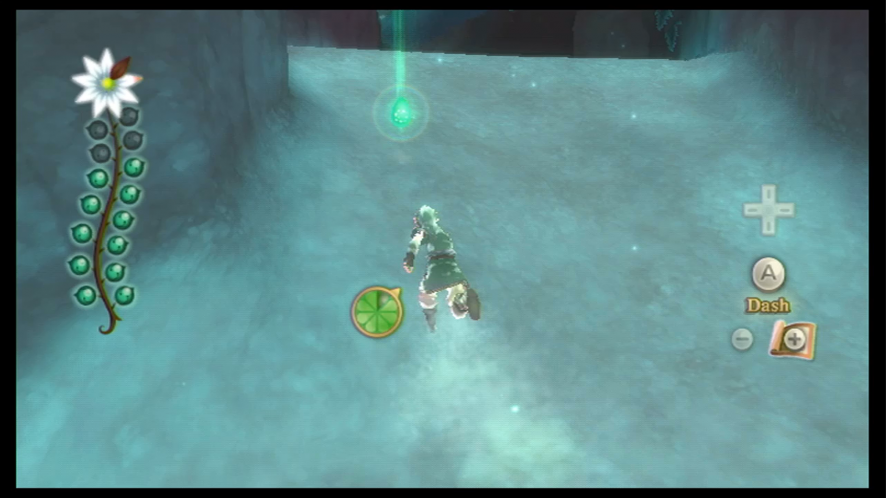
To the east of the tear on the ledge; jump off onto the path below and dash up the steep hill to reach the tear. 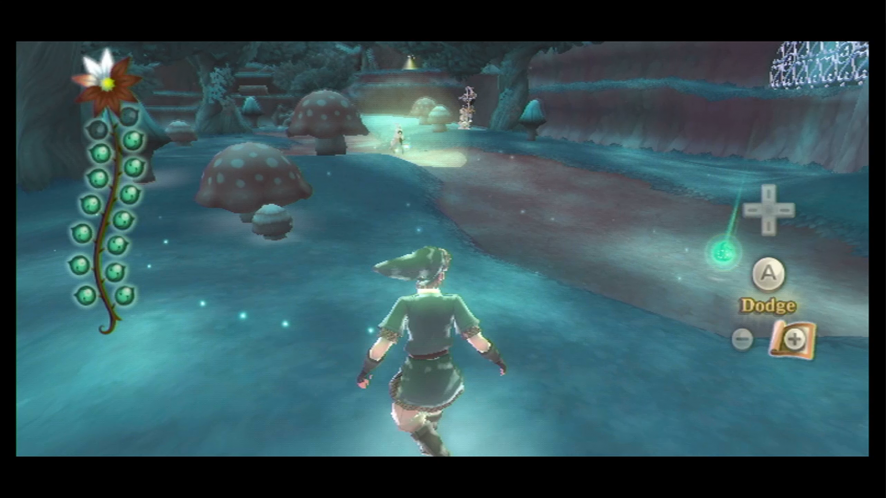
Directly west from the tear on the steep hill. 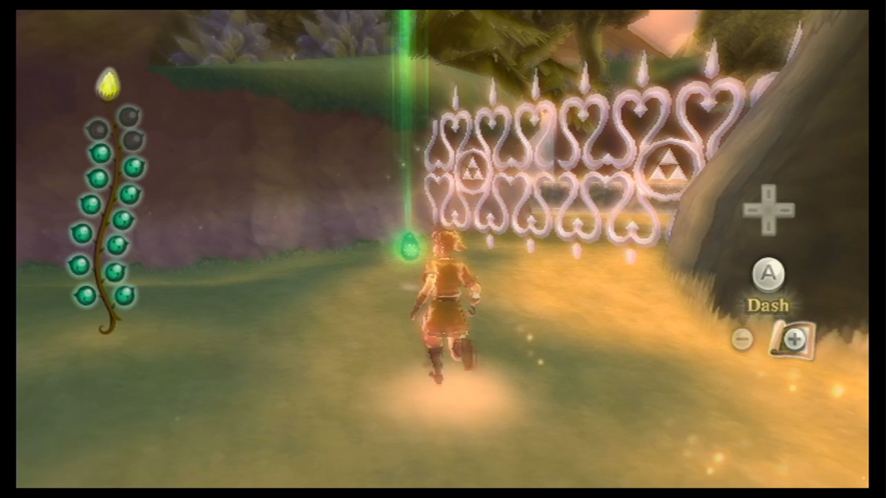
In the southernmost area of the map, near a gate on a ledge. 
In the southeastern most portion of the map 
In the easternmost section of the map, up on a climbable ledge from ground level.
Note: Although the timer has stopped, the Guardians can still come after you if you awaken them either by walking through Waking Water or getting seen by a Watcher – if you are hit by a Guardian before you can exit the Silent Realm, you will have to do the trial all over again.
Once you’ve collected all the tears, the timer will stop, giving you time to collect the Dusk Relics that are scattered throughout the forest.
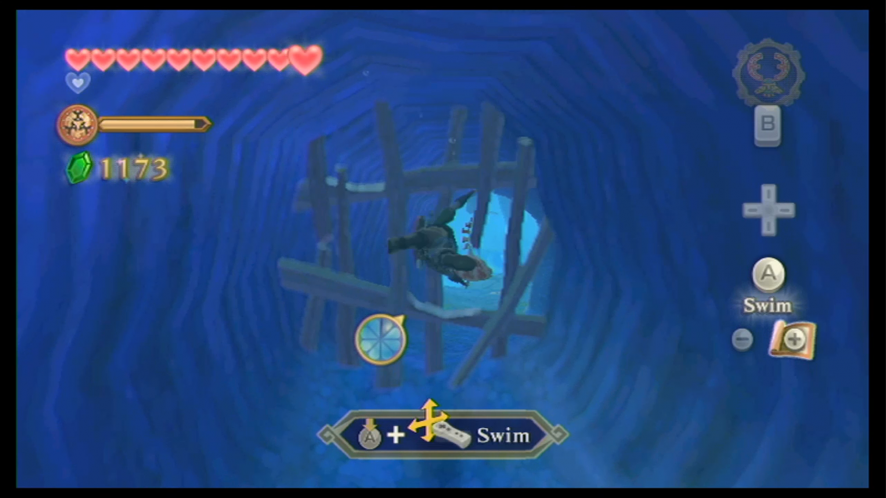
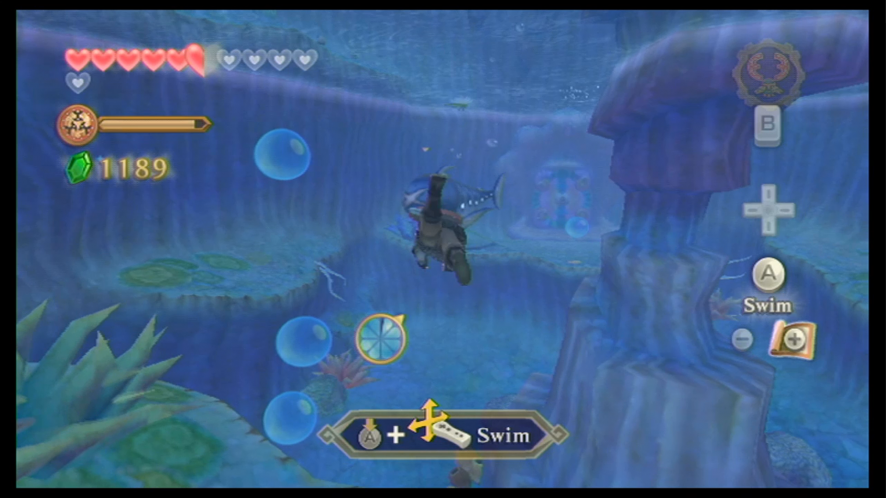
Once you have finished in the Silent Realm, exit via the trial entrance. When you’re back in the real world, you will be rewarded with the Water Dragon’s Scale – this special item will allow you to swim underwater.
Finding Lake Floria
Playing as Link again, you’ll go into a discussion with Bucha the Kikwi, who will tell you to try exploring some new areas in Faron Woods by using the Water Dragon’s Scale you just received. We’ll have to go around Faron and check the places that have water.
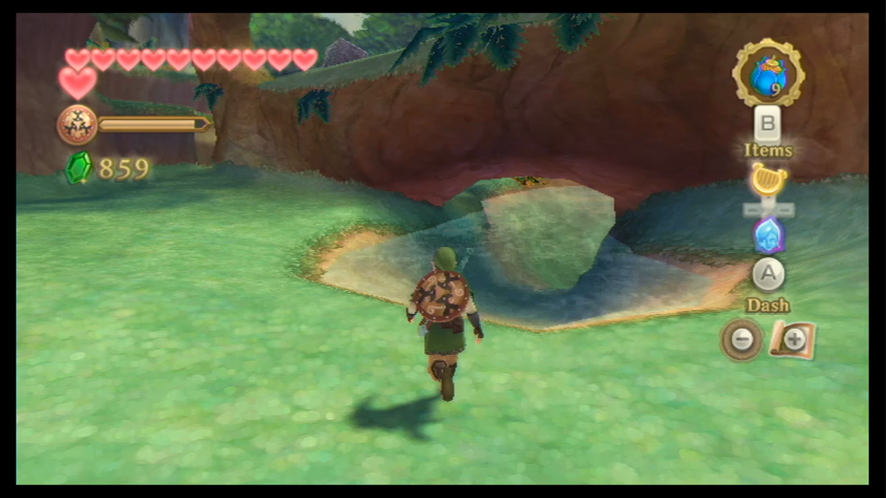
Head south from Bucha’s location to the pond of water. You’ll run into a Quadro Baba but this can be easily avoided just by diving into the water. Head into the cavern, and you’ll be inside the tree.
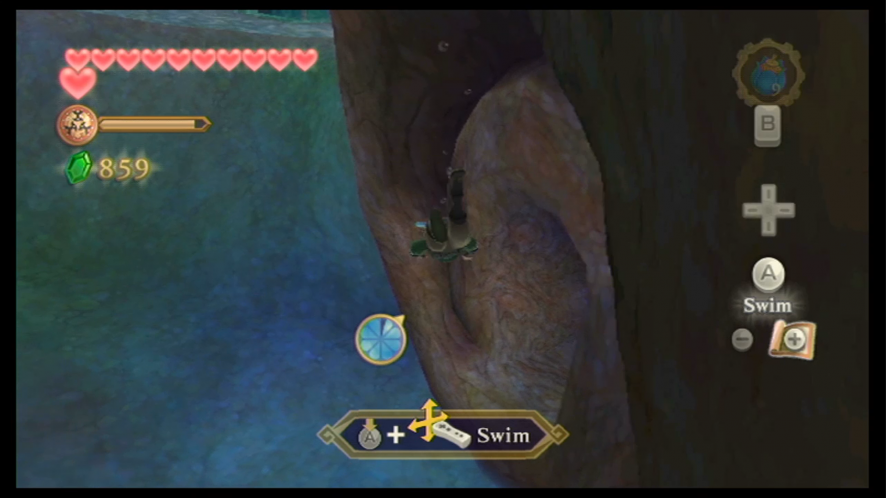
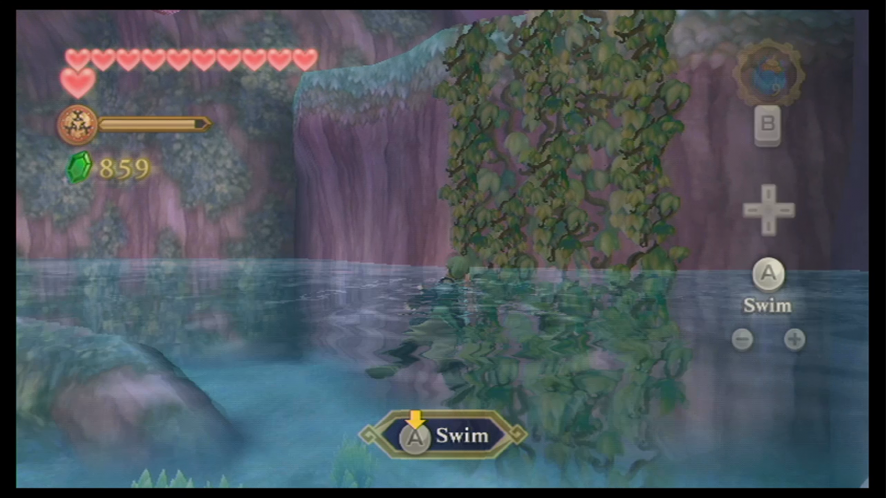
Swim along the pathway inside the tree until you reach an open area. Swim over to the nearby vines and climb up. While being wary of the nearby Blue Bokoblin and Water Froak, equip your Gust Bellows and blow a gust of air at the swinging platform so that it comes over to you, and then jump onto it.
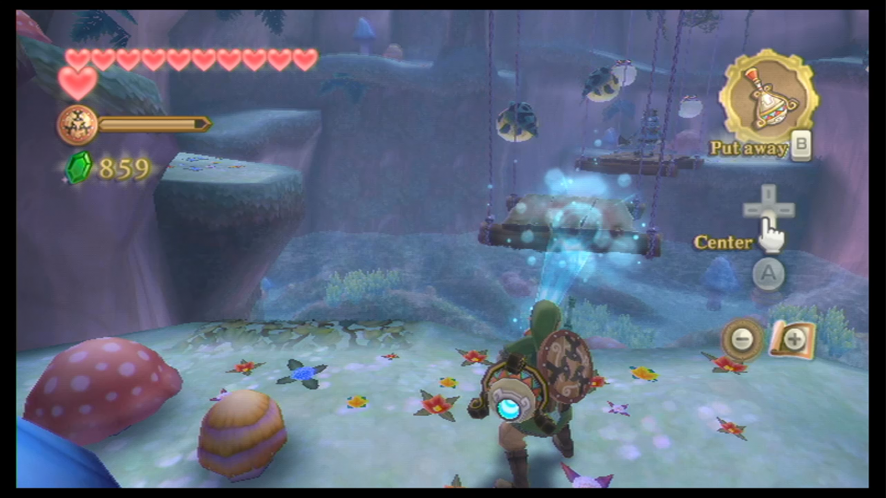
The next platform has a Blue Bokoblin on it – defeat him if you want, but we can also avoid him. Face to your left and use the Gust Bellows to blow yourself in that direction. Keep picking up momentum until you can jump safely to the left platform. You can now scale the inside of the tree from this part you just landed on.
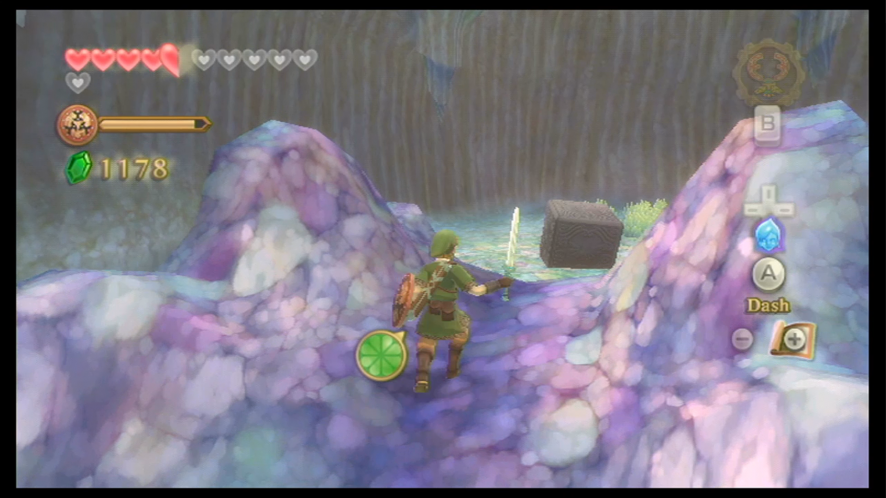
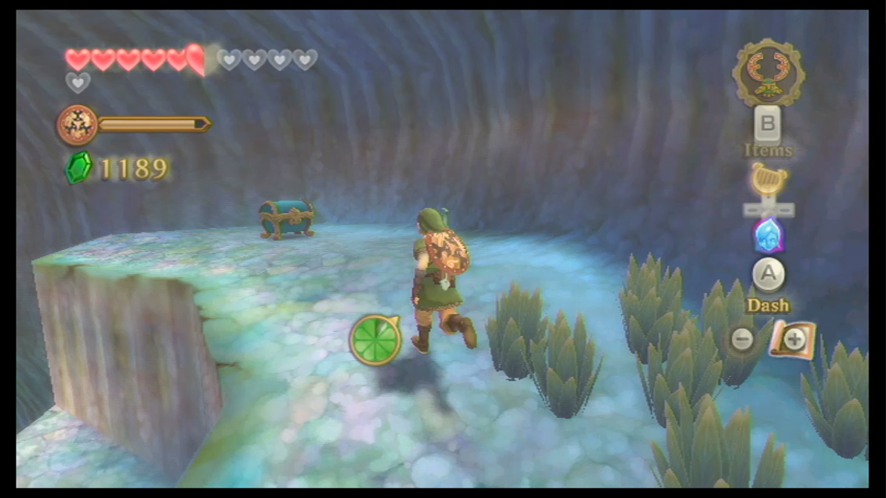
Near the top of the tree, you’ll encounter a Quadro Baba and a few Keese. The Quadro Baba is in a bit of a troublesome spot, but you can easily take care of it by cutting its stem with your Beetle. When you get to the top of the tree, open the treasure chest to get a gold rupee.
From here, we want to get to the opening at the west side of the tree. You can either drop right down or just go down slowly using the Sailcloth (you should probably use the Sailcloth for a more accurate landing). Land on the ledge right above the west exit and then just drop down and go through it to go back outside.
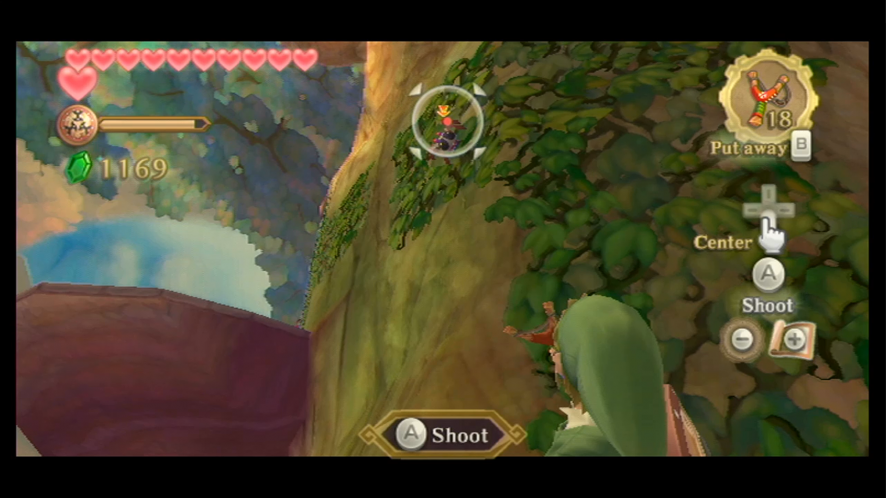
Head in a counter-clockwise direction around the outer side of the tree. You’ll soon come across a set of vines you can climb, but before you do that, equip your Slingshot and take down some of the Walltulla’s. Climb your way up the first set of vines, and then stop at the first platform. Equip your Slingshot again and take down the next batch of Walltullas. Once you’ve done so, continue climbing the vines until you’ve reached another area where you can enter the tree.
When you’re inside, you’ll immediately have to fight a Moblin. We don’t really have to fight him, so if you want to make a hasty escape, dash towards him. Link will run up the top of his shield – jumping over the Moblin – and will land on the other side. When you’re behind him, exit the tree through the opposite exit.
When you’re outside again, continue scaling the tree in the same counter-clowise direction. You’ll soon encounter a Blue Bokoblin, as well as a handful of Red Bokoblin. Once you’ve defeated them, continue on your climb, taking down any other Keese that will appear.
At the end of the path, you’ll find another set of vines, so climb up to reach the very top of the tree. Link will automatically head over and will encounter a sleeping Kikwi. You can wake him up with a couple of seeds from your Slingshot. He introduces himself as Yerbal, and is otherwise known as the ‘Kikwi hermit’. He will inform you that the sacred flame you’re looking for is Farore’s Flame, and the rest of the story is a secret. He will then tell you to go find the Water Dragon, who lives in Lake Floria. Yerbal will tell you how to open the gate – as long as you can find the special symbol – and marks the location of the gate on your map.

Before we continue any further, there are a few things we can get here in Faron Woods, including three more Goddess Cubes.
After scaling the tree, go outside and look down below until you locate Goddess Cube #13. Carefully jump off the ledge and onto the platform where it’s sitting and then activate it with a Skyward Strike.
The next Goddess Cube is located southeast of the tree. Climb to the highest level of the tree and then – after you’ve located the Goddess Cube – jump off, using your Sailcloth to land gently without getting injured. This Cube can be a little difficult to get to at this point in the game, so if you can’t get it now, we can get it later once we’ve received a new item.
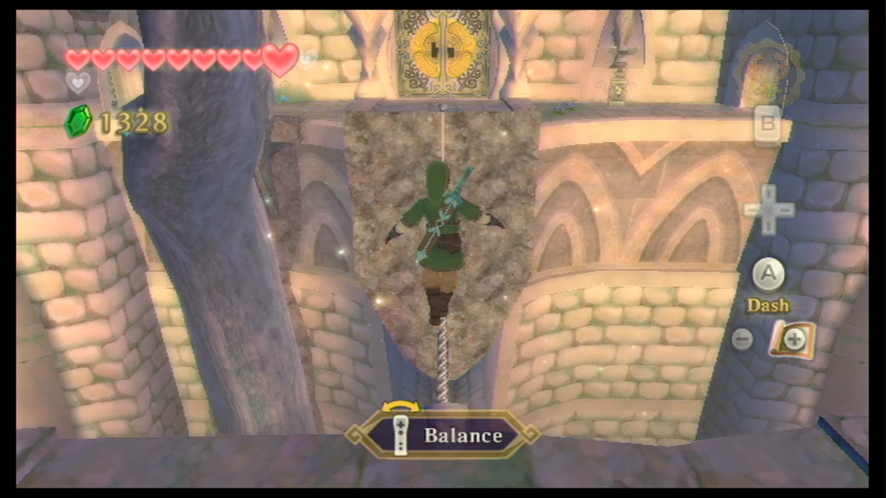
We’ll have to climb to the top of the tree again to reach the third Goddess Cube. When you’ve made it to the top, head to the area where you found Yerbal sleeping, and you will see that there’s a spot on the tree that’s facing out towards the viewing altar. Head to the south of this spot and then hang off the ledge so you can see below. You should be able to see a platform where the Goddess Cube is sitting, as well as a tightrope that’s leading to another other platform. We can’t land on the platform where the Goddess Cube is sitting from here, so carefully position yourself and drop down from the ledge onto the other platform. Cross the tightrope and then activate Goddess Cube #15.
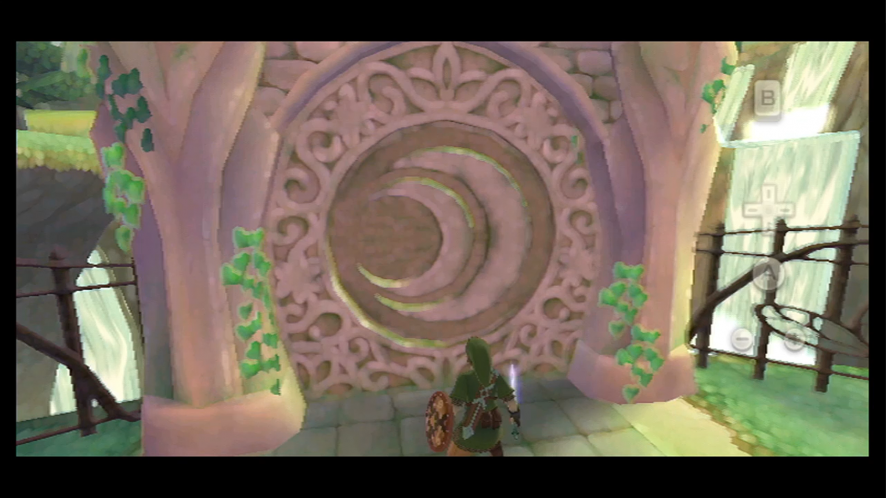
Let’s start to head to that gate that Yerbal mentioned. It’s located in the south part of Faron Woods, near where we met Bucha, the Elder Kikwi. When you get there, approach the gate and lift your sword into the air as if you were going to perform a Skyward Strike. Draw in the missing circle into the symbol and the door will open. Head through the gate and dive off the next ledge to reach Lake Floria.
Lake Floria
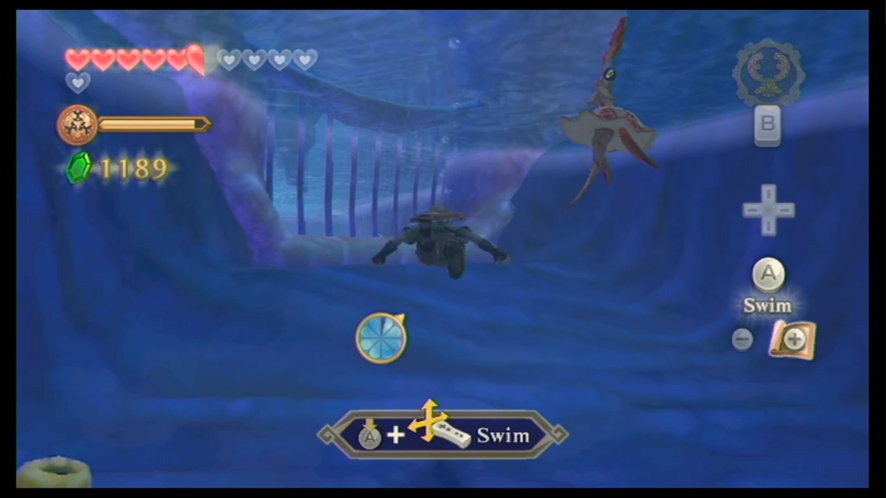
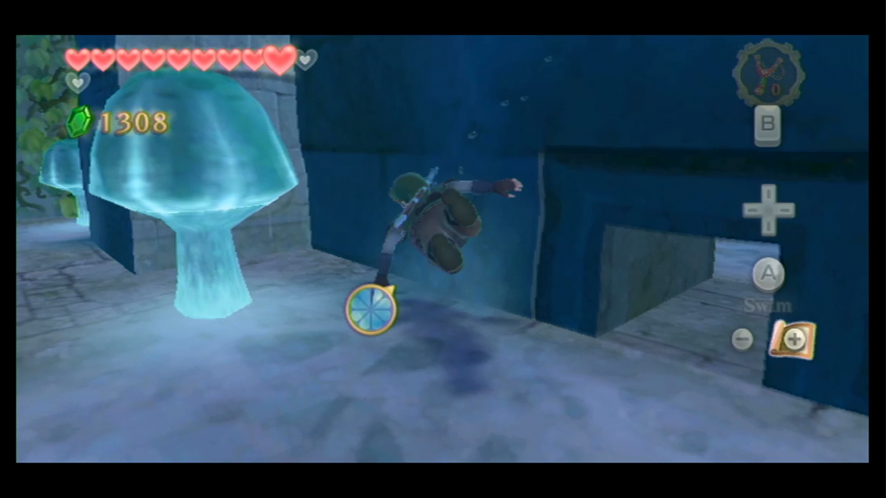
After diving into the lake, the river’s current will take you down its path and then down a small waterfall. At the bottom, you will meet the Parella, a water species that lives within the Lake. This Parella doesn’t seem to eager to talk to you and will swim away, so let’s follow it.
While you’re following it, the Parella will soon sneak through a hole in a wooden barrier. You can break through this barrier by simply shaking the nunchuck and doing a water attack. When the Parella sees your attack, he asks Link if he could help the injured Water Dragon.
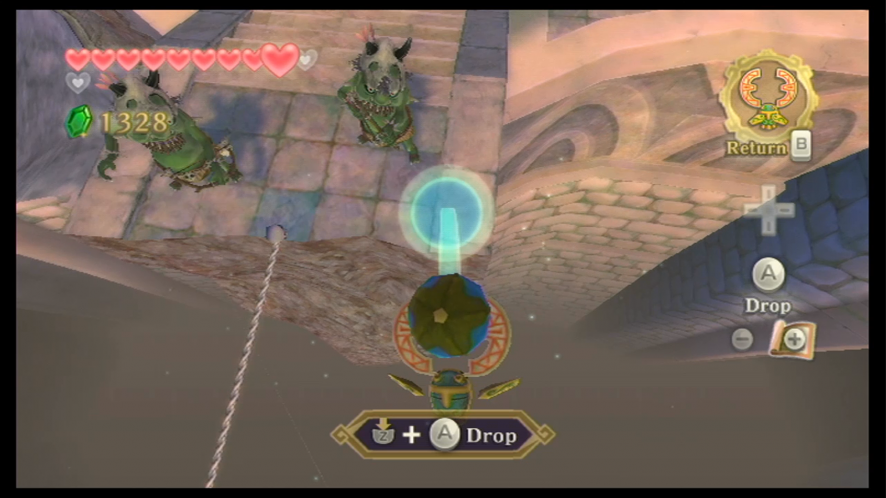
Keep following the Parella through the underwater tunnels. You’ll soon come across another wooden barrier, but you can just break through it with another water attack. The next area that the Parella leads you to is very open, and has several Froak floating around. You’ll also notice that there are boulders in a few spots in this area – many of these boulders contain treasures and other goodies behind them. Obviously, we can’t use Bombs underwater, but we can perform a water attack on one of the Froak to launch them into the boulders. When they hit the boulders, they’ll explode, clearing the way.
Before we go ahead, you may as well blow up the boulder in the center of the room. This boulder contains a silver rupee.
Blow up the boulder that’s blocking off the passage to the north. The Parella will continue on ahead, so keep following him until you reach another gate that’s blocking your path. We won’t be able to destroy this gate, so we’ll need to perform a water attack near the surface of the water so that we do a water attack right out of the water and over the gate.
Once you’re on the other side, keep following the Parella. You’ll have to make another jumping water attack, but this time you’ll land on a piece of dry land that’s within these caves. If you walk along the land area here, you can find Goddess Cube #16, so go ahead and activate it. If you head to the nearby Bird Statue, you will also find a treasure chest that contains a rare piece of treasure, the Goddess Plume, so definitely grab that if you can. You may want to save your game while you’re here too.
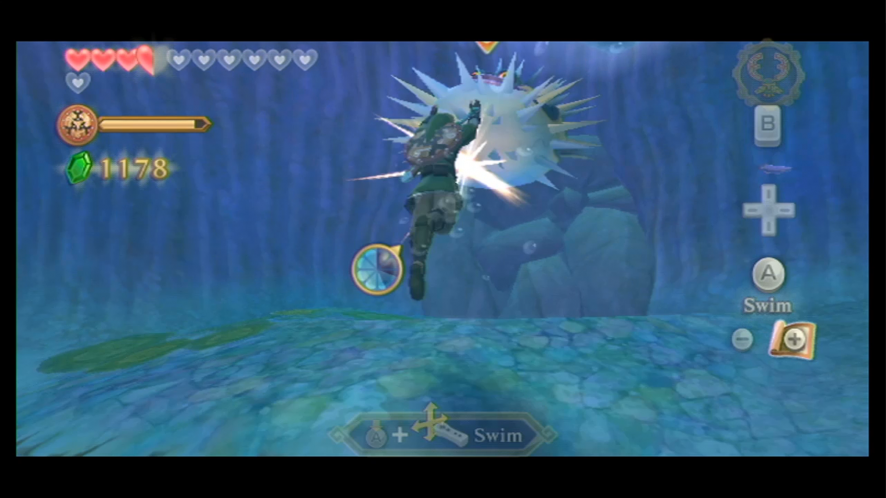
After you’ve done these things, jump back into the water and continue your swim through the tunnels with the Parella leading you. There will be another barrier later that you’ll have to jump over again, and once you’re on the other side, you will be in an area where you will encounter the shark-like monster, the Cranioc.
These rather large creatures will charge at you with their big heads if they see you. To defeat them, simply charge back at them with a water attack to stun them, and a second one while they’re stunned to defeat them.
The Parella will lead you to a door. When you go through, you’ll be in a room where the Water Dragon is sitting in large container.

When you speak to her, the Water Dragon will tell you of how Ghirahim attacked her and she needs Sacred Water to heal her; she will then demand that you go and bring her back some fresh sacred water. If you can complete the task, the Water Dragon will take you to the location of the first Sacred Flame. Of course, we’re going to need an empty bottle to complete this small task. Fi will also register the water into your dowsing ability.
When you’ve finished talking to the Water Dragon, jump into the water. Use another jumping water attack to get up to the higher level of ground to the left. If you follow this path, you’ll find a treasure chest with another silver rupee inside. If you do a water leap on the other side of the room, you’ll find another treasure chest that contains an Evil Crystal. When you’ve finished, leave the room through the northeast exit.
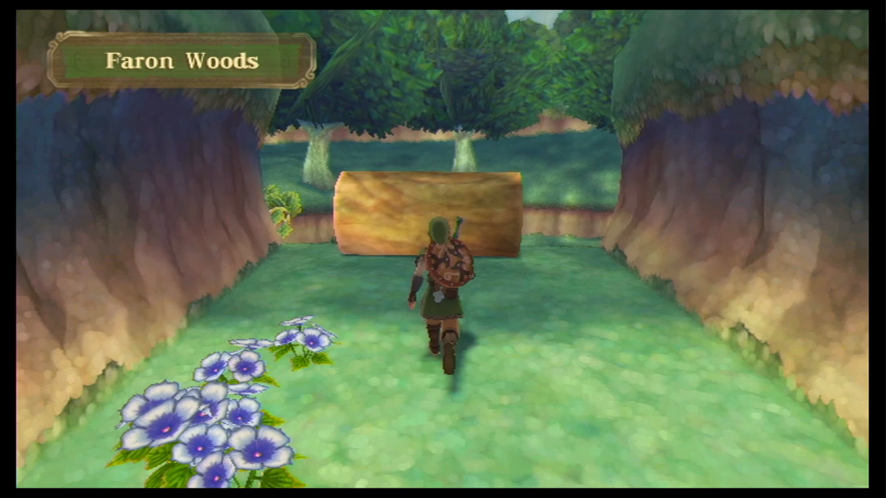
Save your game here to mark the point on your map. Now, you have your dowsing ability, but we want to go looking for the Sacred Water in Skyview Temple. Walk to the pathway to the right – this will take us back to Faron Woods. Knock down the log so that you have a handy shortcut for later on in the game – this will save us the trouble of having to go swimming through all those tunnels again.
When you’re going through the Deep Woods, go ahead and collect some Hornet Larvae while we’re here, as we can use it for upgrading our equipment when we go back to Skyloft. Other than that, there isn’t anything else to do, so go ahead and enter the Skyview Temple.
The Sacred Water
Skyview Temple is still the same as it was last time we were here – the only difference is that there are a few new enemies that have made themselves cozy within its walls. If you opened up the shortcuts from the last time we were here, finding the Sacred Water shouldn’t take too long. To start off, head down the corridor (take care of any Quadro Baba you encounter as well).
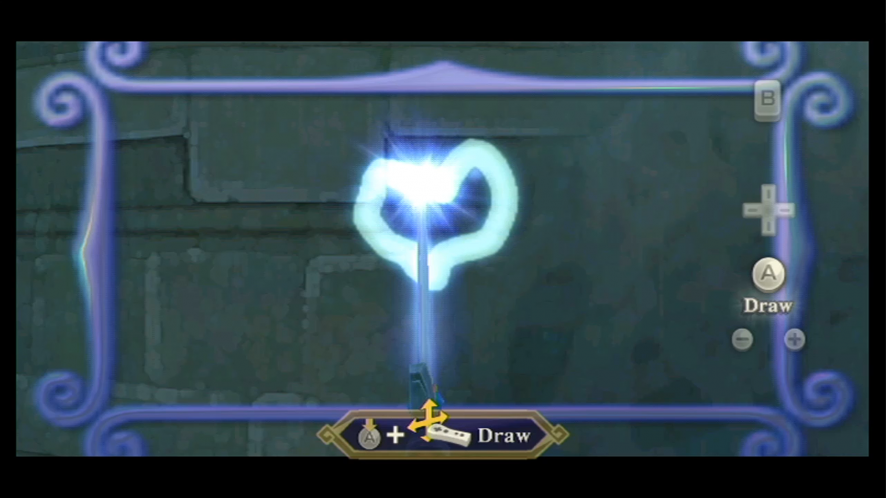
As you keep going down through this corridor, you’ll soon run into one of the Mogma from Eldin, who left the comfort of the volcano to search for treasure in the Faron region. He will give you the same tip that Gorko gave you earlier – play your harp near a group of butterflies and a symbol will appear on the wall.
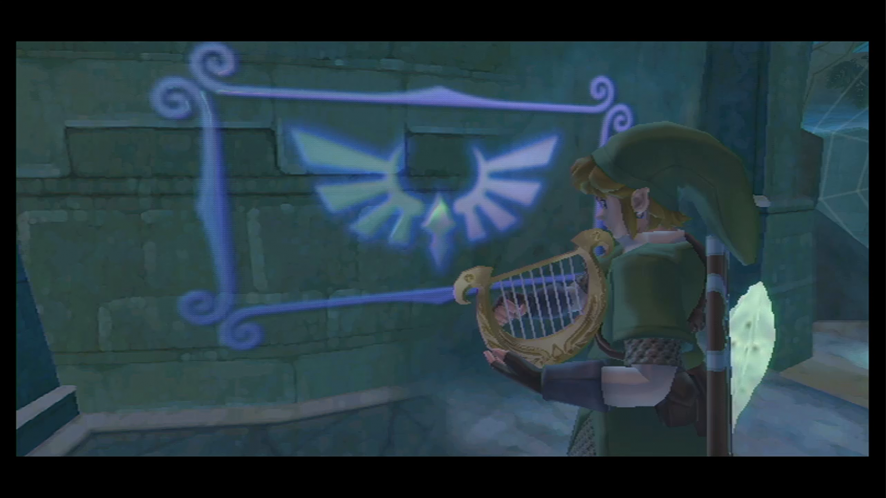
When the symbol has appeared, you can raise your sword and draw a symbol into the wall. Depending on what you draw, you will get different items from the wall. You can draw a symbol for Recovery Hearts, Bombs, Arrows, and even Rupees. As long as you draw the symbol correctly, you will get the specified item.
From the spot where you met the Mogma, there is the shortcut on the pathway to the right, which will lead you to one of the large rooms. If this shortcut isn’t open, then just go through the dungeon to reach the large room.
There are a lot more enemies in this main room now, including the Green Archer Bokoblin. This species of Bokoblin usually tend to distance themselves from you and will fire arrows at you. However, they have no shield to defend themselves, so you can defeat them easily with your sword.
You’ve probably already noticed that the door at the end of this room has been locked again, so we’ll have to go searching the other rooms for a small key to open the door. Go through the door on the right side of the main room.
When you enter the next room, you’ll encounter the Mogma again, and he’ll tell you that he buried a key somewhere in this room. Jump into the water and swim through the small hole along the bottom of the left wall. Once you’ve swim through the hole, climb up the set of vines. You’ll find a soil spot that you can dig up, so go ahead and do that and you’ll find the key that the Mogma buried. Crawl through the hole, drop down below, and then return to the main room.

Head to the north end of the room and unlock the door with the key. Take down the Staldra in this room and then run over to the door at the other side. If you didn’t unlock the shortcut earlier, you’ll have to go through the eastern room.
When you’re back in the main room you’ll see that there is a tightrope in the center. Two Green Archer Bokoblin will be firing arrows at you from the other side of the room, so we won’t be able to make it across to the other side until we take care of them.
Hide behind the pillar on the right side so that they can’t hit you, and then equip your Beetle. While controlling it, send it towards the nearby Bomb Flower and pick it. You’ll have to be careful of the Bokoblin as they will fire arrows at the Beetle while you’re flying, so try your best not to stay on a straight path. When you’re above the Bokoblin, release the Bomb Flower on them. Once you’ve done so, cross the tightrope to the other side.

You’ll meet the Mogma and he’ll tell you a few things. Once you’re done talking to him, save your game at the Bird Statue and enter the boss room again to take on another dungeon boss.
For this dungeon boss, you’ll have to take on three Stalfos at the same time. Thankfully, we have our trusty Bombs now to give us a hand with this. If you strike a Stalfos with a Bomb, its arms will fall off temporarily, giving you an opening to strike. If you don’t use that tactic, just use the regular old tactic you’d use to fight the Stalfos. While you’re fighting one of them, you’ll definitely want to stay weary of the Stalfos around you, so try not to stay too close to one single Stalfos for too long.
Once you’ve defeated all three Stalfos, leave the room through the door that leads back to Skyview Spring. Run to the furthest end of the spring and use your bottle to collect the Sacred Water that’s surrounding the area. After getting the water, Fi will appear to speak a few words and then will teleport you to the Deep Woods. Now you can head back to where you met the Water Dragon.
When you’ve reached her home, speak with the Water Dragon. Once you’ve poured the Sacred Water over her, she will break out of the container, fully healed. She will then introduce herself as Faron, the Water Dragon who guards the Faron region.
During a cutscene, the Water Dragon will stop the waterfall, which will reveal an entrance to another dungeon.
You can progress into the dungeon if you like, but there are a lot of things we can get in the Sky at this point, so if you want to do that first, continue on with this guide. If you’d rather head straight into the dungeon, then skip the next section and go to Chapter 10: Ancient Cistern.
Preparation for the Ancient Cistern (Optional)
Unfortunately, we cannot access Goddess Chest #16 (which we activated within the Water Dragon’s home in Lake Floria) but we can activate #9, which we skipped earlier but can activate now. We can also go ahead and activate #13-#15, all three of which are accessible at this point in the game.