Chapter 5 – Earth Temple
Table of Contents
Entering the Dungeon
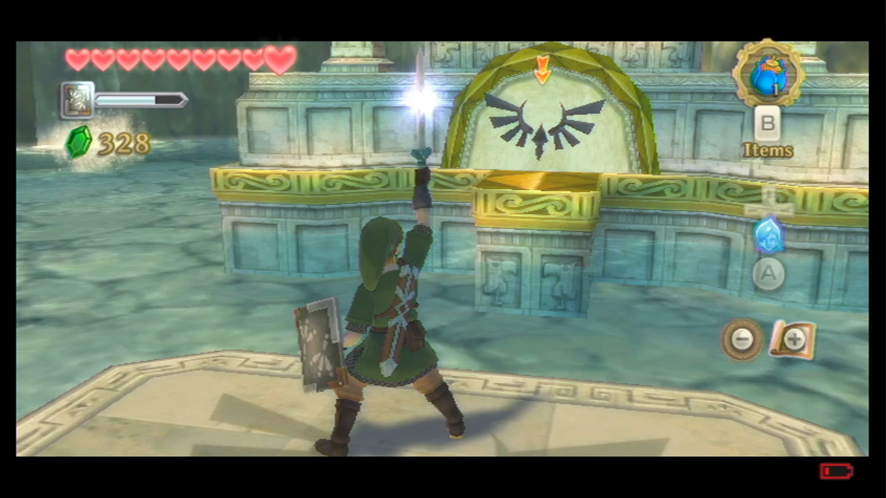
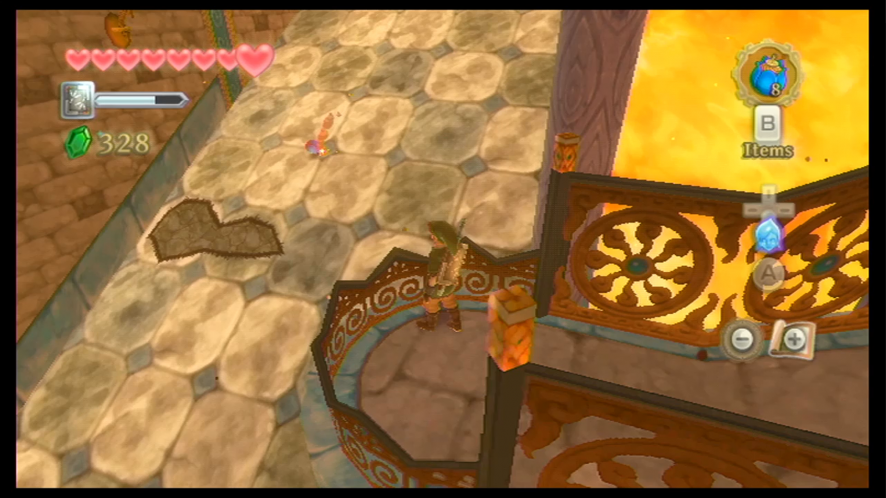
Now that we’ve finally found all five pieces of the shattered key, we can take the new key and use it to open the entrance to the Earth Temple. Save your game, and then head inside.
The first thing you want to do in the temple is run ahead and defeat the several Fire Keese. To the left, you will find a Mogma who’s worried about his fellow Mogma friends, who have apparently gone missing. Heading to the east side of the room will pit you against a Red Chuchu. You can also dig up a soft soil spot that will reveal an air geyser. Taking the air geyser up will lead you to a treasure chest that contains a red rupee.
Head north, defeating any Fire Keese that get in your way, and leap over the floating platforms along the lava.

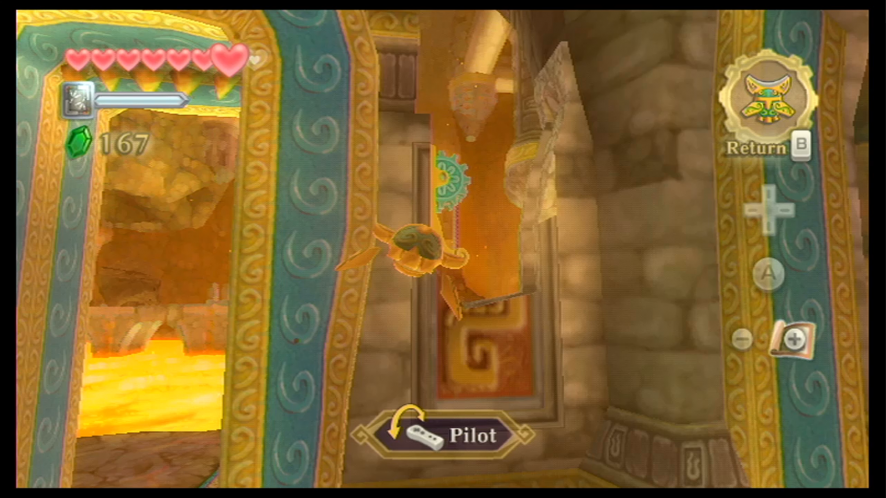
When you make it to the end of the room, you won’t be able to continue due to the drawbridge that has been closed. There are two gears in this area that have ropes attached to them that – when cut – will lower the bridge. There are two gears on each side of the room. Use your sword to cut them down. However, this will not open the door fully, and you will have to use your Beetle to cut the other rope that’s just to the right of the drawbridge. The bridge will now open all the way for you to get to the next area.
The next room will pit you against a Lizalfos, the first one that you will encounter in the game. They fight similar to a Bokoblin with specific guarding actions, in which he uses an arm guard to protect himself. Of course, the Lizalfos moves faster than the Bokoblins so you’ll really have to time your swings. Use your sword to slash at him from the opposite direction of his guarding position. If you do this successfully, you will be able to do a few more consecutive hits before he blocks again. Keep doing this until you beat him.
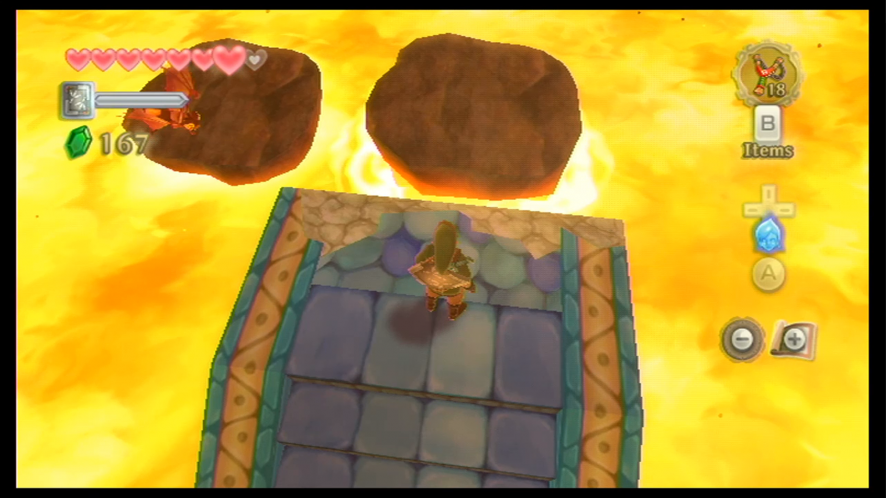
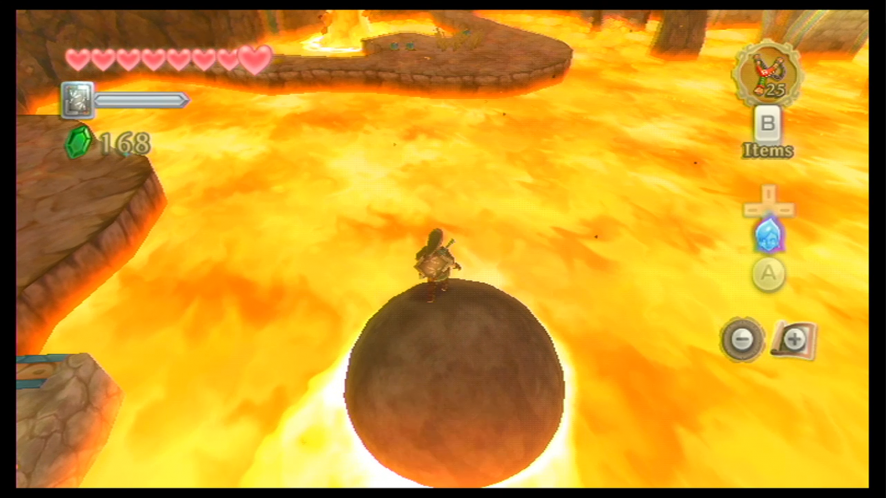
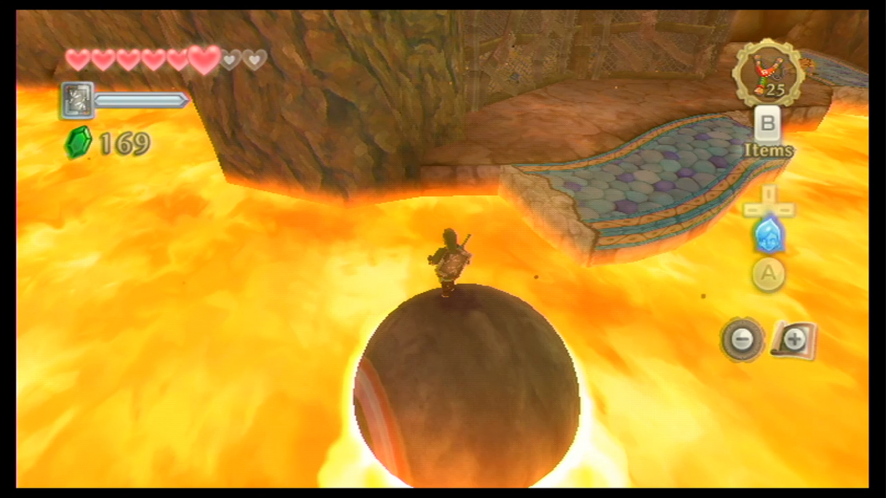
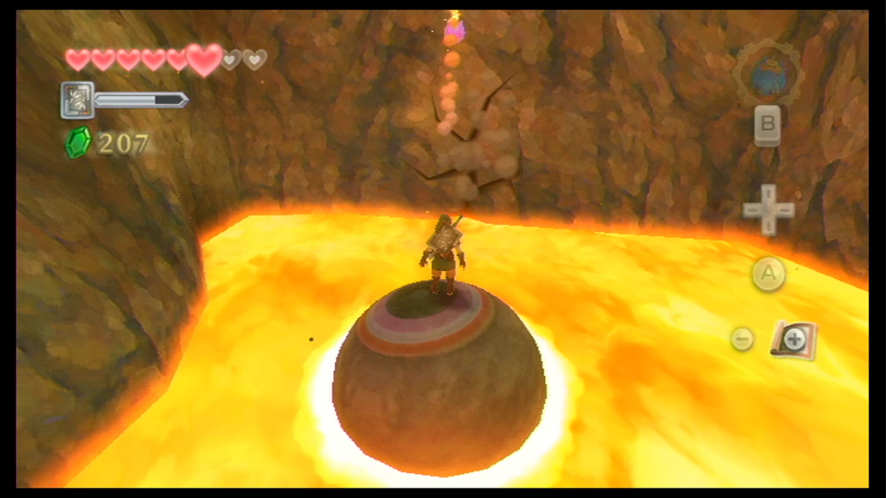
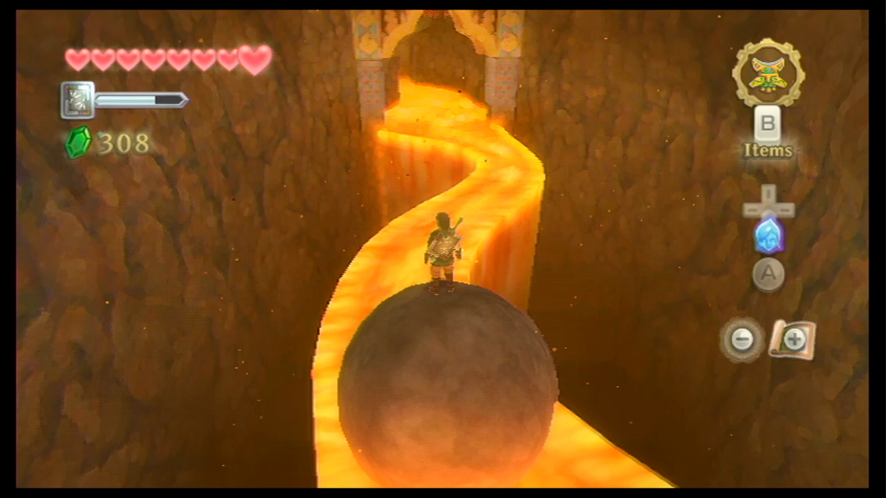
For now, turn your attention to the large structure that’s in the lava. It has several Bomb Flowers growing from it. Shoot one of the flowers with your Slingshot; this will cause a huge stone ball to come floating towards you. This will be your way of getting through the lava in most of the dungeon. It’s pretty simple to use, so you shouldn’t have any problems.
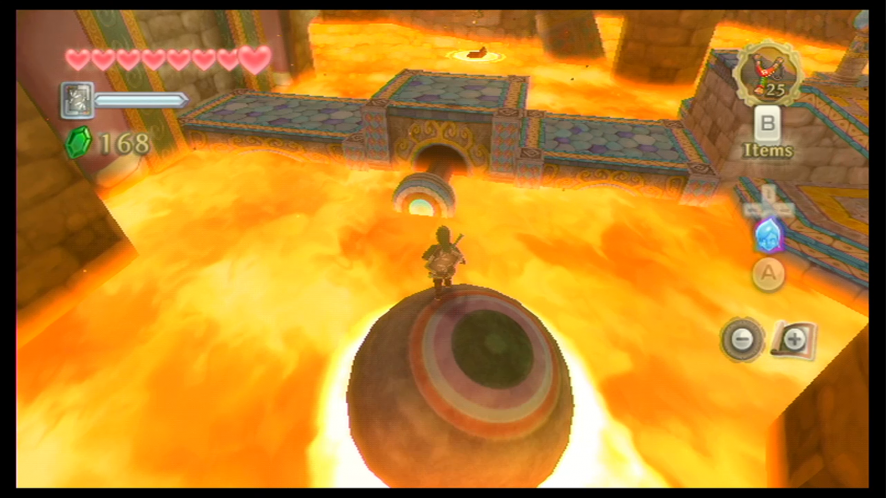
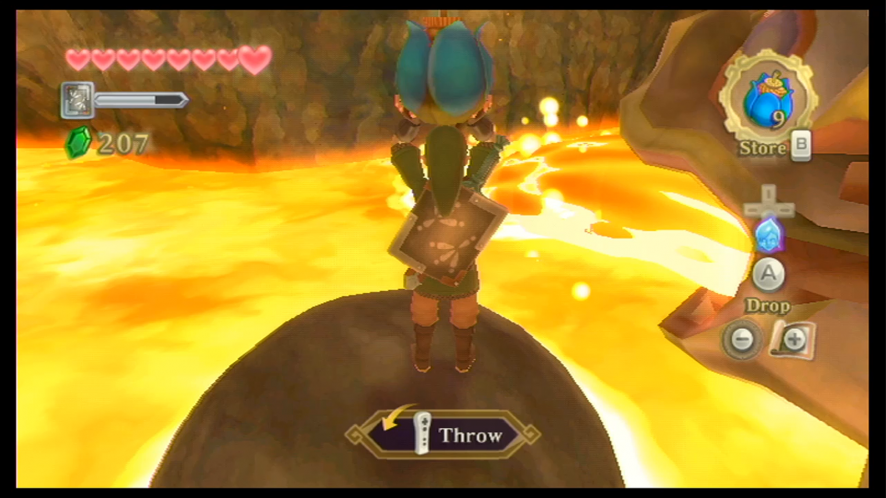
Jump on top of the ball and ride it to the left part of the room. You will find a platform here that will rise and fall with the lava, as well as several Bomb Flowers. Wait for the structure to be lower, then throw a Bomb Flower at onto it; the platform will rise up and Bomb Flower will explode, blowing up the boulder above. Climb up and you’ll find a treasure chest with a Golden Skull inside.
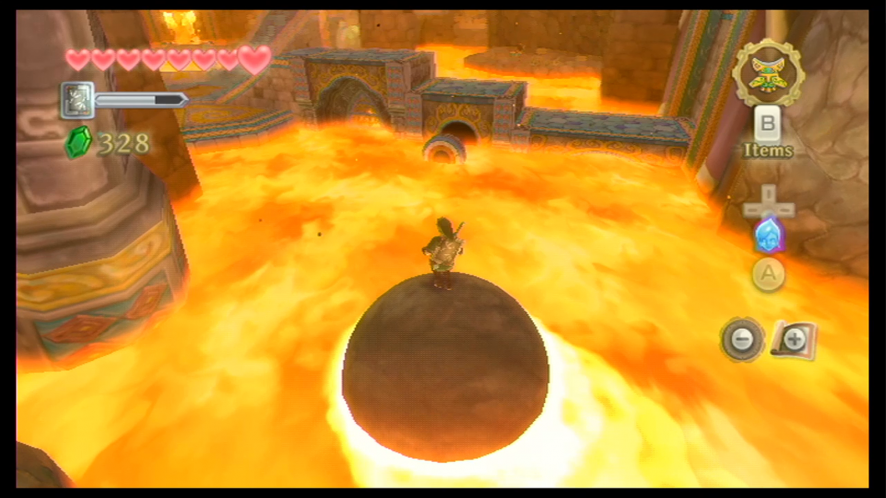
Get back onto the ball and roll yourself over to the northwest section of the room. Get off the ball and open the treasure chest here, which contains a Blue Bird Feather, a rare treasure. After getting the treasure, get back onto the ball and ride in an east direction, until you make it to a switch in the lava. You can activate the switch by rolling onto it with the ball. Once you’ve activated this switch, a platform nearby will rise. We don’t have to worry about this platform just yet.
The Bomb Bag
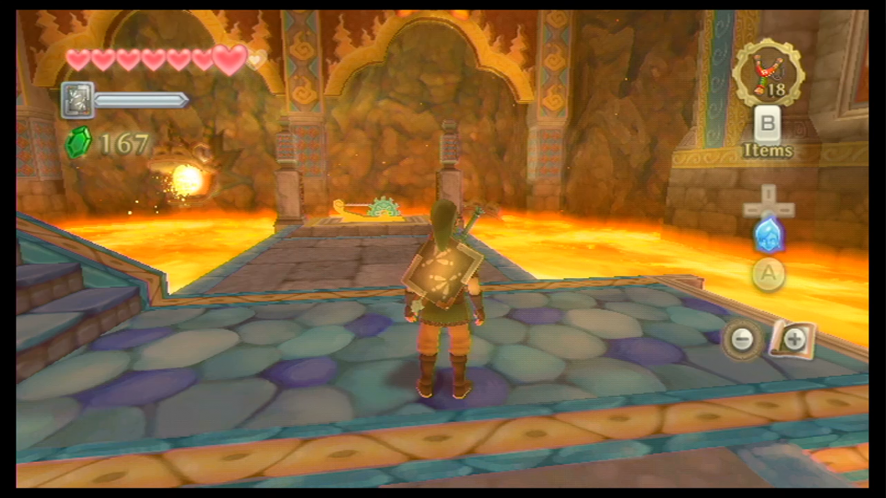
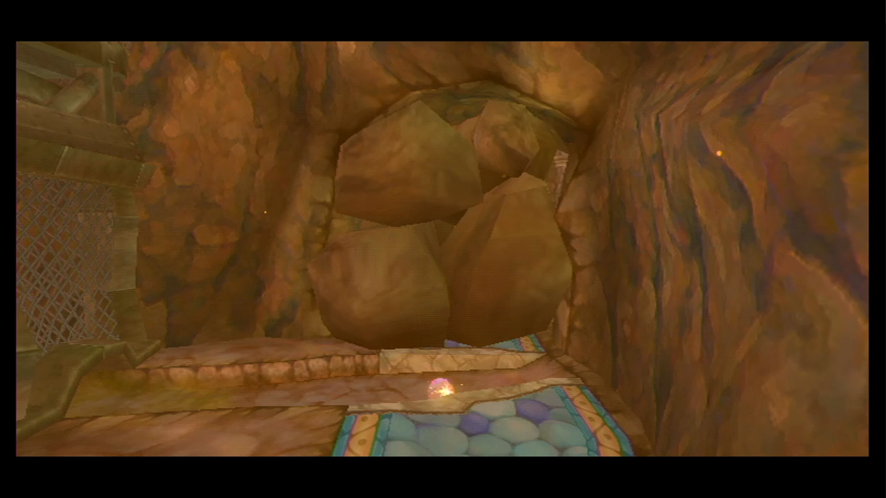
Back on the ball, ride to the southeast end of the room. When you jump off here, go talk to Ledd the Mogma. He’ll ask you to retrieve his Bomb Bag, which is behind the boulders that are cutting off the next pathway.
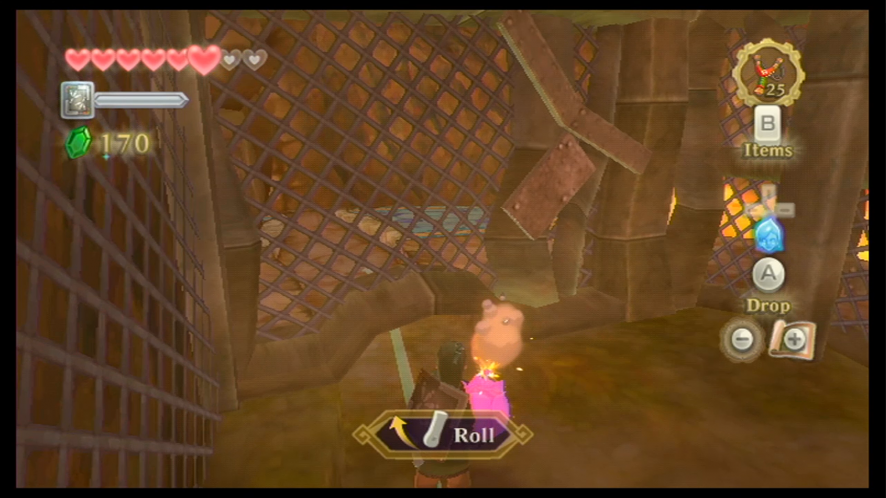
Look for the nearby hole and crawl through it. Defeat the Bokoblin, and then grab one of the Bomb Flowers and roll it through the hole you just crawled through. It should blow up the boulder – if not, try again until it does.
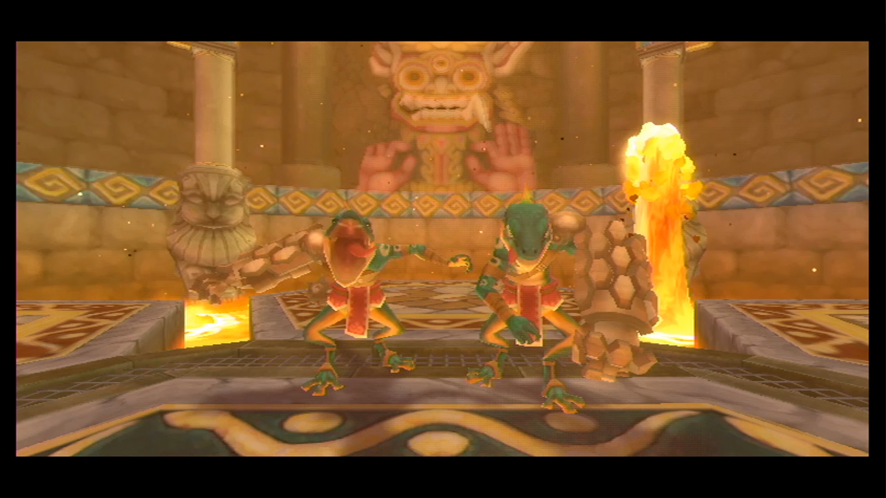
Head through the new door that was behind the boulders and you will be thrust into a battle against the dungeon mini-boss. It’s a simple mini-boss fight as you are only fighting two Lizalfos – we’ve fought these before, and to make things better, only one will attack you at a time, so you don’t need to worry about them attacking you all at once at the same time. Just get through their guard and swing at them continuously until they get their guard back again, repeating the process until you’ve defeated both.
You’ll be granted a treasure chest after the battle that contains Ledd’s Bomb Bag. Take it back to him in the previous room. He’ll thank you for it, and then reward you by giving you the Bomb Bag to keep. Before we proceed, let’s go through the crawlspace again. Here, you can pick up a Bomb Flower and press B on the Wii Remote to place it in your Bomb Bag – always keep an eye out for Bomb Flowers if you’re running low on Bombs in your Bomb Bag.
Golden Sculpture
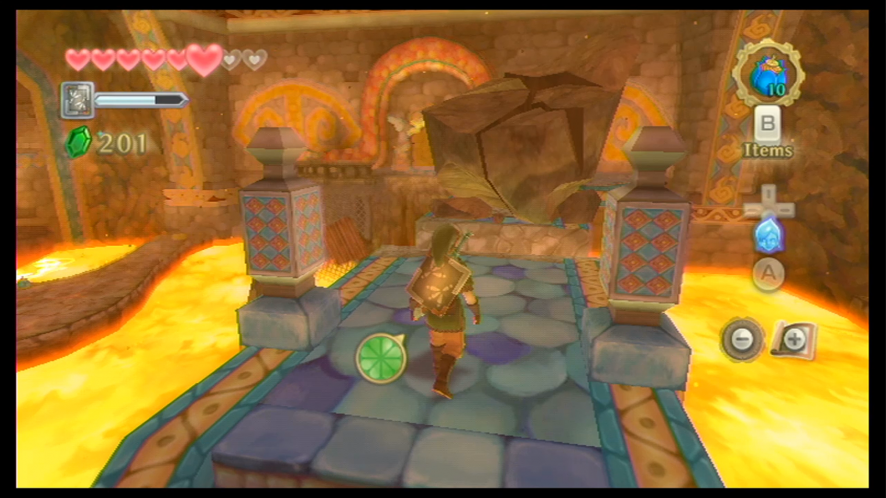
Head back to the ball and ride over to the center platform that’s in this room. Head to the west side of this platform and use your new Bomb Bag to equip a Bomb and destroy the boulder that’s blocking your path. Jump across and then defeat the nearby Lizalfos. Now head through the west-side door.
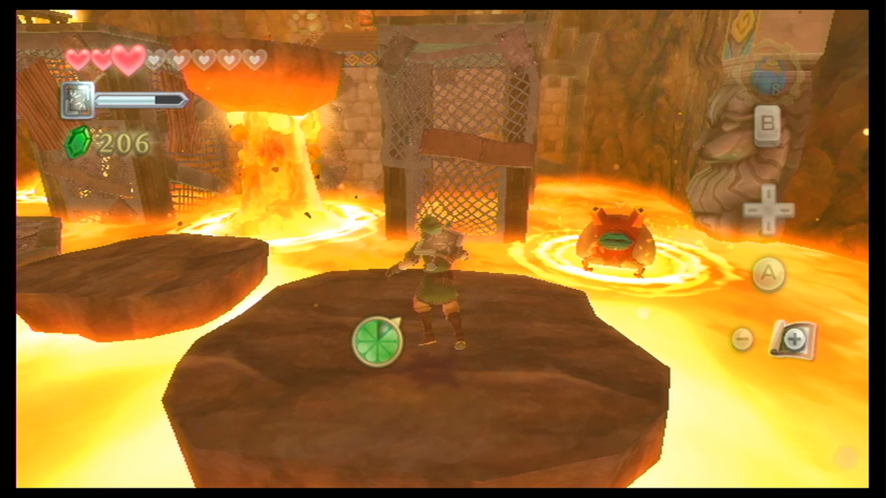
Head to the right and defeat the Bokoblin. Remember those Magma Spumes from earlier? Now we can defeat those with our trusty Bombs. All you have to do is throw one at it to defeat it – the Bomb will immediately explode the moment it hits the lava.
Head over to the other side of the room and wait for this platform fall to ground level. Jump onto it and then when the platform is lifted by the rising lava, jump over to the spot where the Bokoblin is standing. Defeat it, and then open the treasure chest here to get the Dungeon Map. There isn’t anything else in this room, so you can leave.
Jump back onto the rolling ball (I told you we’d be using it for most of the dungeon) and roll over to the east side of the room. Now with your map, you can see the ‘X’ that has been marked against the wall along with a pathway that’s behind it. It will take two Bombs to blow this wall up.
While avoiding the lava that is pouring out from the statue, roll through this new hidden passage – you should also stop at the first platform through this tunnel to stock your bag up with Bombs. Unfortunately, you can’t get through the next pathway while you’re on the ball, so we’re going to have to find another path.
Fortunately for us, there’s another hidden passage behind a wall. Look straight ahead from the statue that’s pouring lava, and you’ll see a cracked wall. Just like before, throw two Bombs at it to blow it up and reveal a new passage.
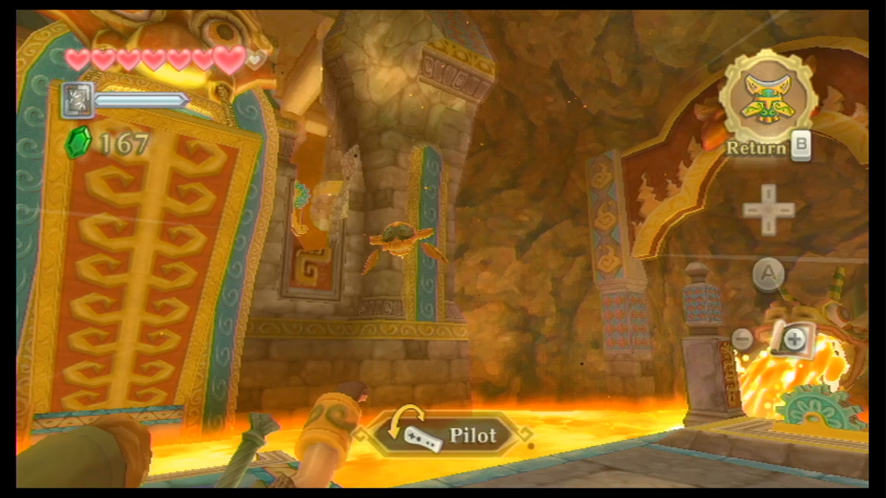
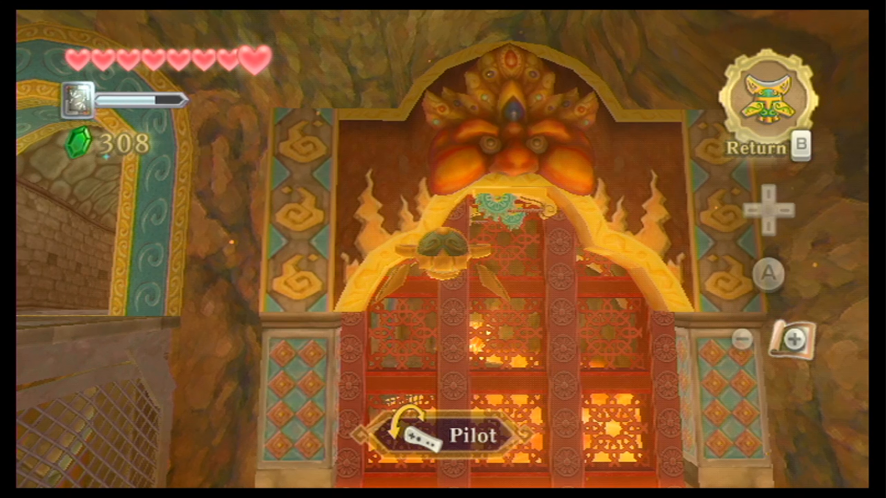
Keep going through the passage, defeating any Magma Spumes that arise from the lava with Bombs. Soon you’ll make it to a platform, so go ahead and jump off the ball and onto it. Ahead you will see a gate that is blocking the path for your ball, so take out your Beetle again and fly it over to the gate. Find the rope that’s holding the gate up and cut through it with the Beetle.
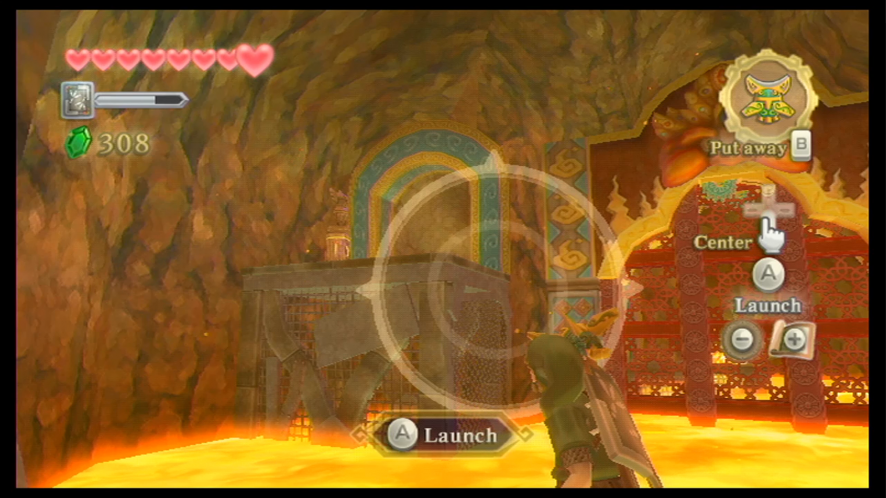
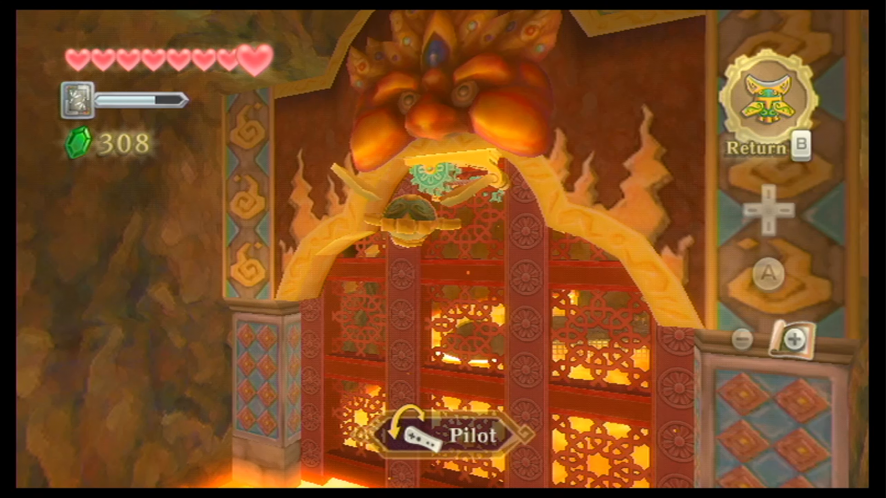
This will only open the gate halfway, so we have to find the other rope, which is located on the other side. Send out your Beetle again and take it through the passage that’s on the left side of the gate. Carefully fly through here and then fly through the rope that’s on the other side of the gate. The gate will now open fully for you to travel through.
Get back onto the ball and continue through the gate. The next platform has a Bird Statue, so I recommend you stop here to save your game. After you’ve saved, continue along the path on the ball. Take care of any of the enemies that cross your path while you’re riding the ball. The pathway will soon turn into a strange sort of lava bridge which seems quite intimidating at first, but is easy to cross as long as you go at a steady pace and are careful. Once you’ve crossed this bridge, you’ll soon make it back to the main room.
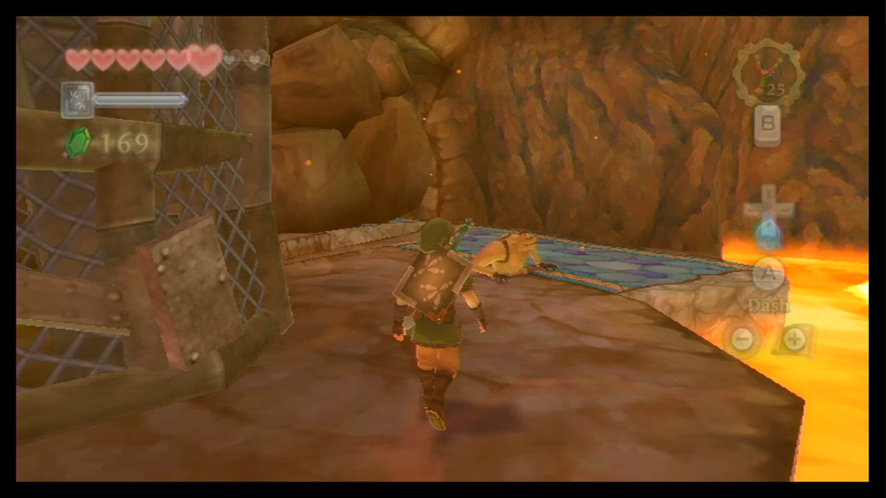
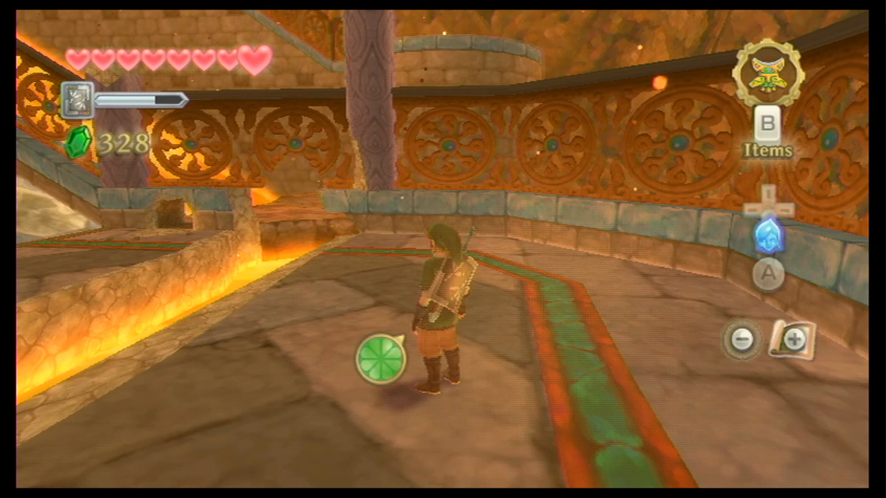
Take a left turn and you’ll encounter a Lizalfos that appears to be guarding a treasure chest. Defeat the Lizalfos and collect the red rupee that’s inside. Jump back onto the ball and you’ll soon find another switch that you can activate by rolling over it, so go ahead and do that. This switch will cause another platform to rise through the lava. Jump off the ball and go through the door that’s at the north side of the room.
The next room has a pretty steep path that you’ll have to dash up, but luckily there’s a small resting spot to your left. There will be boulders out to hit you, so try to avoid these until you get to the resting spot. Once the path is clear of boulders, finish your sprint to the top.
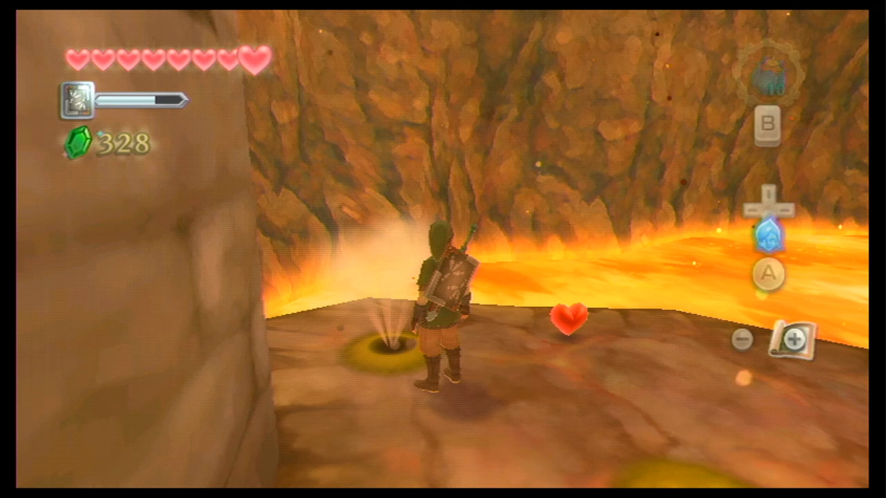
You’ll see that there’s another steep path to run up, but the only resting spot that can be found has been blocked by a boulder. Turn your attention to the right and crawl through the crawlspace. Fill up your Bomb Bag and then dig up the nearby soft soil spot. An air geyser will appear, allowing you to go up to the higher ledge. Head up the next staircase and you’ll be next to the steep area that has the blocked-off safe spot. Take out a Bomb and toss it up the slope. If you’ve timed it right and aimed correctly, it should blow up the moment it rolls down next to the boulder.
Head back to the bottom of the path and start your sprint up. Again, watch out for the boulders that roll down the path, and stop at the resting spot to get your energy back. Wait for your stamina gauge to be full, and then make the remaining sprint up the path.
Go to the circular stairs and climb your way up. There’s another long passage that you’ll have to sprint up, but at the top you’ll find the Golden Sculpture. Once you start heading back down, a gigantic boulder will appear and roll after you, so sprint down and jump off the edge of the ledge. The boulder will continue on, not harming you, and it will even stop the flow of lava that’s been coming out of the statue.
Head back to the nearest save point and save your game again. Jump over to the revealed lock door and use the Golden Sculpture to open it. When you’ve correctly arranged the sculpture, you will be taken into the boss’ lair.
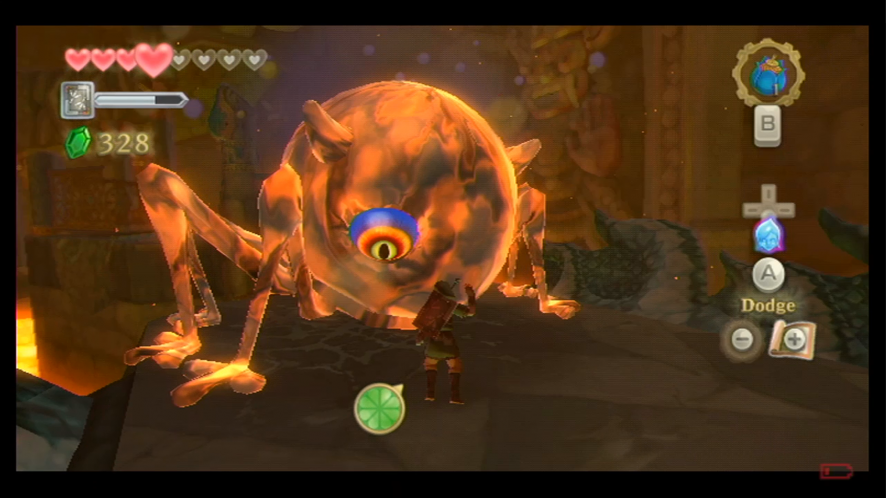
Pyroclastic Fiend Scaldera (Boss)
After picking up the Heart Container, run up to the top of the ramp and go through the door. You will now be in the Earth Spring, where you will encounter Zelda and the strange woman you met earlier outside of the dungeon.
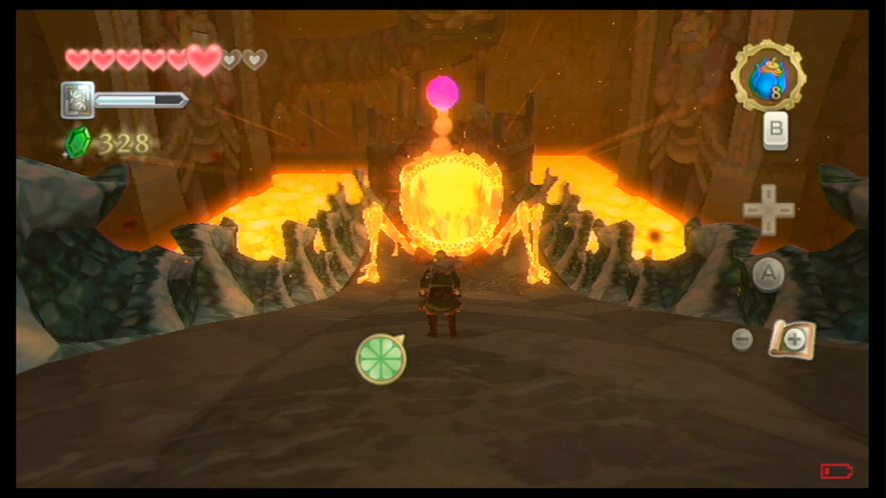
After heading up the stairs, you’ll see the boulder from the last room rolling around. Keep heading forward, and Ghirahim will appear. After the short discussion with him, the temple boss, Scaldera, will awaken.
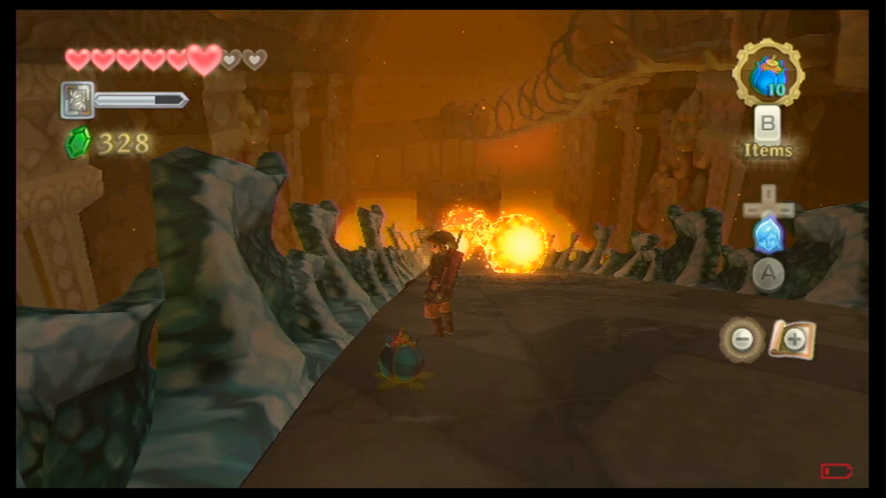
The first part of this battle has Scaldera running up the long ramp in this room. He will run into one of the Bomb Flowers that are planted along the ramp, causing him to roll down to the bottom of the ramp. He will start to shoot fireballs from his mouth, so you will have to avoid these as much as you can.
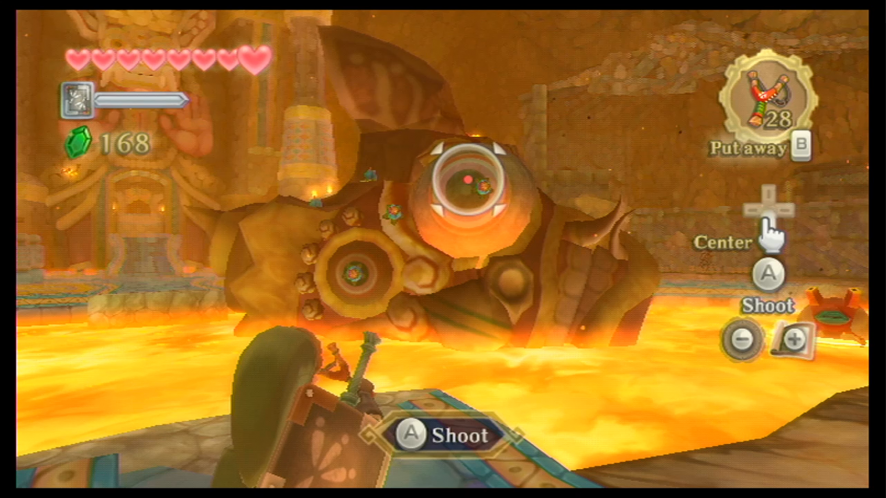
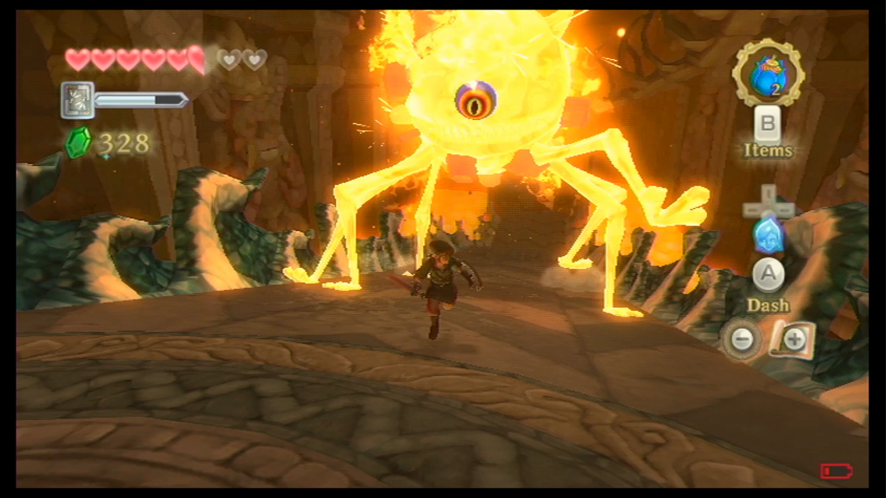
Once you’re close enough, he will open his mouth and inhale flames for a fireball attack, but we’re going to stop this by taking out a Bomb and throwing it into his mouth while it’s still open. This will send him to the ground and cause him to lose a part of his shell. It will also reveal his eye, which we can guess is his weak point. Slash your sword repeatedly at Scaldera’s eye.
Keep repeating this process. If you run low on Bombs, you can fill your bag with the Bomb Flowers that are growing on the ramp. There are also recovery hearts at the edges of the boss room.
After repeating this same process a few times, Scaldera will start to move faster up the ramp and he will also walk on his legs. The same process is still in effect, however, you can run underneath Scaldera and when he comes rolling back down, just stay on one of the sides of him. His shell will also fall off more, giving his eye a lot more freedom to move around, so it will move much quicker and make it harder to get the sword attacks in. Once you’ve completely destroyed the outer shell of Scaldera, go in with a sword slash and deliver the finishing blow.
Earth Spring
After the cut-scene has ended, deliver a Skyward Strike to the blue wing statue. Another cut-scene will begin in which Link receives the Amber Tablet. When you take this to the Goddess Statue in Skyloft, the entrance to the next area, the Lanayru Desert, will be opened.