
Chapter 20: Onox’s Castle
- 20.1 Receive the Maku Seed
- 20.2 Dispel Onox’s barrier
- 20.3 Survive the gauntlet
- 20.4 Crush General Onox
- 20.5 Defeat Onox’s true form
- 20.6 Rescue Din
20.1 Receive the Maku Seed
Once you leave the Sword & Shield Maze, the Maku Tree will speak to you once again. This time, you’ll need to return to him for one last encounter before you save Holodrum once and for all. Of course, since you’re in Subrosia, you can’t just Gale Seed to him right away, so head southward two screens to reach the portal back to the Temple Remains. Once in Holodrum, exit the room with the portal, and then Gale Seed back to Horon Village.
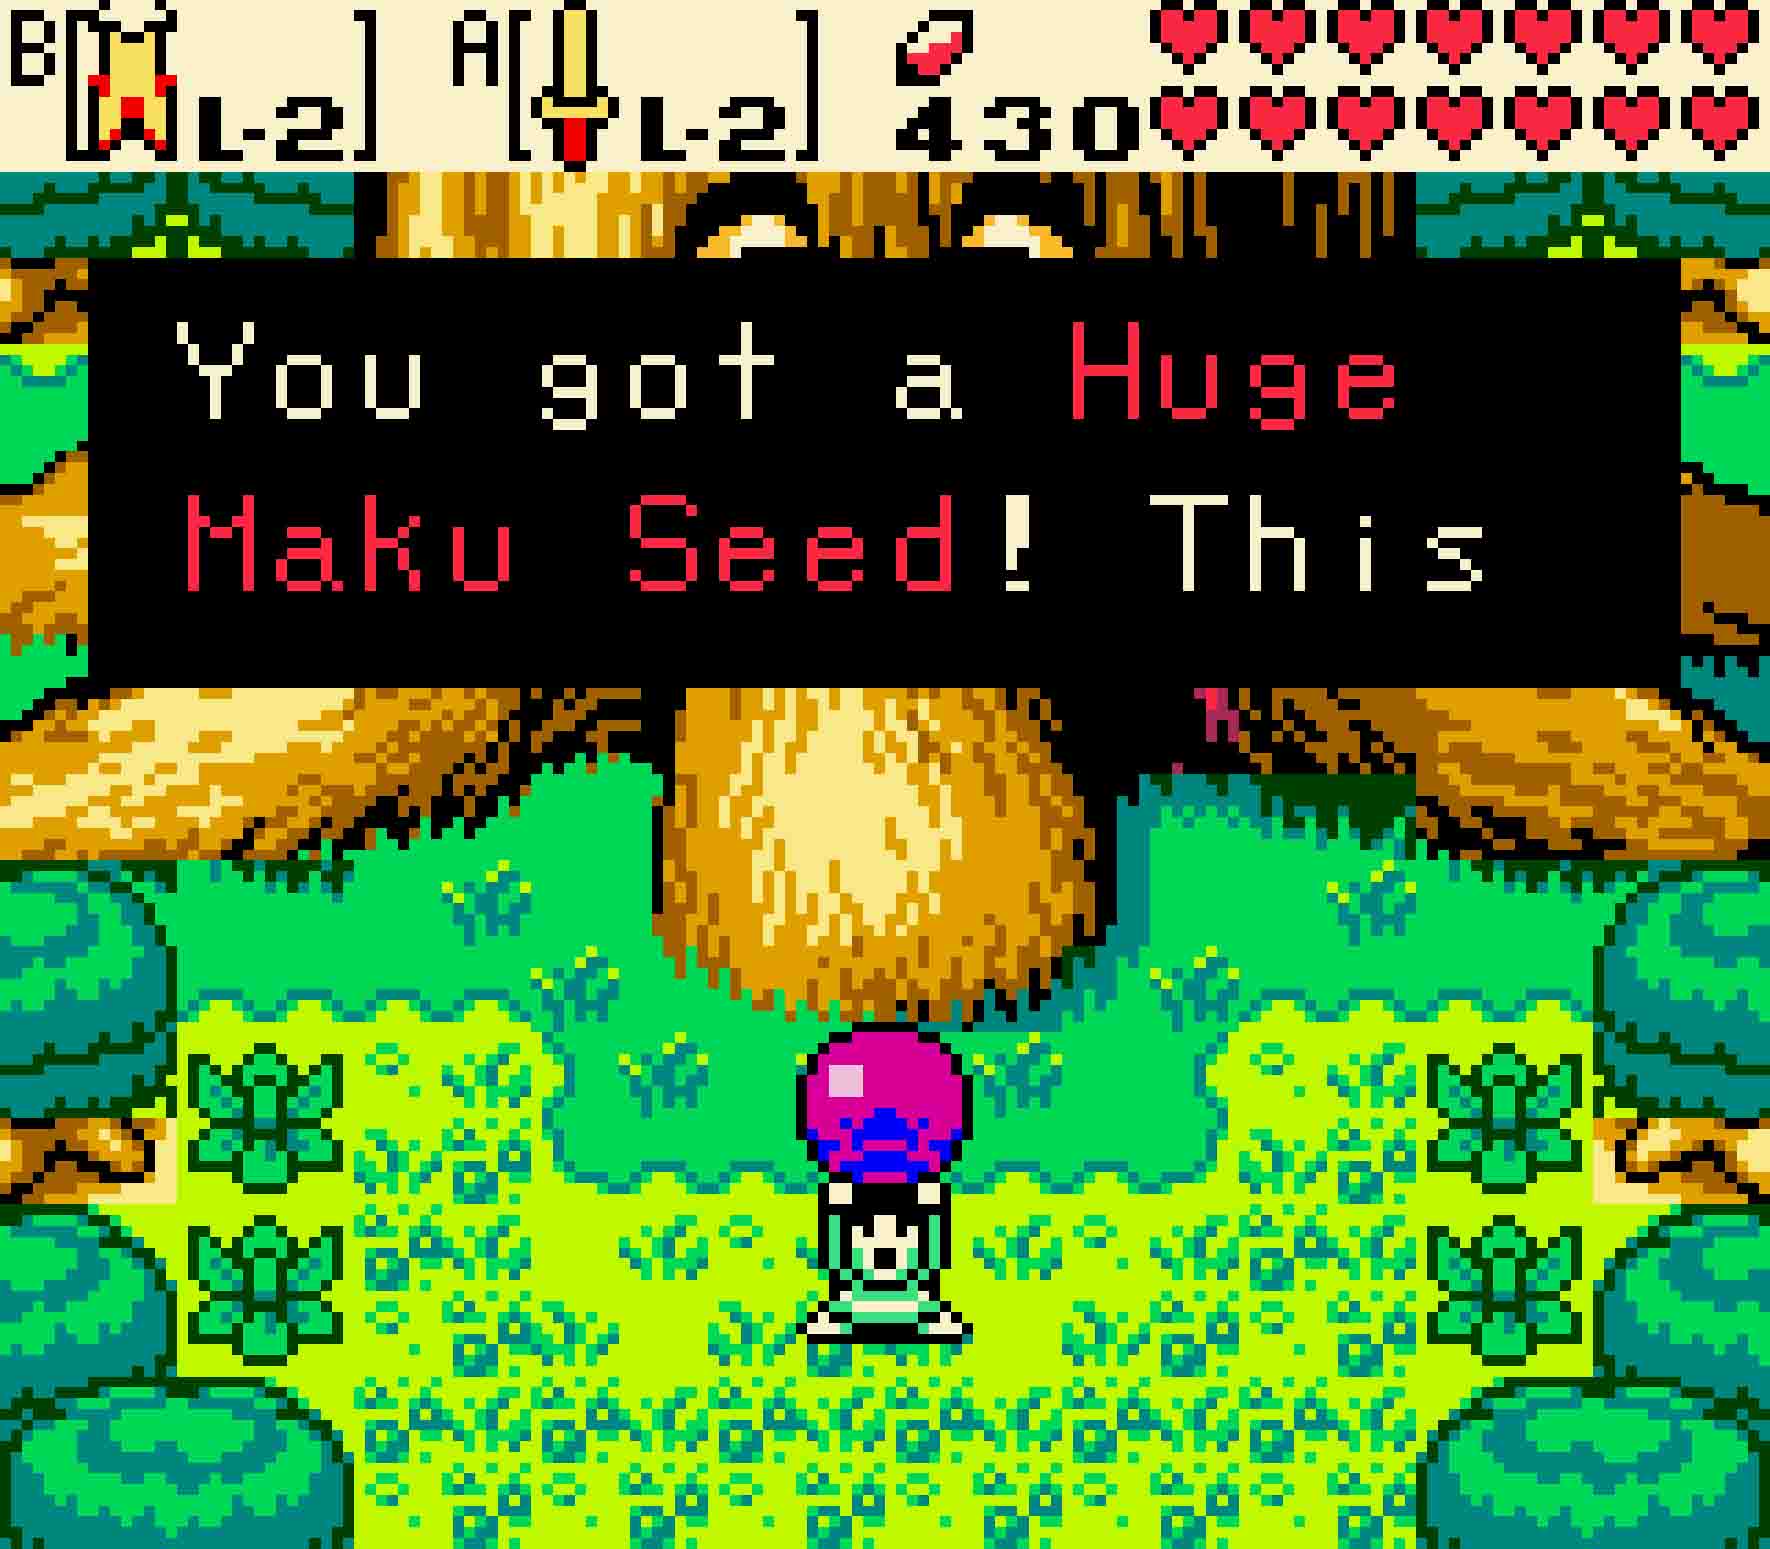
The Maku Tree isn’t far. Simply head north, east, and north twice to reach him. Once you’re there, you’ll obtain the thing you need to dispel the barrier designed to keep you out of General Onox’s lair, the Giant Maku Seed. With the power of all eight Essences with you, this will be sufficient to break his curse.
-

- Use a Gale Seed to quickly zap back to Horon Village.
-
- Visit the Maku Tree one last time. You’ll get what you need to face Onox.
20.2 Dispel Onox’s barrier
 If you want to Gale Seed as close as you can to Onox’s Castle, the spot to leap to would be North Horon. That’s not that far from the village, however, so the choice is yours. The only thing the Gale Seeds will be useful for now will be, if you’re playing a normal game, quickly teleporting from person to person throughout the land in order to deliver passwords to them and collecting all of the bonus linked-game items.
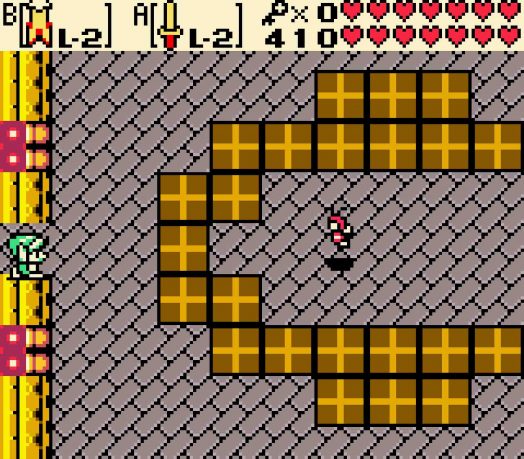
From the North Horon teleportation tree, head south, west, and then north, which will once again take you to just outside the Natzu region. Head west past the Peahats, cross the bridge, and then immediately head northward, following it through the hollowed tree tunnel. This may seem just like the path towards the Temple Remains, naturally, but you’ll be diverging from that path soon.
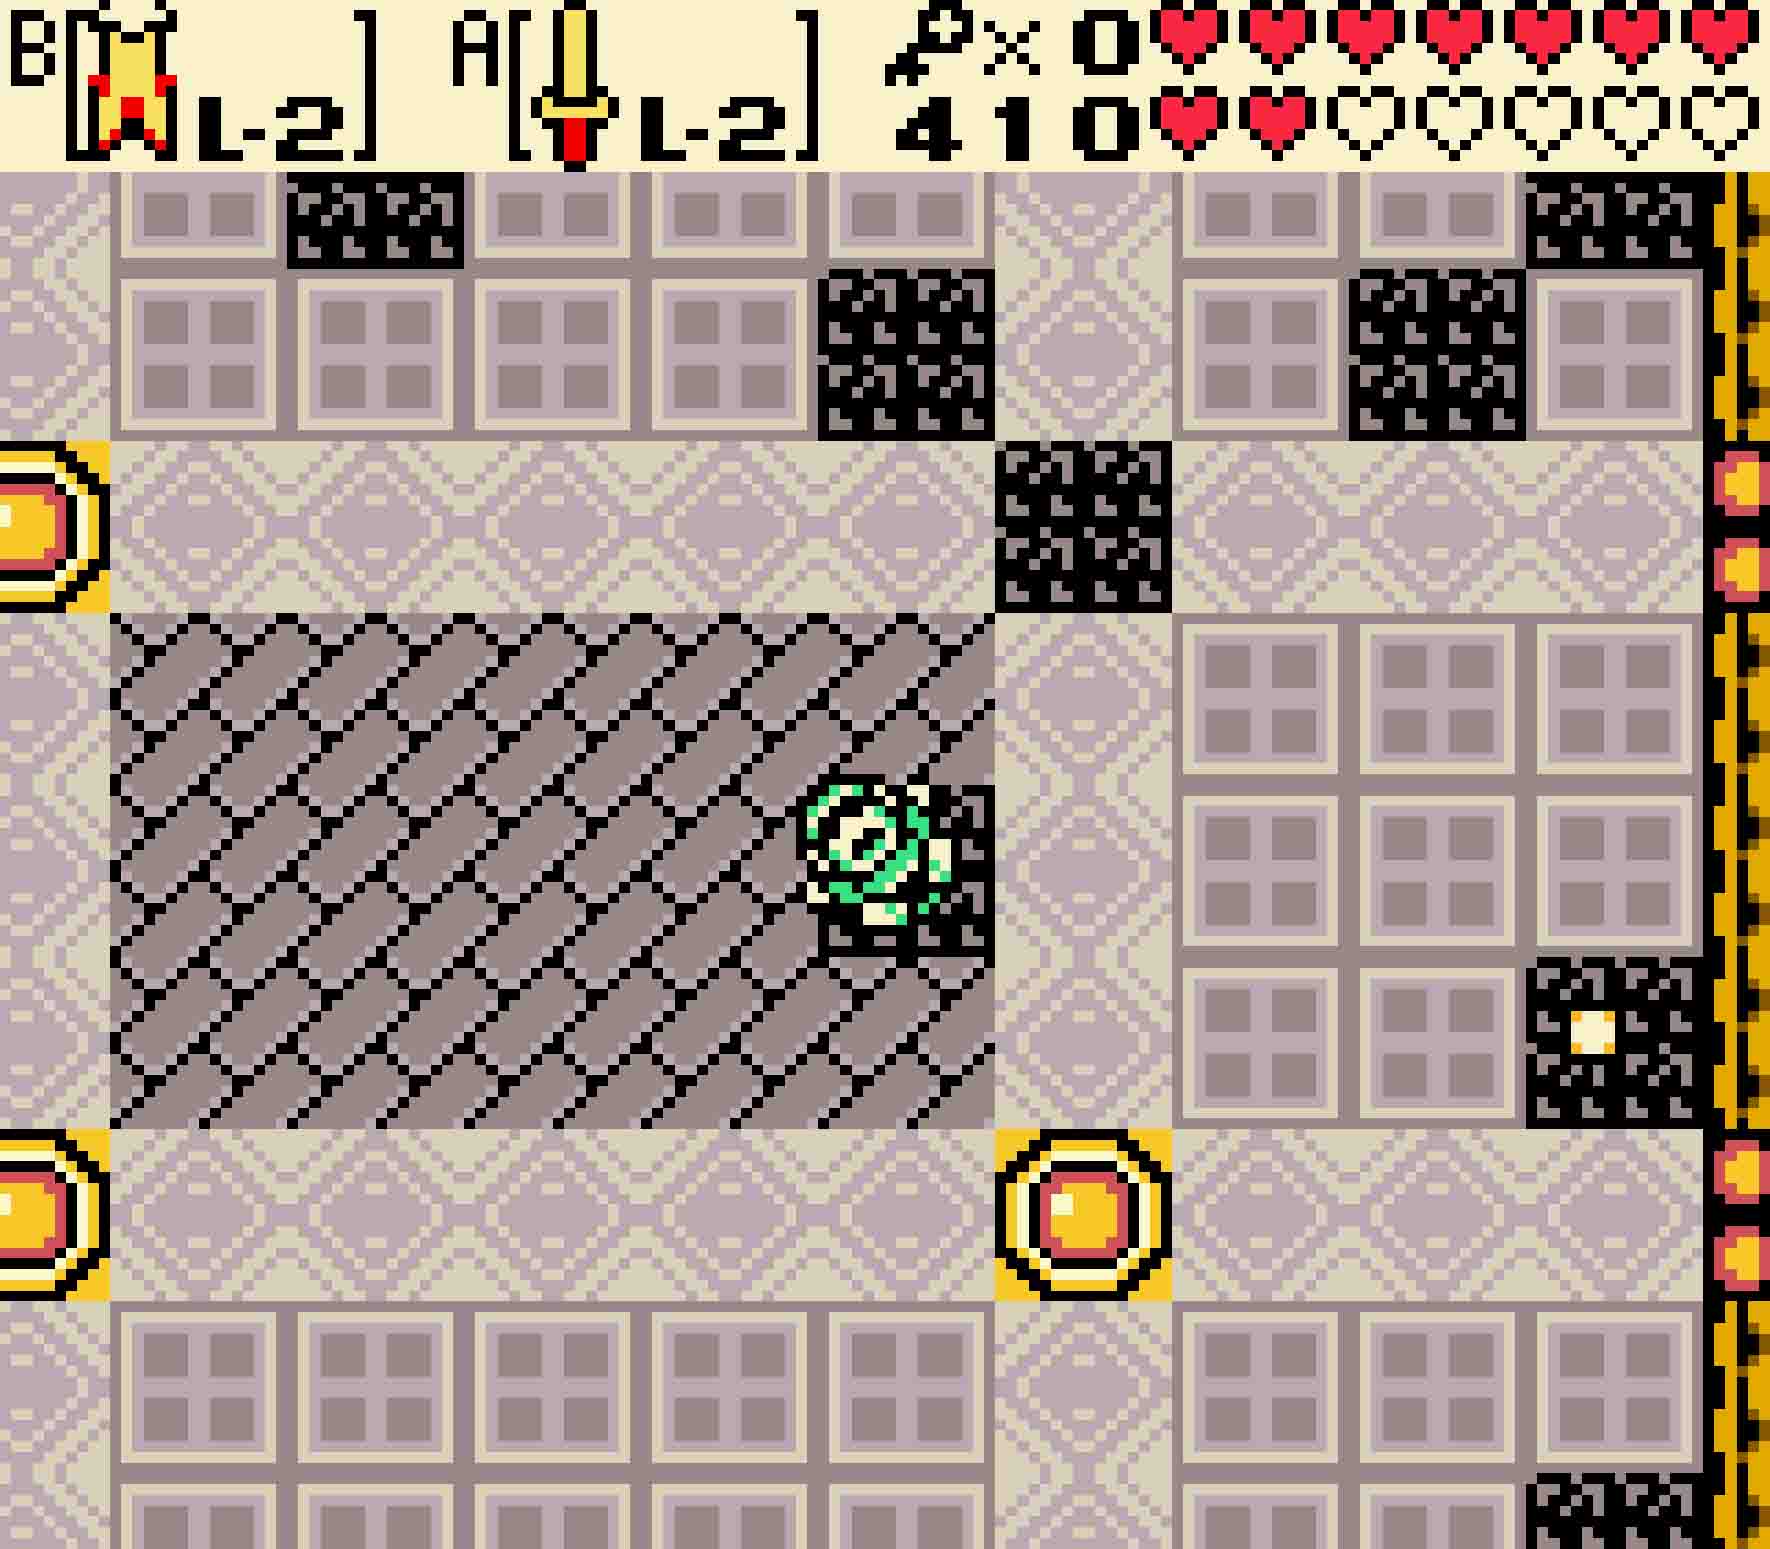
Defeat the Darknuts on the next screen as well as the Ball and Chain Trooper to the north. This time, instead of heading eastward over the chain of potholes, head to the west. Once you head north after that, you’ll be knee-deep in Onox’s barrier. However, the Giant Maku Seed will dispel it. You’ll be taunted by the twin witches Twinrova, who will tell you that it’s already too late. Their plan is underway. However, that doesn’t mean you should stop now.
-

- Instead of heading to Level Eight, you’ll turn left here.
-
- Use the Maku Seed and the eight Essences to break through the barrier.
20.3 Survive the gauntlet
 From here until Onox, you have to survive a massive gauntlet of enemies. To the north are two Lynels: one red and one blue. If you manage to pass them and get to the staircase leading north, you’ll finally be inside Onox’s Castle.
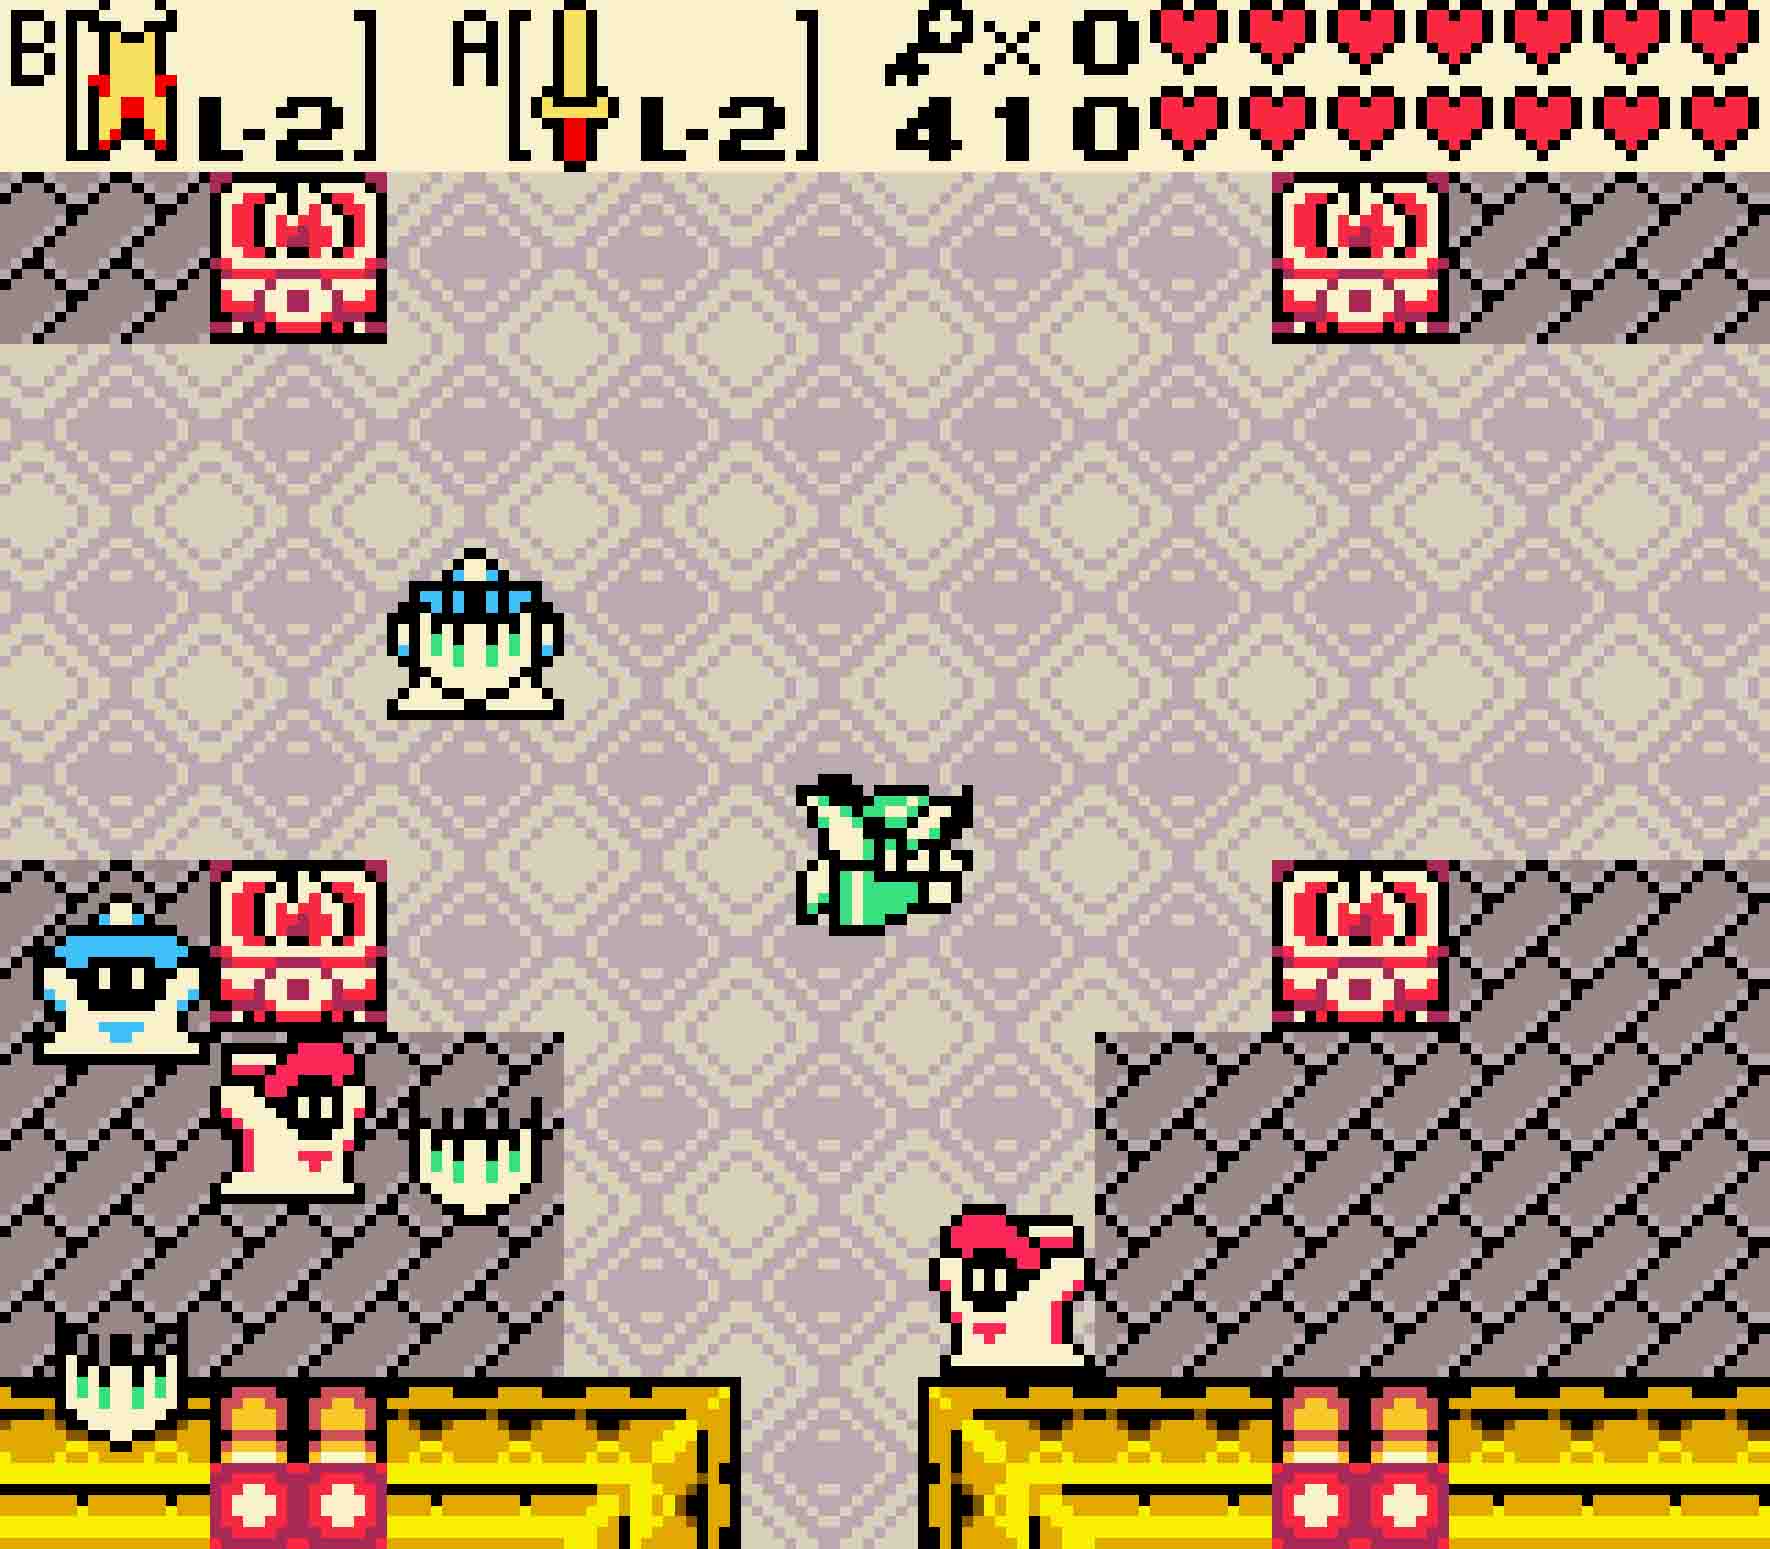
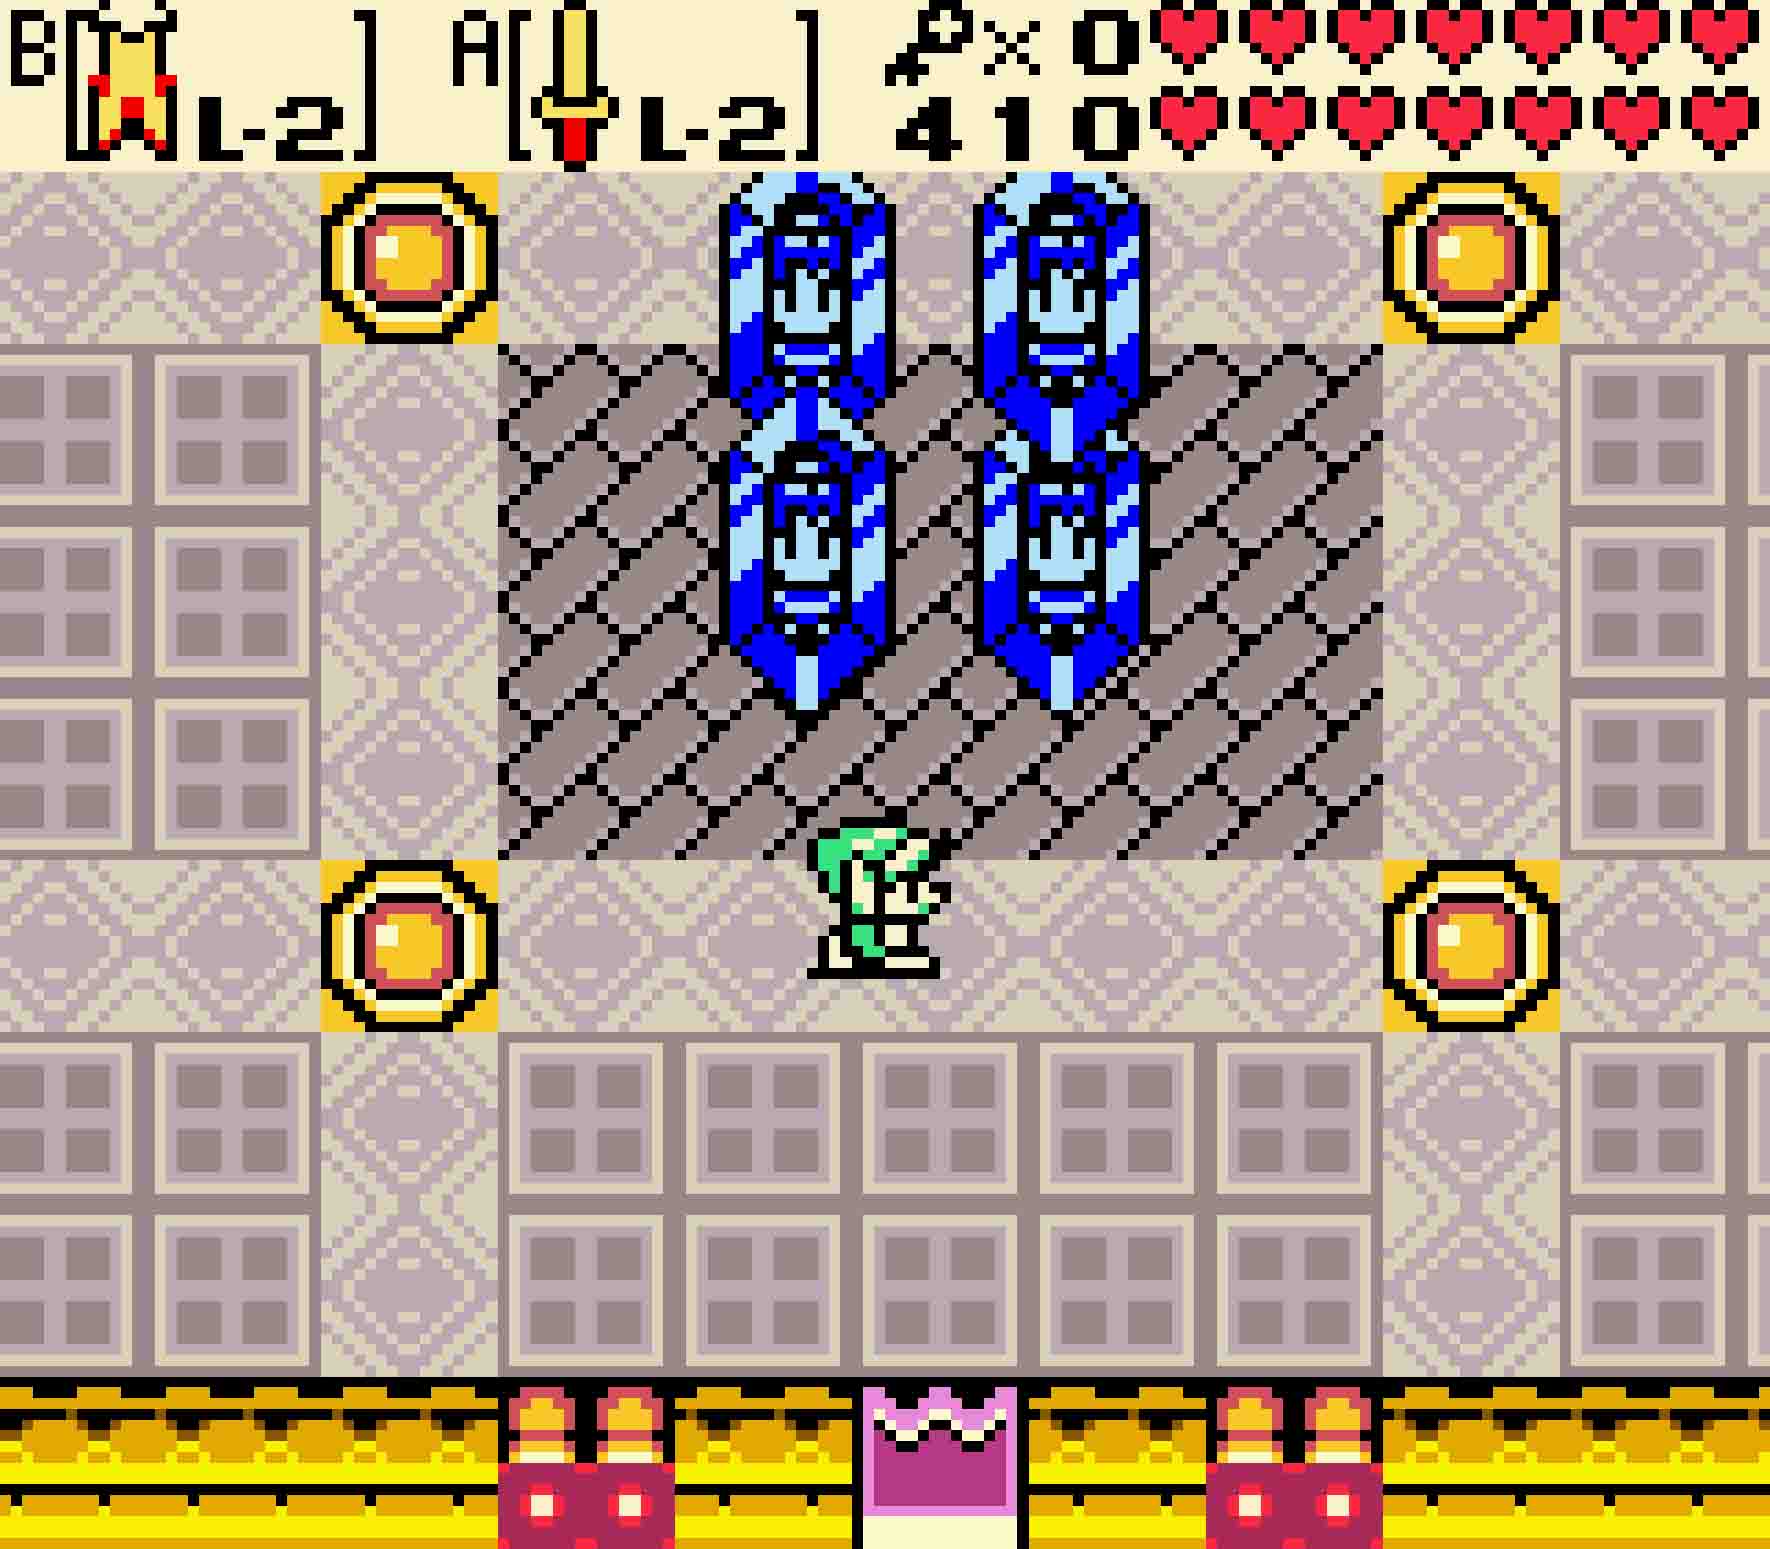
Onox’s Castle is a bit strange. The path to Onox is straight as an arrow: Simply head north until you reach his throne room. However, there will always be rooms to the west and east. These rooms to the side are filled with a host of Flying Tiles that will assault you after you enter them.
At any time, you can go left or right to get a fairy. But not only will you get a barrage of Tiles, you’ll start again from the beginning.
However, these rooms also have fairies; as a result, if you end up taking too much damage along the way, simply duck left or right to heal up. This will unfortunately return you to the beginning of the castle when you finally return back to the central corridor, but it’s better than dying.
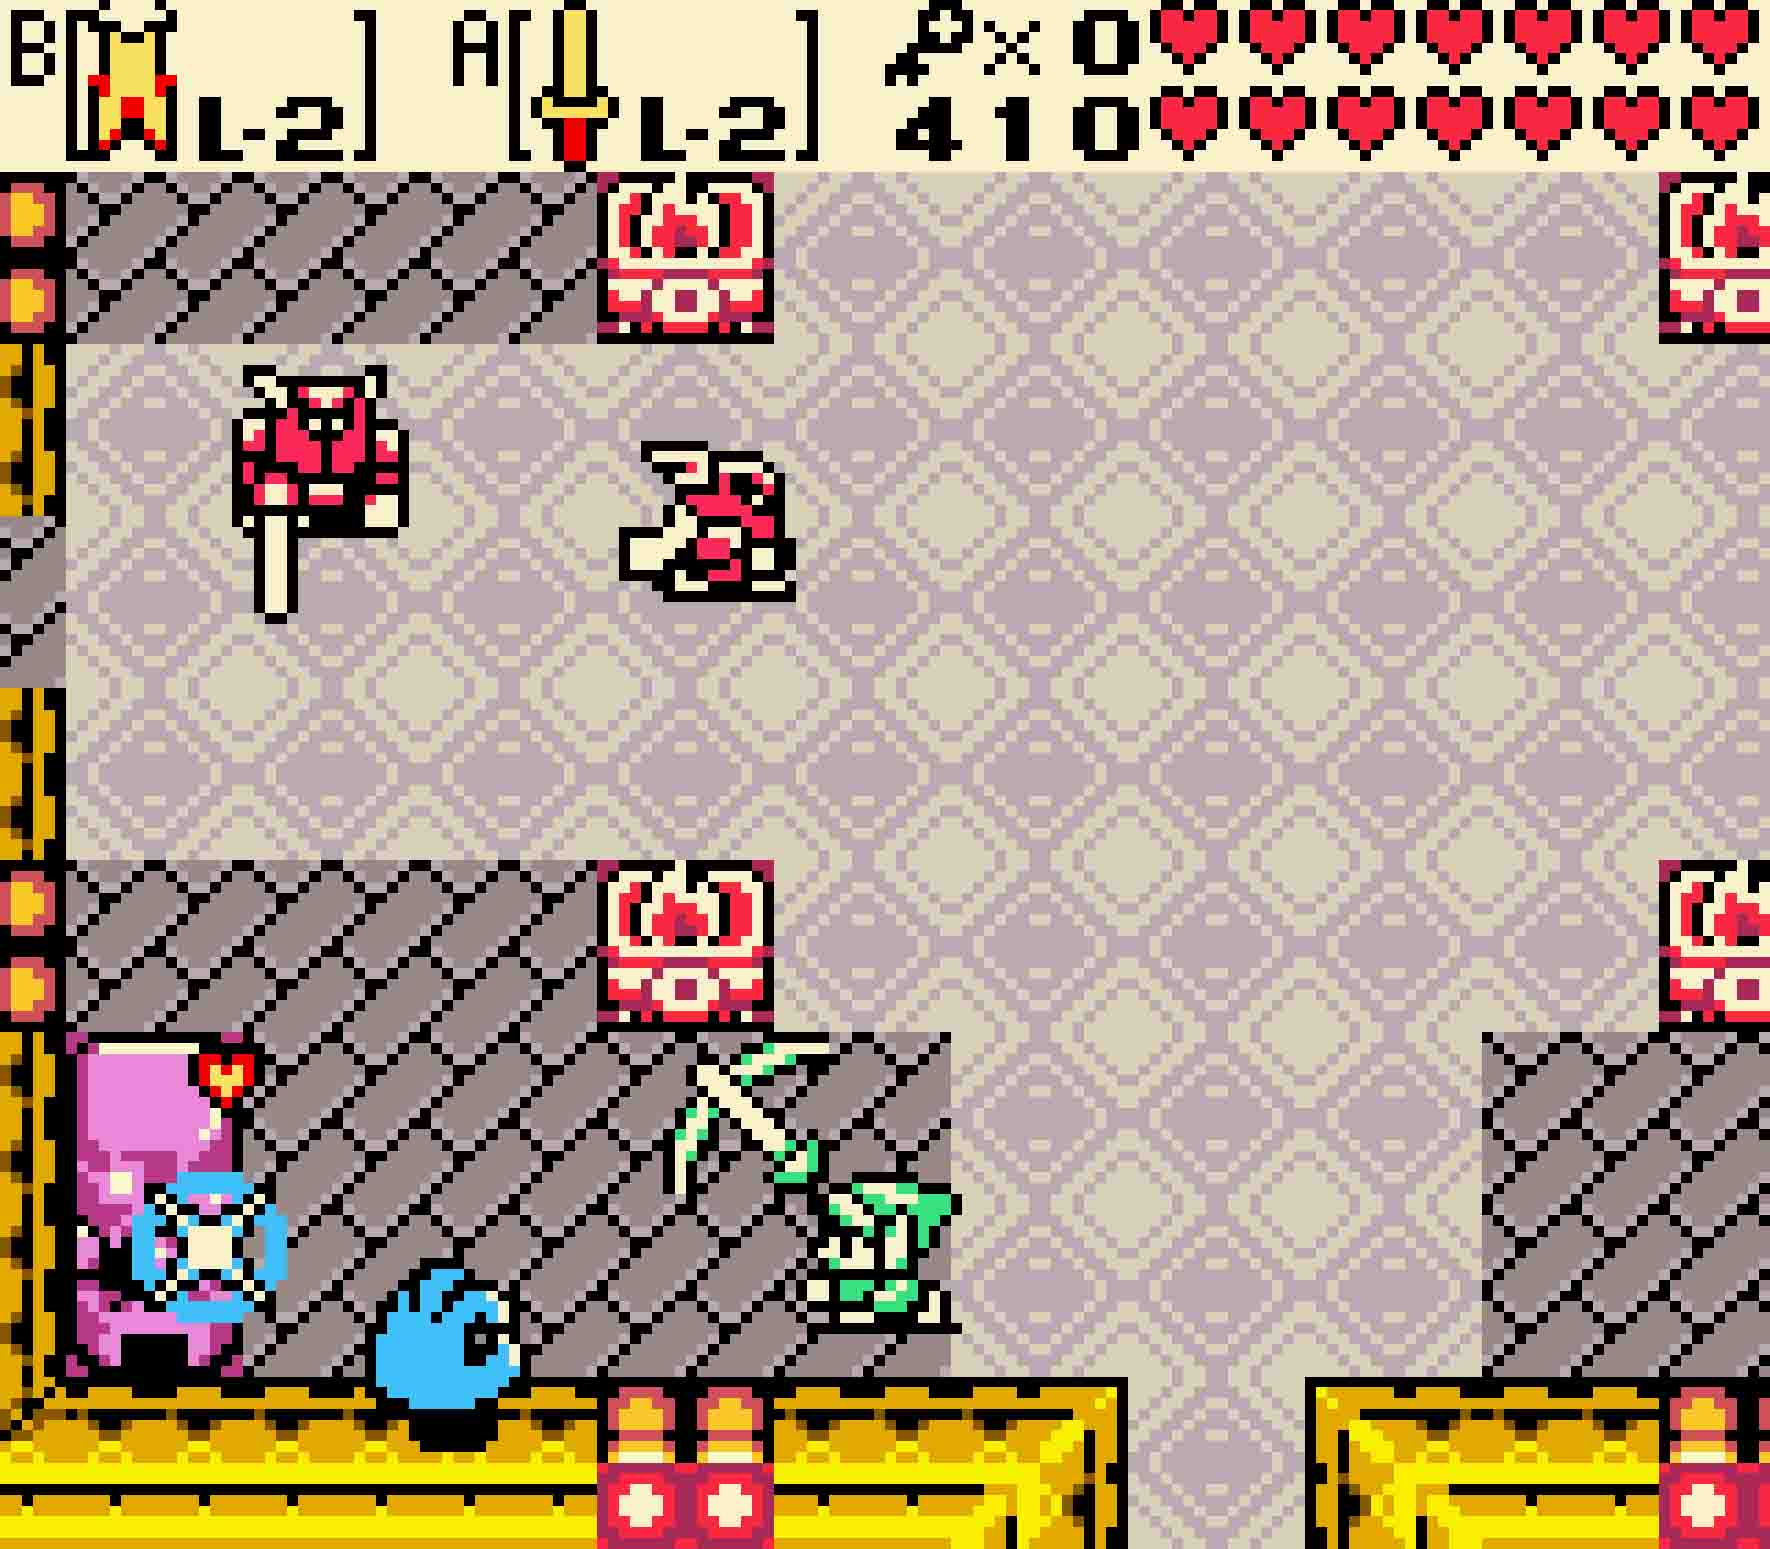
There are three challenges to face from here. In the first room to the north, you’ll have to face down a coven of Wizzrobes of all colors. There’s a single green one in the room’s center, a few red ones, and a few blue ones atop that. As always, your priority should be to knock out the blue ones first as they’re the most treacherous, followed by the red and green ones as at least they’re the more predictable ones. You won’t be allowed to proceed northward until all of the enemies are defeated or else you’ll just end up warping back to the same room. Once you’ve conquered all the Wizzrobes, continue onward.
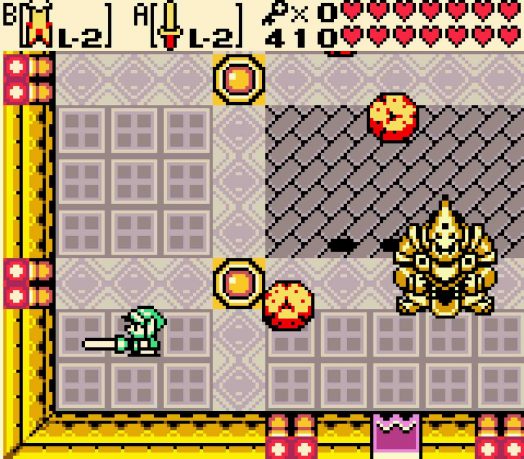
Next up are Darknuts with one nasty twist: a trio of Floormasters. Your first priority, of course, is getting rid of the Floormasters until no more spawn at you. Once they’re taken care of, worry then about the sword-carrying Darknuts, and lastly take out the ones that throw spears. Again, you can’t continue until they’re defeated, but, once they are, continue north.
-
- You’ll have a few big challenges to face before Onox, but none of them are utterly ridiculous.
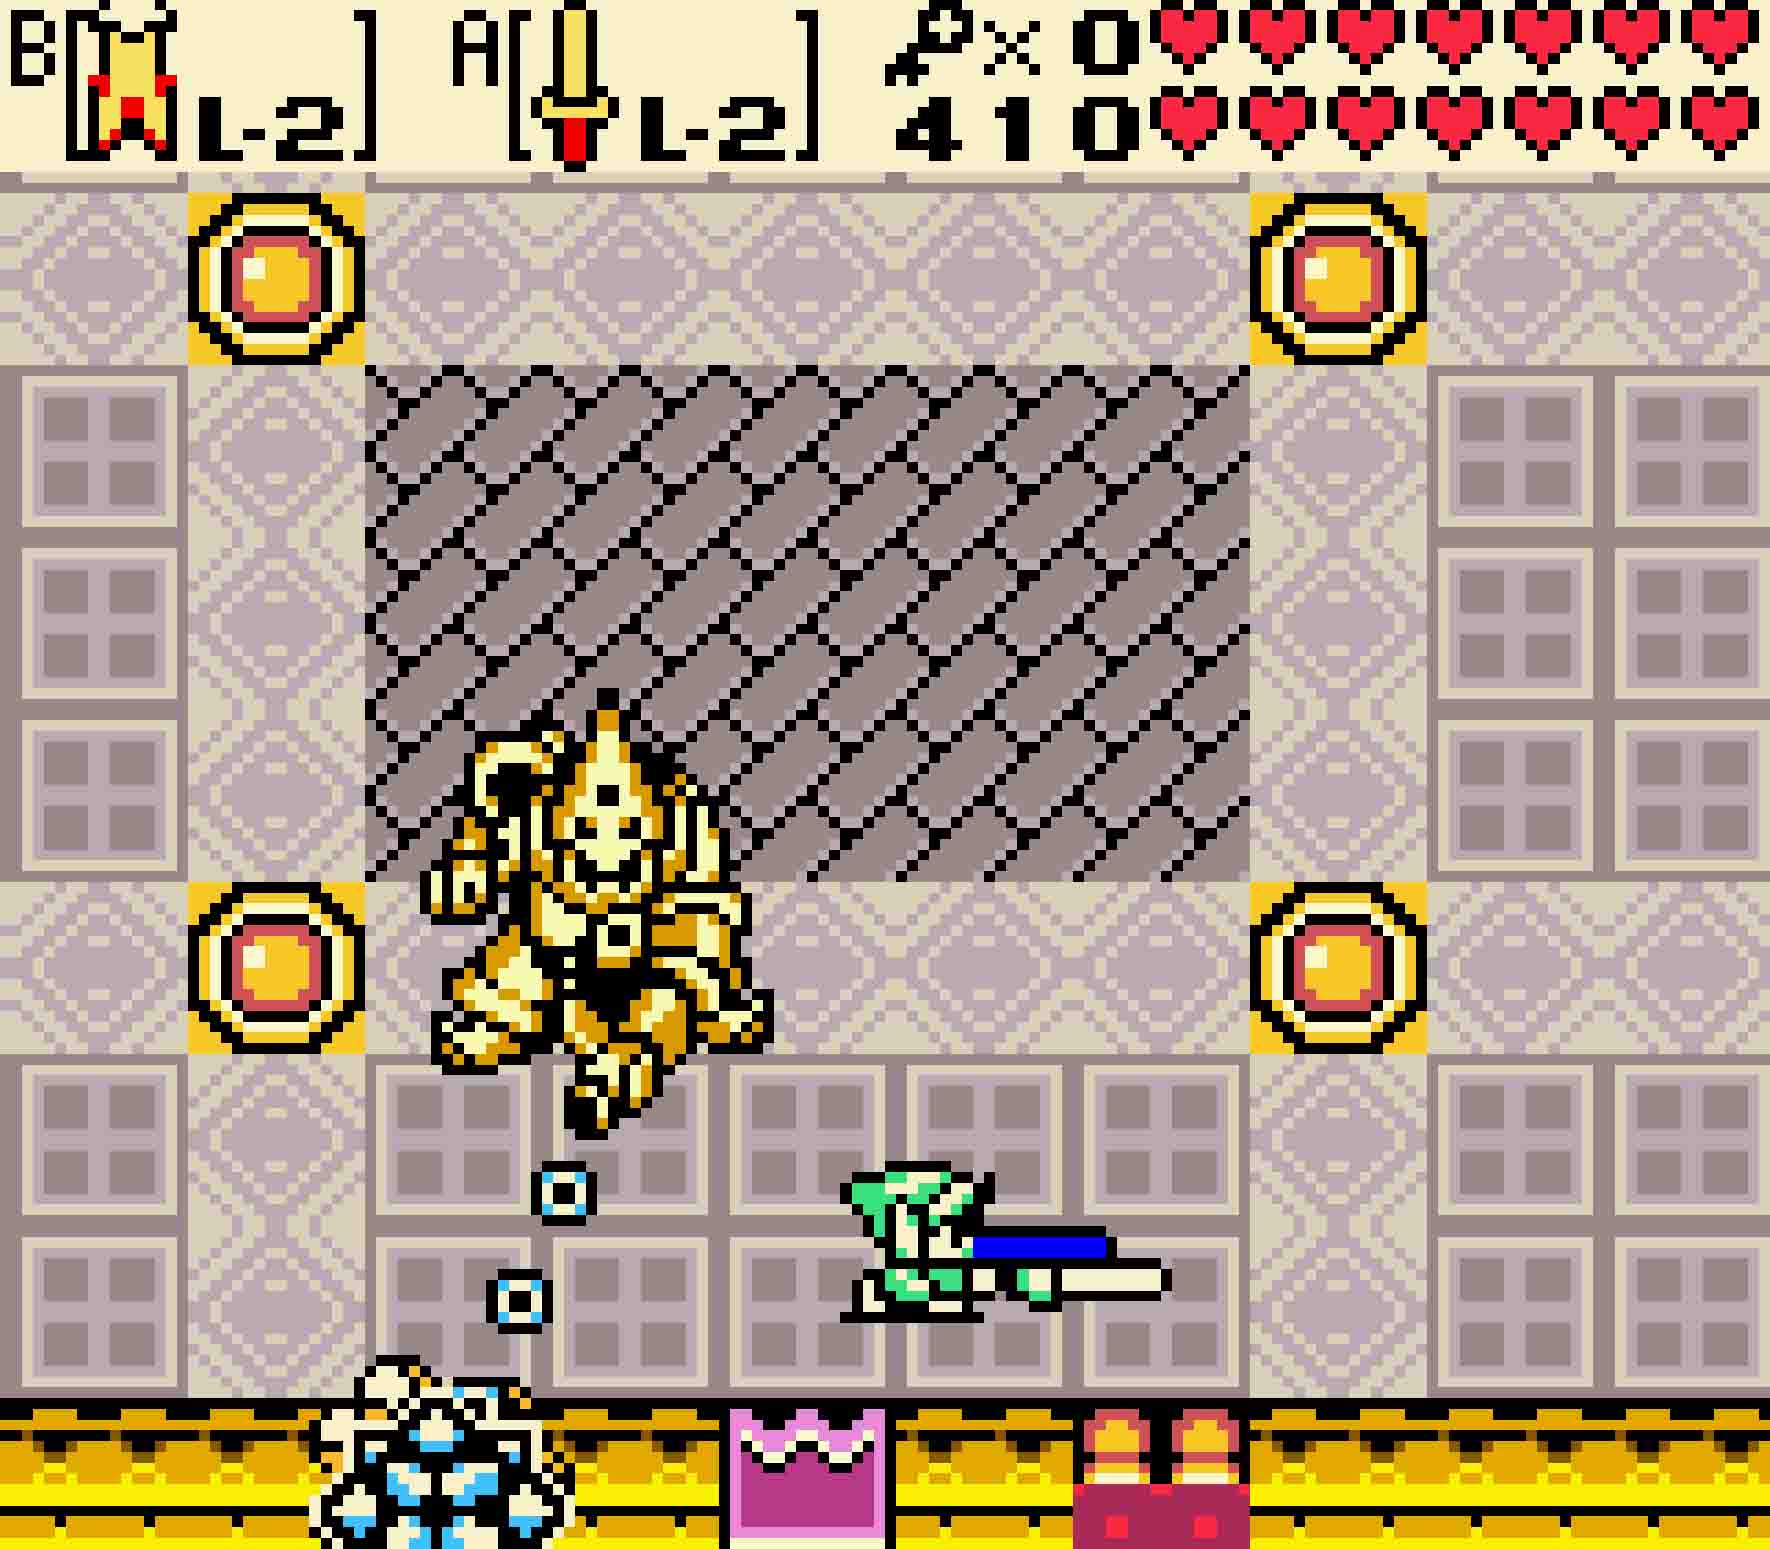
Probably the last mini-boss you wanted to face is Facade one last time, but here it is, back and ready for one last tête-à-tête. Facade hasn’t learned any new tricks since last time. It’s literally the same old, same old. Drop Bombs right in the center of the room as it’s ready to spawn in, and once you damage it several times, Facade will leave you be. You’ll get a fairy for your effort, which will heal you back to full. Once again, head north, and finally head north one last time. Once you approach Din, she’ll vanish into thin air, and then the final battle will begin.
20.4 Crush General Onox
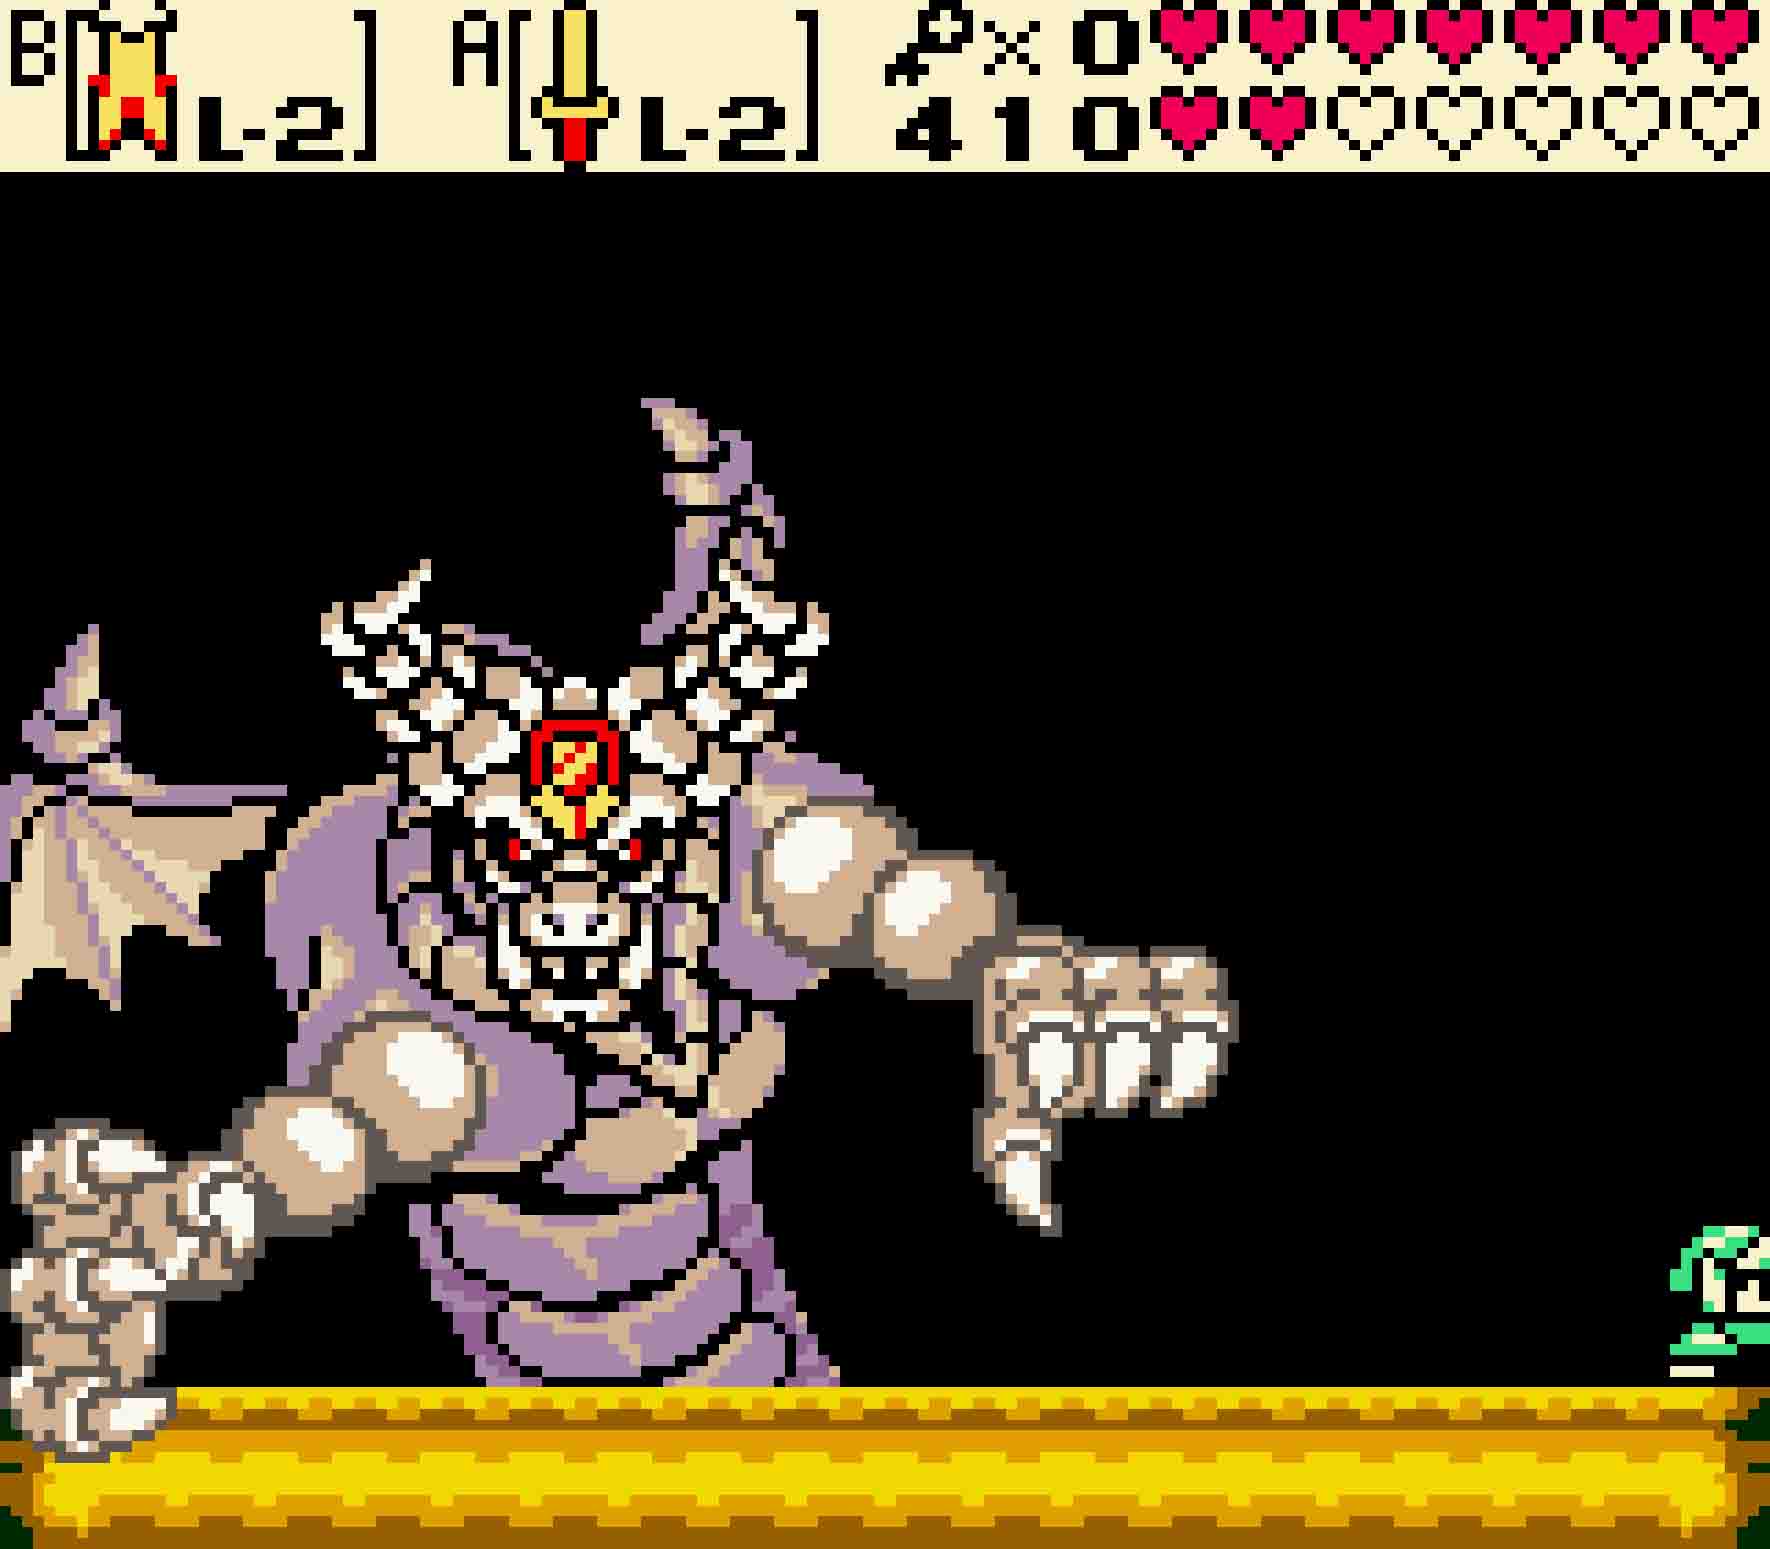
 Onox may be big and bad, but he’s not as tough as he looks at first sight. While a simple sword swing won’t be enough to put a chink in his armor, Spin Attacks will, and that will be your primary vehicle for damaging the general.
Onox has three primary attacks for this first phase of the fight. By far, his most often attack will be to use his ball and chain; he will always throw it in front of him in an attempt to damage you; while he’s spinning it around, you should definitely avoid his backside as you won’t be able to get close to him from that direction without taking significant damage. When he does throw it, use Roc’s Cape, Pegasus Seeds, or simply dodge it; if you have a Spin Attack charged, use it then as he’ll be a sitting duck for a few moments.
-

- Most of the time, you’ll need to watch out for Onox’s ball and chain.
-
- Always be ready to dodge it, but then use that moment to attack.
His other two attacks aren’t as predictable nor do they leave him very vulnerable. Onox will occasionally leap into the air and slam into the ground, causing rocks from the ceiling to fall down in an attempt to fall on you. Dodging them is almost as much luck as it is skill. Secondly, Onox can also summon whirlwinds that will stream very quickly towards you. Always be on the move when he’s firing these things lest they catch you in their wake.
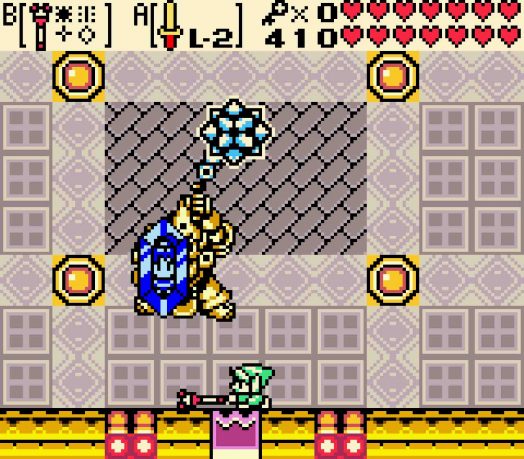
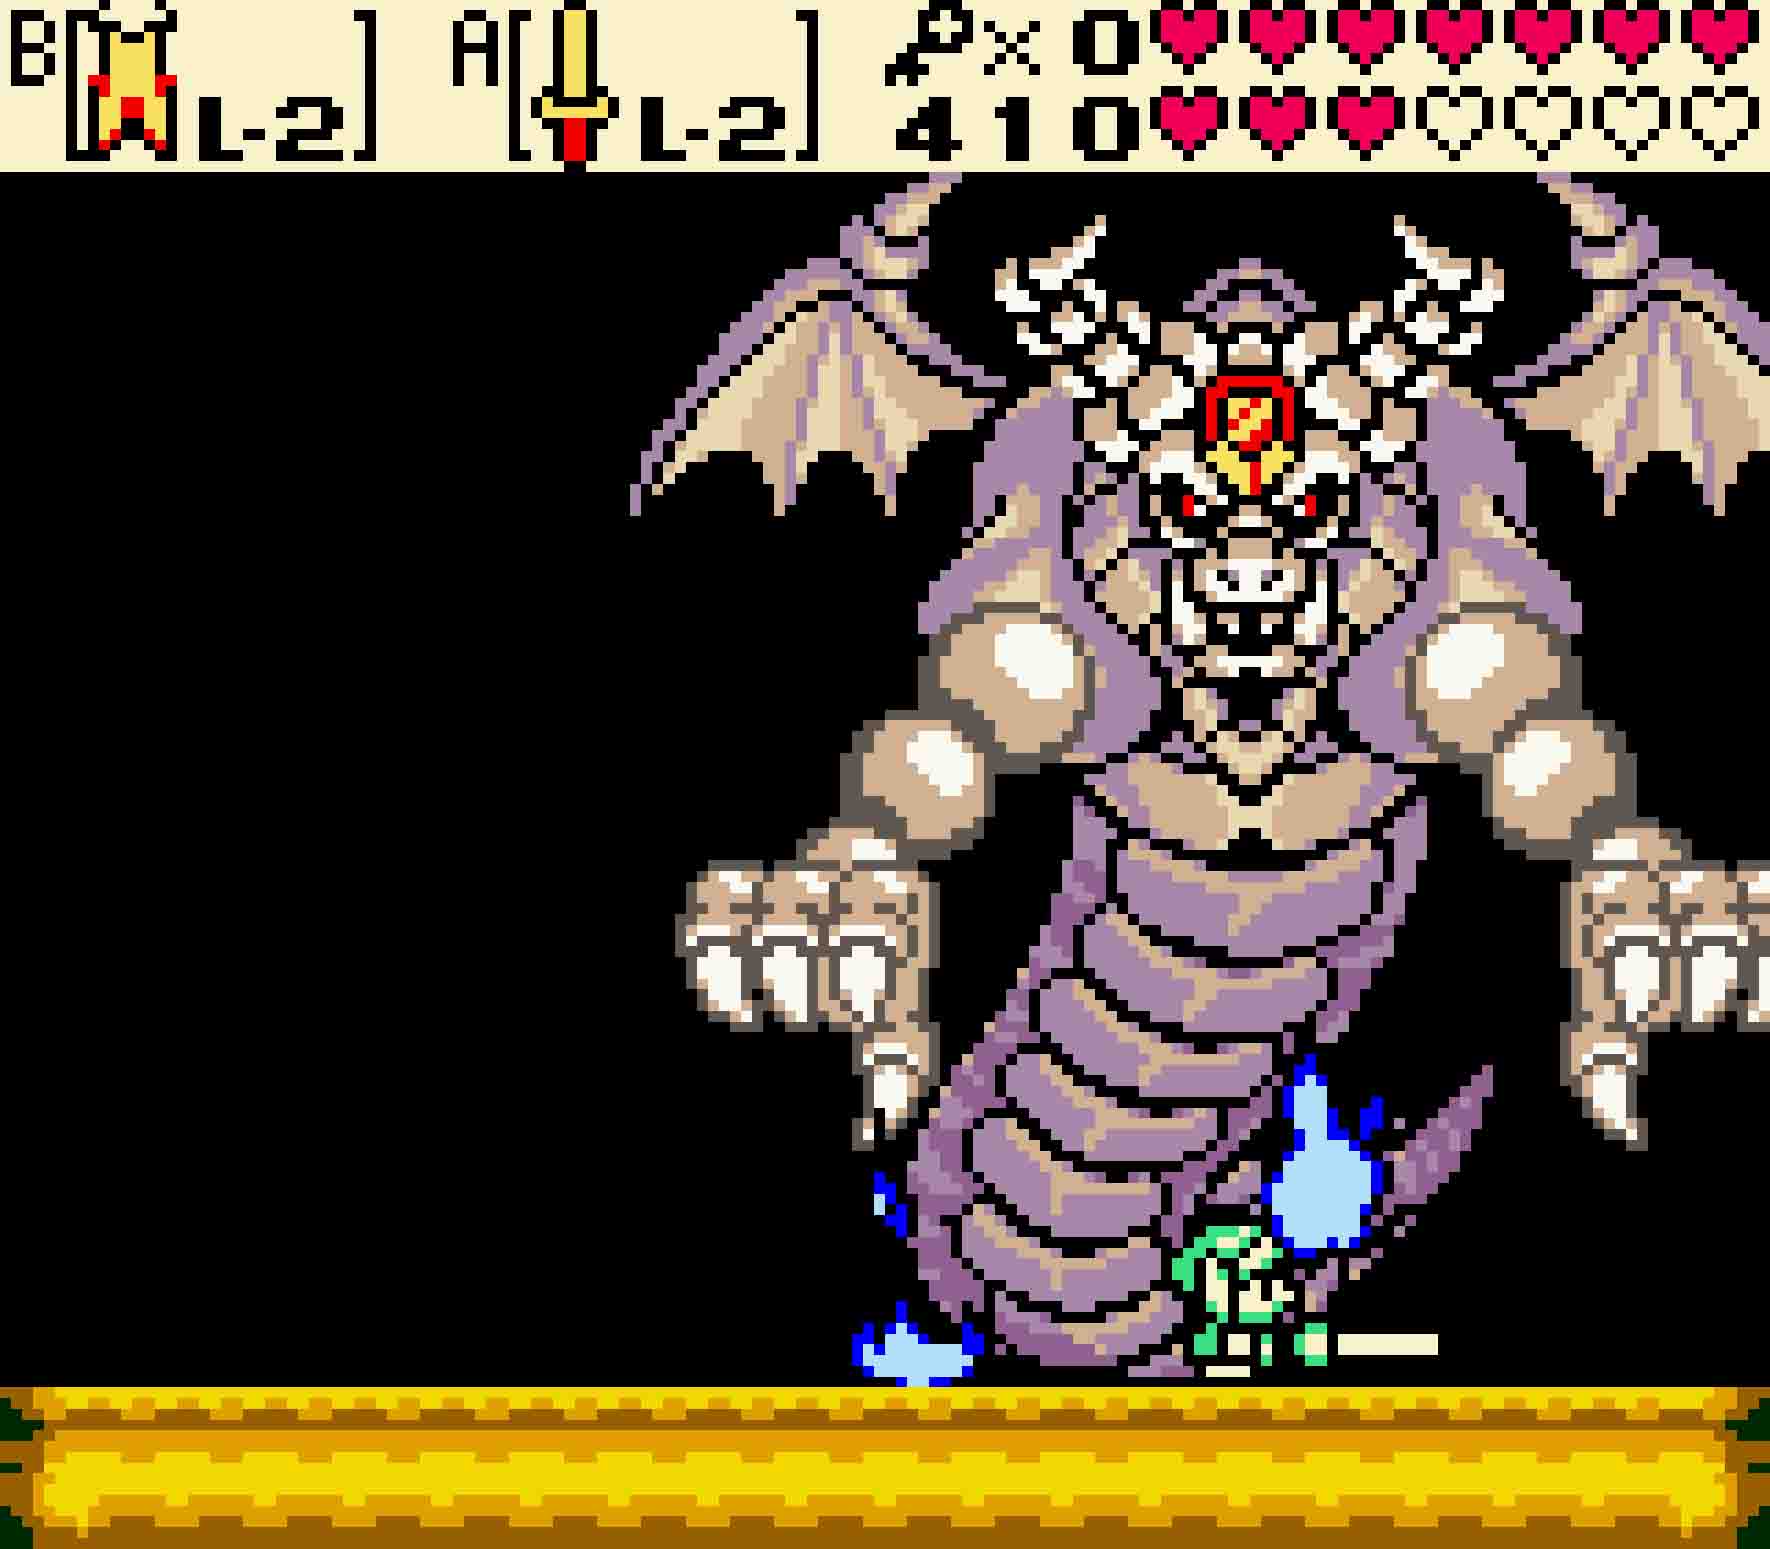
When Onox uses Din as a human shield, use the Rod of Seasons to push her out of the way.
Onox won’t be able to withstand that many Spin Attacks before he changes up his game. He’s not ashamed to use Din as yet another adornment to his impressive armor. Din, trapped within the crystal poses a rather tricky threat; if you hit Din with your sword, you will be shocked not unlike striking a Buzz Blob. As a result, you’ll need to knock her away while you continue to focus on Onox.
There’s one item in your inventory that will do the trick, and that’s the Rod of Seasons. Whenever Din is close, swing the Rod so that it hits the crystal, and Din will be sent far to the other side of the screen. That will buy you a lot of time to do damage; you should be able, if you’re lucky, to get at least two or three Spin Attacks off on Onox before Din’s crystal will be pulled back and becomes an obstacle again. Whether you simply equip the Rod and your Sword or you exchange between the two while keeping the Cape as your auxiliary item is up to you. Simply rinse and repeat until Onox grows tired of your impertinence.
20.5 Defeat Onox’s true form
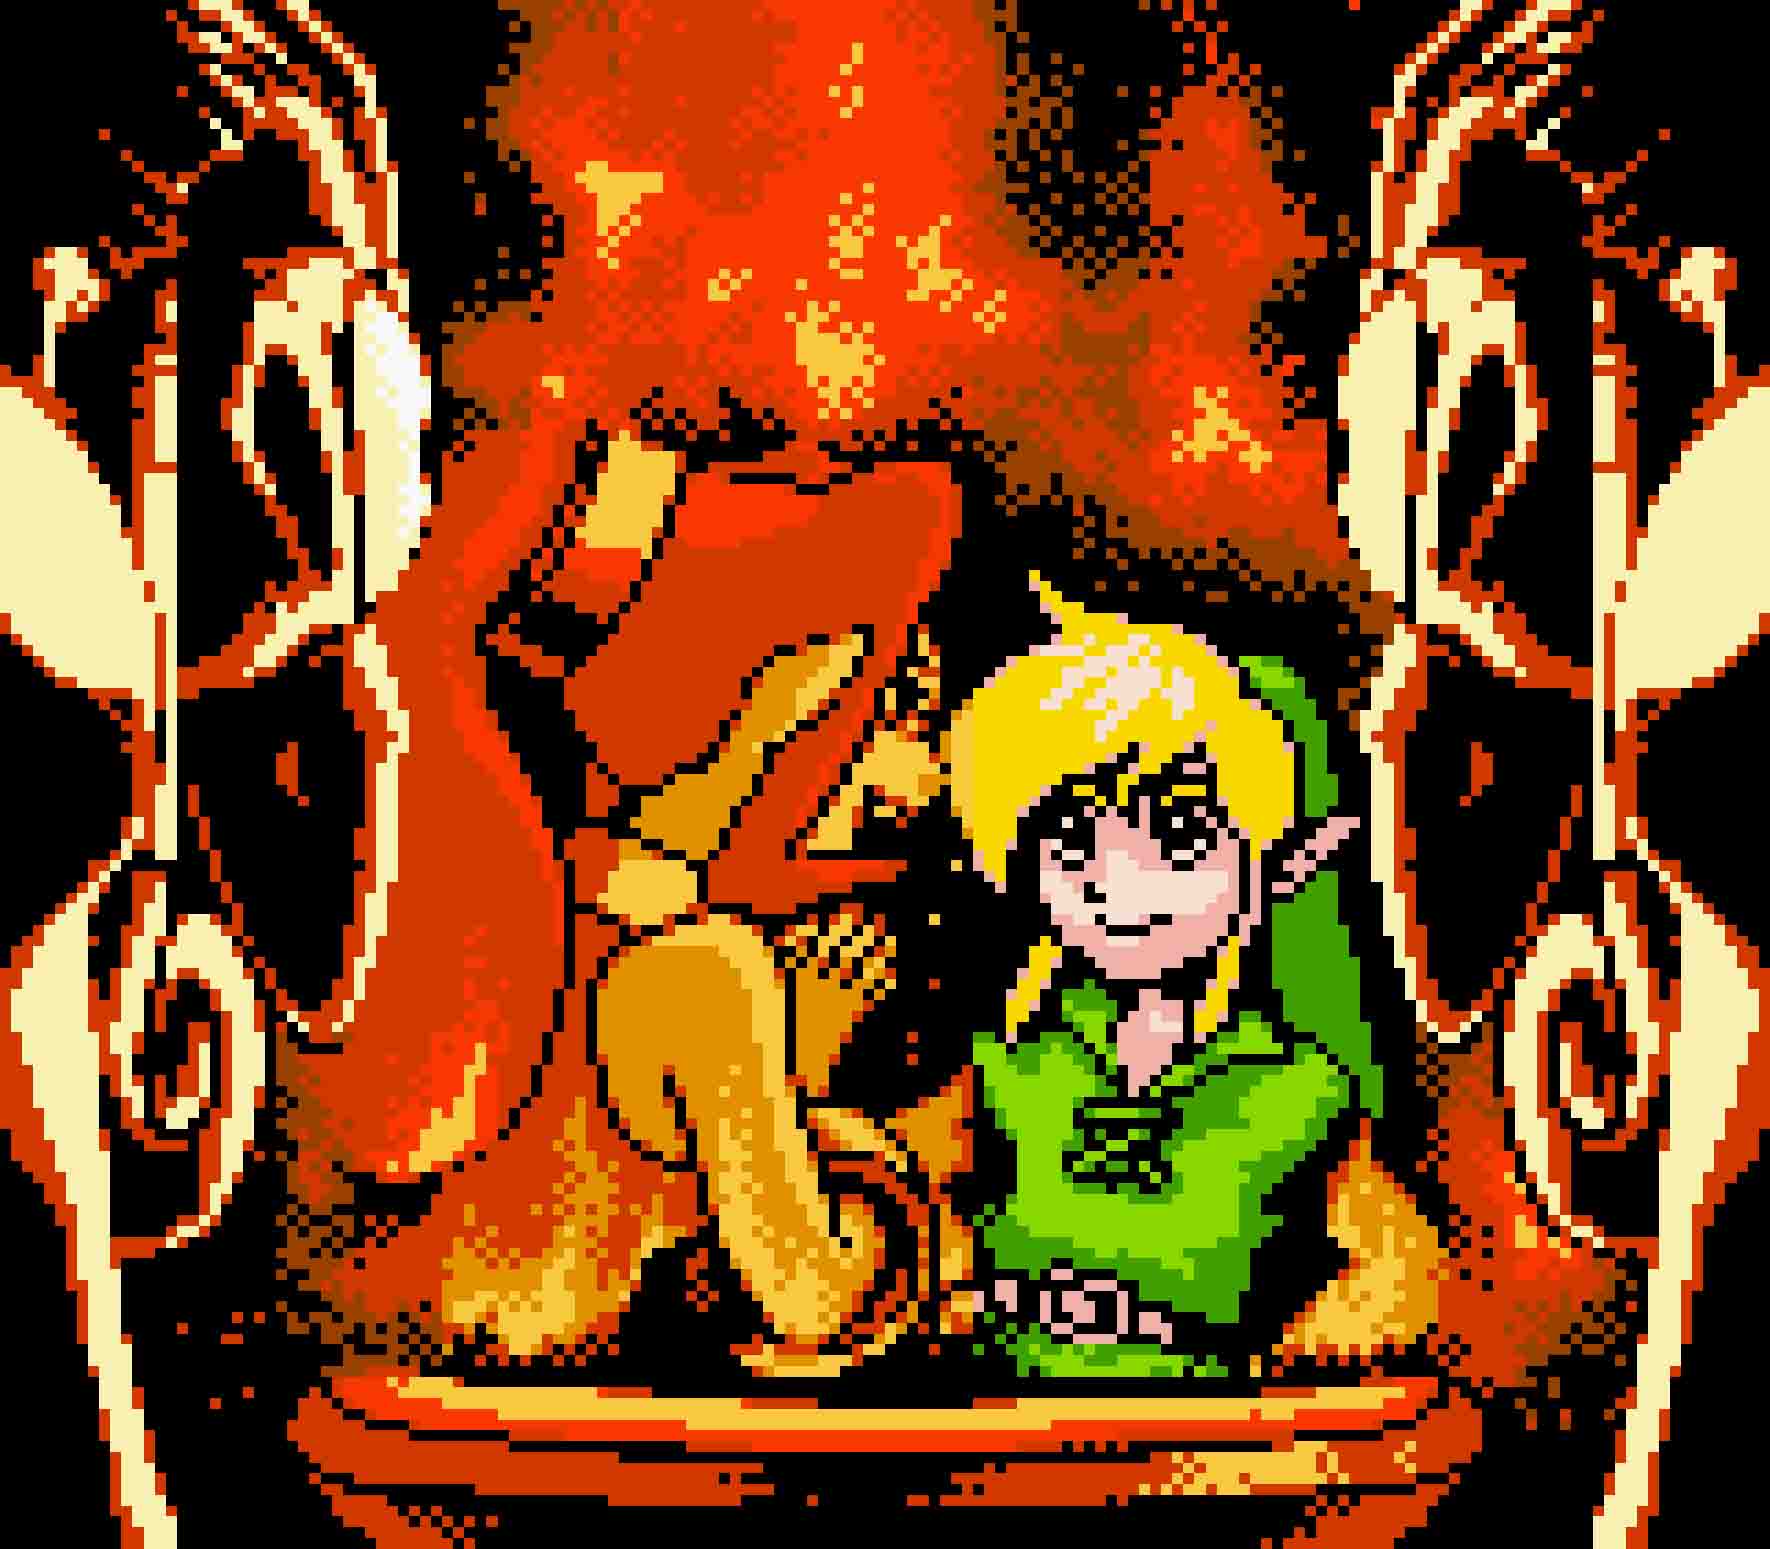
Onox will disappear, leaving you to think you might be done, but once again Din will vanish before your eyes. The floor will crumble, and it will eventually pull you down with it. You’ll now be facing Onox’s final form in a side-scrolling melee as General Onox shows you the dark dragon, his true form.
Onox’s final form is much more complicated than his first form, so you’ll have to be much more on your guard to face him. Here, Onox’s attack set broadens out a bit as he has four major ways of damaging you. His most common attack — and your biggest opportunity — involves Onox smashing one of his two hands upon the ground to crush you. Given the side-scrolling nature of this battle, you should already have Roc’s Cape equipped for this. Use the Cape to jump onto his hand, and let it draw you up. At this point, consider charging up a Spin Attack. When you have the right opportunity, jump off his hand and let it go, aiming for the large jewel atop Onox’s head. If you hit it, Onox will sustain damage. This is the only way to damage Onox.
-

- Onox will slam his hand down; take the moment to jump atop them.
-

- When Onox is moving “toward” you, jump off and attack the jewel on his forehead.
As for Onox’s other three attacks, the most common of those will be Onox gradually flying down the lower-left or lower-right corners of the screen. He will then quickly fly to the opposite corner, scooping his arm across the screen as he does so. The only safe location here is the opposite corner of the screen that he started from; if you manage to stand there, Onox will miss you. However, if you miss Onox’s cue and can’t reach the safe spot before you realize what’s going on, you can equip a Shield — the L-2 Iron Shield for sure will work — and hold this up at his hand. This will either knock you back or, weirdly enough, you’ll clip through his outstretched hand into safety.
Onox can also breathe blue balls of flame. Whenever he does this, he will breath four flames — no more and no less. When the ball of flame hits the ground, it will linger there until after the next flame has been issued and hits the ground. As a word of warning: You cannot jump over these flames without incurring damage; their hitboxes are simply too tall. So the best thing to do is be in the center of the room when the first one comes. Then, stand right next to the flame on the ground and move as little as possible in order to dodge each subsequent flame. This will prevent you from running out of space at the edges of the screen.
-
- When Onox sweeps across, you’ll want to rush to the opposite side. Use Pegasus Seeds if needed.
-
- Onox’s blue fireballs are impossible to jump over. Leave yourself room to escape the next.
-

- Onox’s red fireballs will keep on coming. Slight movements can dodge many of them.
Lastly, Onox can also breathe red balls of flame, and this is perhaps one of the most treacherous attacks Onox has at his disposal. His attack will go uninterrupted for several seconds, and all you have at your disposal is running and jumping in hopes of avoiding the barrage. Consider using a Pegasus Seed to help get out of the way, but just be careful the increased speed doesn’t plough you into another of them. If you’re playing a linked game and have the Mirror Shield, you can use it to block the blasts, but don’t bother if you only have the Iron Shield.
Always look for opportunities to jump on his hands and be lifted up for damage opportunities. Keep up the work and persist as long as you can. Eventually Onox will be destroyed, leaving Holodrum free.
20.6 Rescue Din
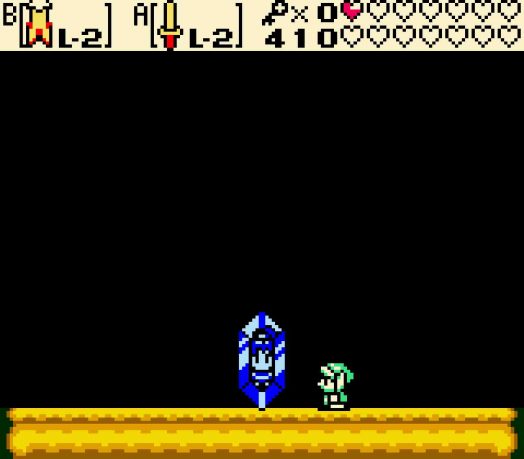 Din will be returned to you after Onox is defeated. Simply walk up to her crystal, and she’ll finally find the strength to break free of it. Din is saved, and Holodrum can rest peacefully…
Or perhaps not.
If this is your first game out of the two Oracle games, you’ll receive an ominous warning from Twinrova. Onox successfully managed to light the Candle of Destruction, one of the three candles necessary to hatch the witch’s plot. However, the credits will roll, showing you the results of your effort. And at the very end, you’ll receive a 20-character password that will allow you to continue your adventure in Oracle of Ages. From now on, should you load back into this save file in Oracle of Seasons, Onox will be destroyed, and Holodrum will be at peace.
If this is a linked game from Oracle of Ages, then you’ll immediately be launched into the game’s shared conclusion. Link will be transported to the Room of Rites, and you will be forced to challenge the game’s true final boss.