
Chapter 17: Explorer’s Crypt
- 17.1 Obtain the first key
- 17.2 Get the Compass
- 17.3 Collect two keys
- 17.4 Grab the Map
- 17.5 Enter the second basement
- 17.6 Earn Roc’s Cape
- 17.7 Backtrack for another key
- 17.8 Defeat the Poe Sisters
- 17.9 Collect the final key
- 17.10 Find the Boss Key
- 17.11 Reach the boss’ lair
- 17.12 Defeat Gleeok
17.1 Obtain the first key
The Stalfos in this dungeon are particularly evil; they throw bones at you.
While verticality has been explored in other dungeons prior to this one before, Explorer’s Crypt is perhaps the first one to fully utilize it to the level it does. Even after you get the map, it will be important to realize that many rooms can be traveled to in a vertical fashion rather than from a cardinal direction.
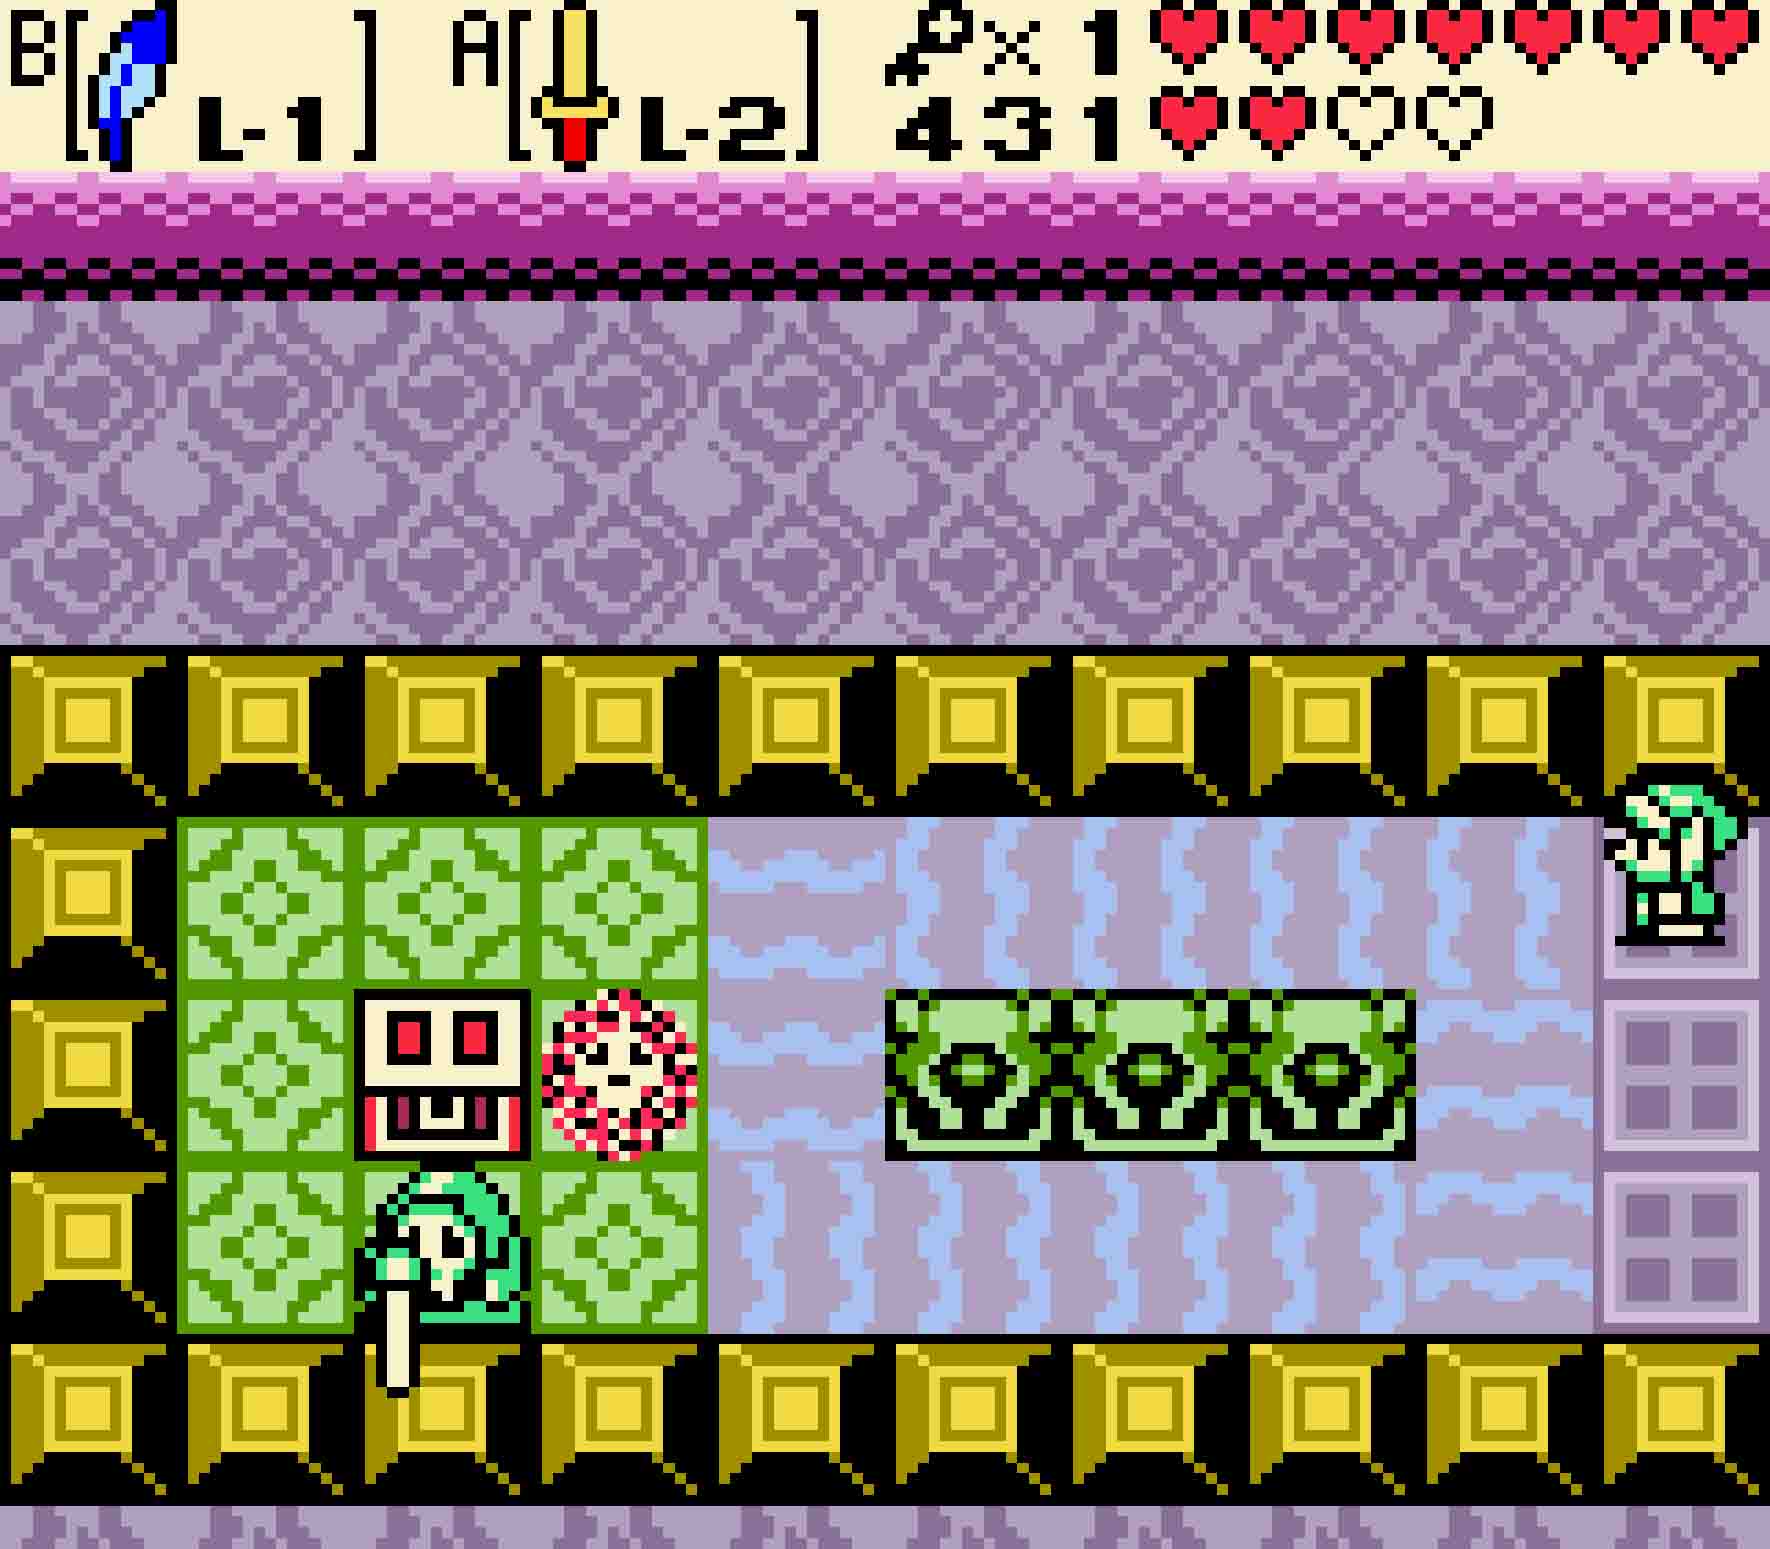
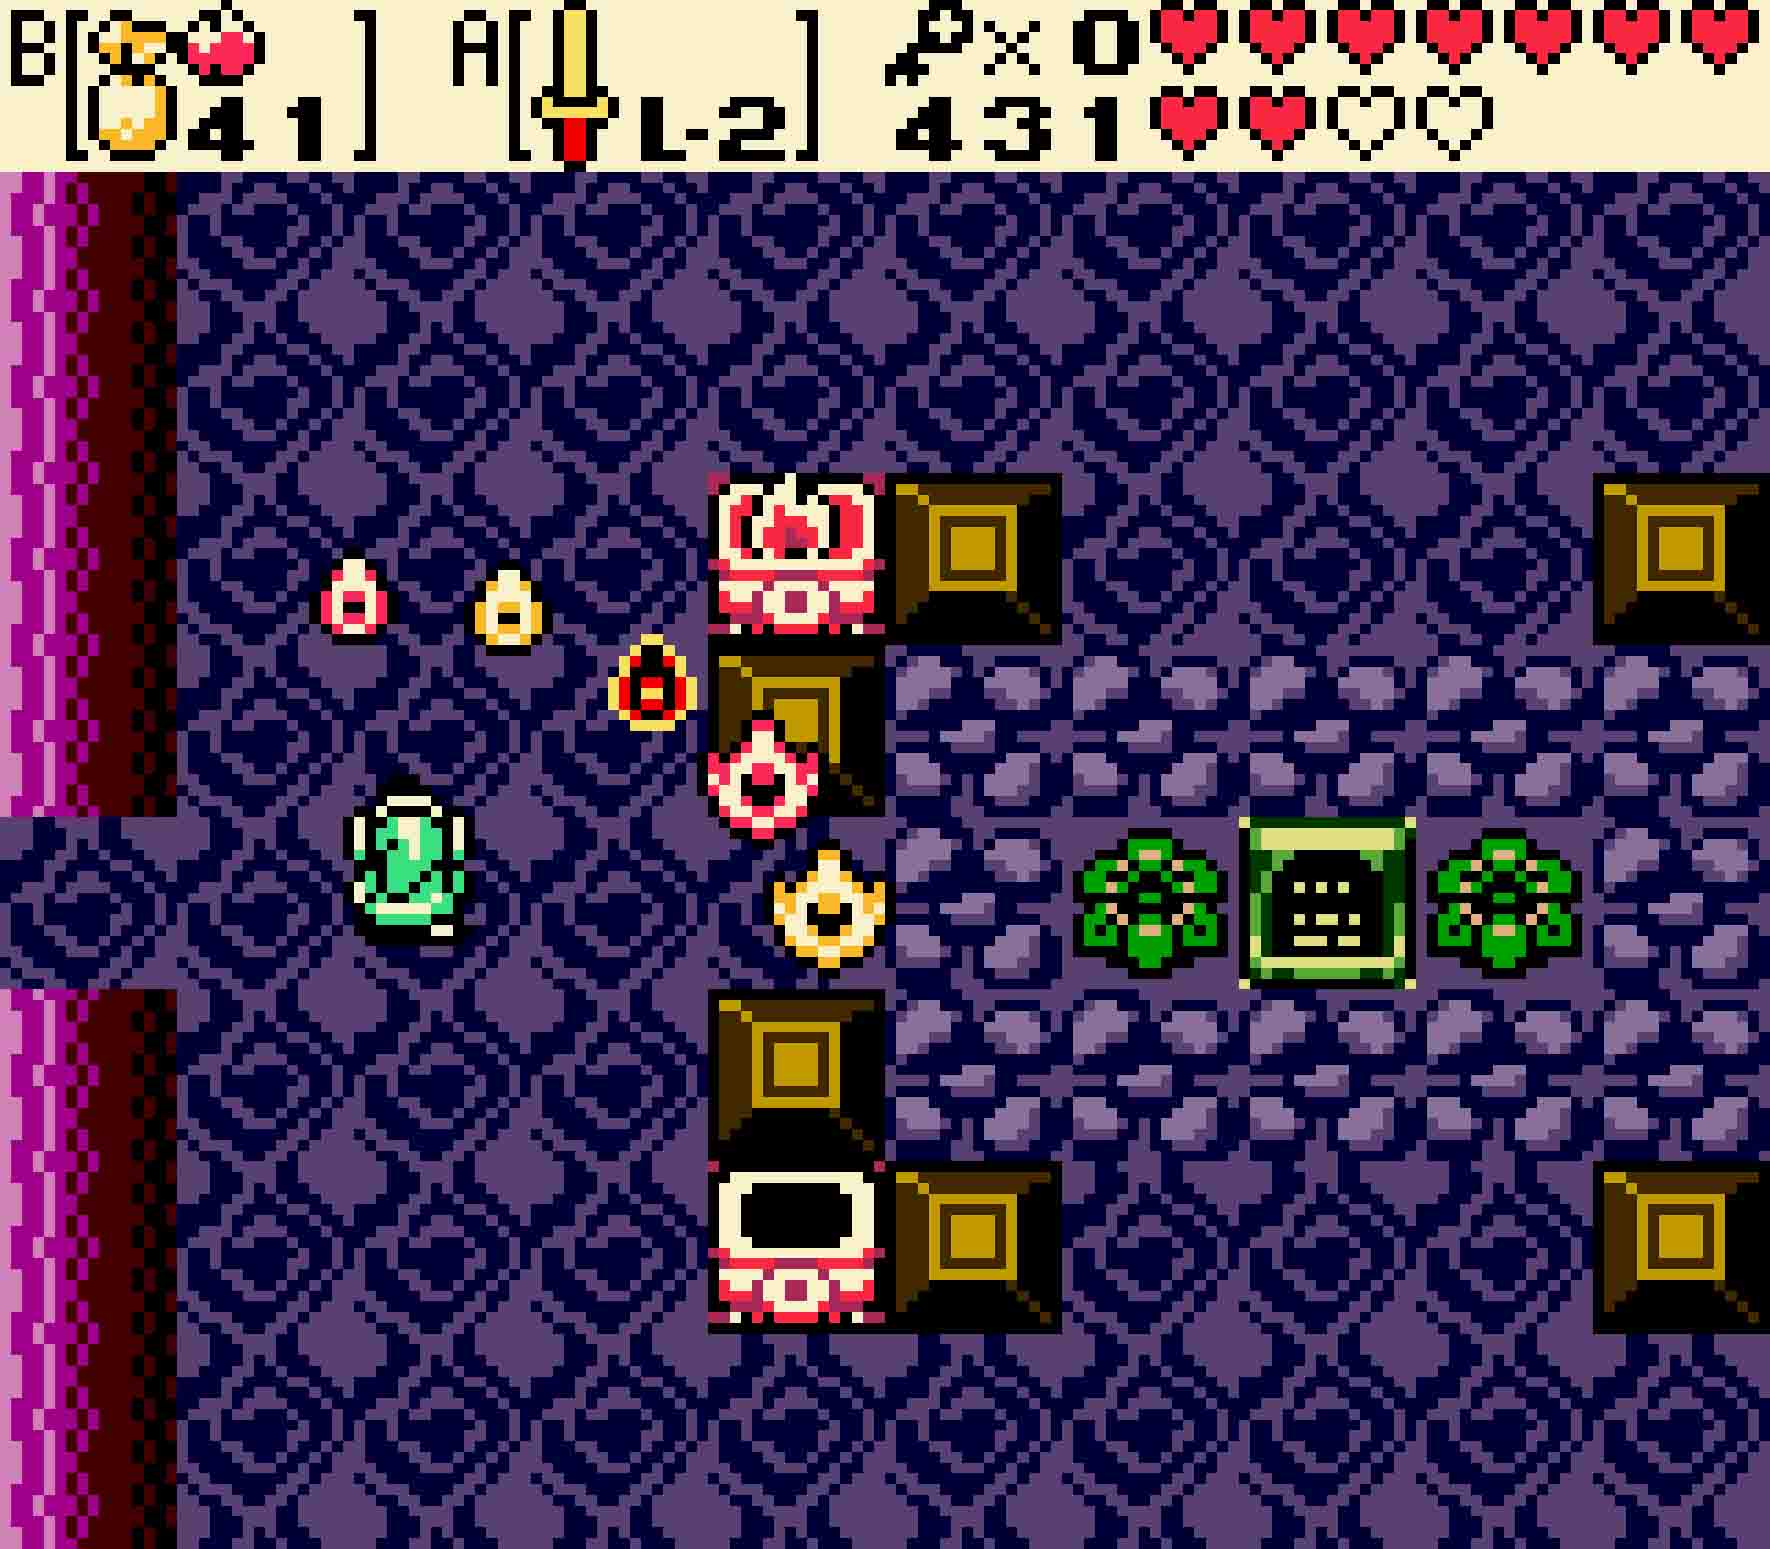
To start, simply head north out of the opening room. An Anti-fairy will be bouncing around as two Stalfos — one red and one yellow — lurk about. The yellow Stalfos and the Anti-fairy are certainly the bigger threats here; however, you can leave them for later as your first direction should be to head west. The next room will have two yellow Stalfos and two Anti-fairies. The Magical Boomerang will be extremely invaluable here as it will stun the former and destroy the latter. Continue making your way around the room’s central section and return back east, eventually heading north.
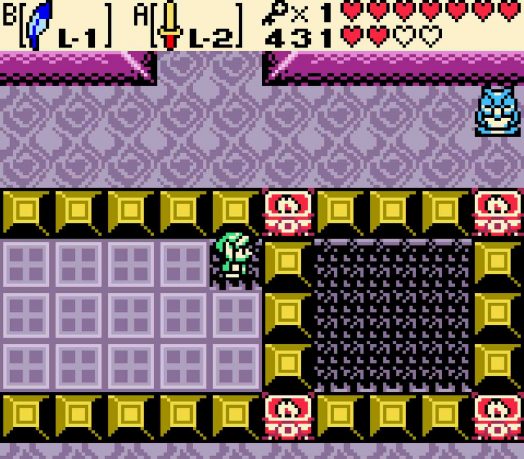
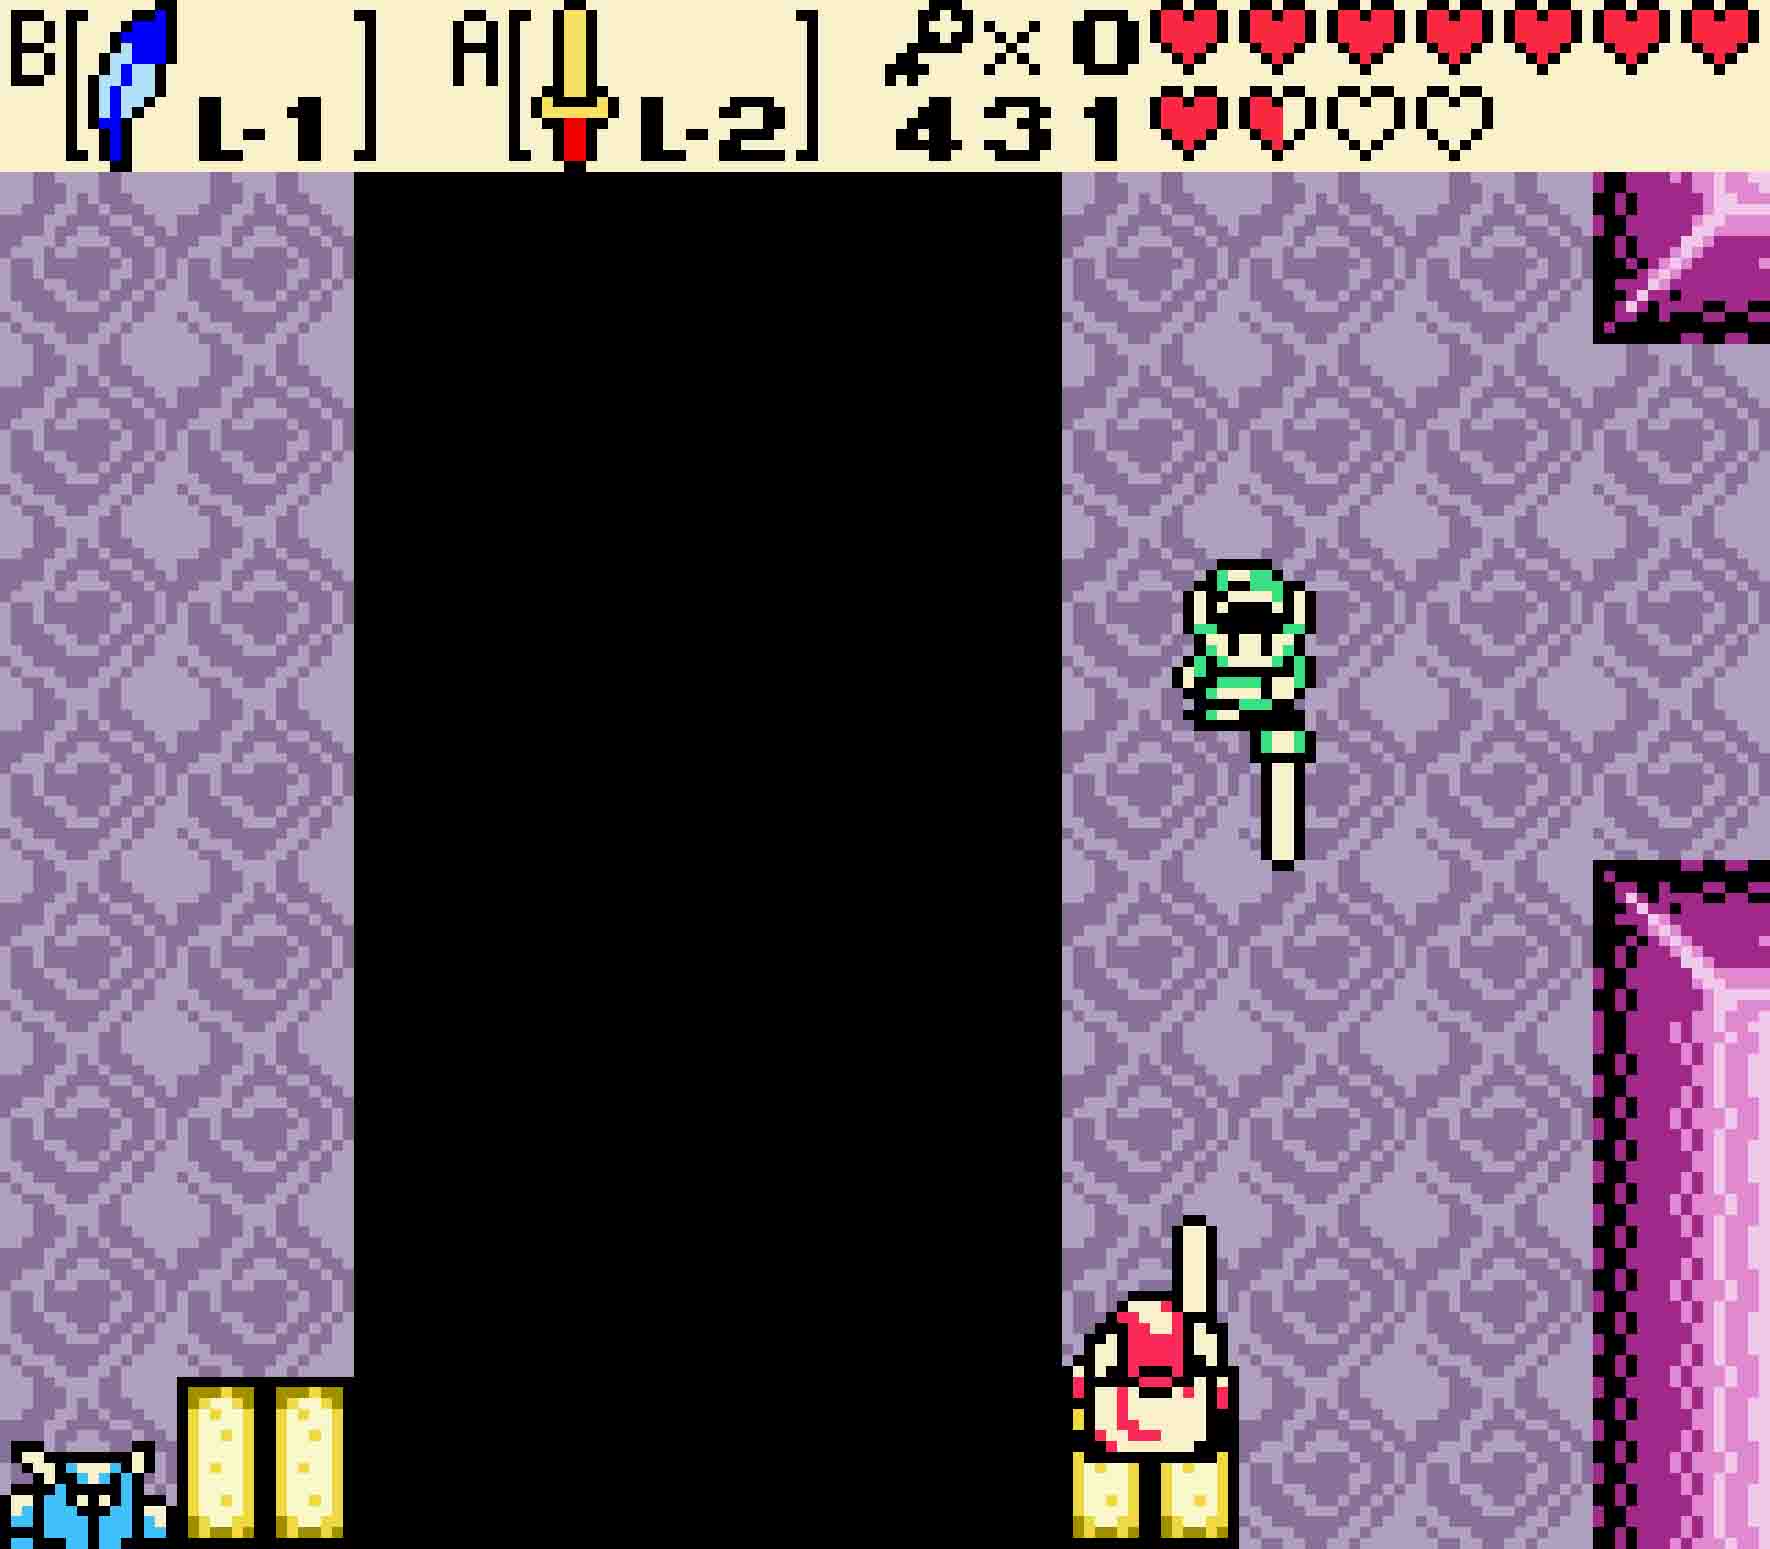
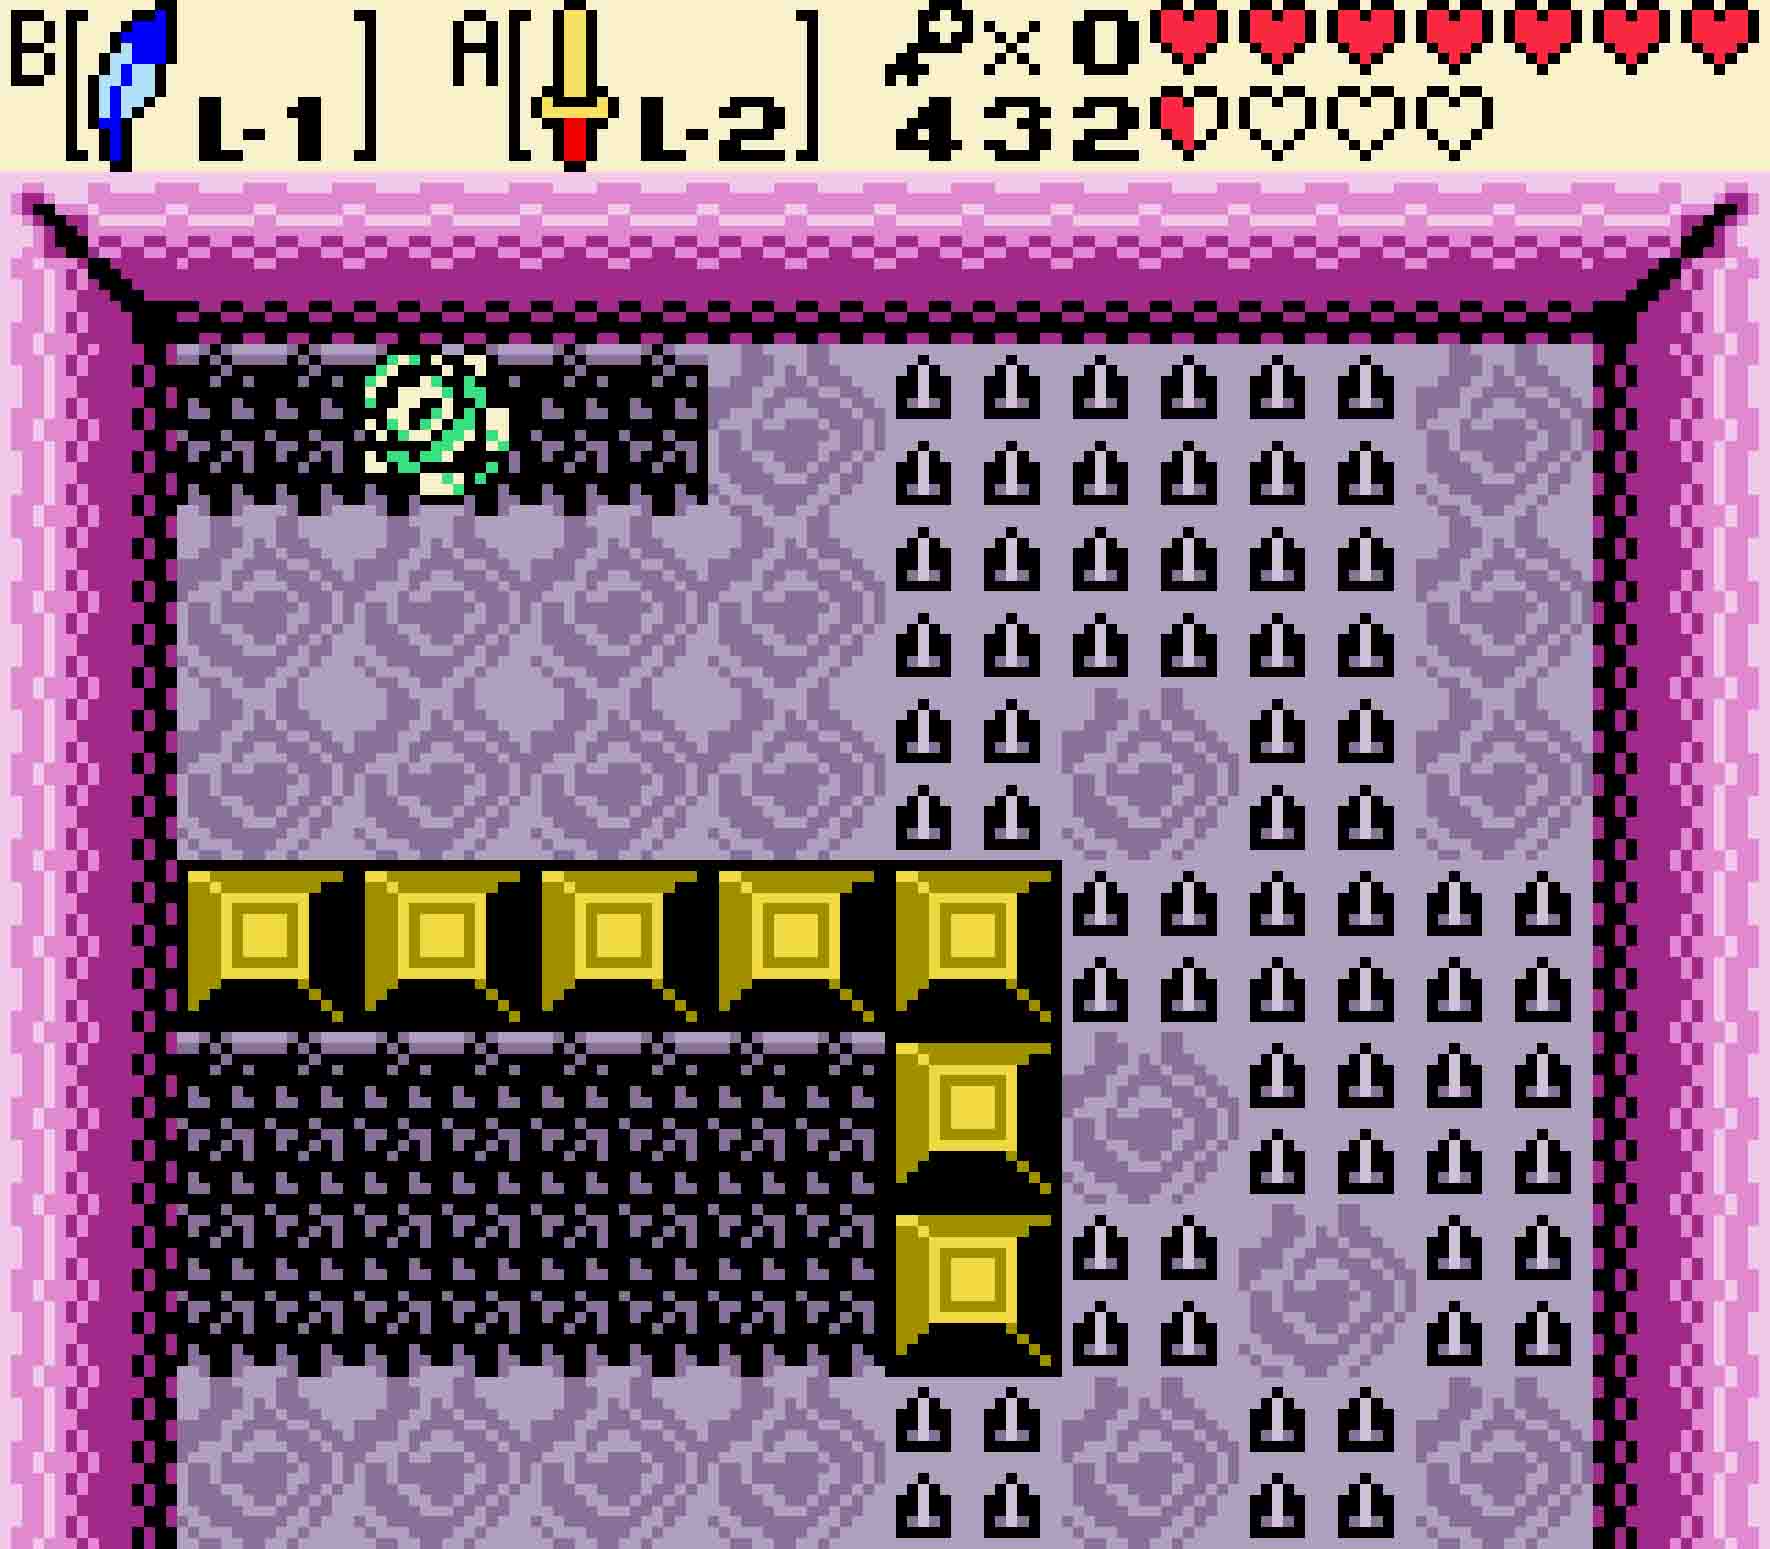
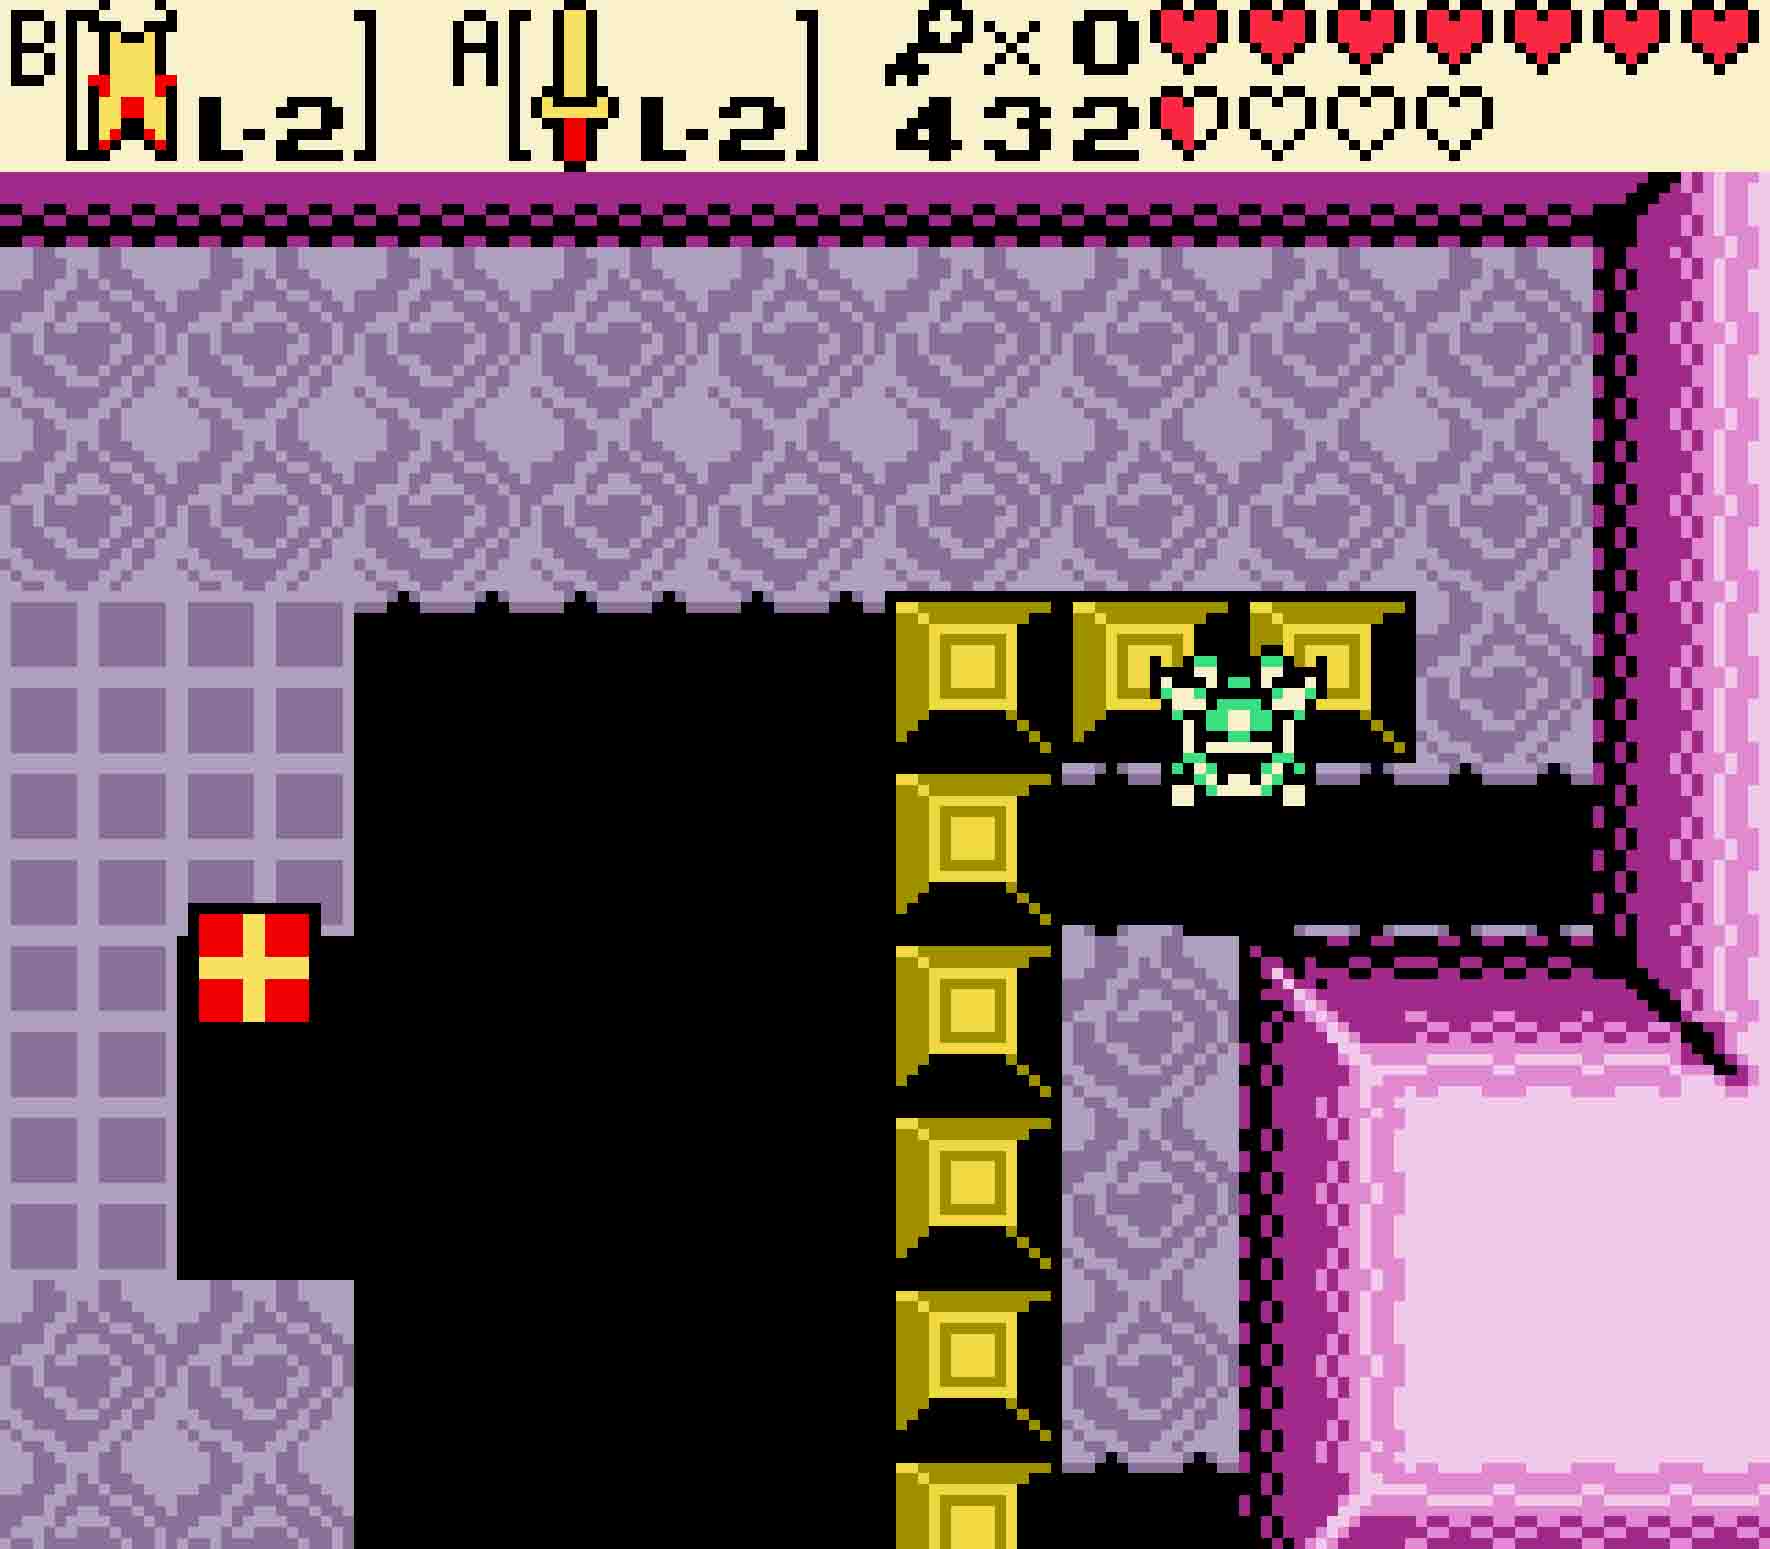
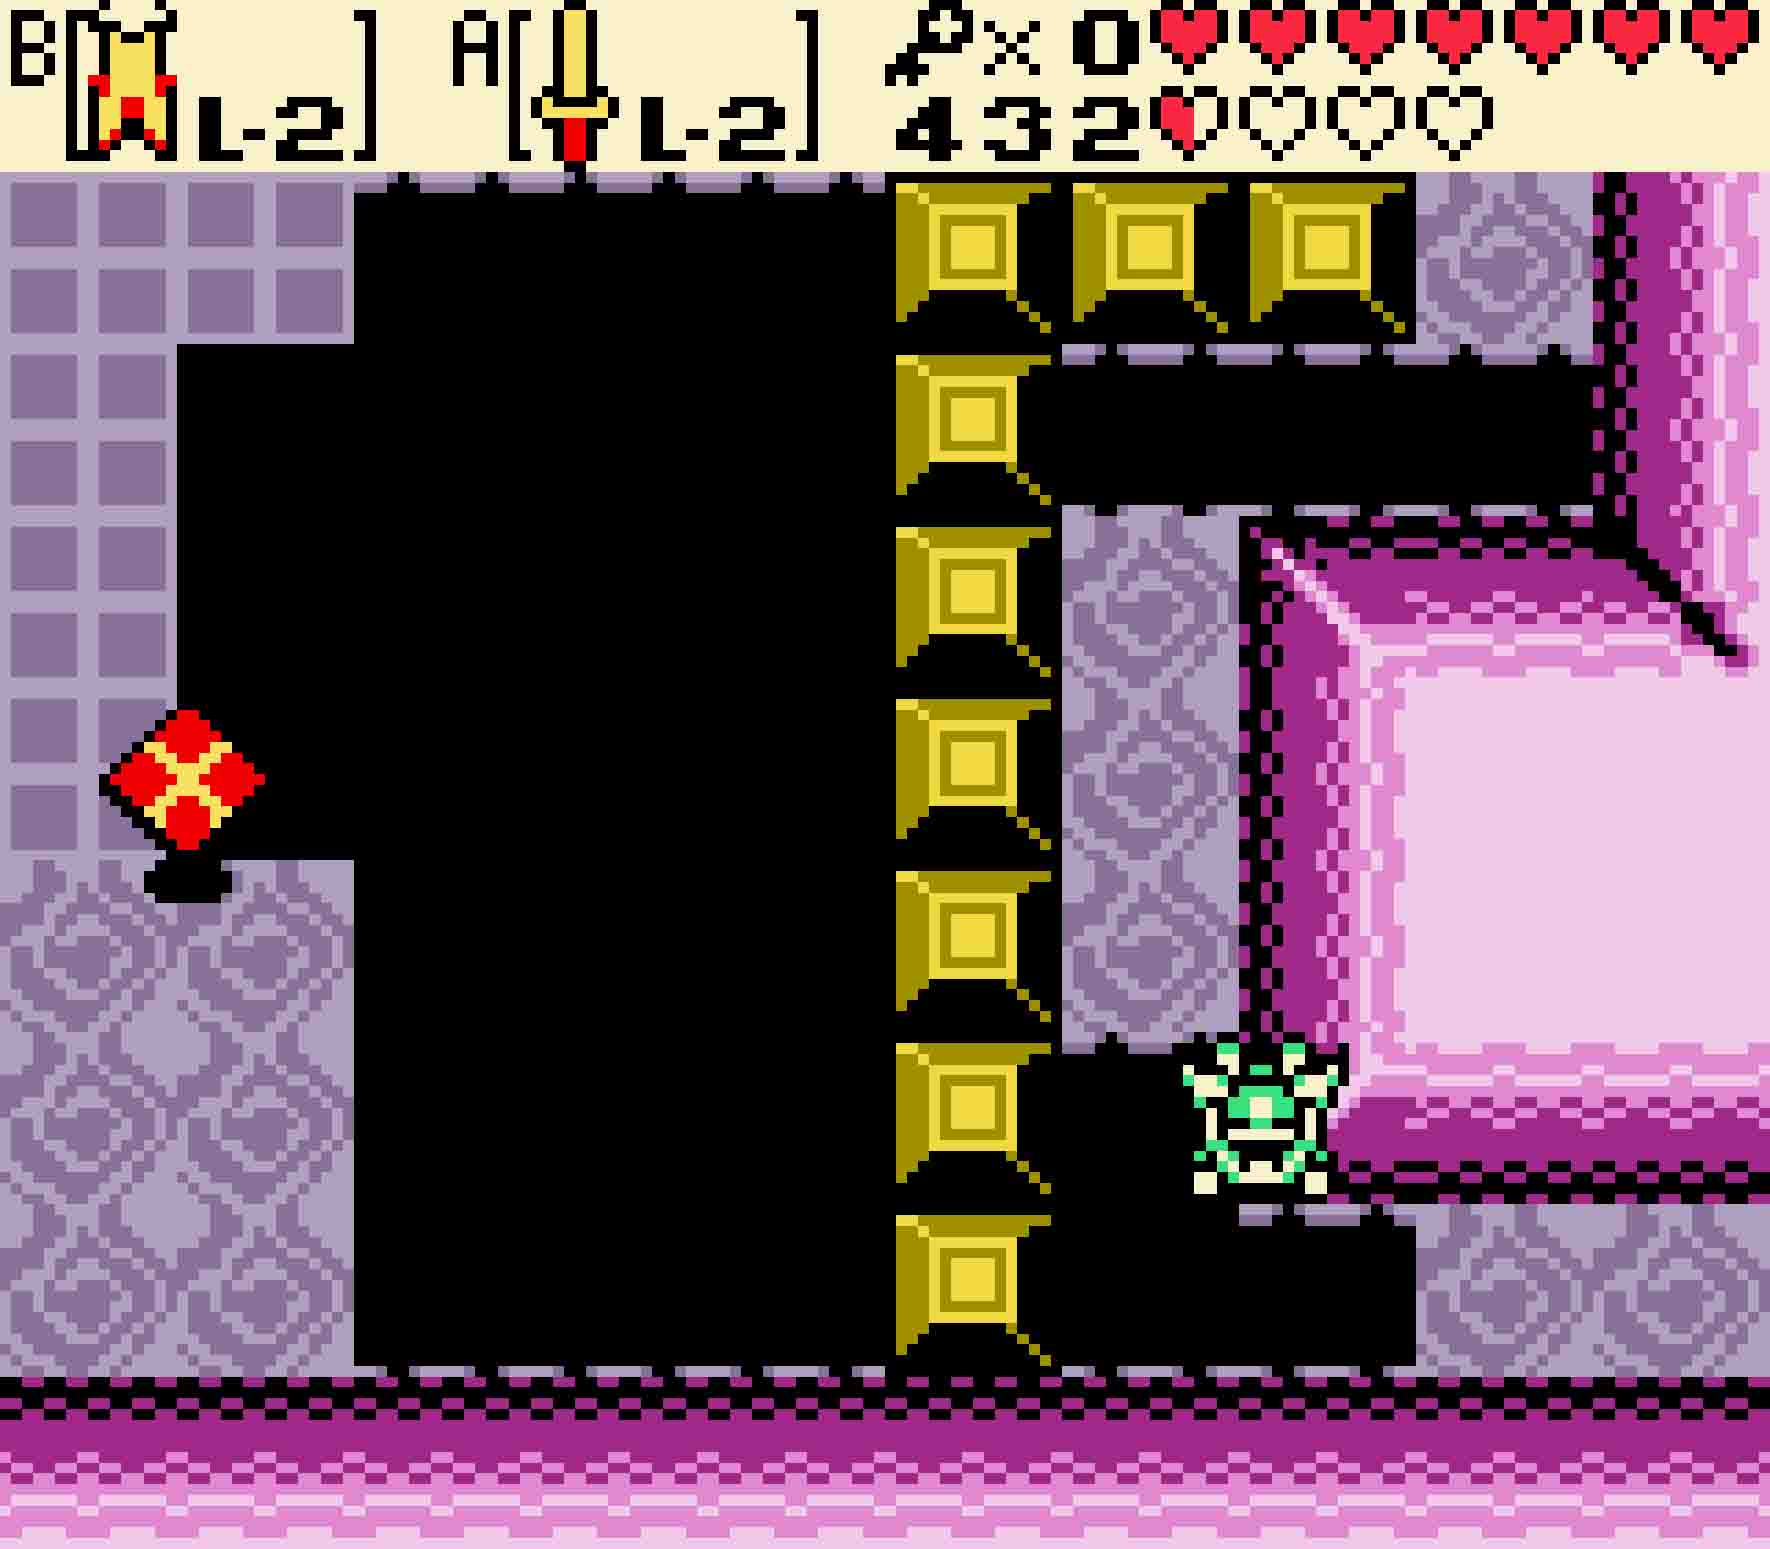
The next room will be pitch black, and even more odd are that there aren’t any enemies in here. It’s not a bug; it’s a feature. Simply head north. Not long after you enter the next room, you’ll be given an ominous warning: Leave the room before the lights go out… or else. The “or else” addendum might sound ominous, but it’s really more annoying than anything as you’ll just be ushered back to the dungeon’s entrance. However, you do need to pass through the room, so hightail it eastward as fast as you can.
-
- The warning sounds ominous, but it only takes you to the dungeons’ beginning.
-

- The only way to leave the room in the time provided is to go east.
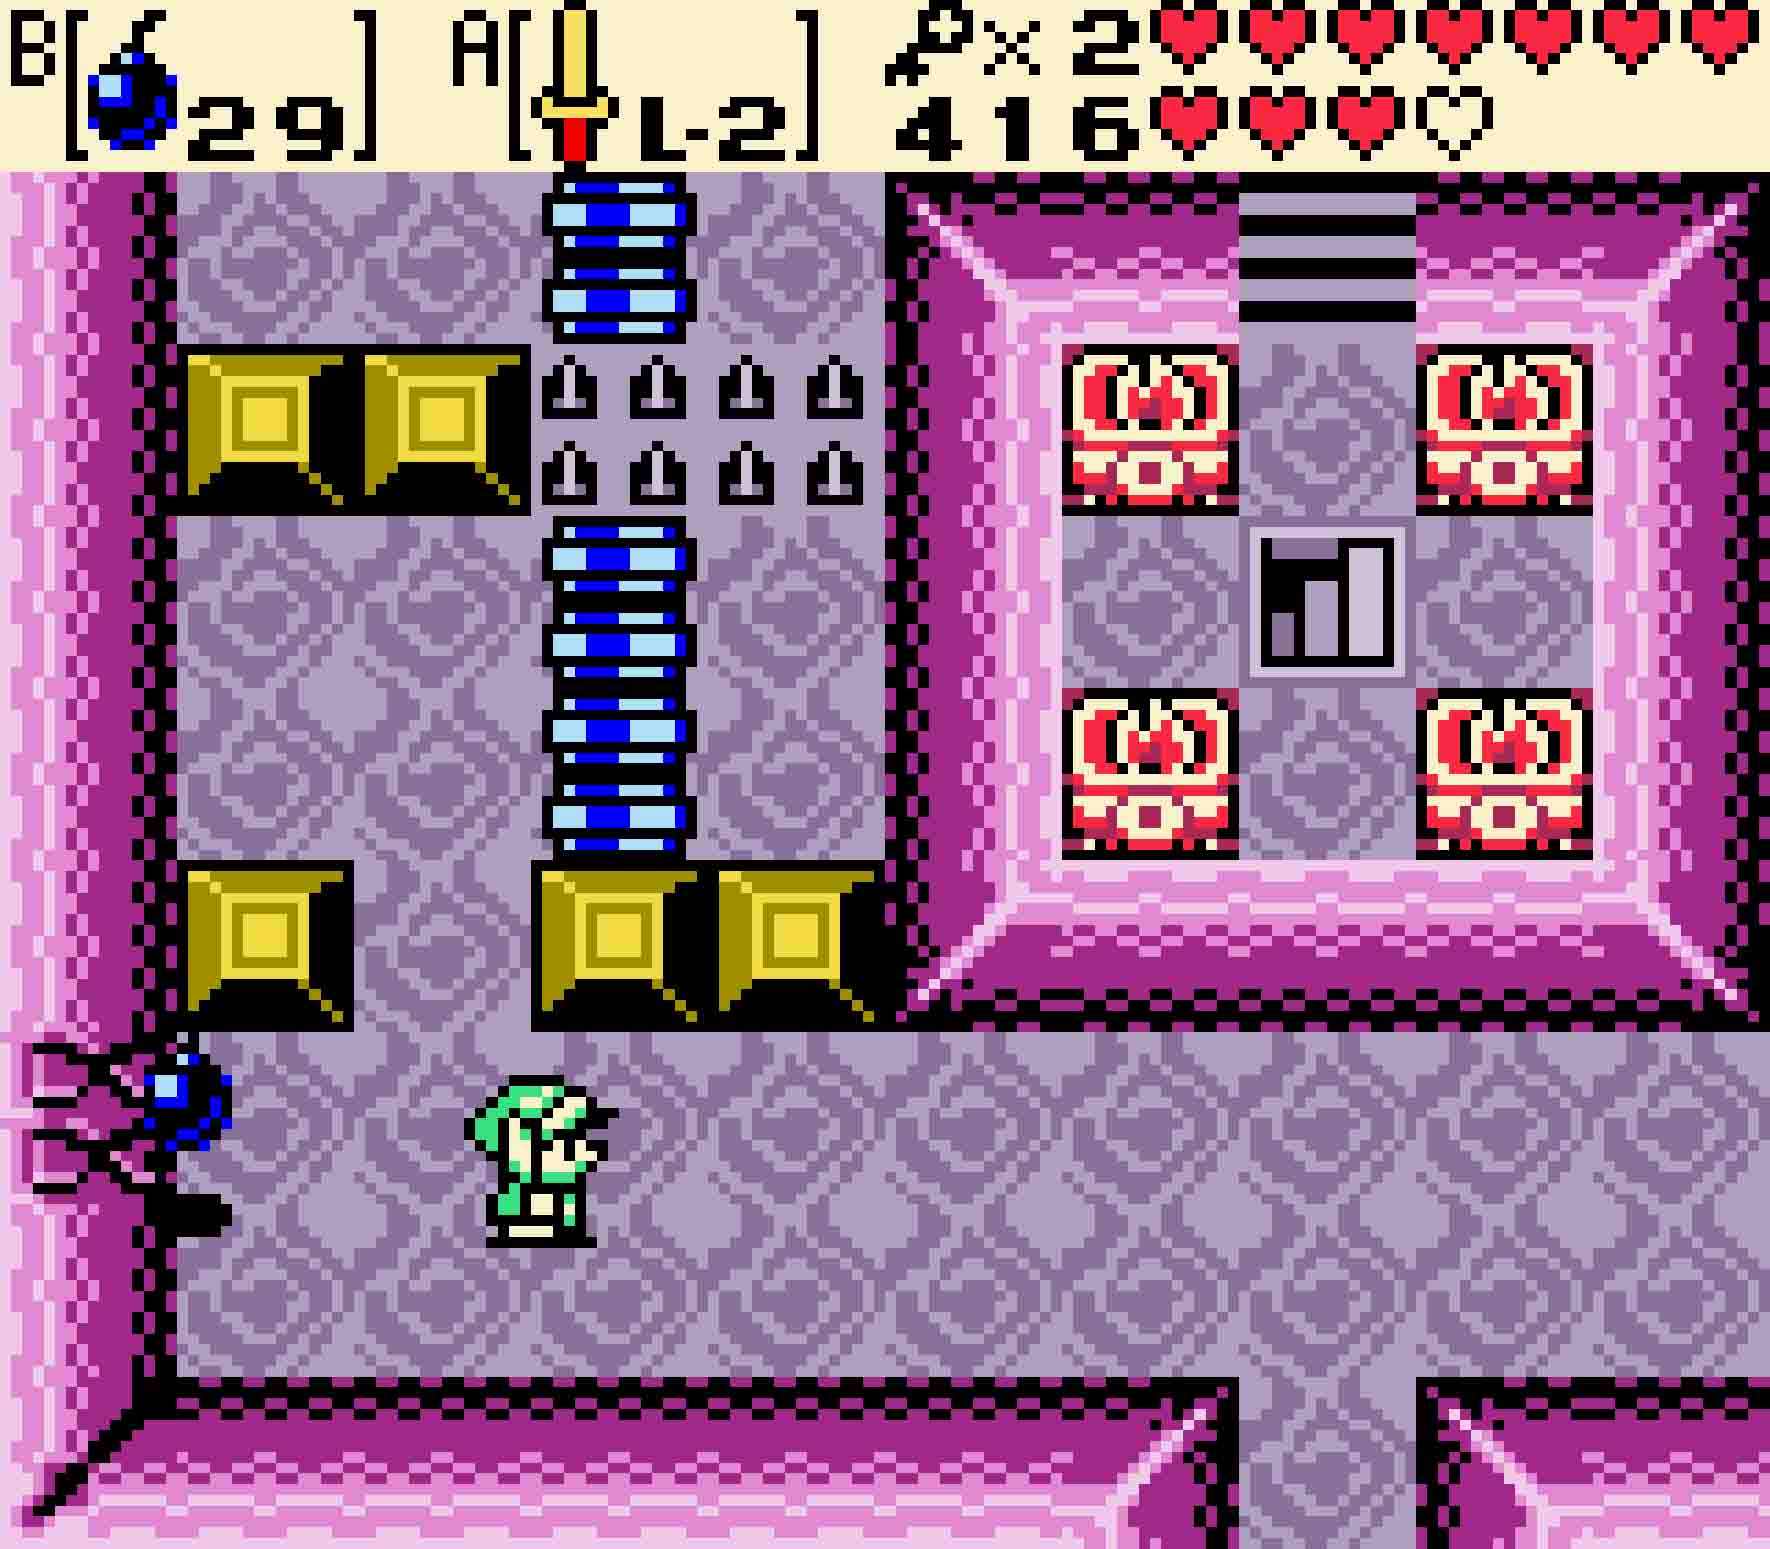
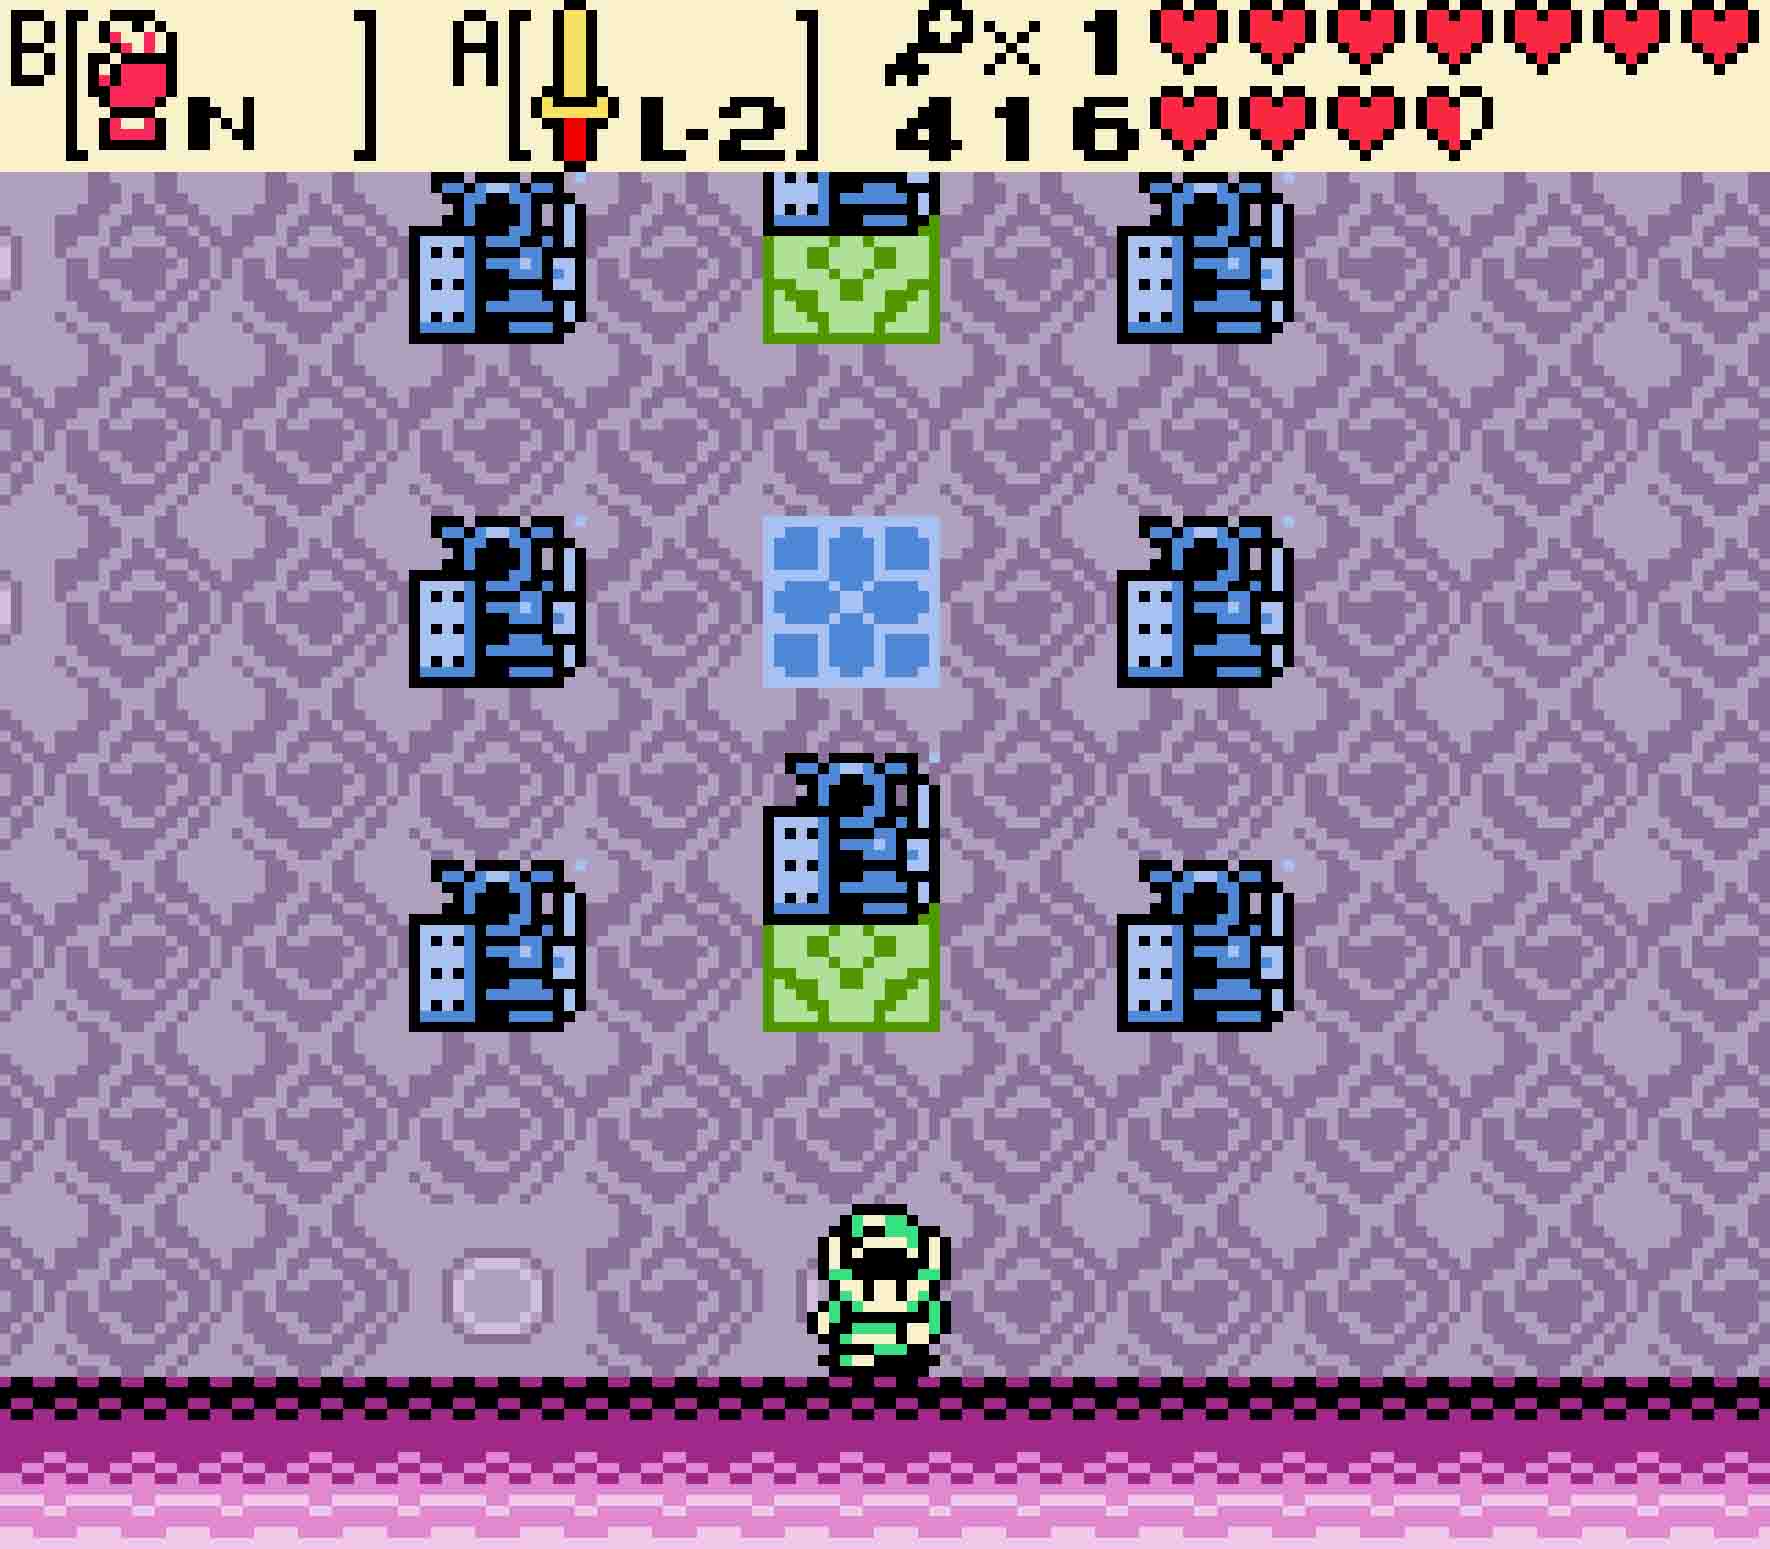
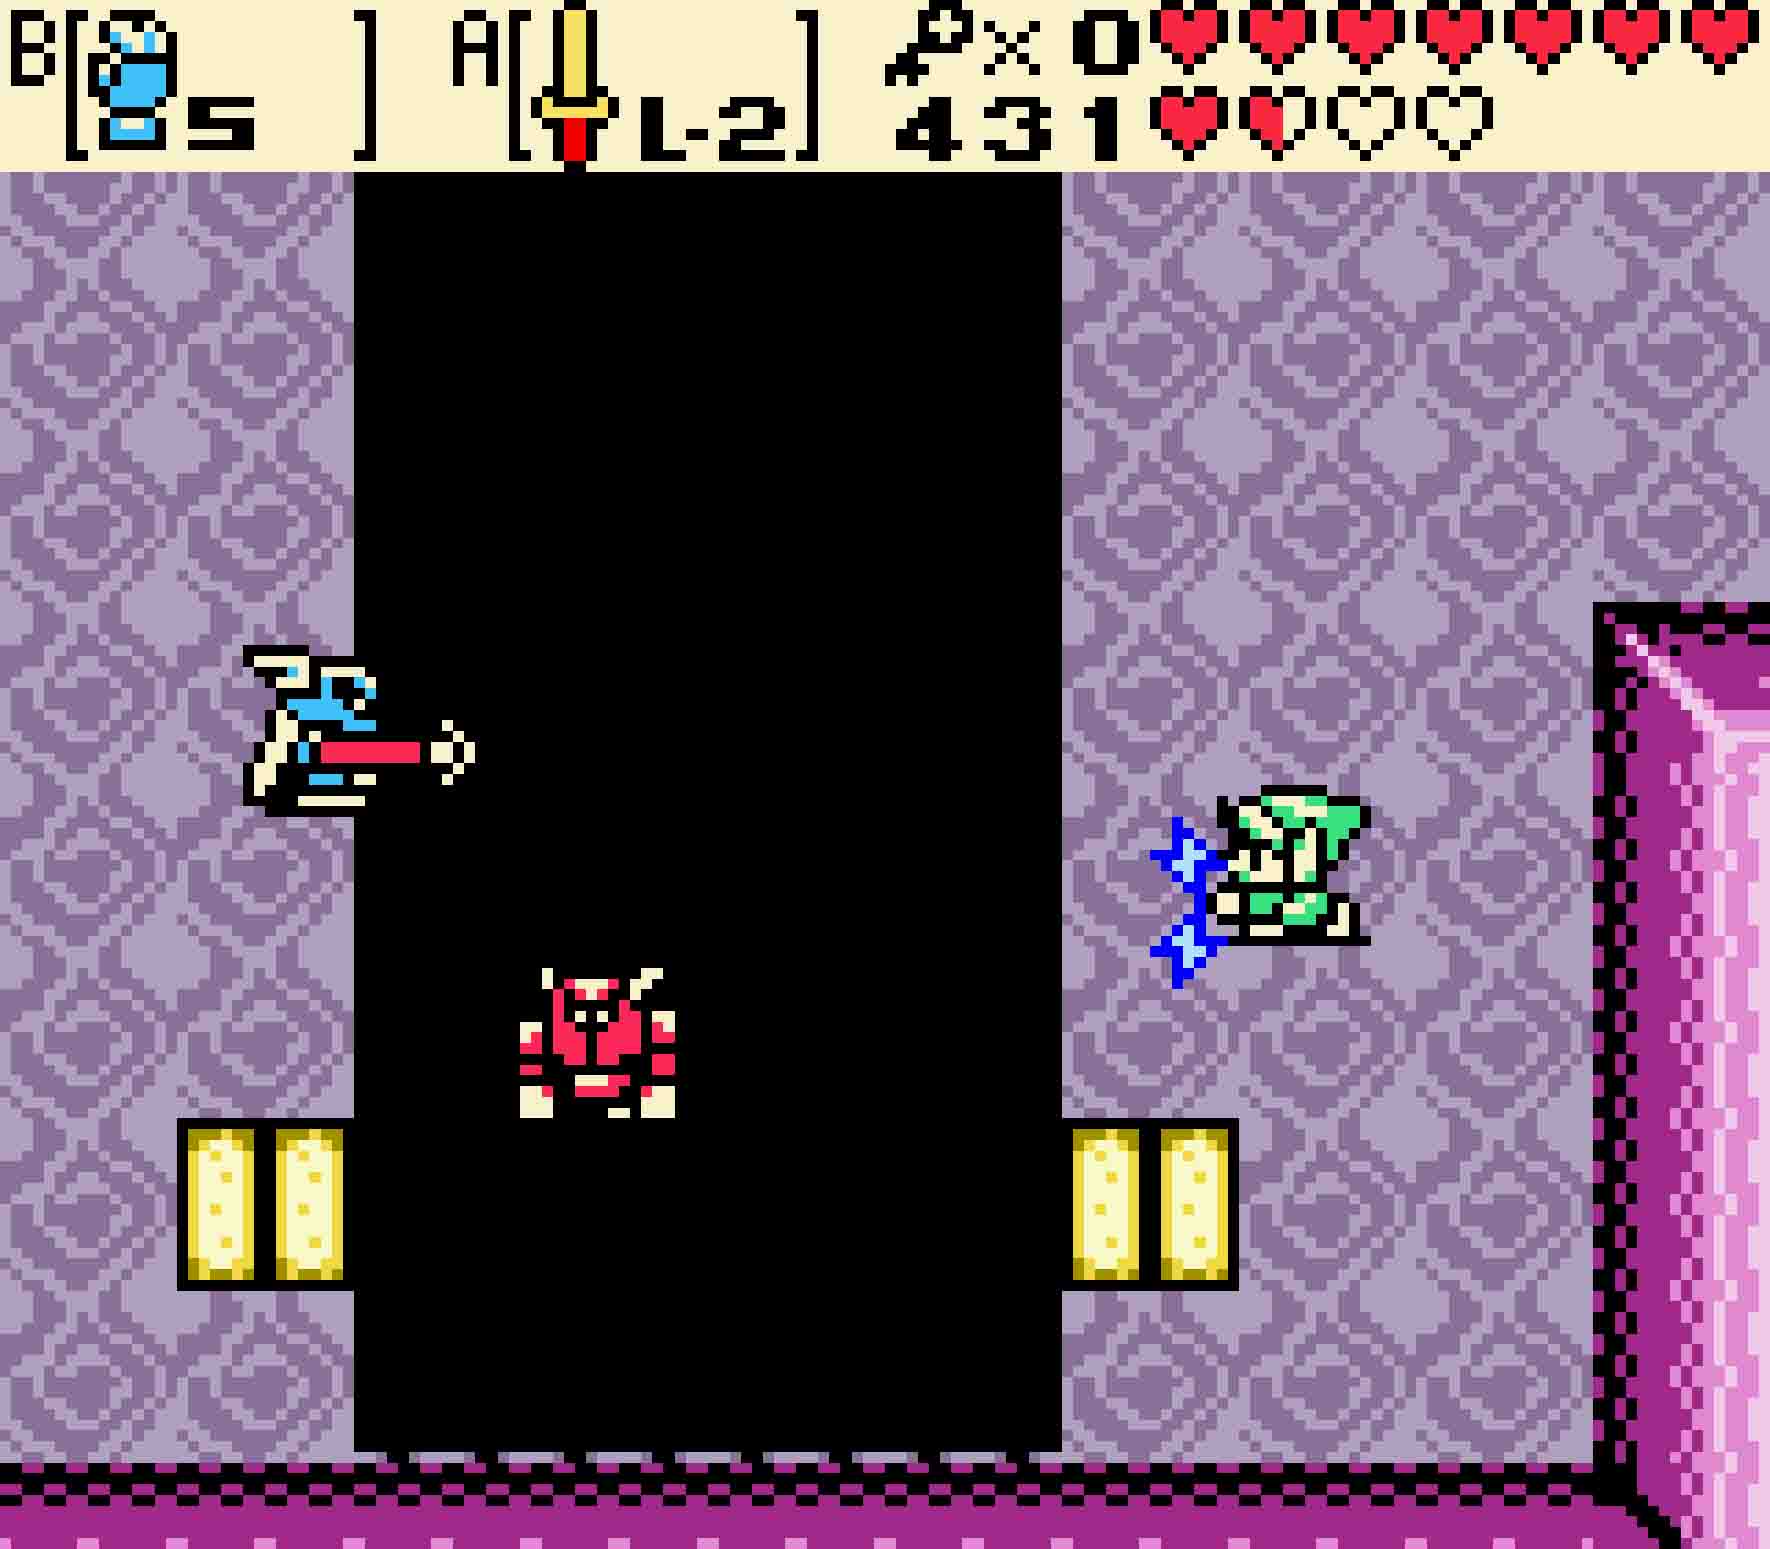
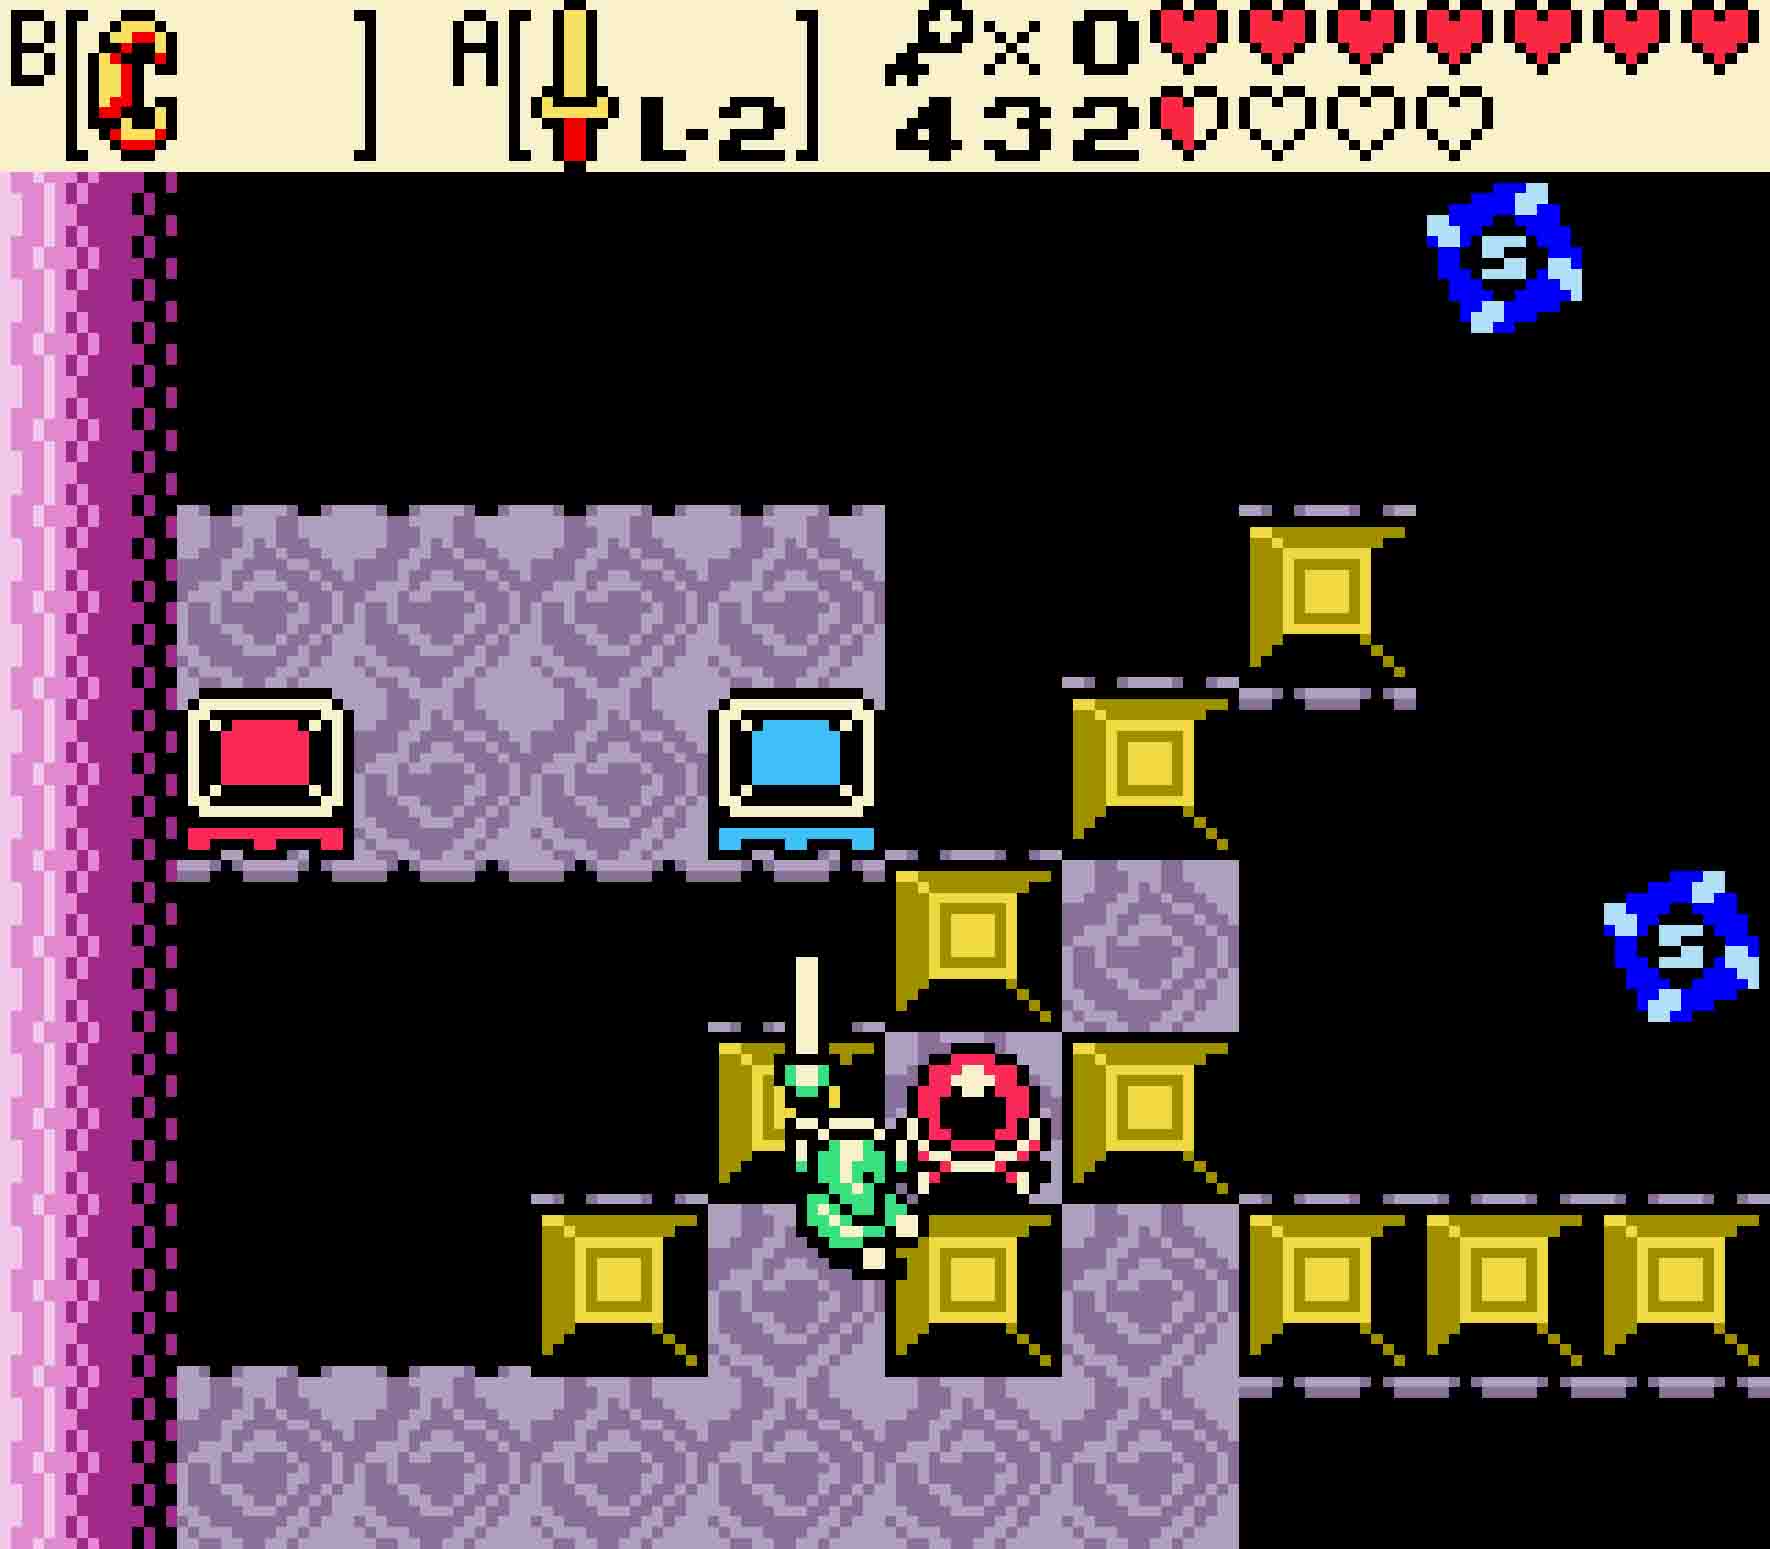
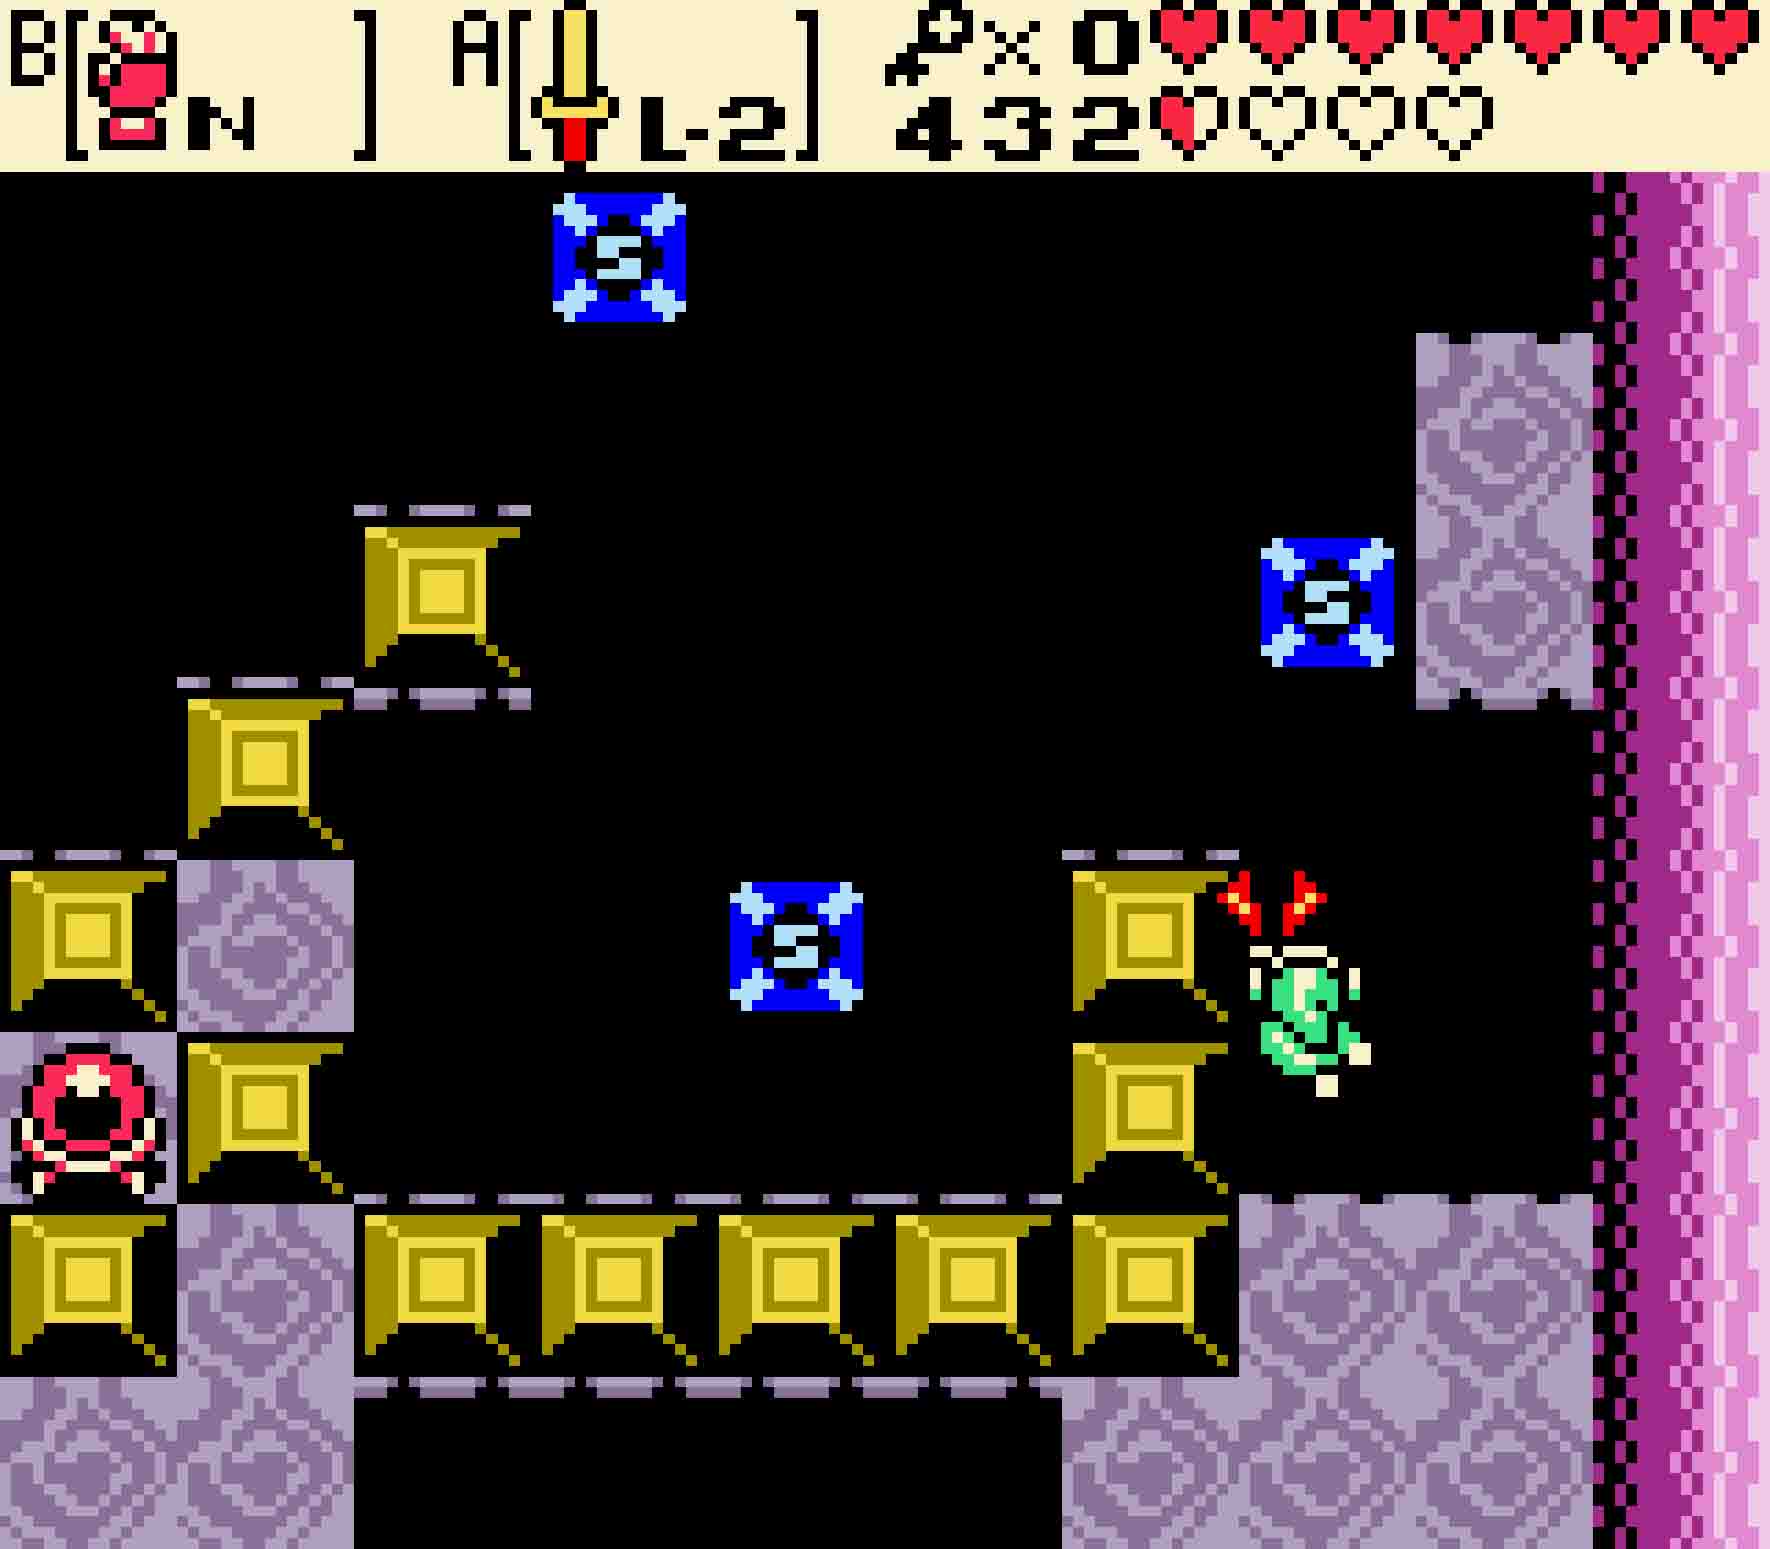
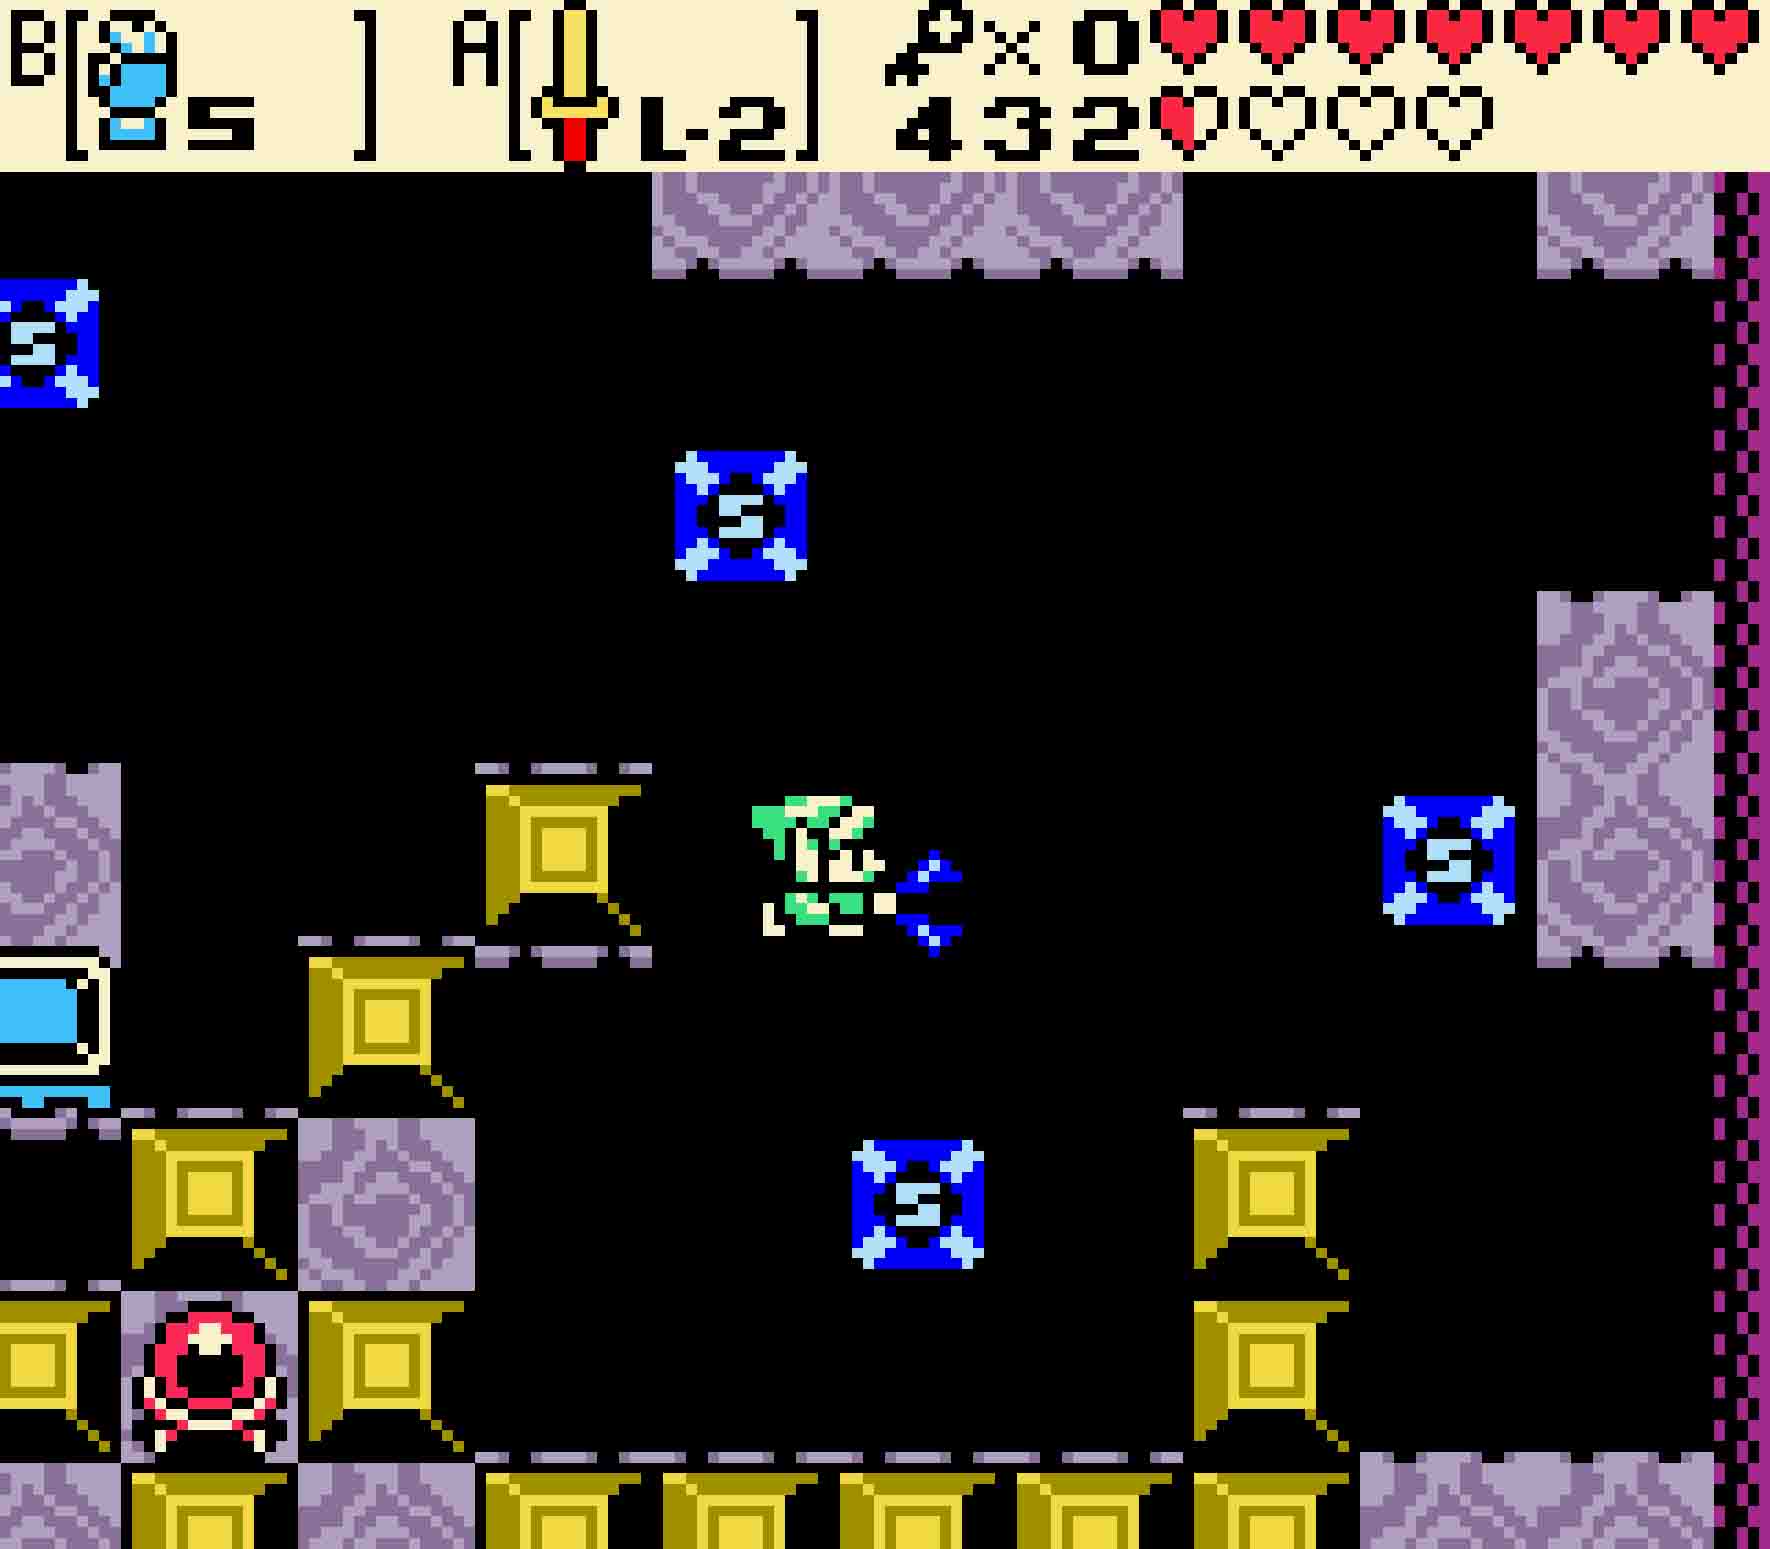
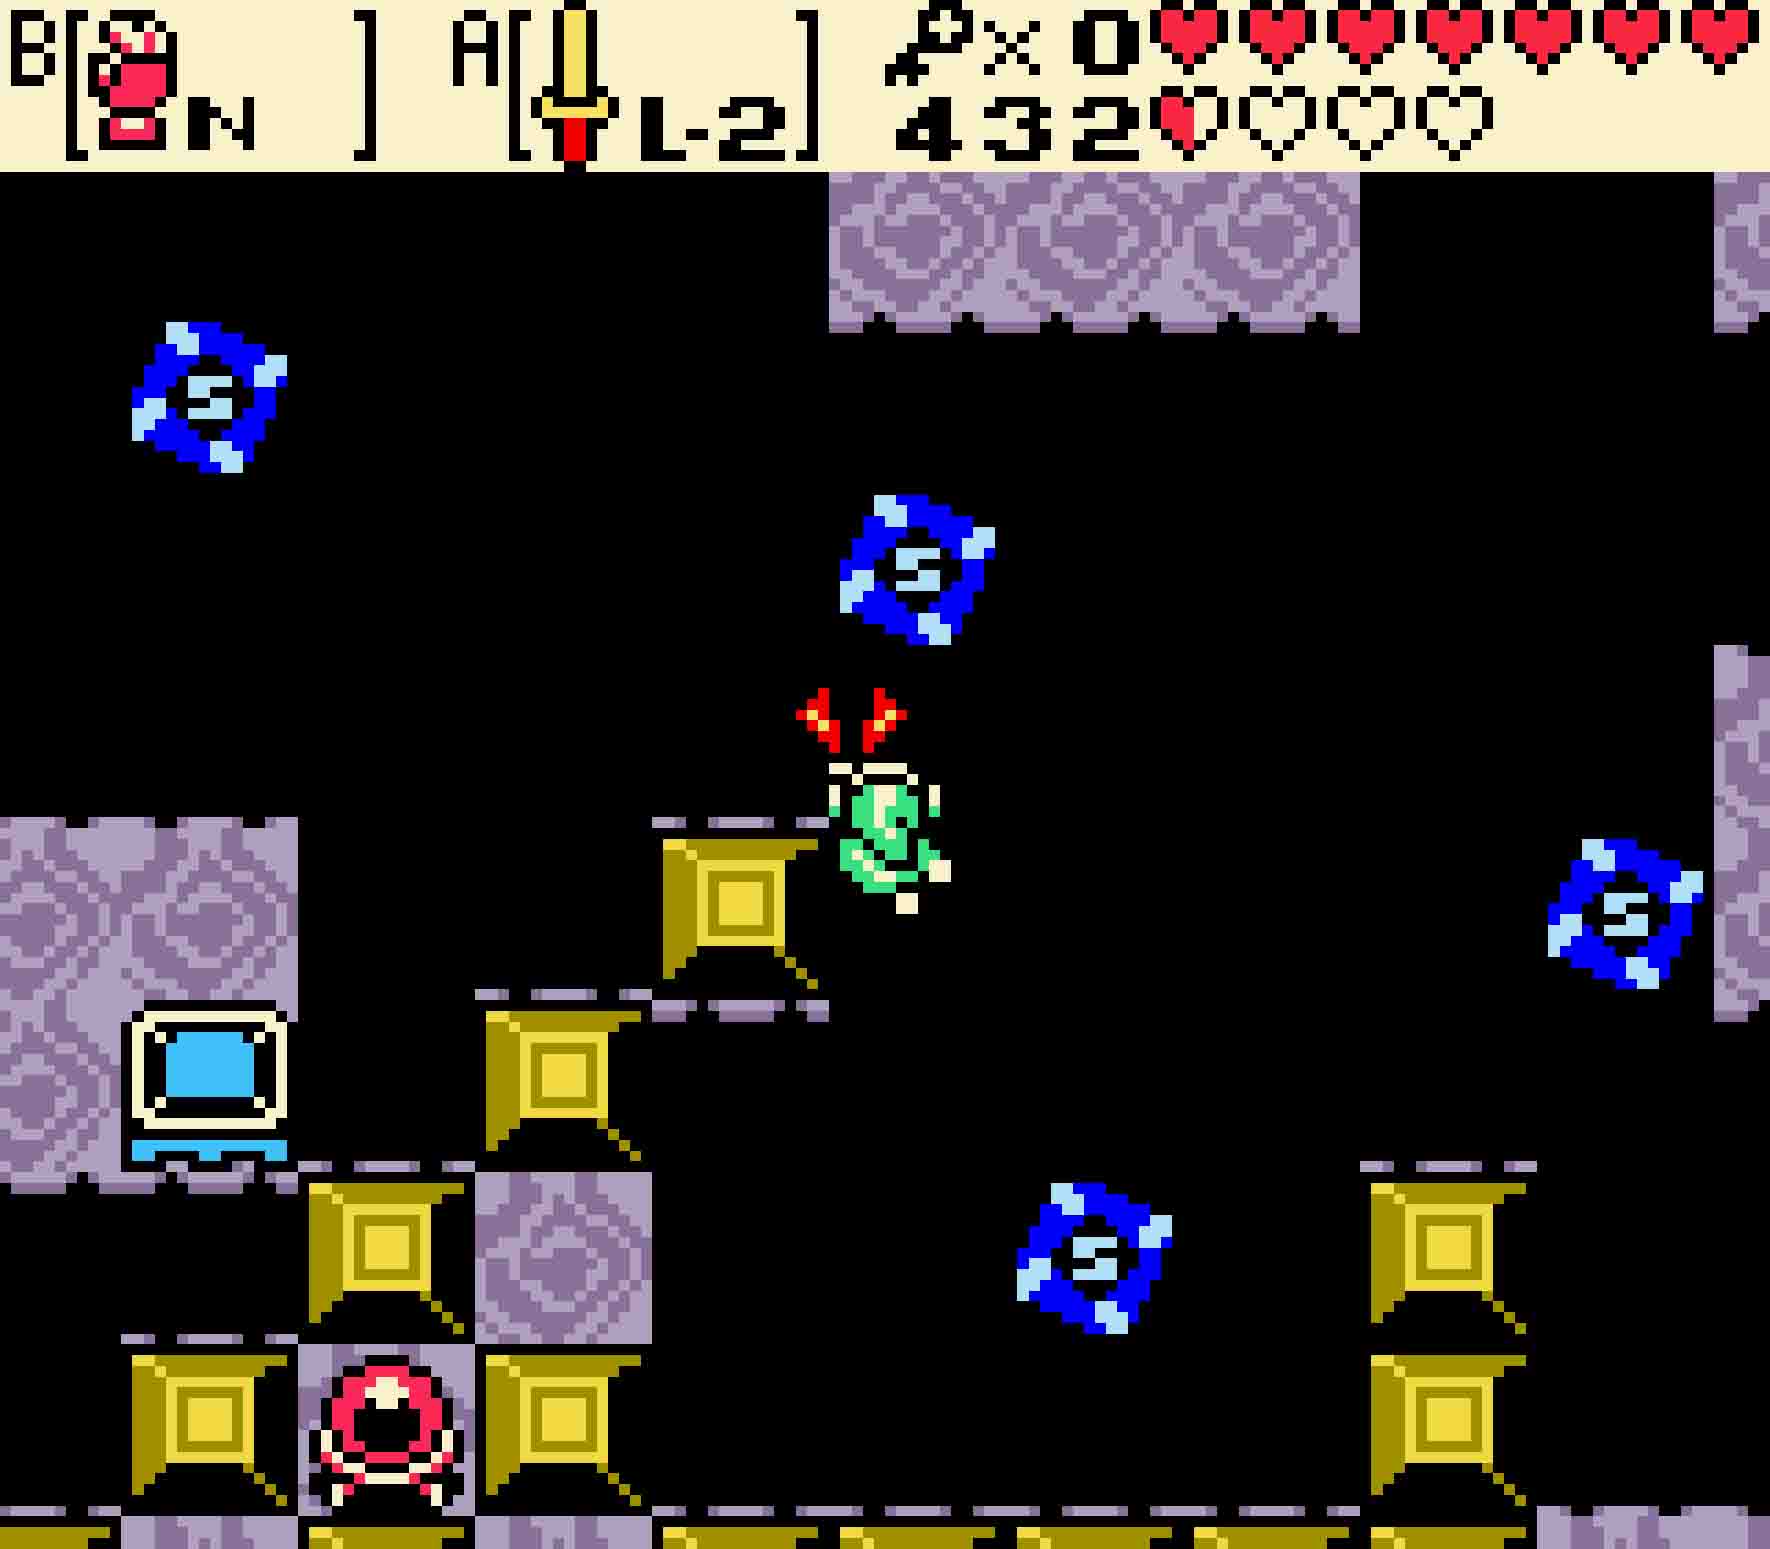
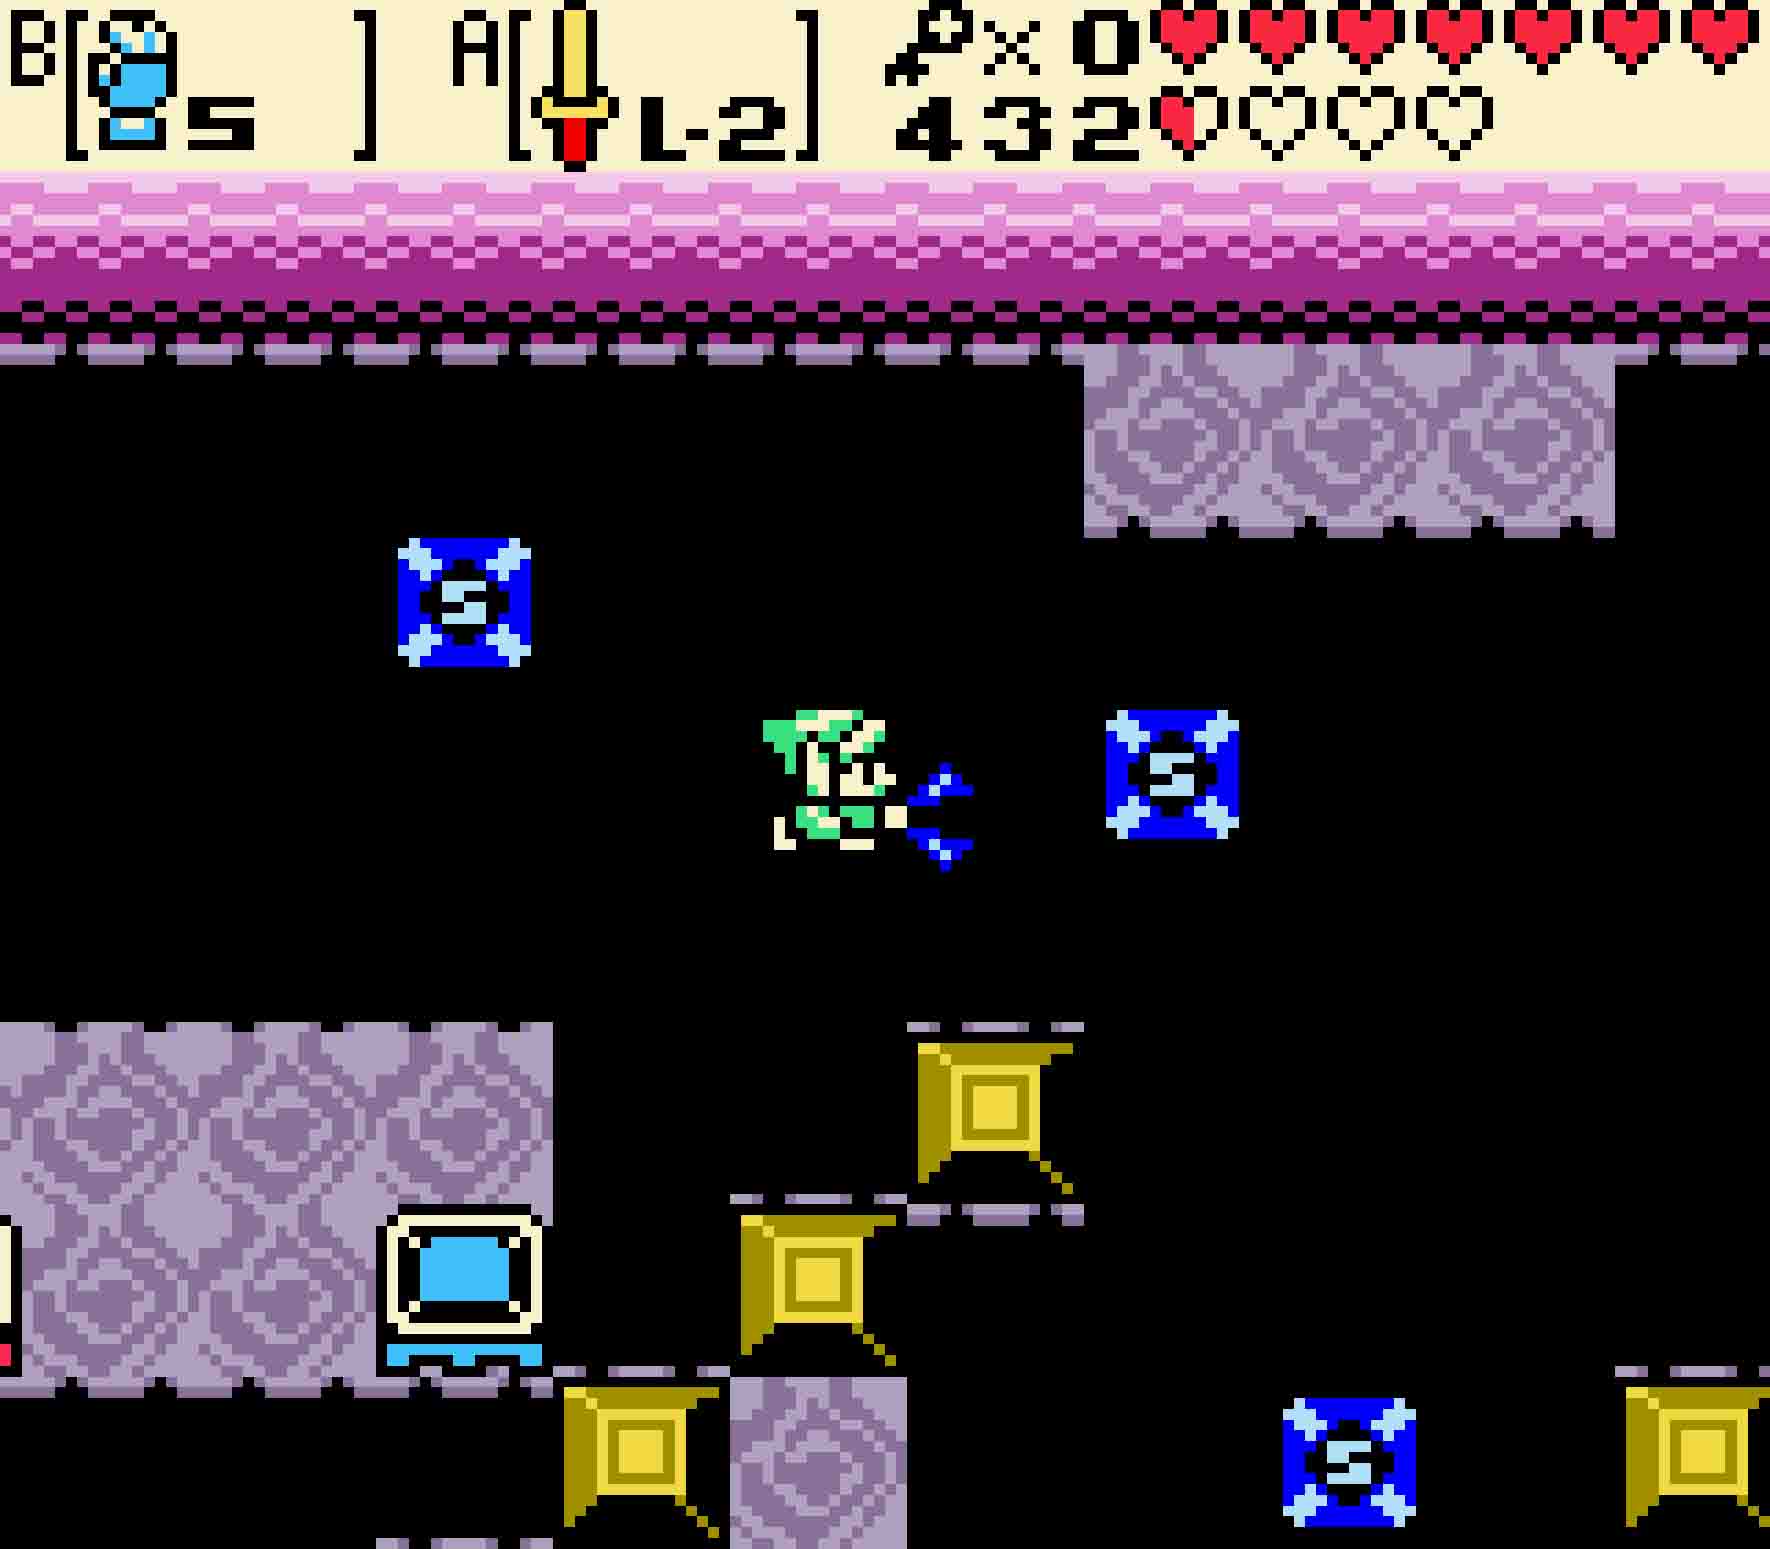
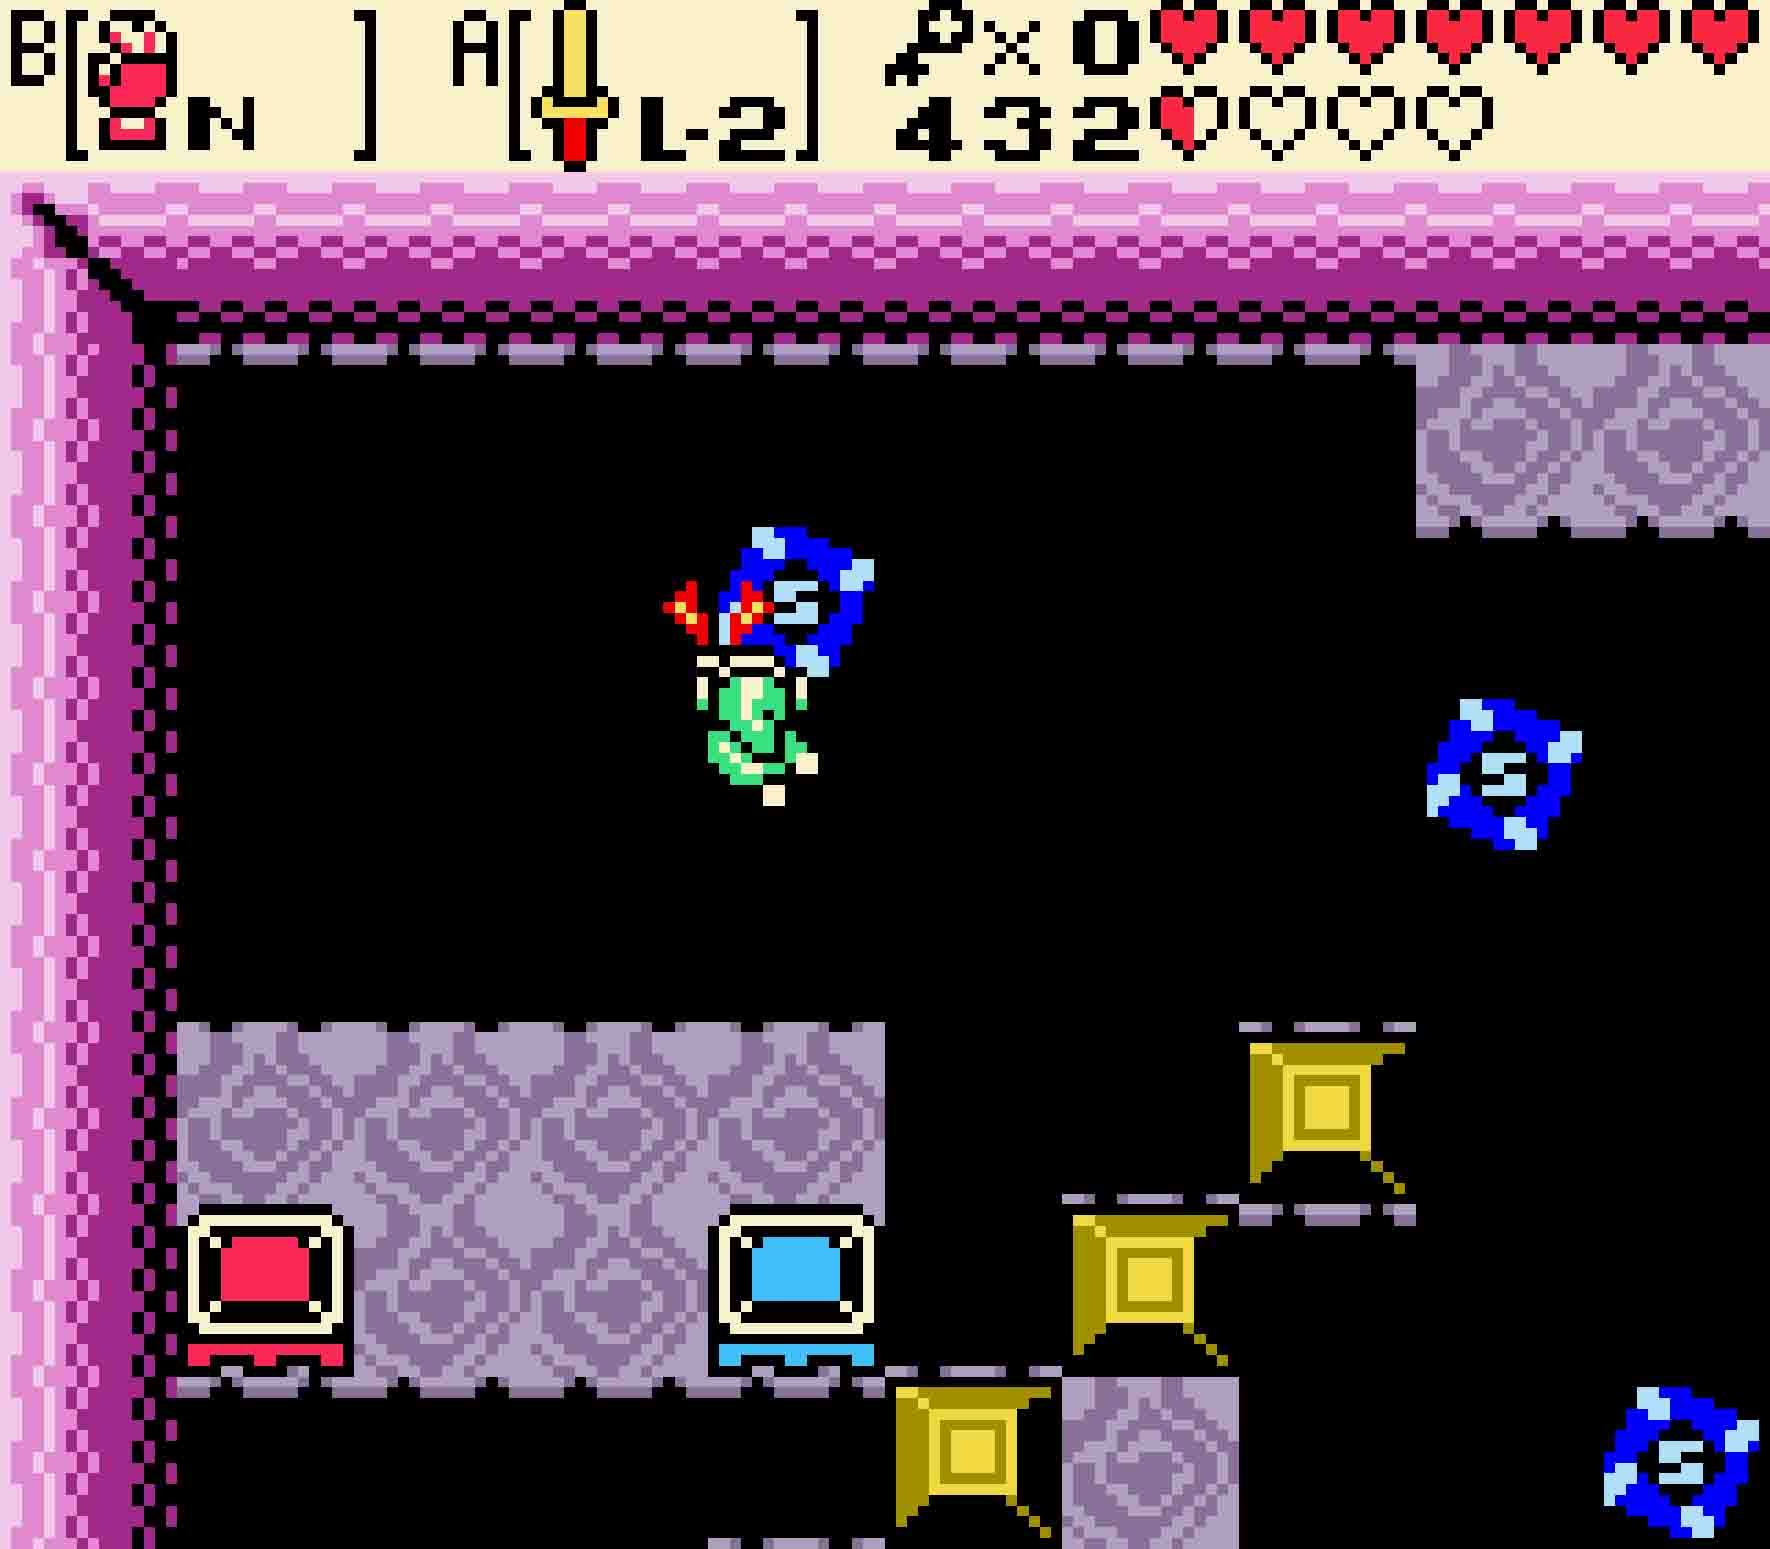
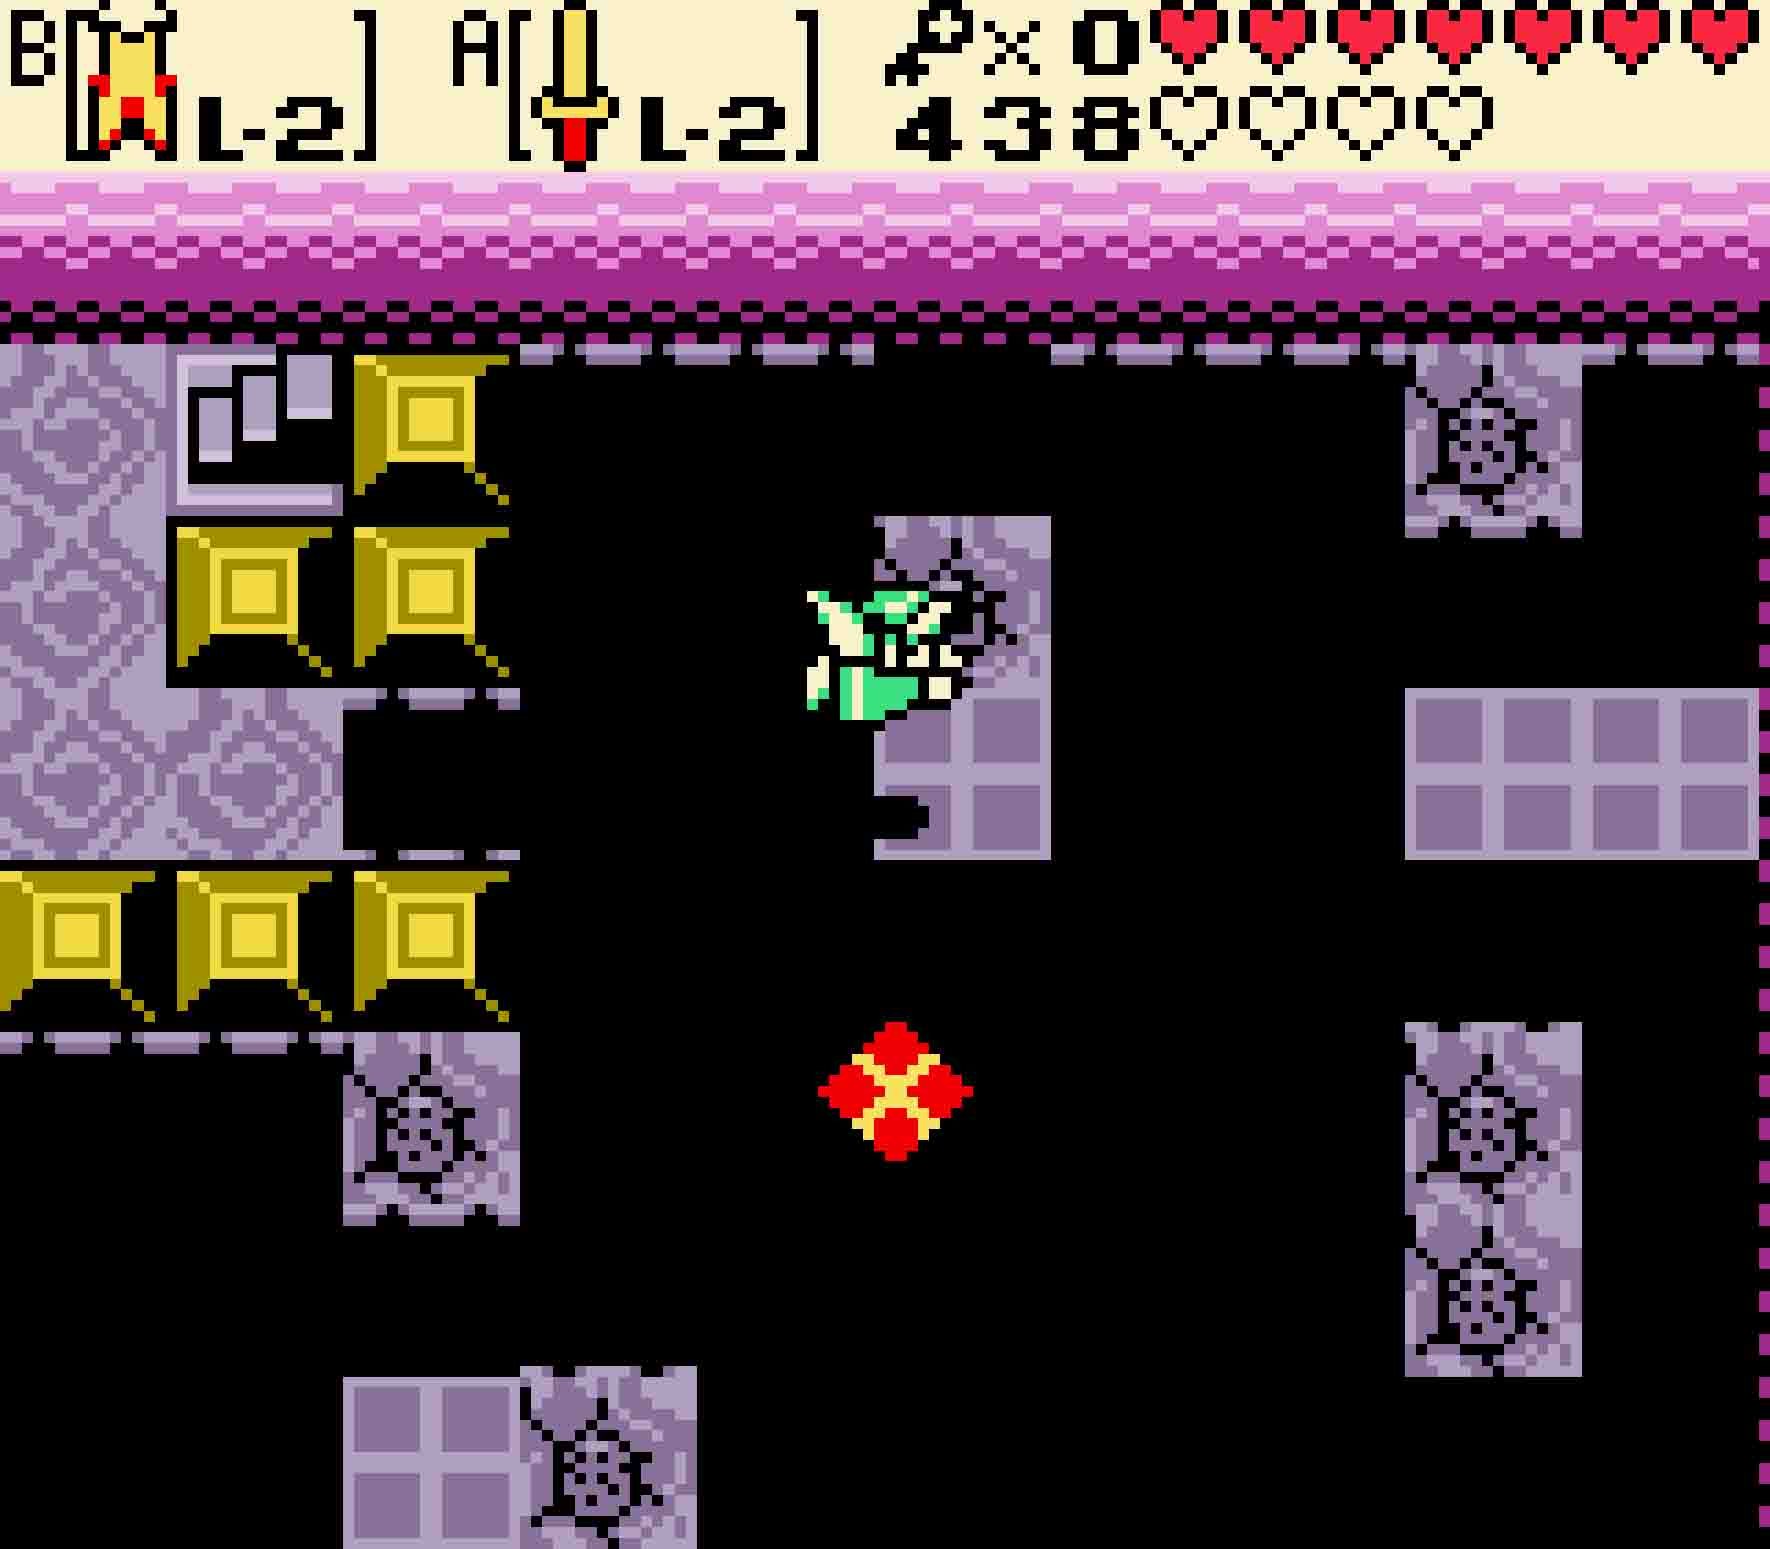
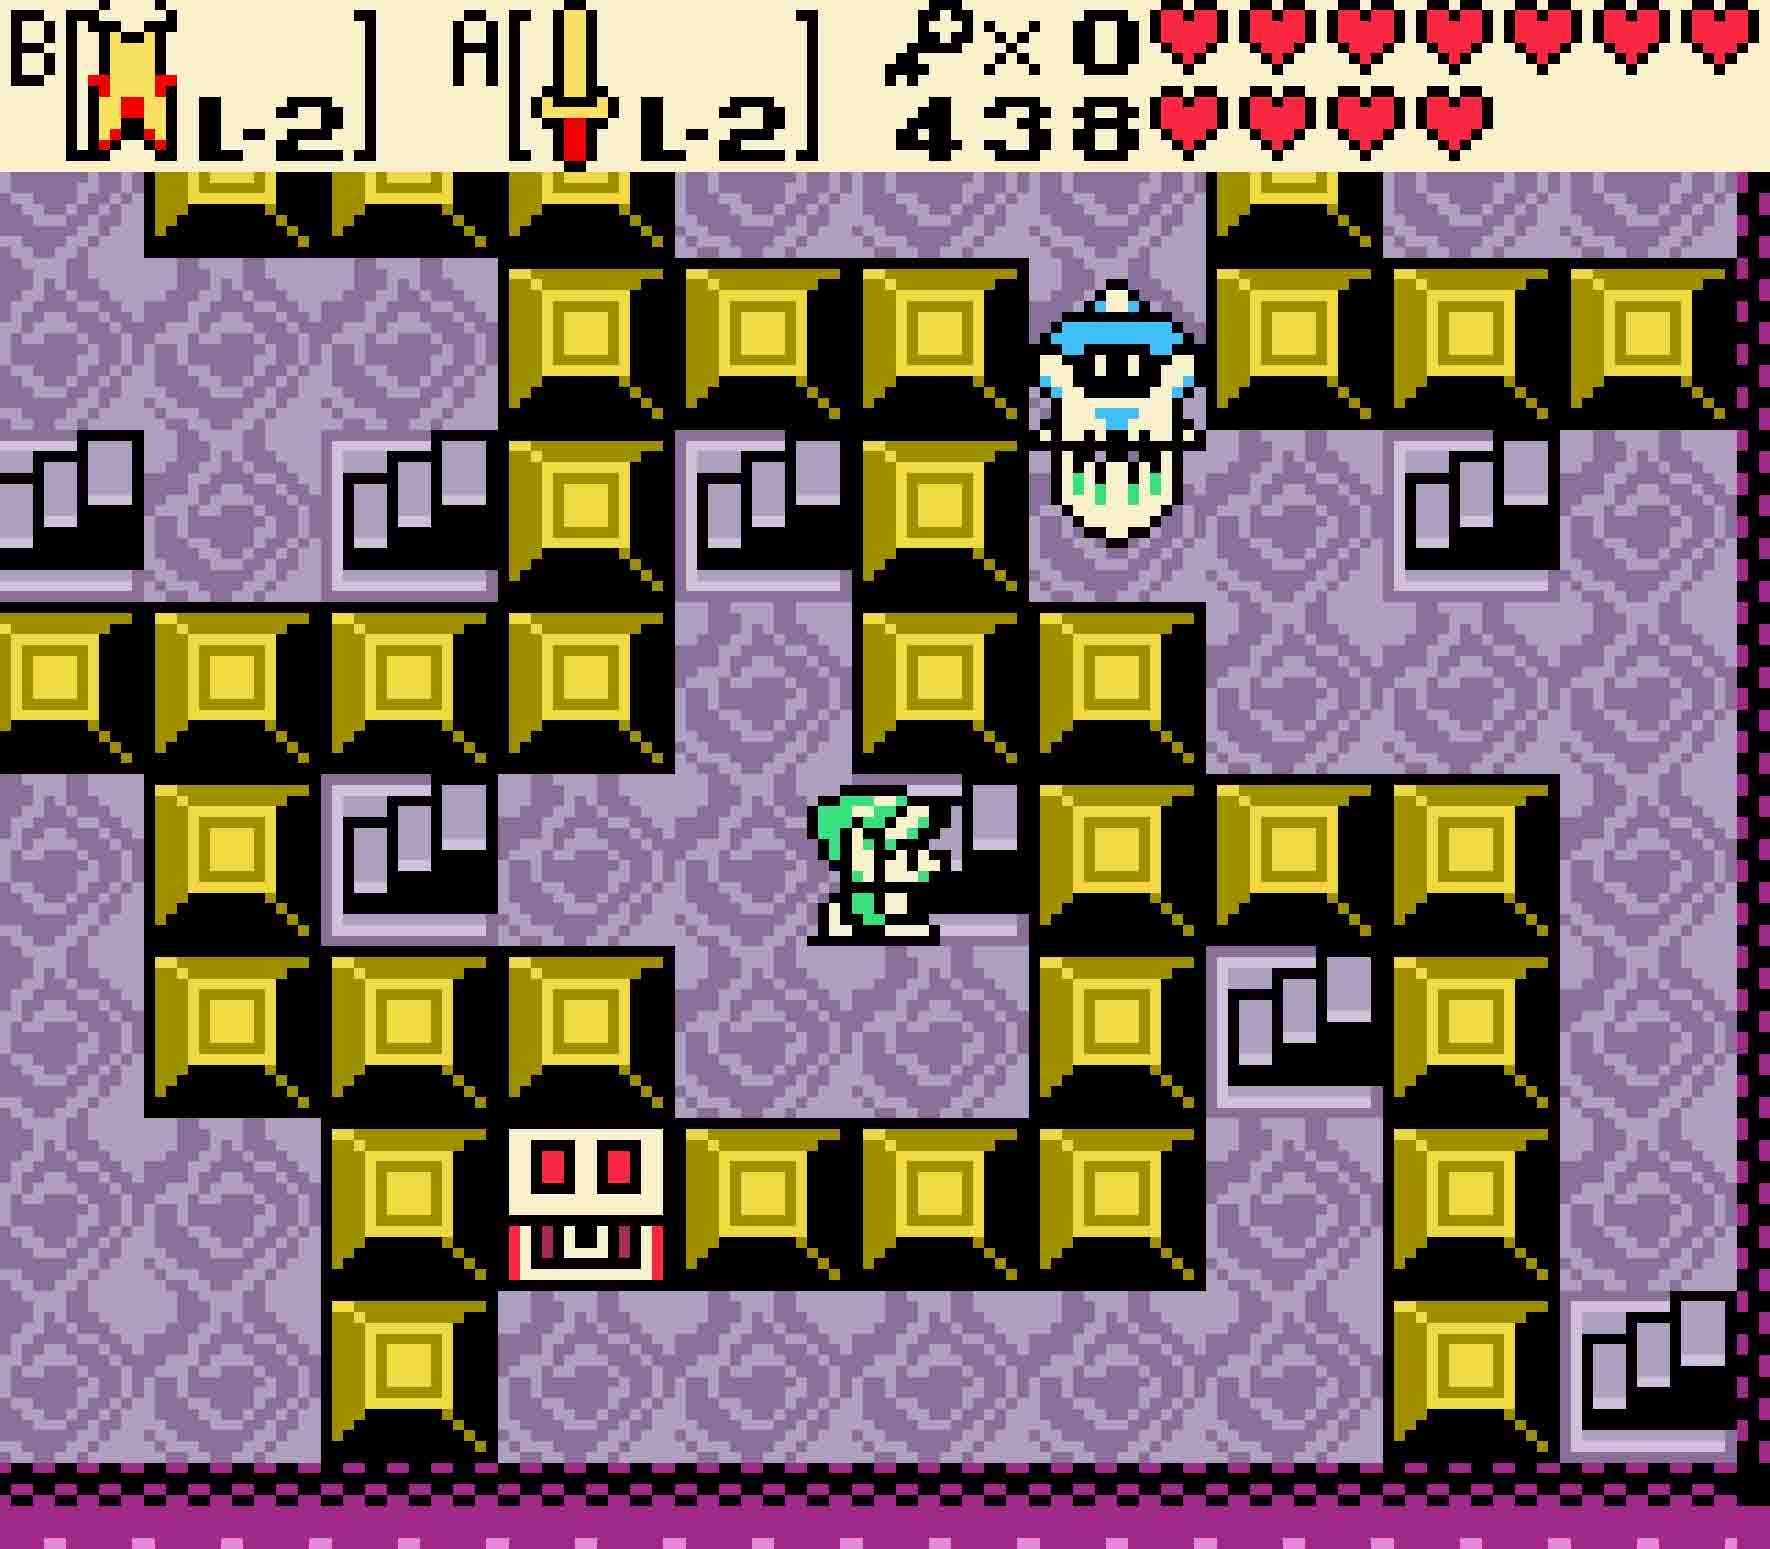
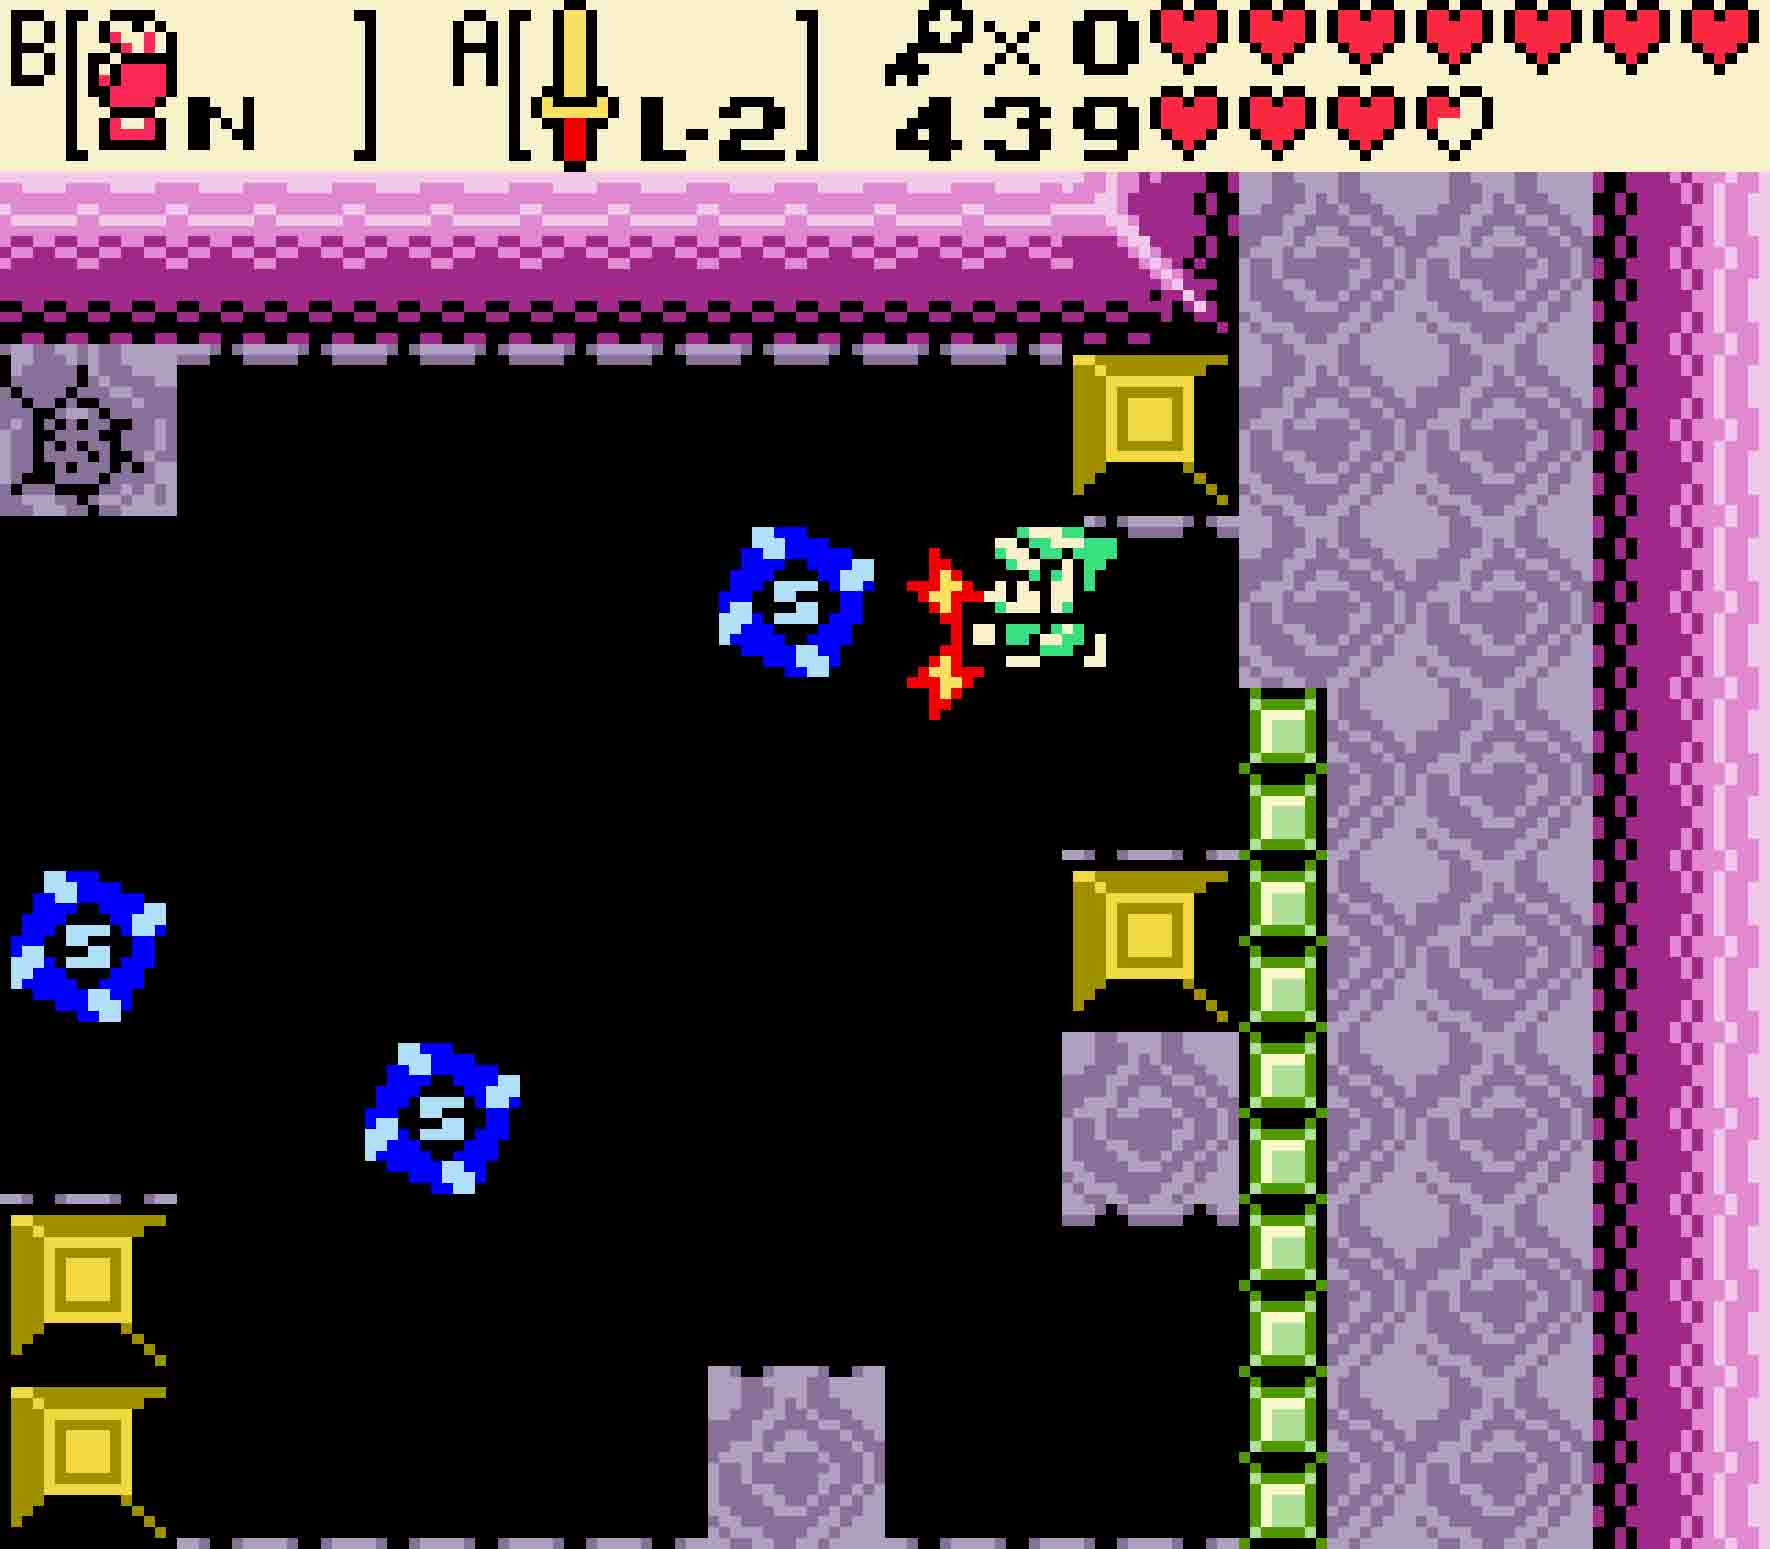
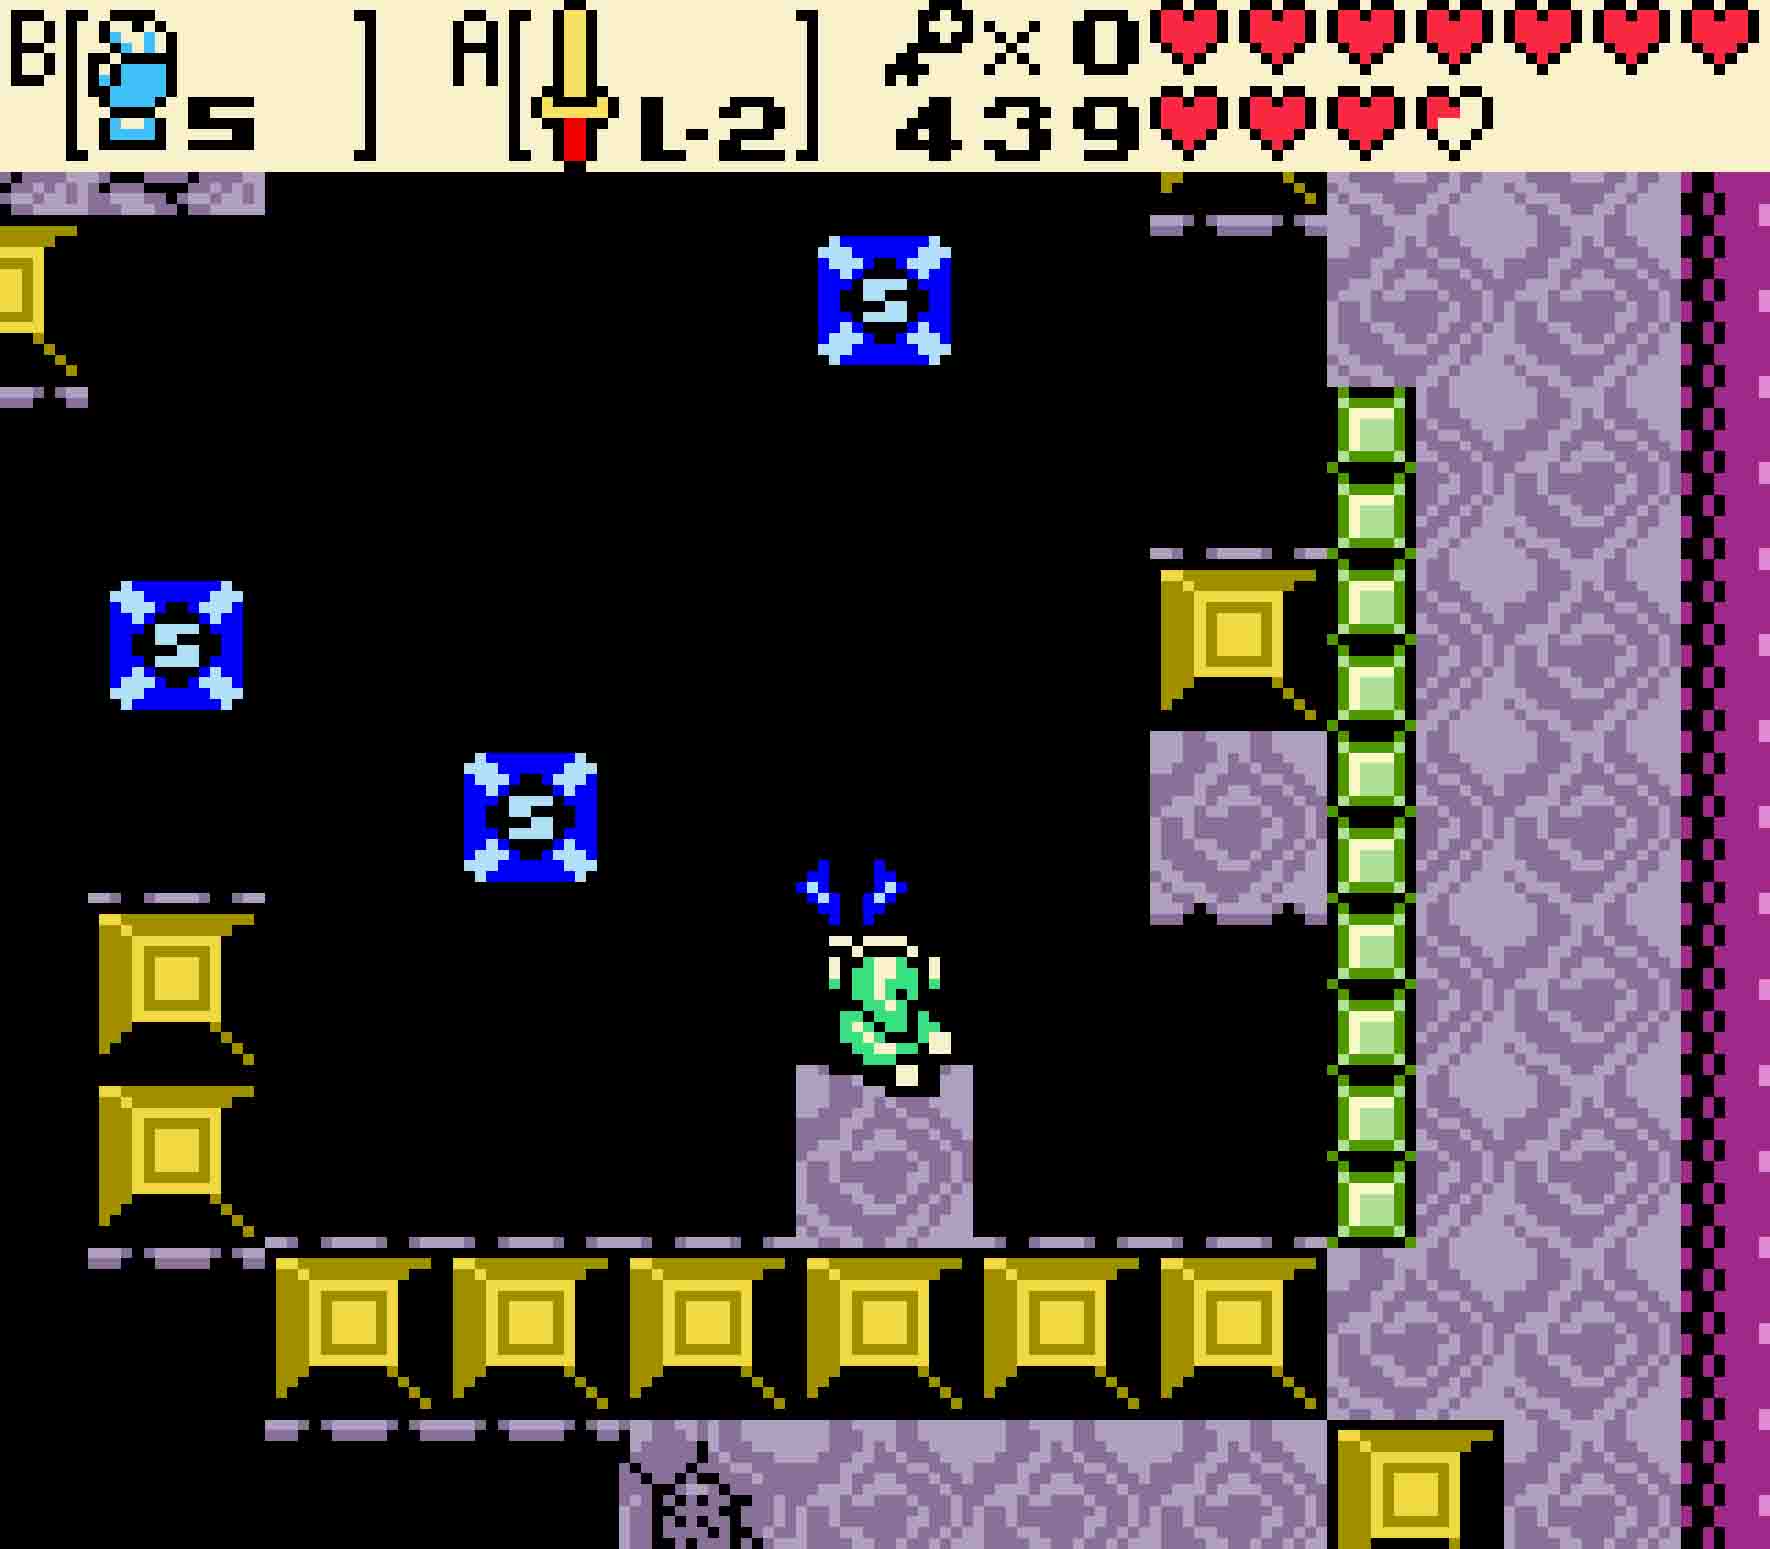
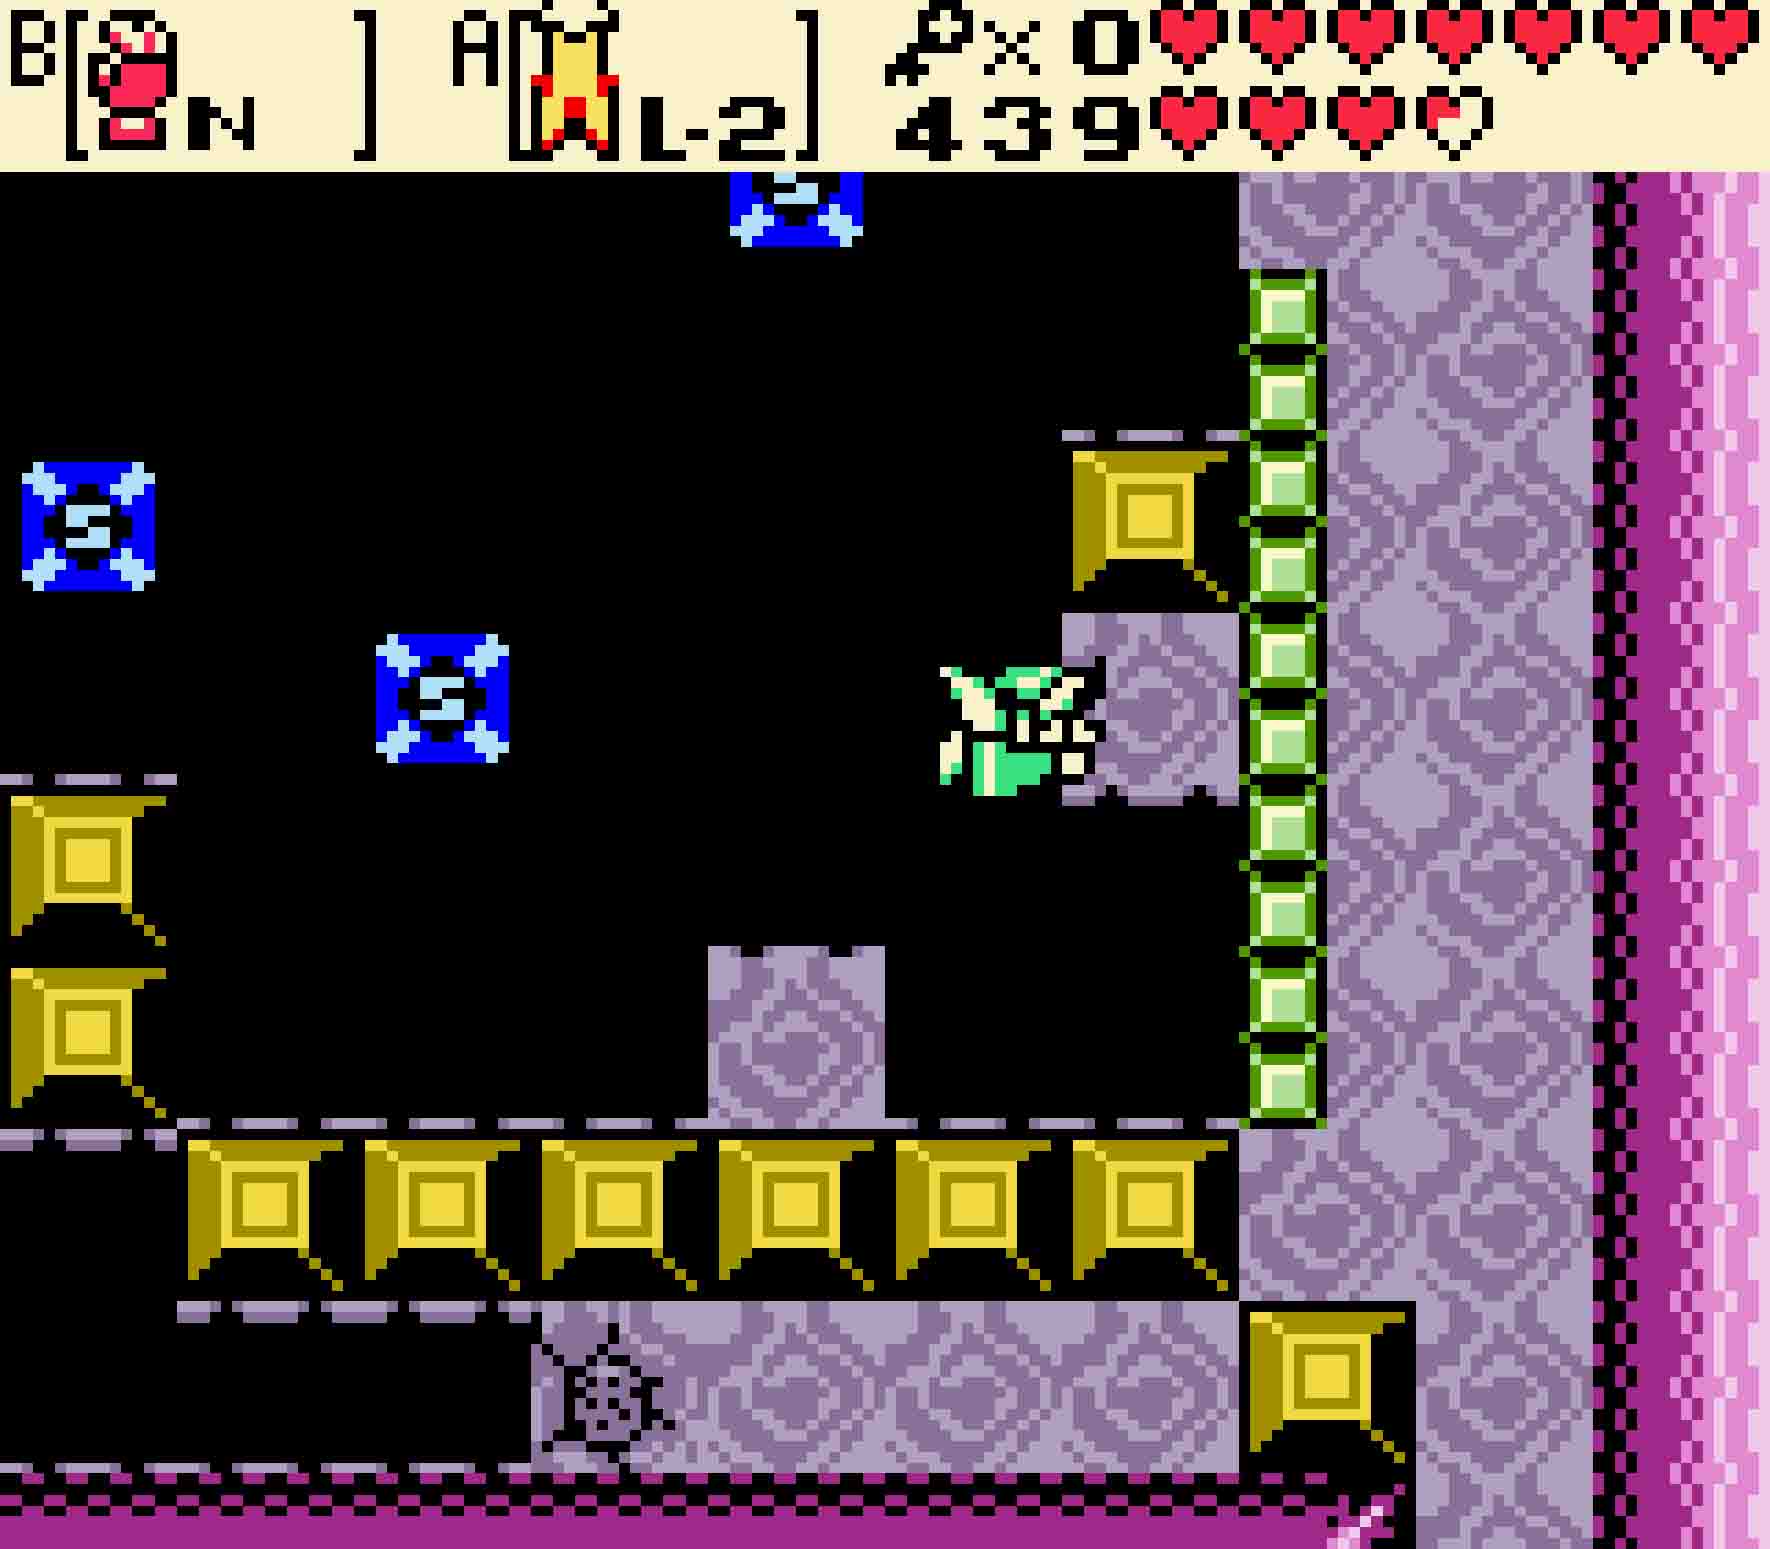
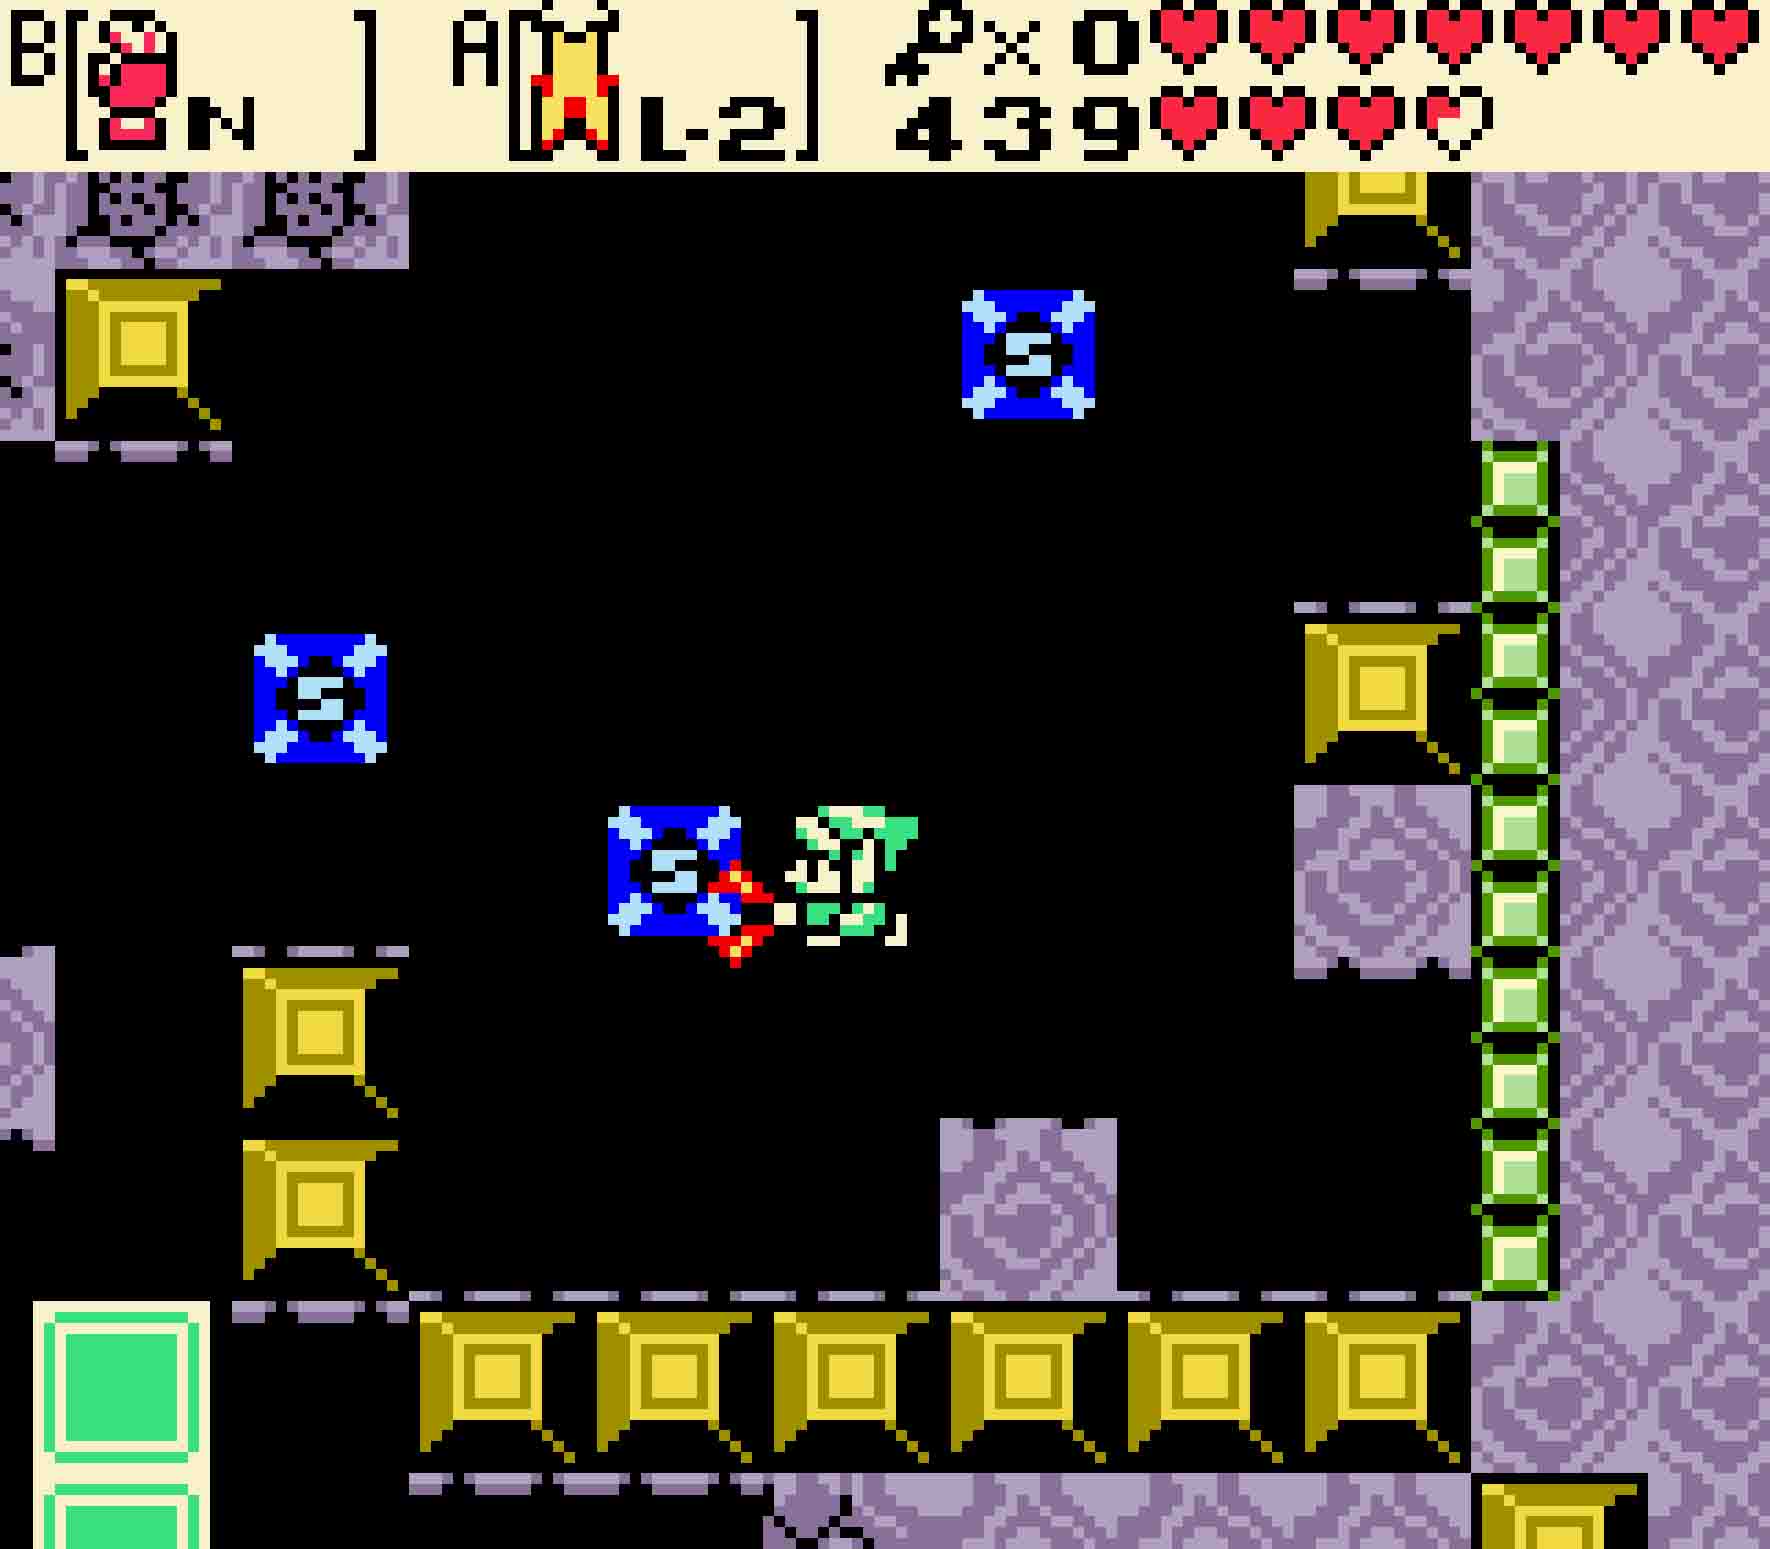
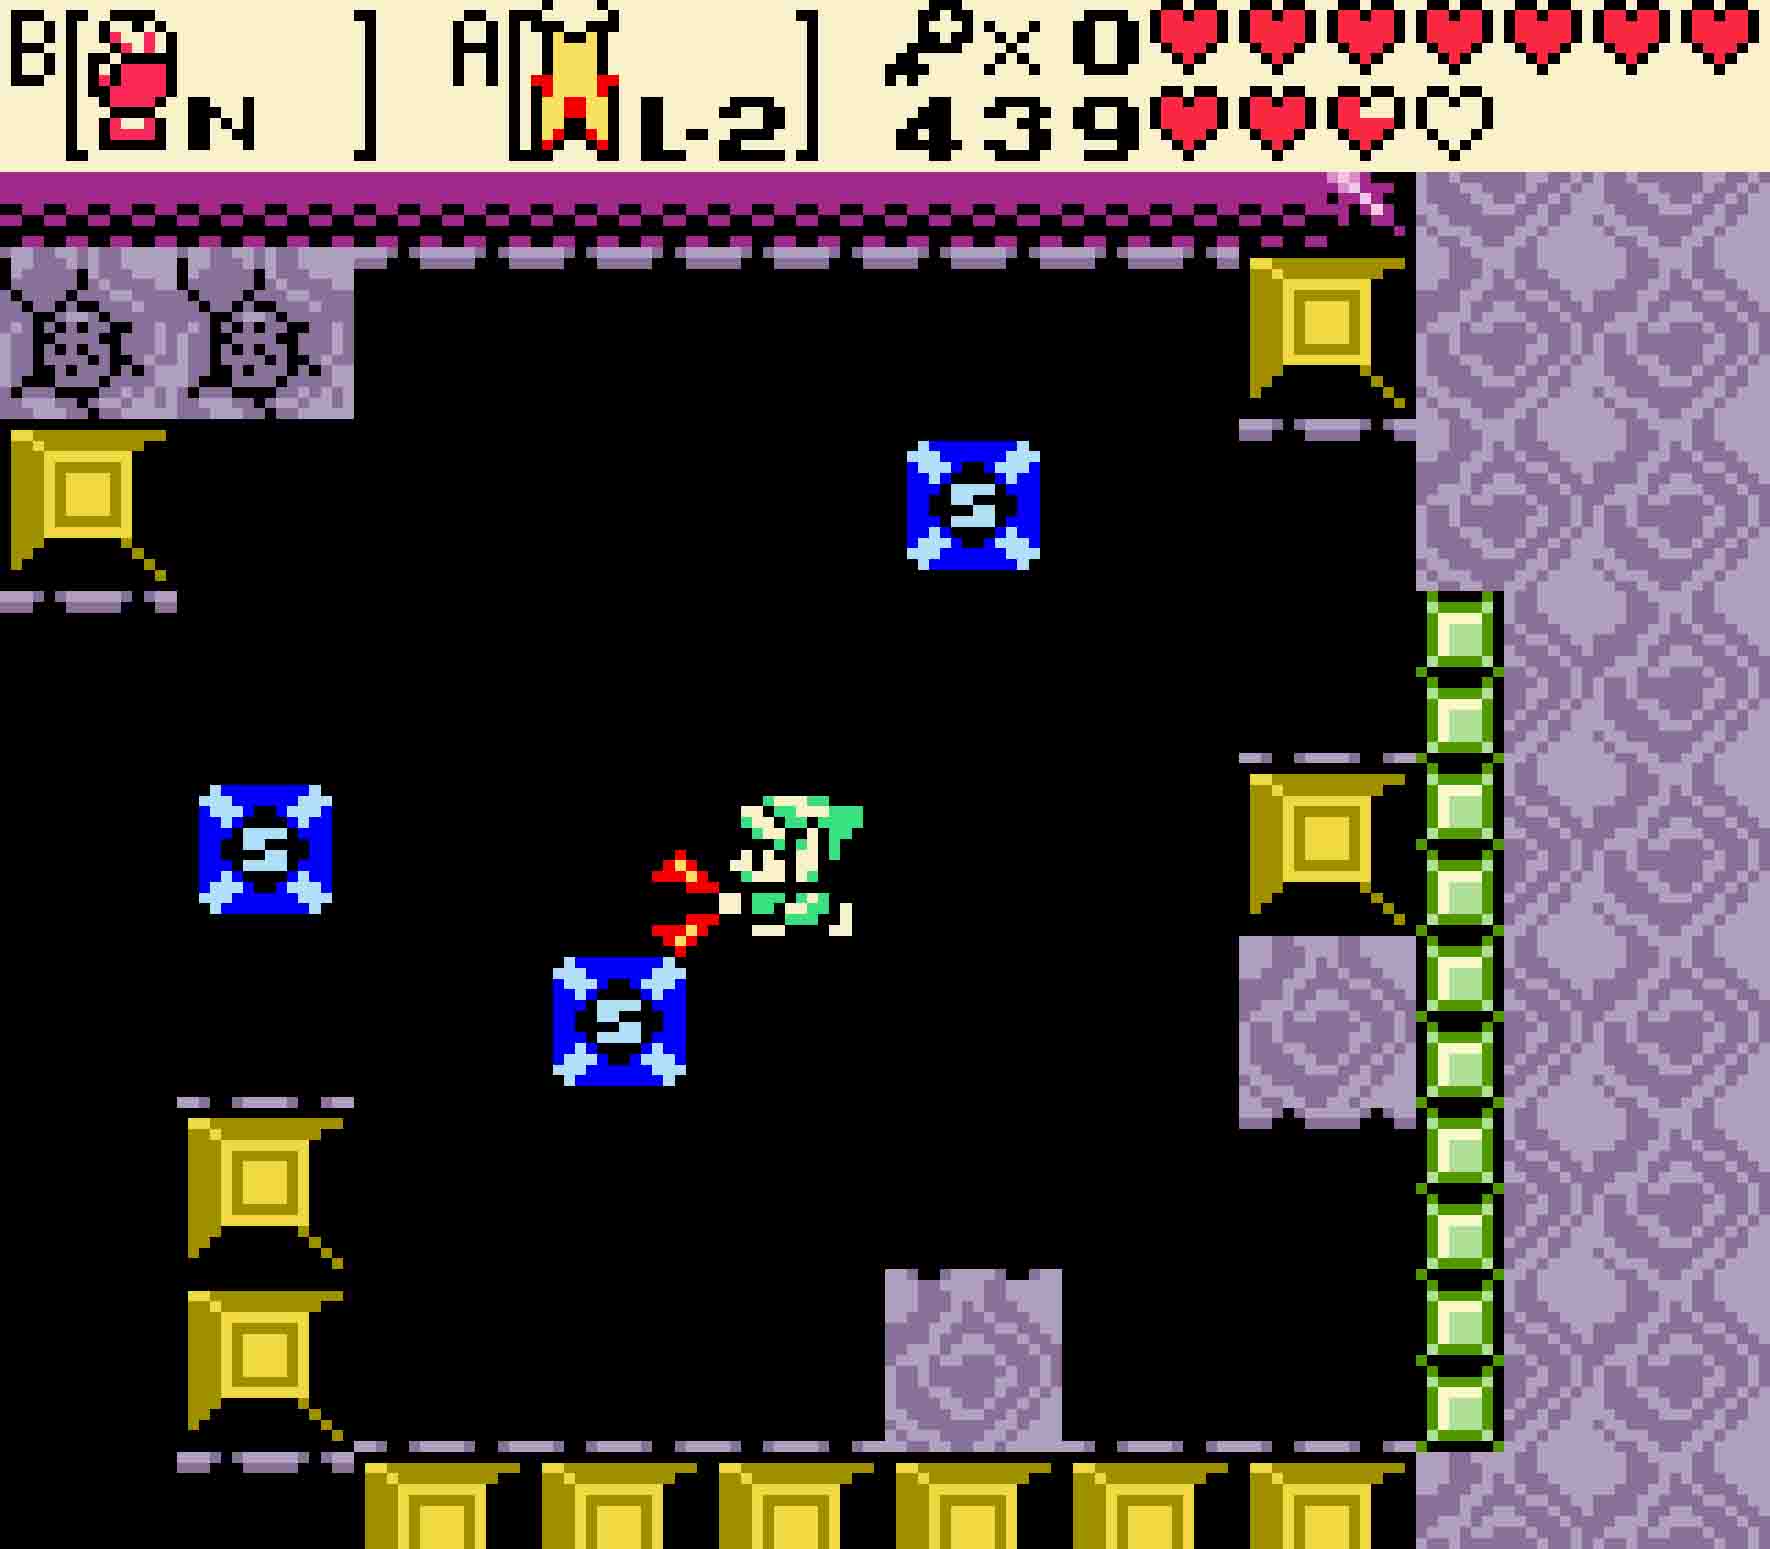
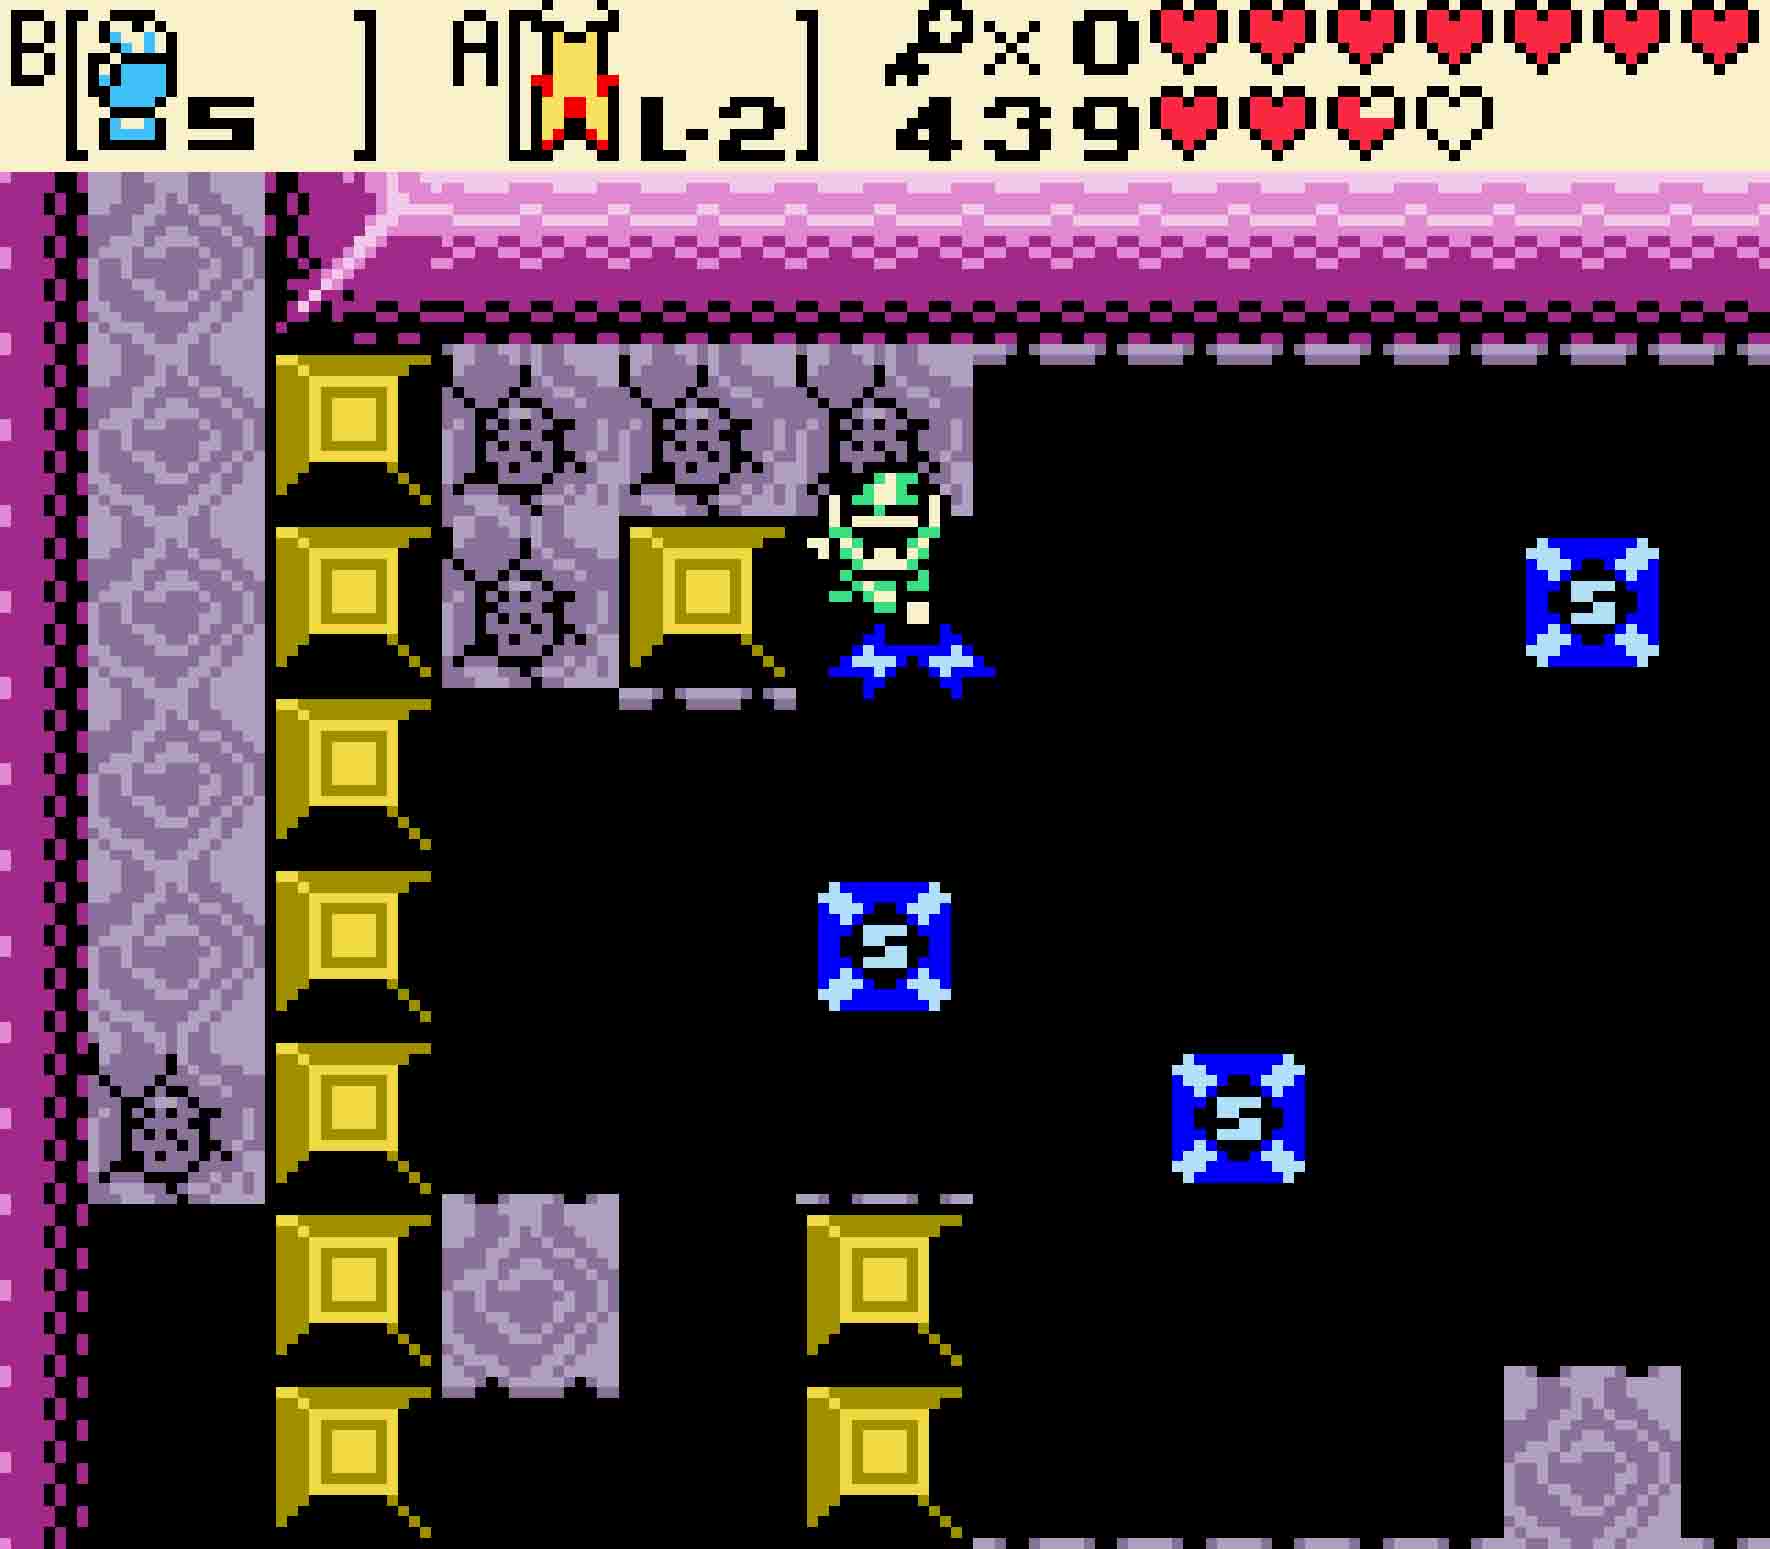
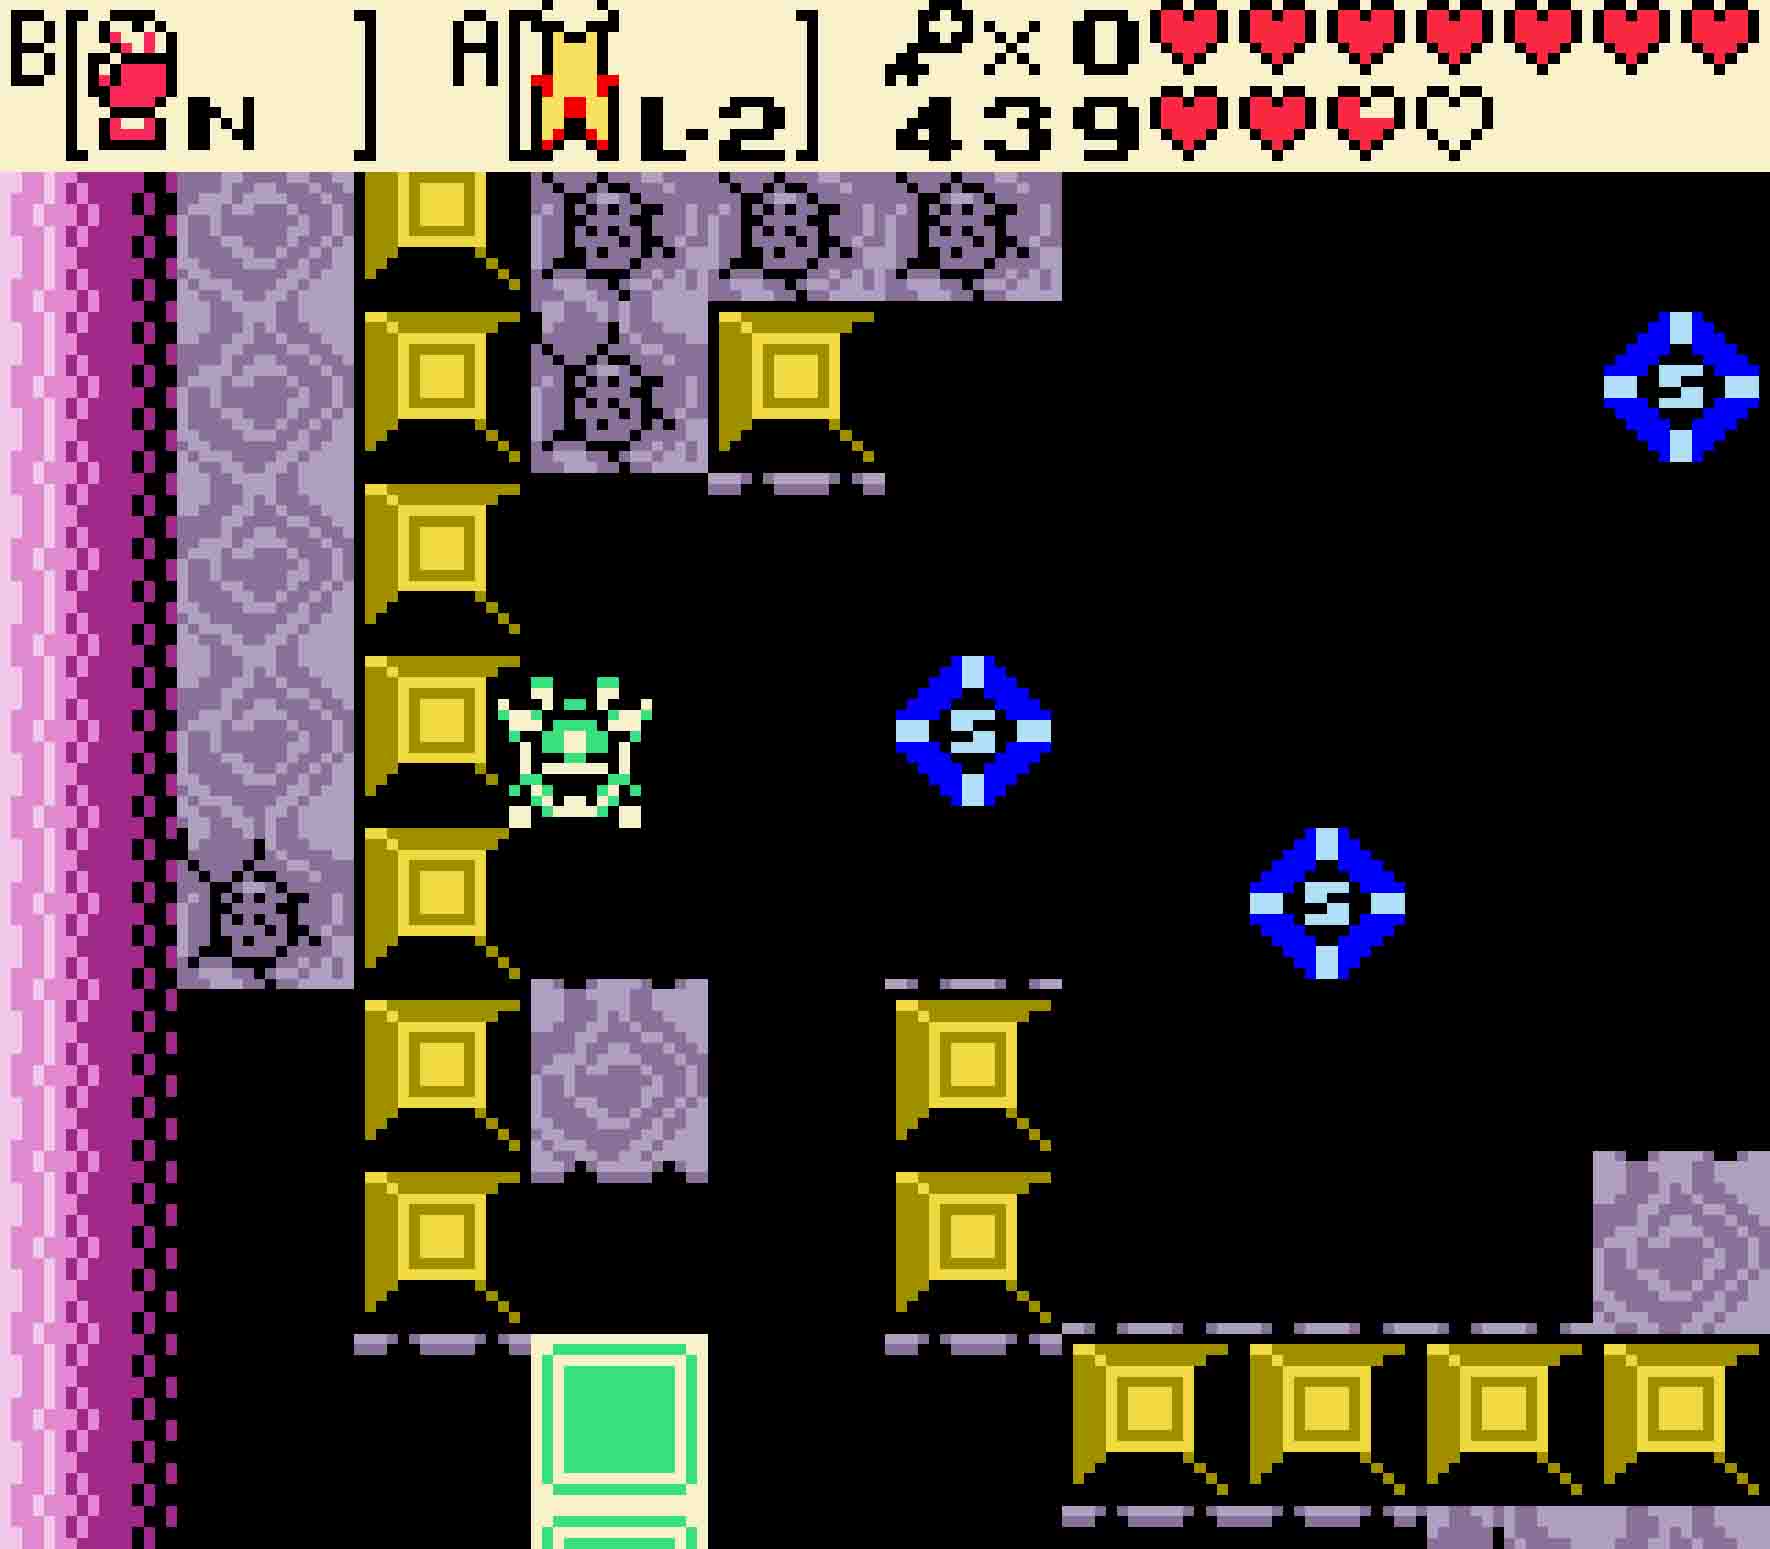
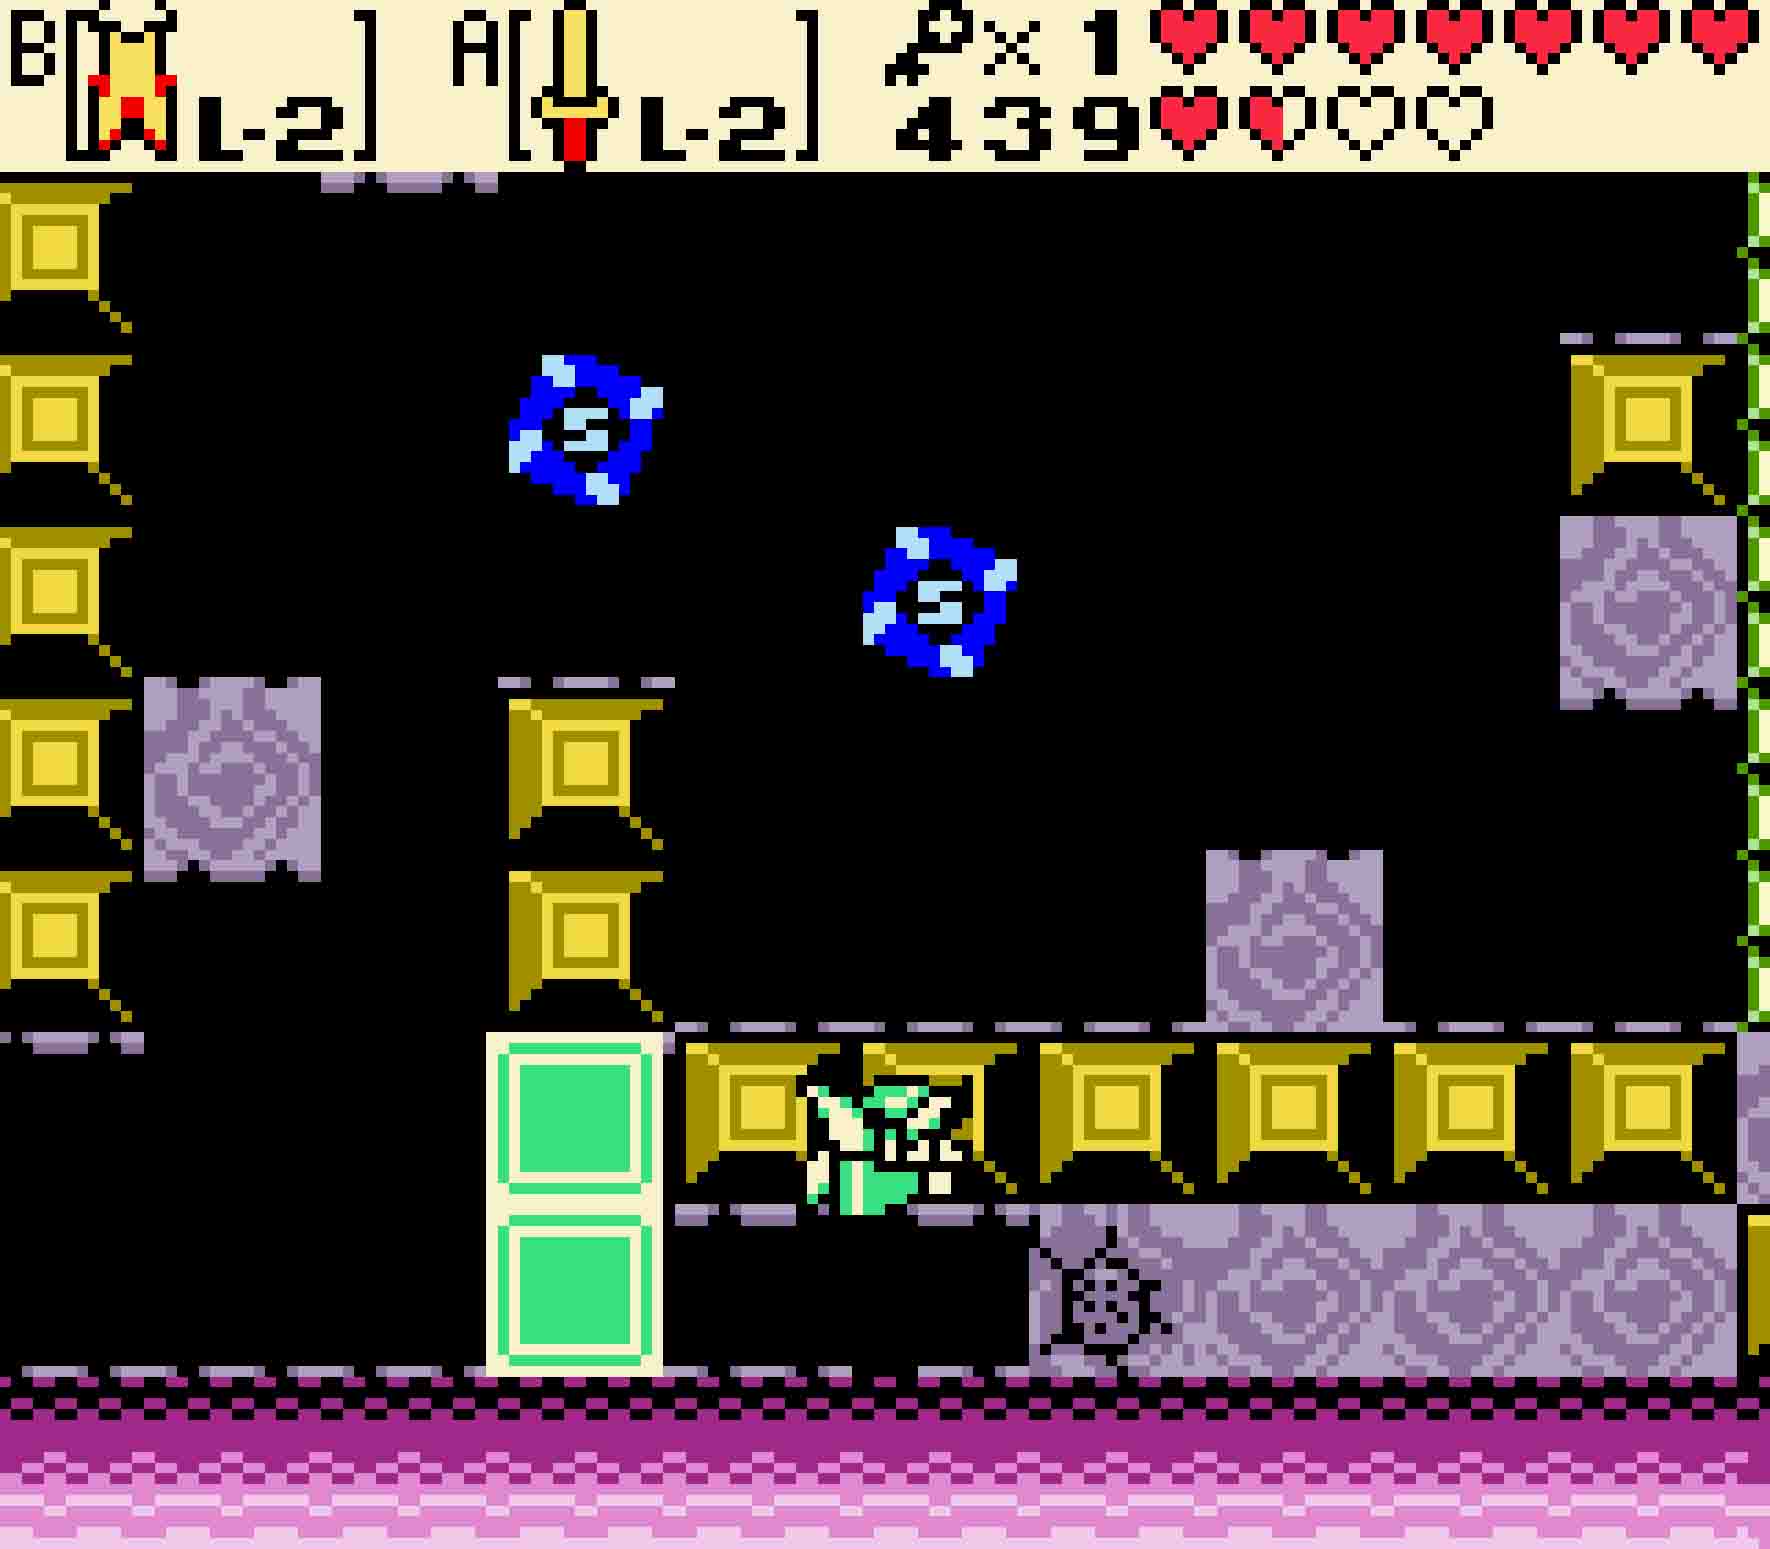
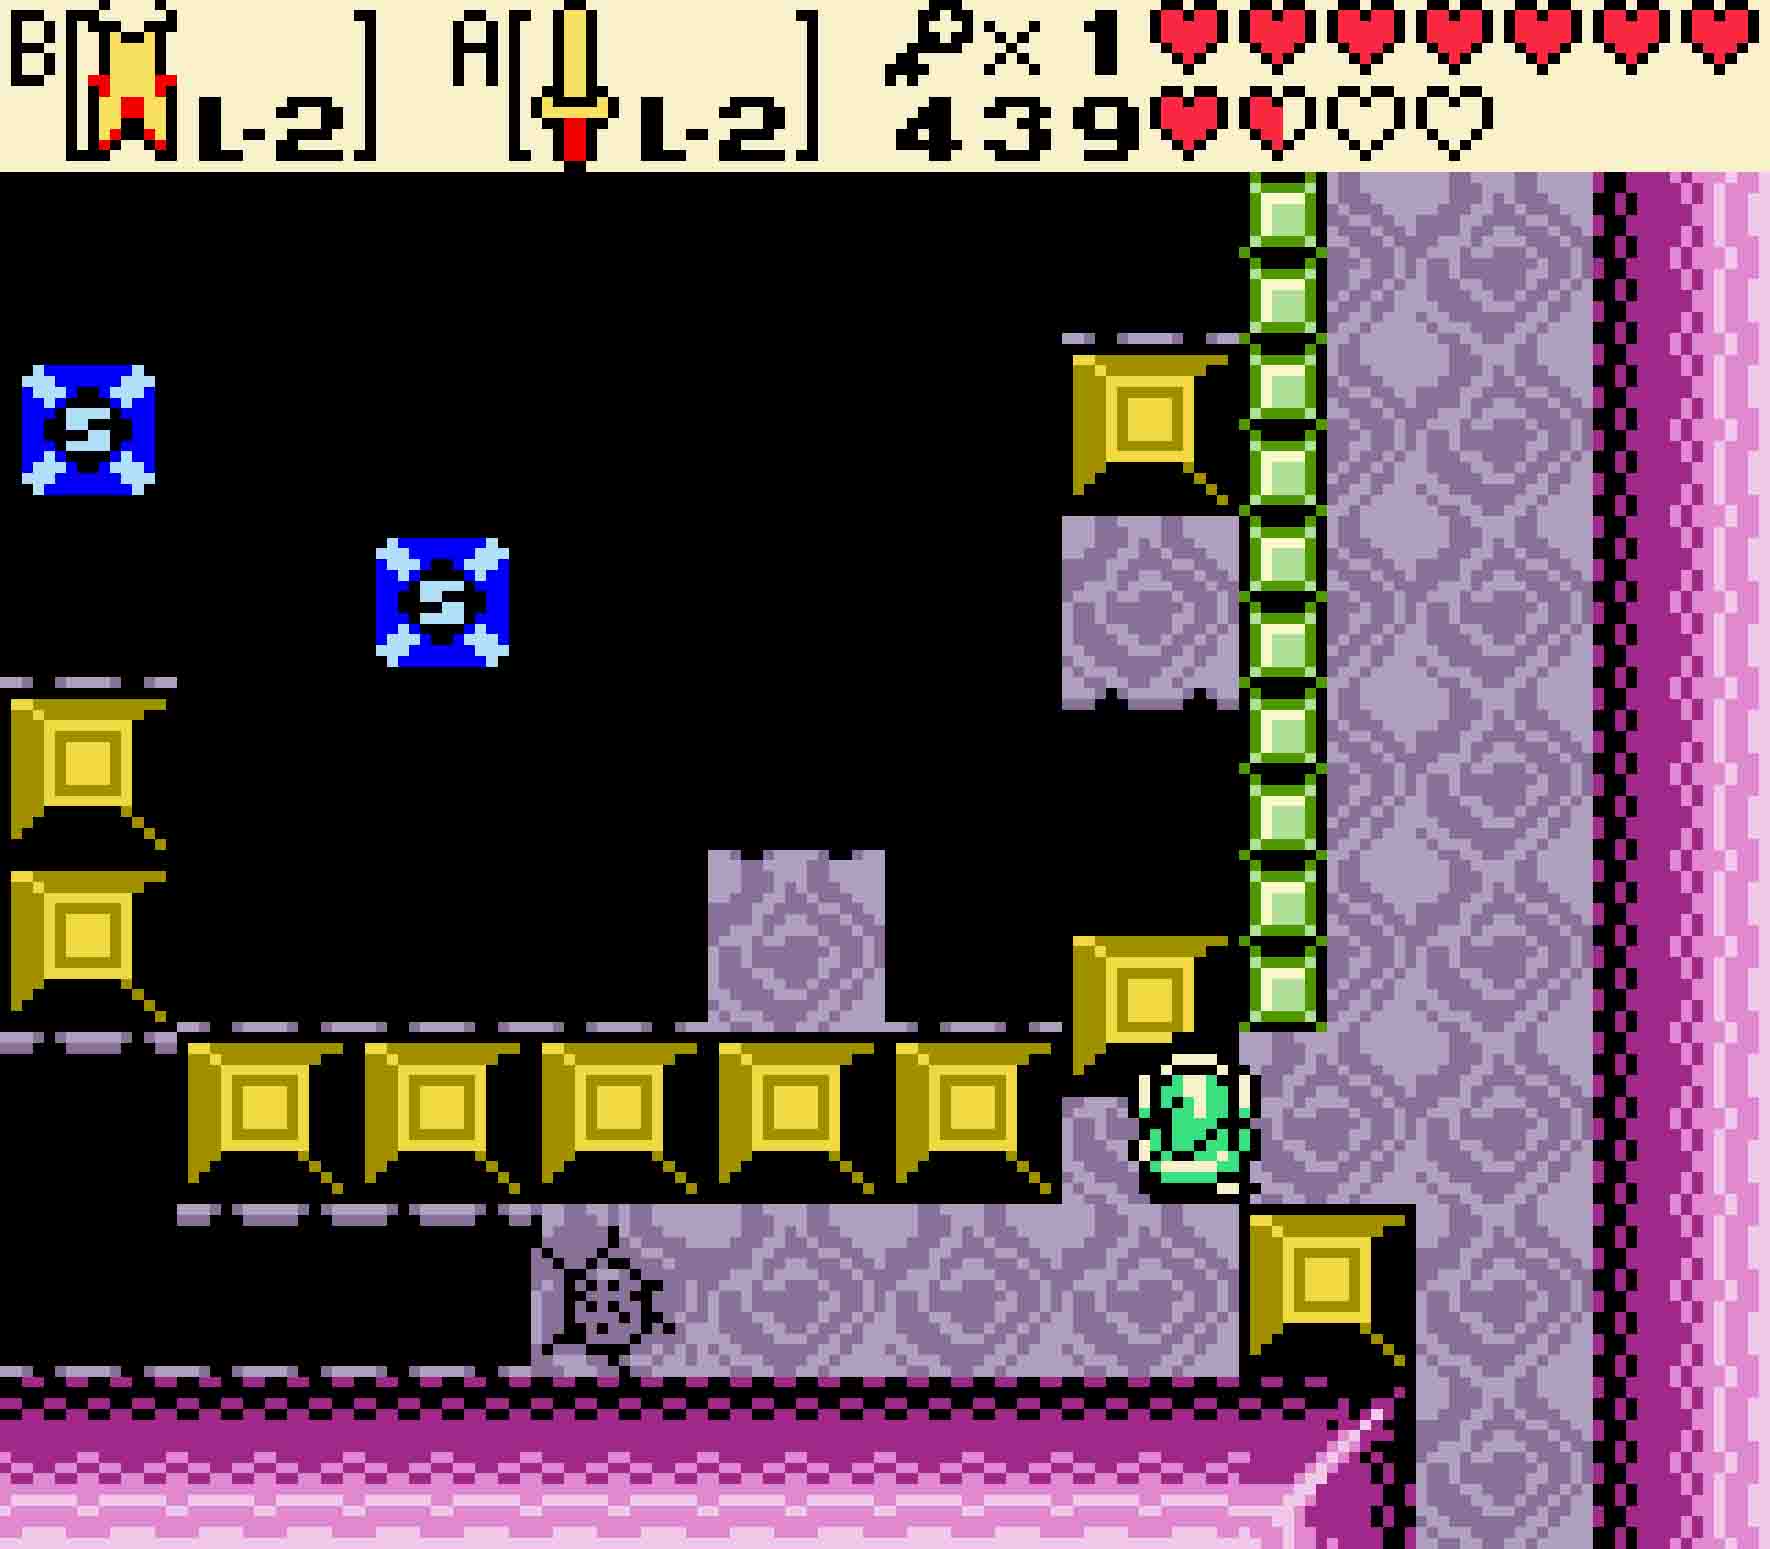
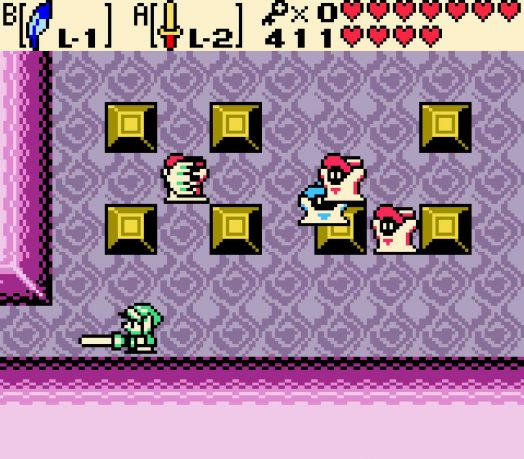 This will stumble you into a coven of Wizzrobes. Red Wizzrobes you’ve seen before, but their blue variant is new. These guys are the most dangerous breed of Wizzrobe; they phase in and out like before; however, once they phase in, they will travel toward you, repeatedly casting magical blasts as they do so. They’ll then teleport across the room and repeat. Definitely focus on killing the blue Wizzrobes first, using Spin Attacks when possible, and then clean up the red ones later. Once you defeat them all, a chest with a key will be deposited in the middle of the room.
17.2 Get the Compass
With the key in hand, you’ll have to return a bit to the point where you can spend it. You could consider getting caught in the cursed room to send you back to the beginning. But if you want to do it properly, head west, quickly travel south away from the cursed room, south through the dark room, and then west followed by east around the room with the sealed-off central section. Then you can unlock the door to the east.
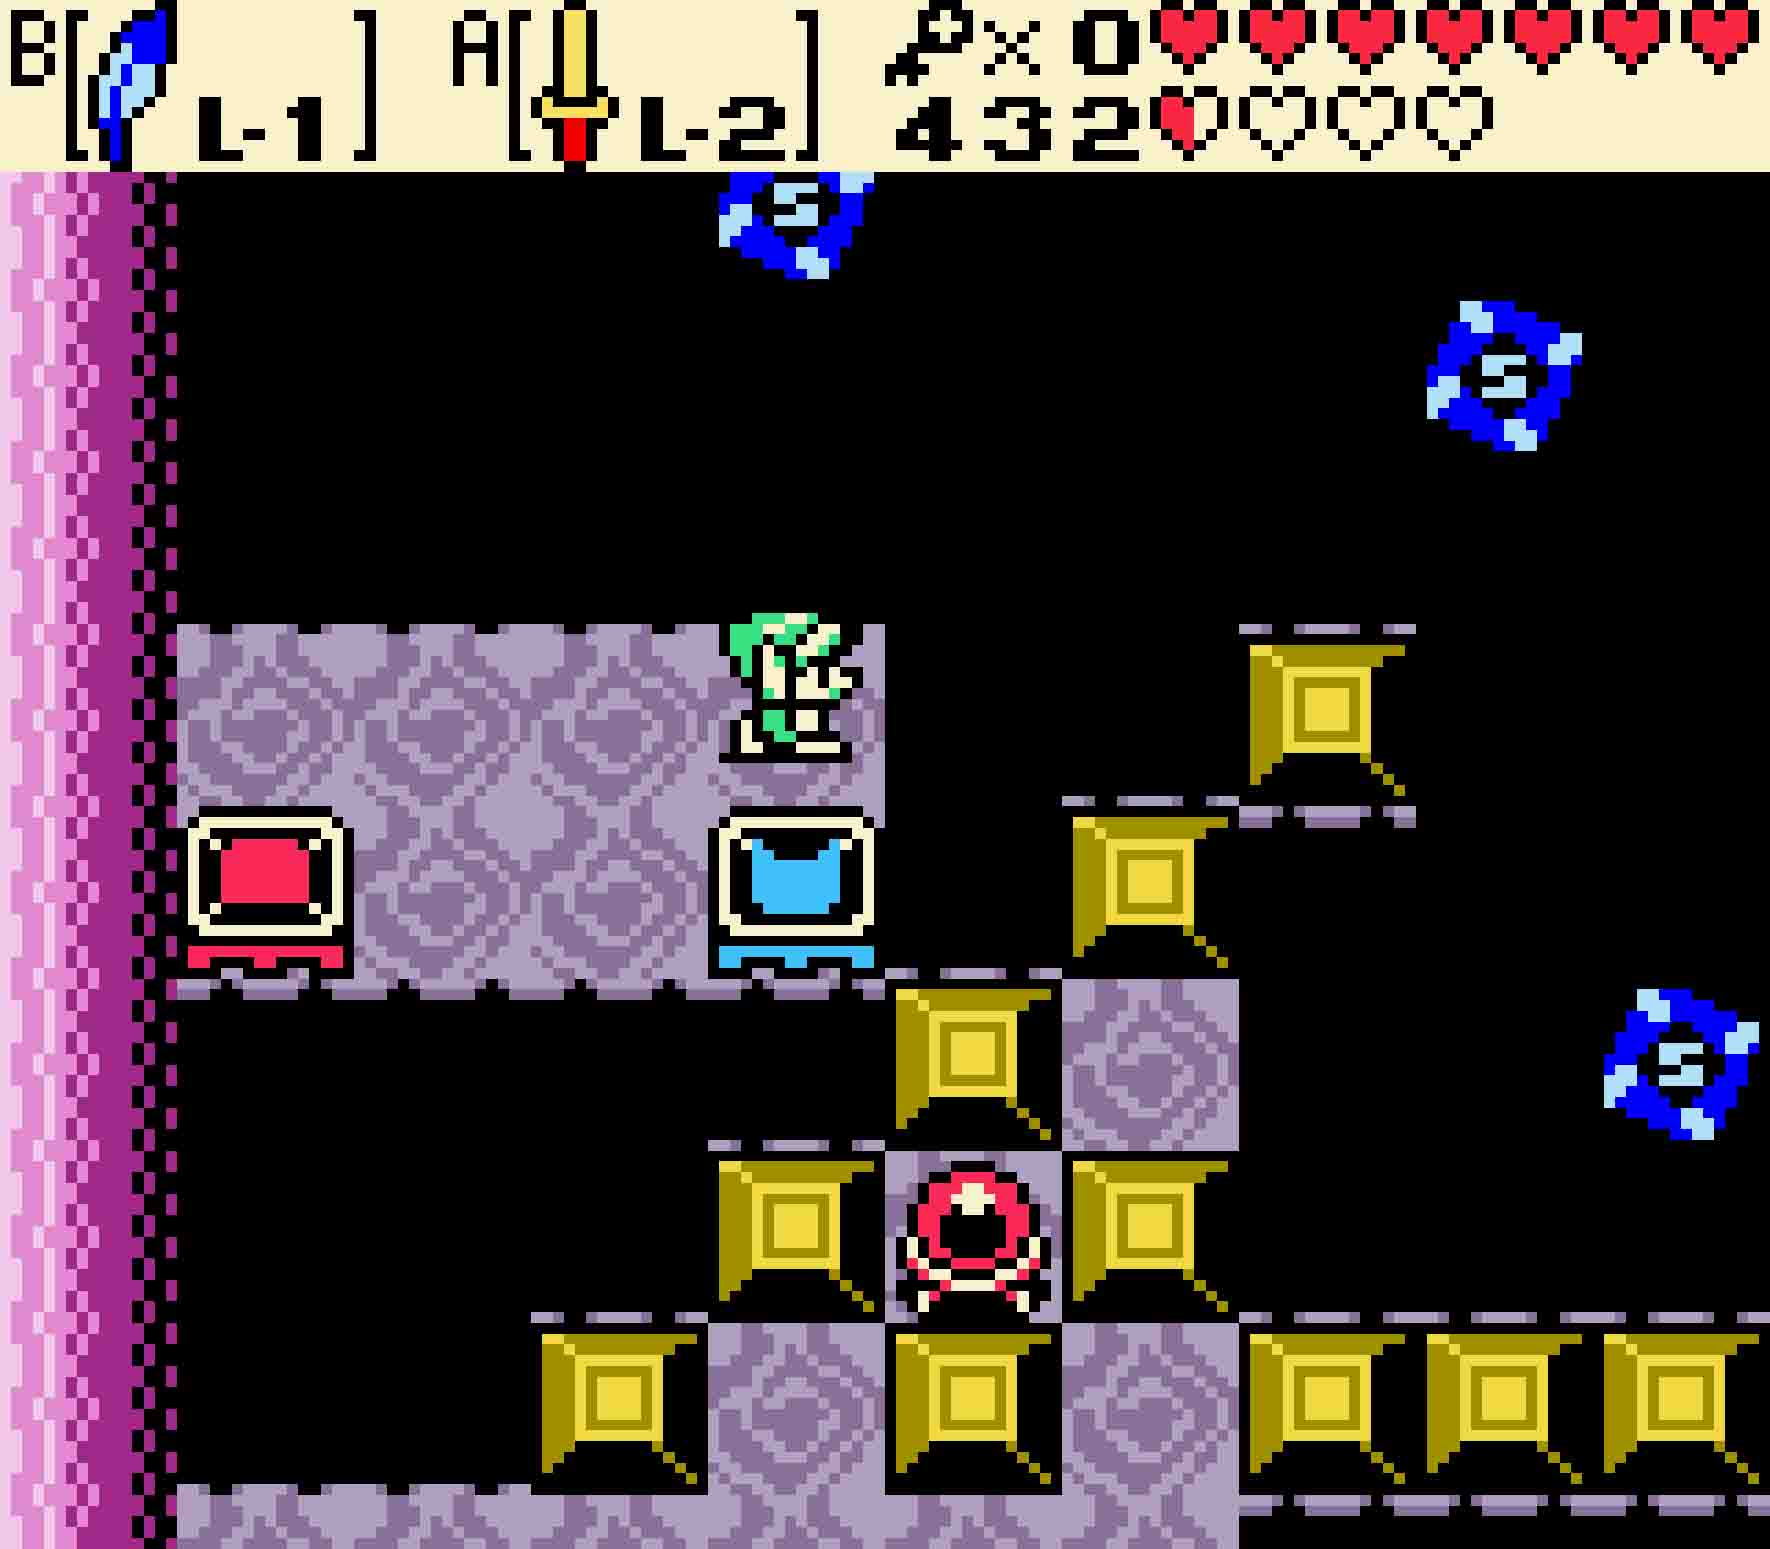
The room will be a gauntlet of Sword Stalfos, Shrouded Stalfos, and a few Zols. You really don’t need to defeat them all if you don’t want; however, there is a nice benefit to doing so in the form of the Power Ring L-1. Regardless, you’ll eventually want to ascend the left set of steps to the raised walkway so you can head back west.

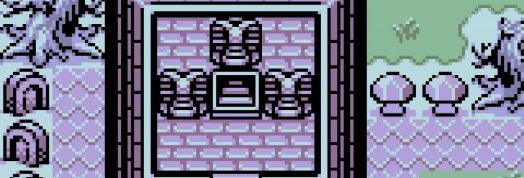
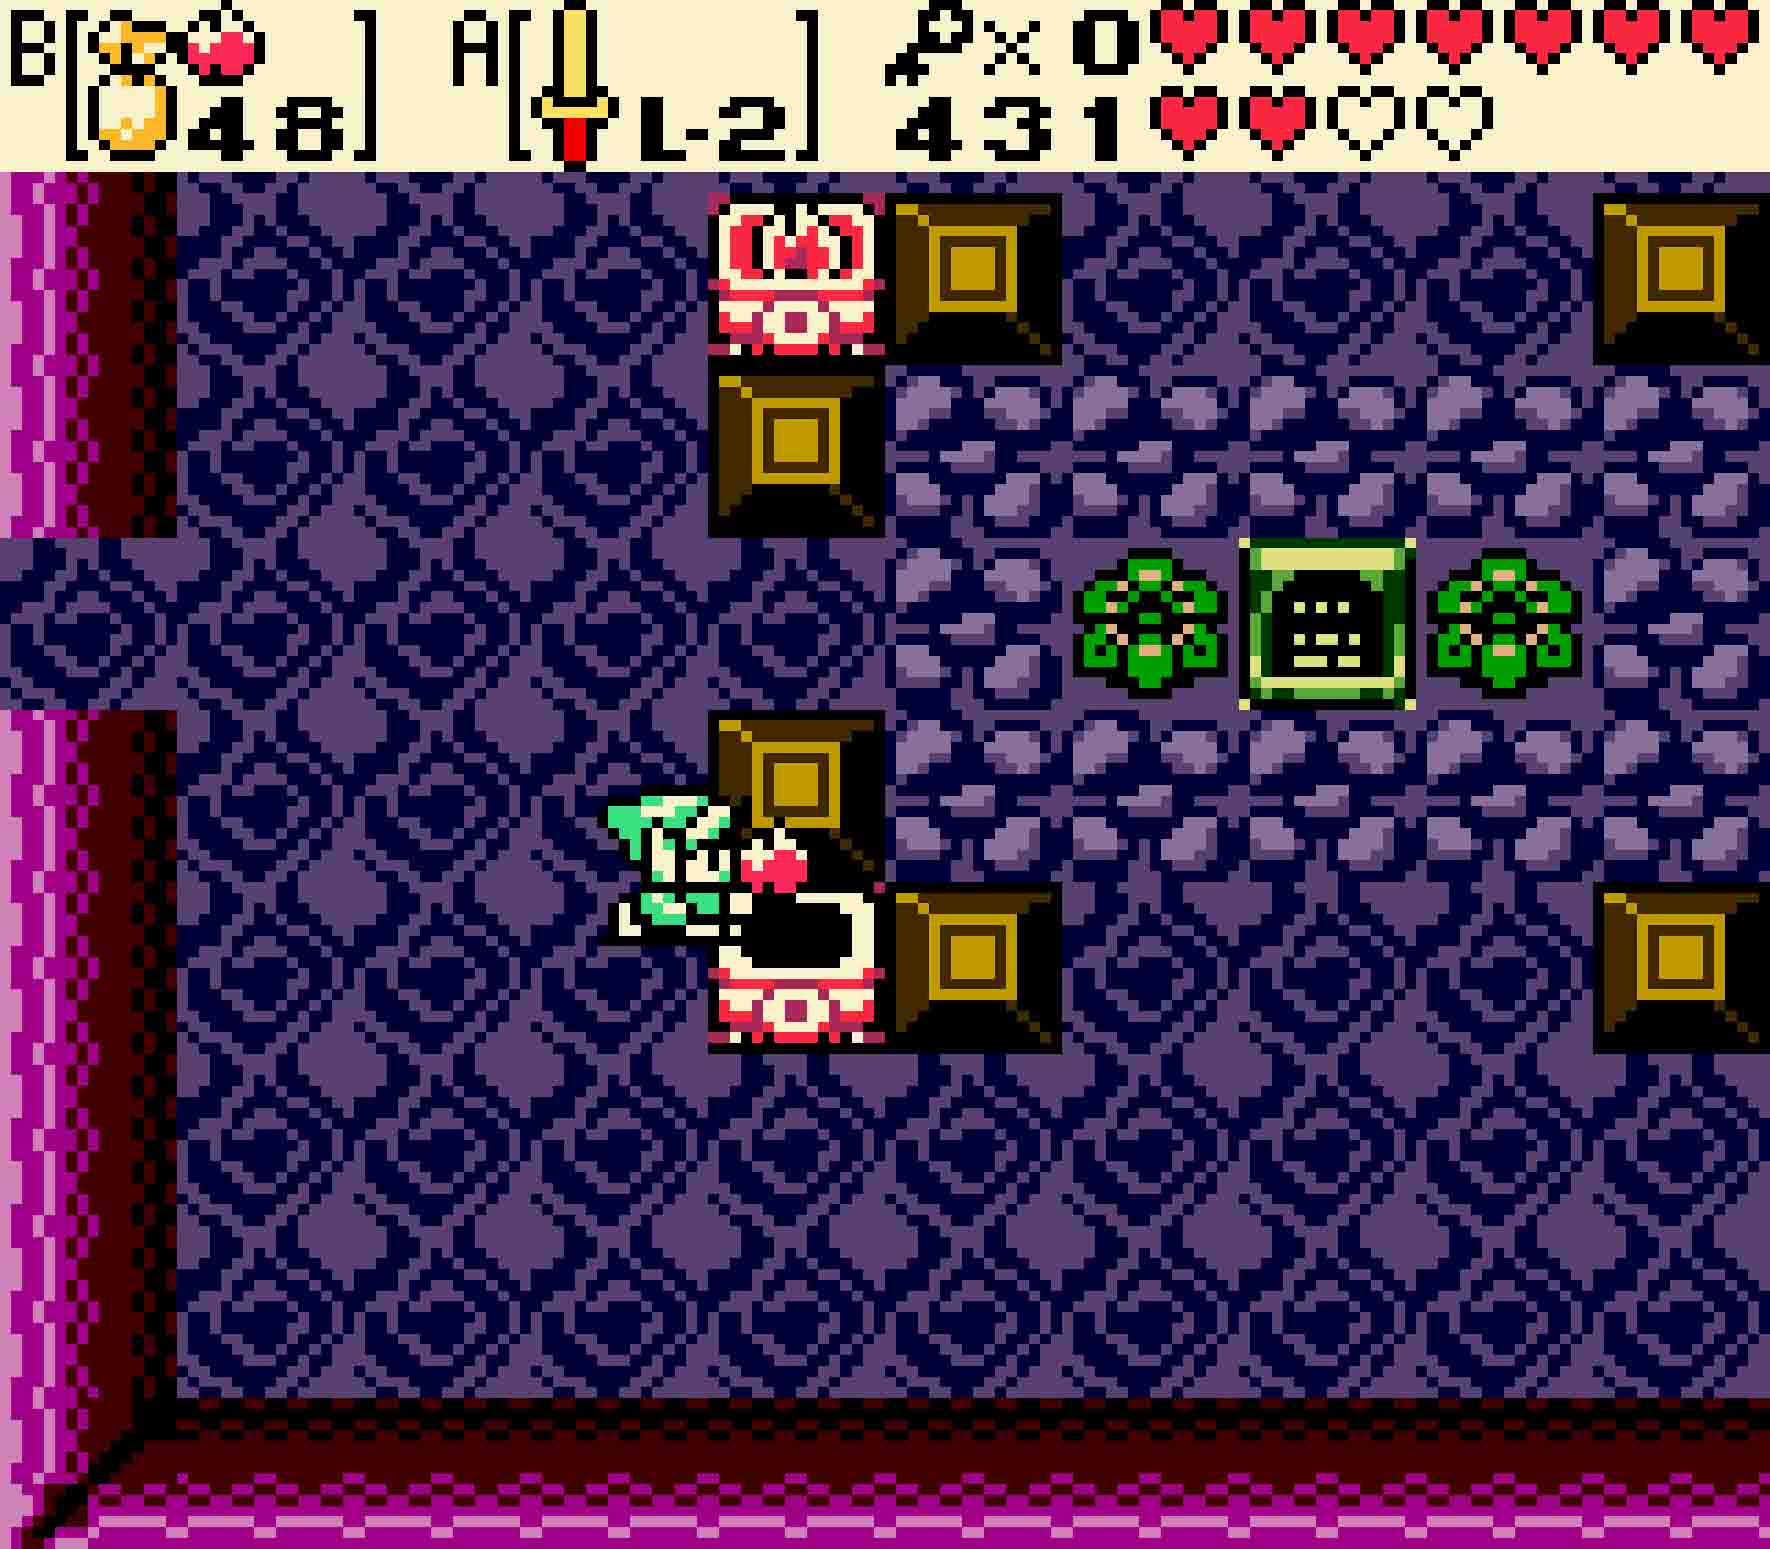
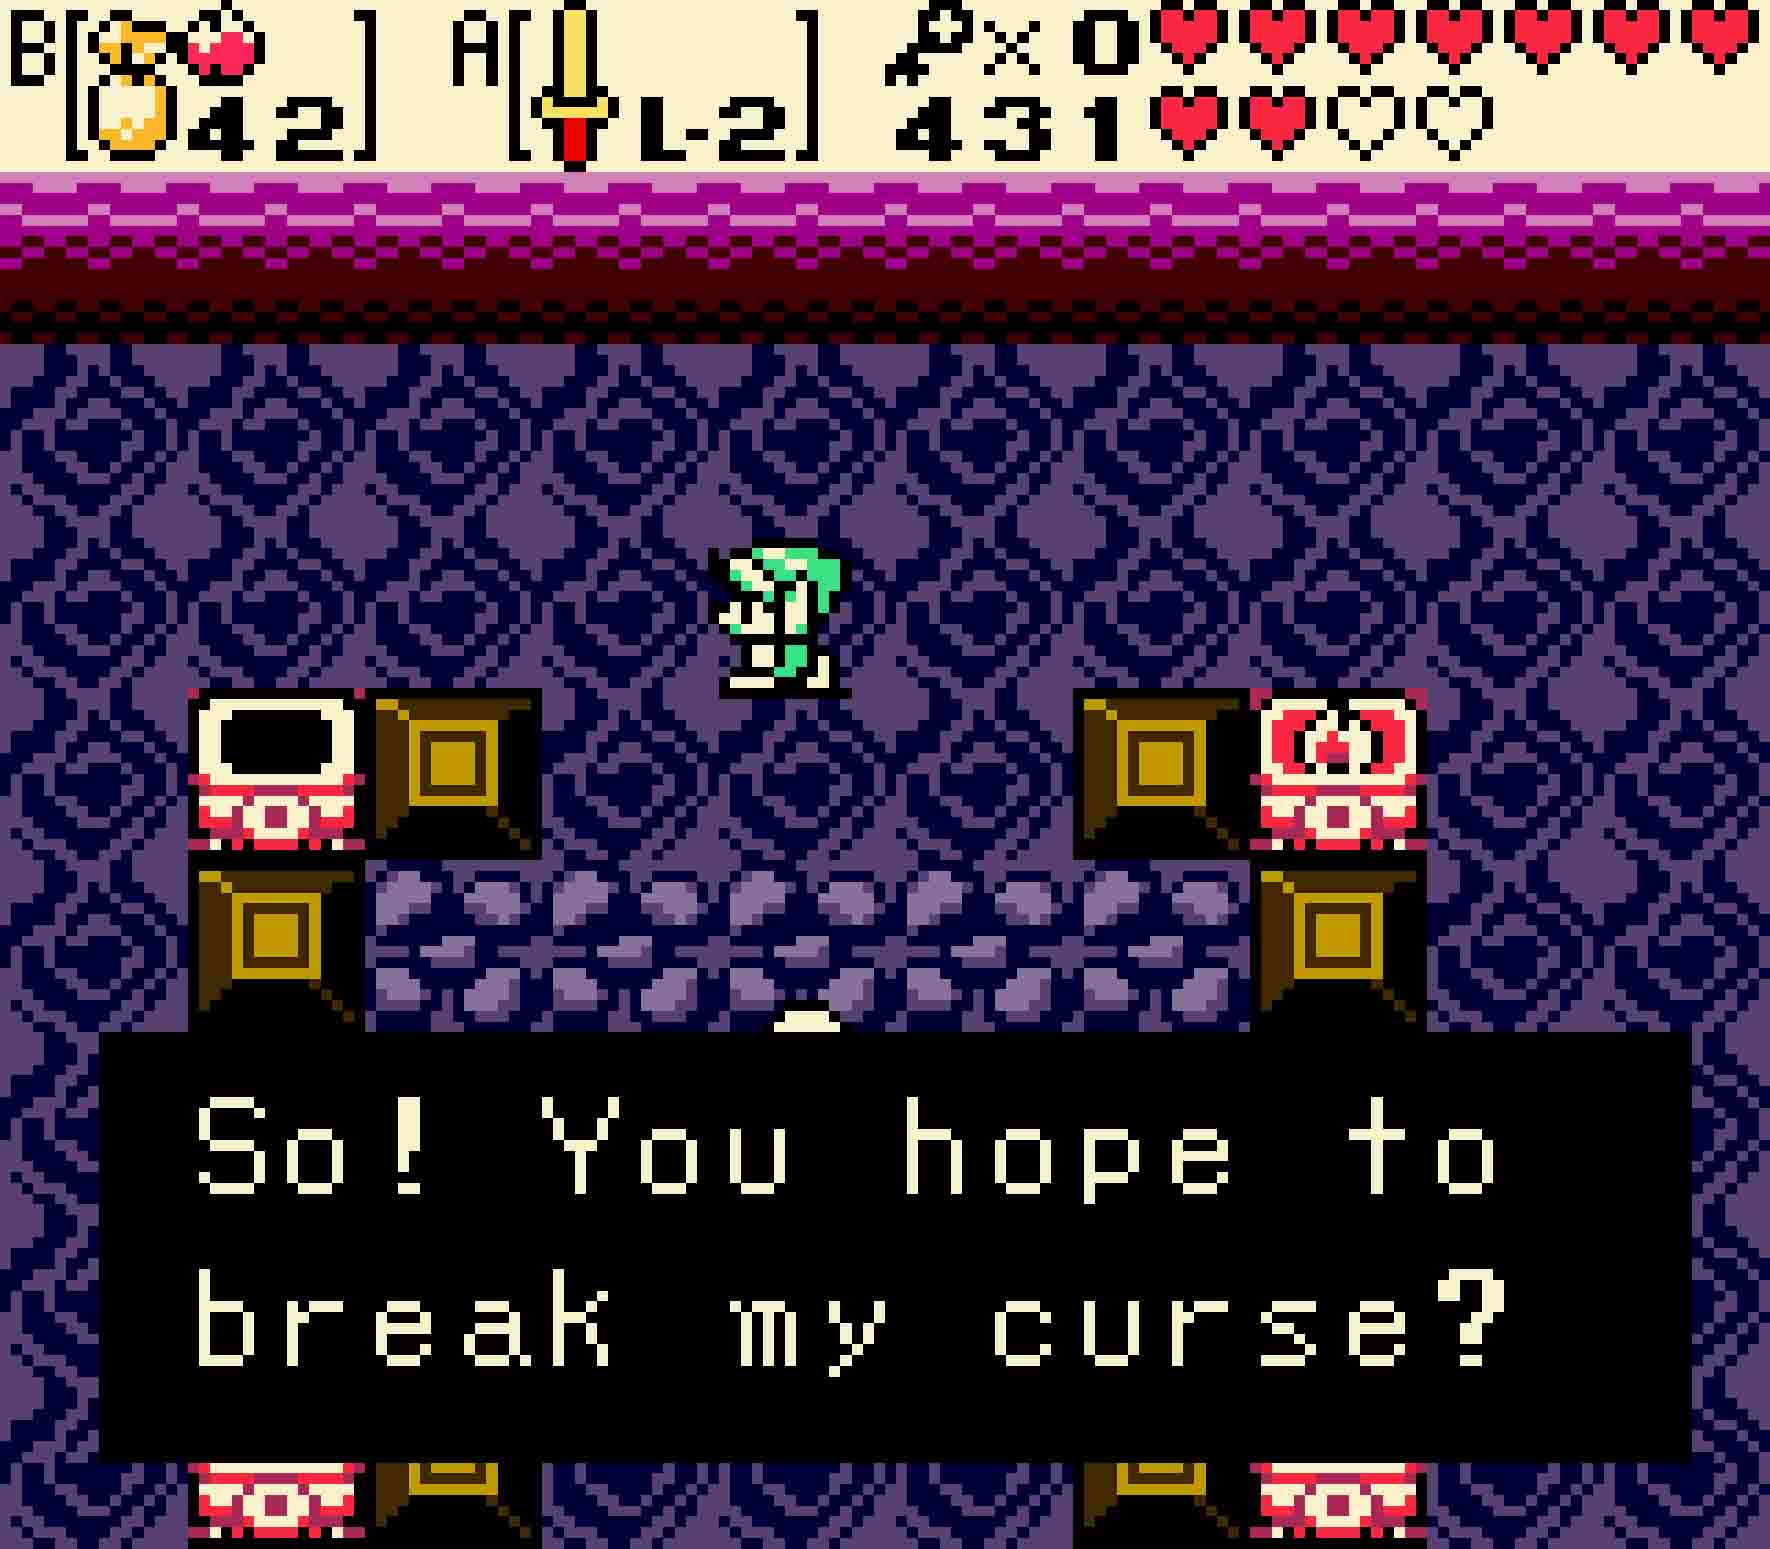
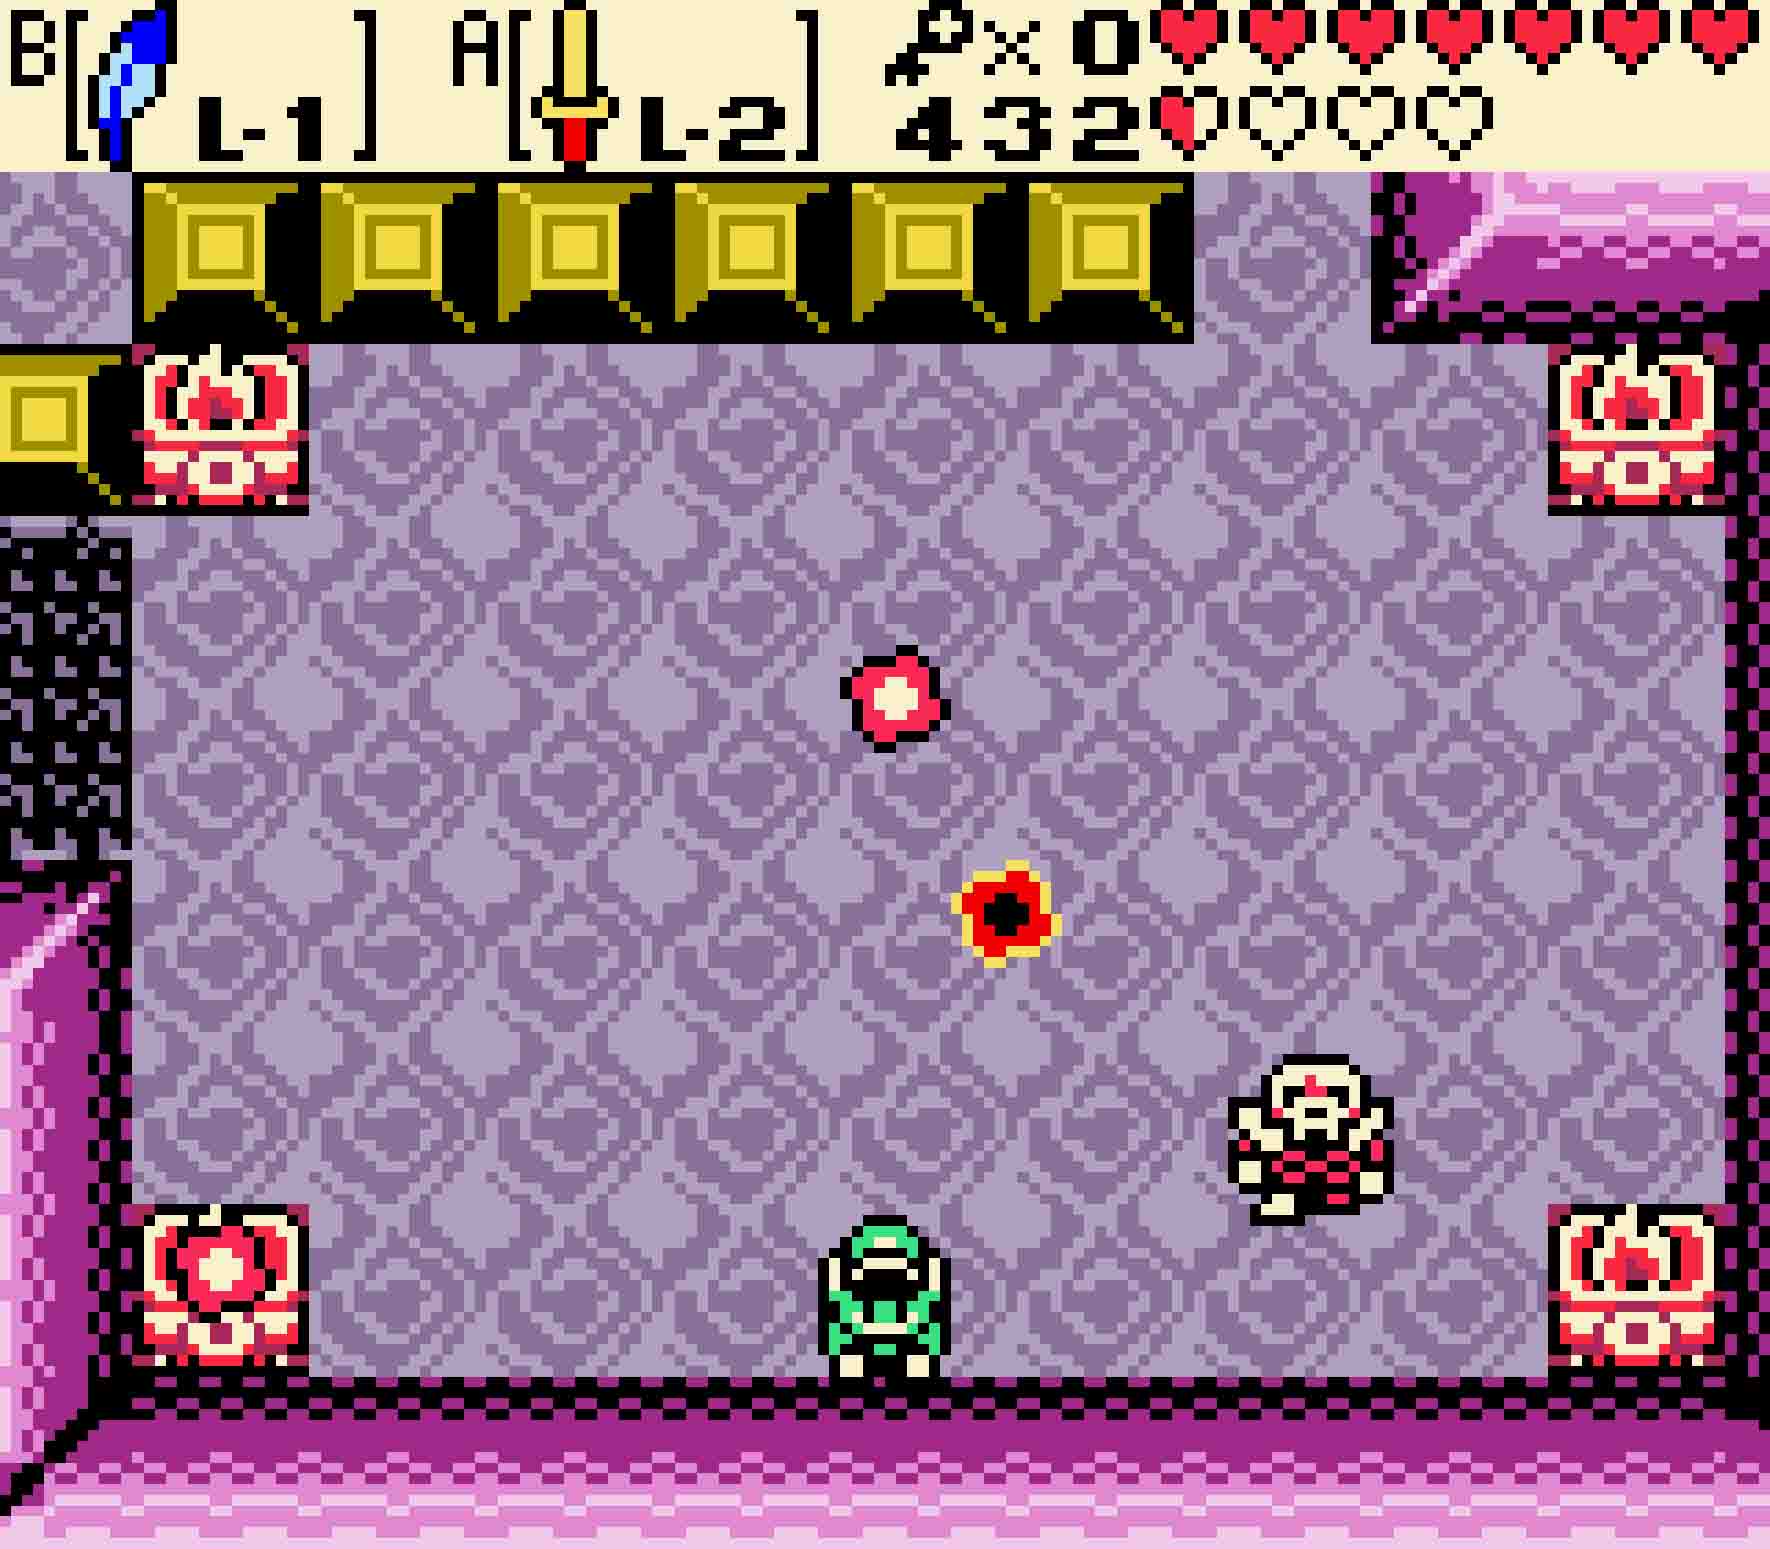
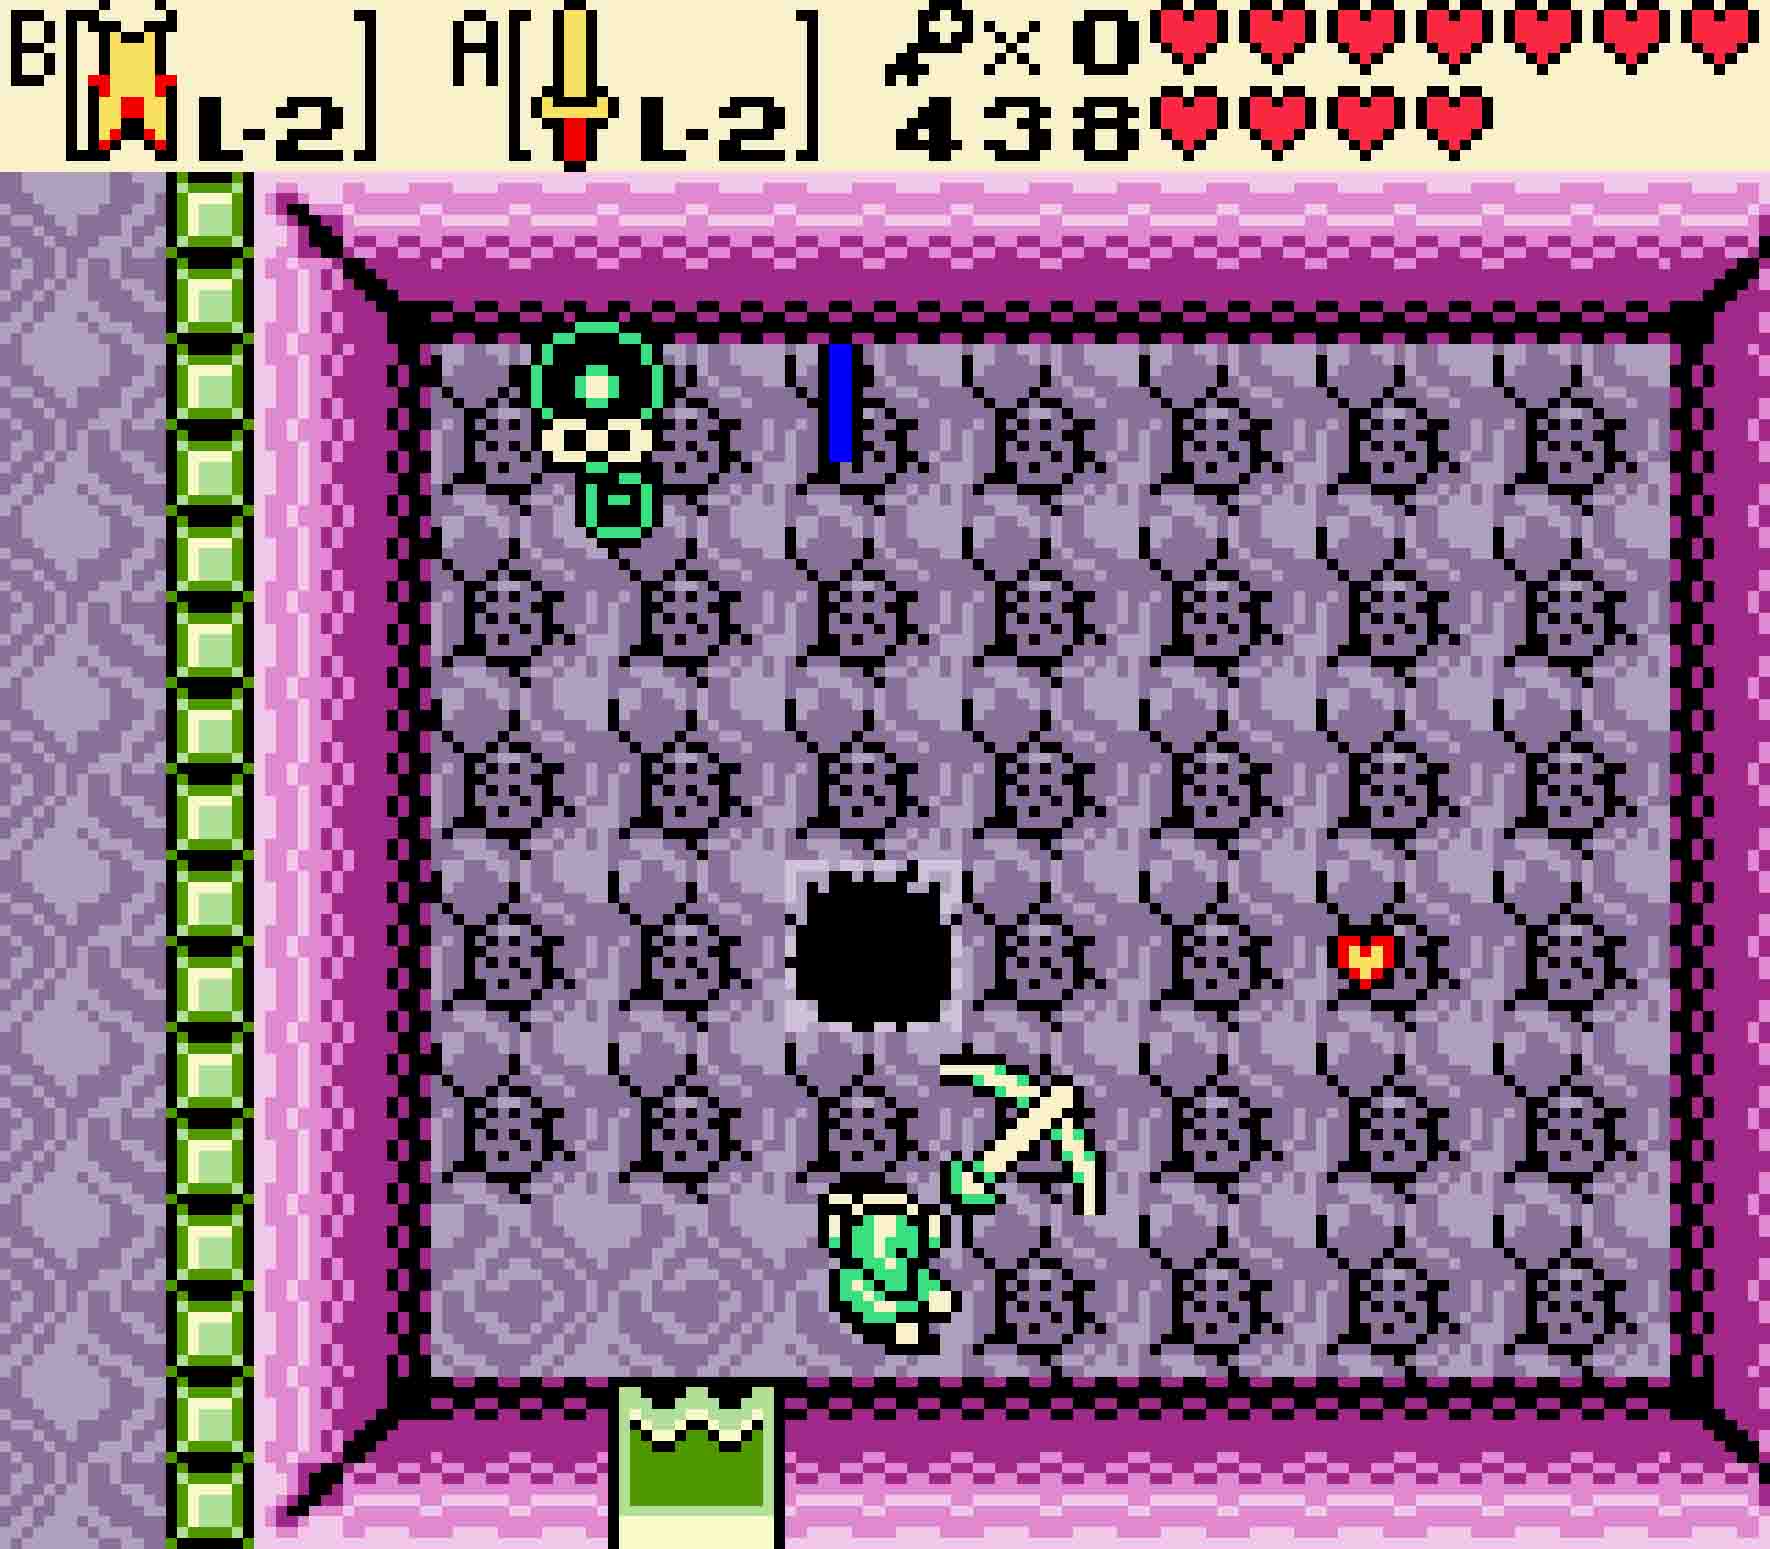
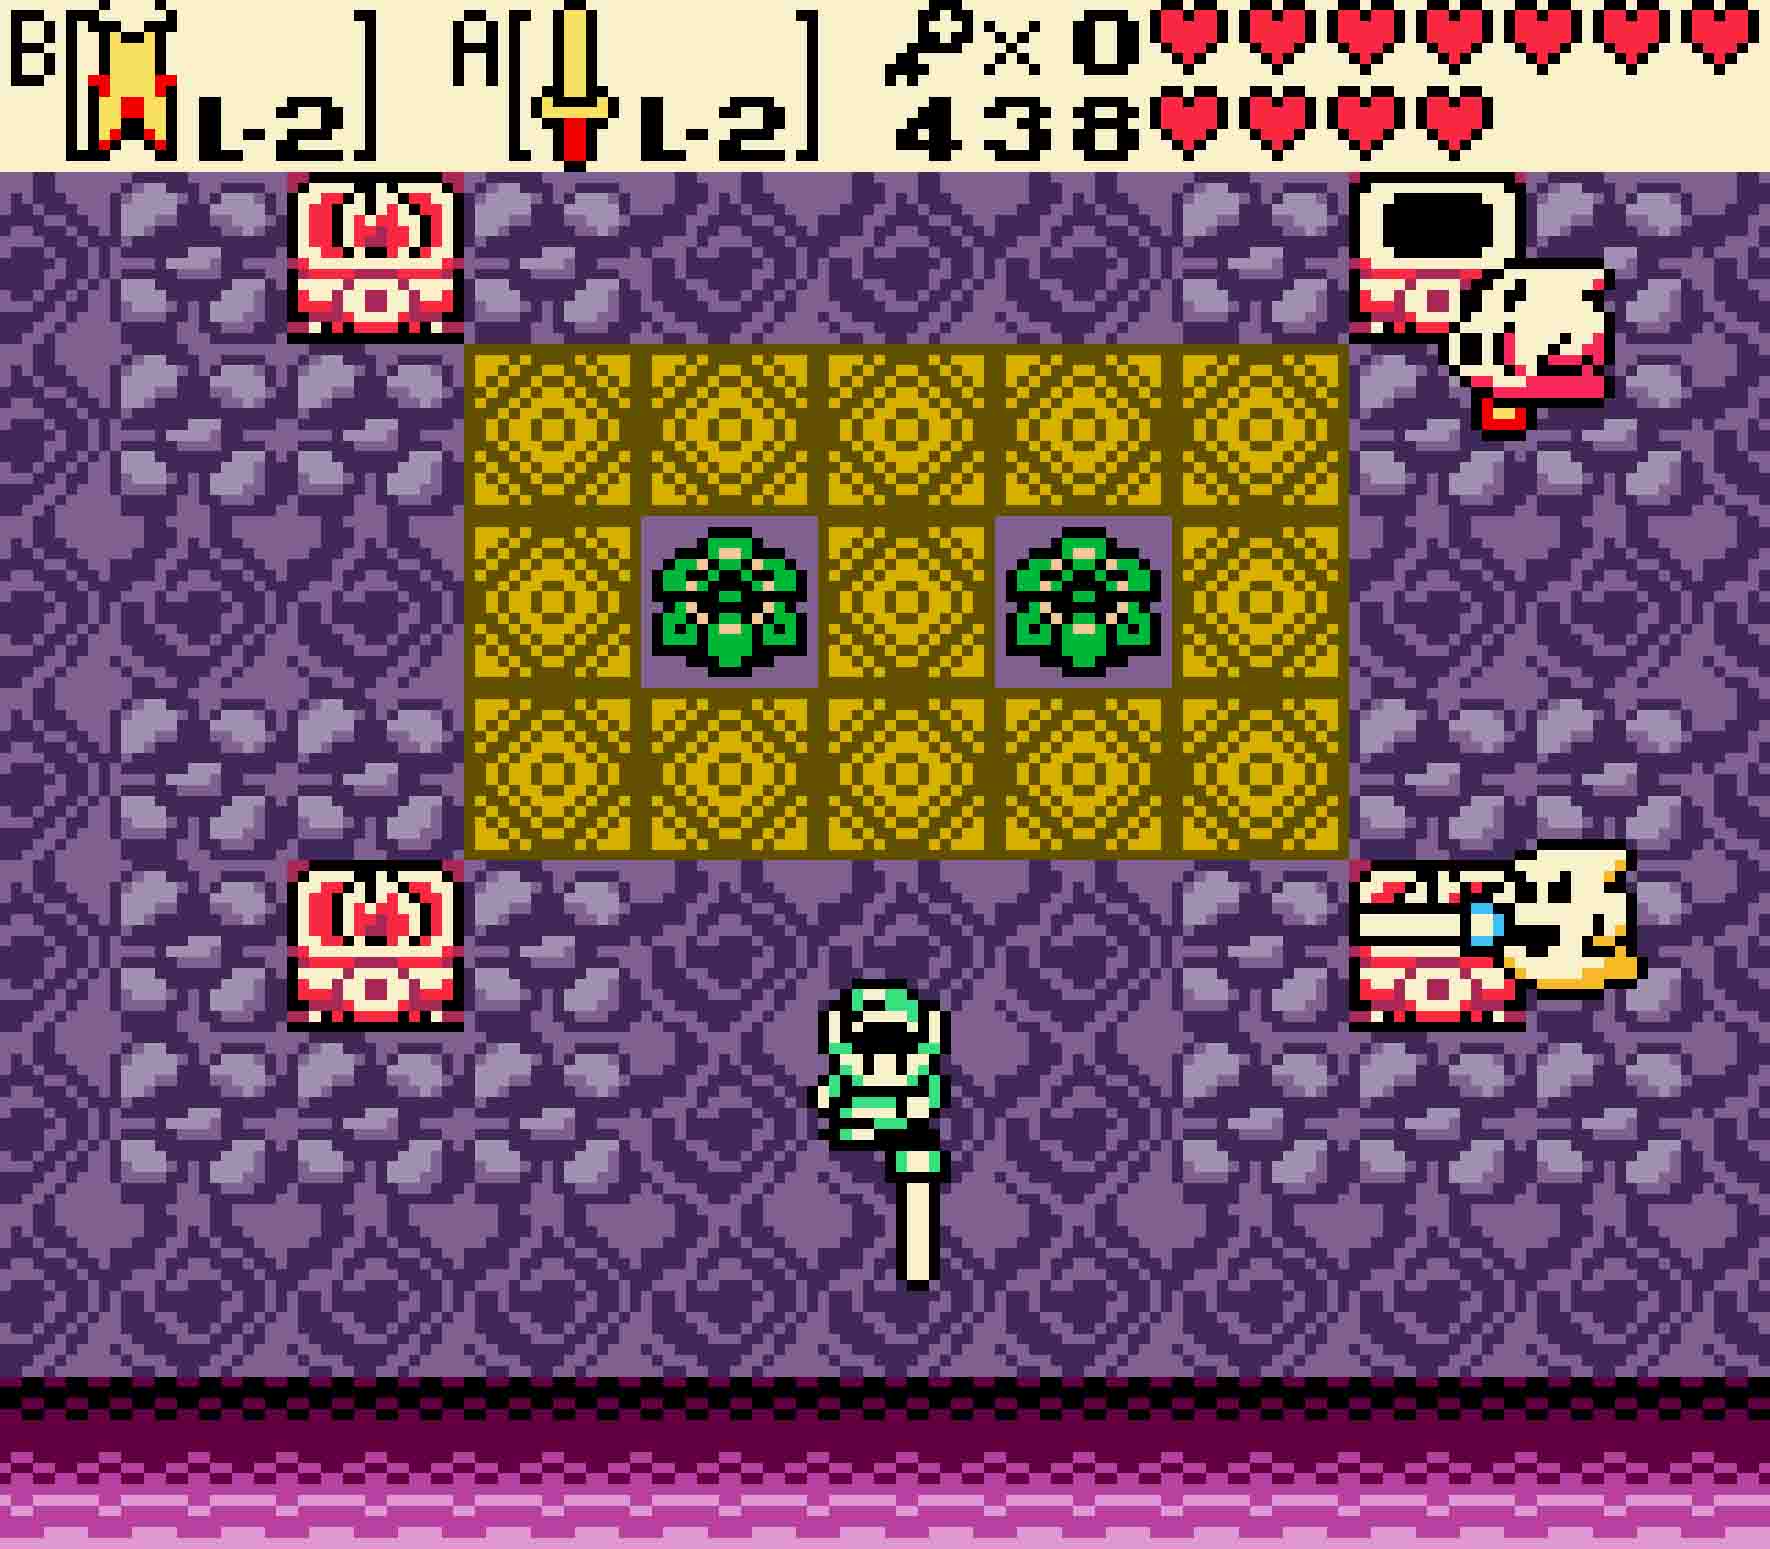
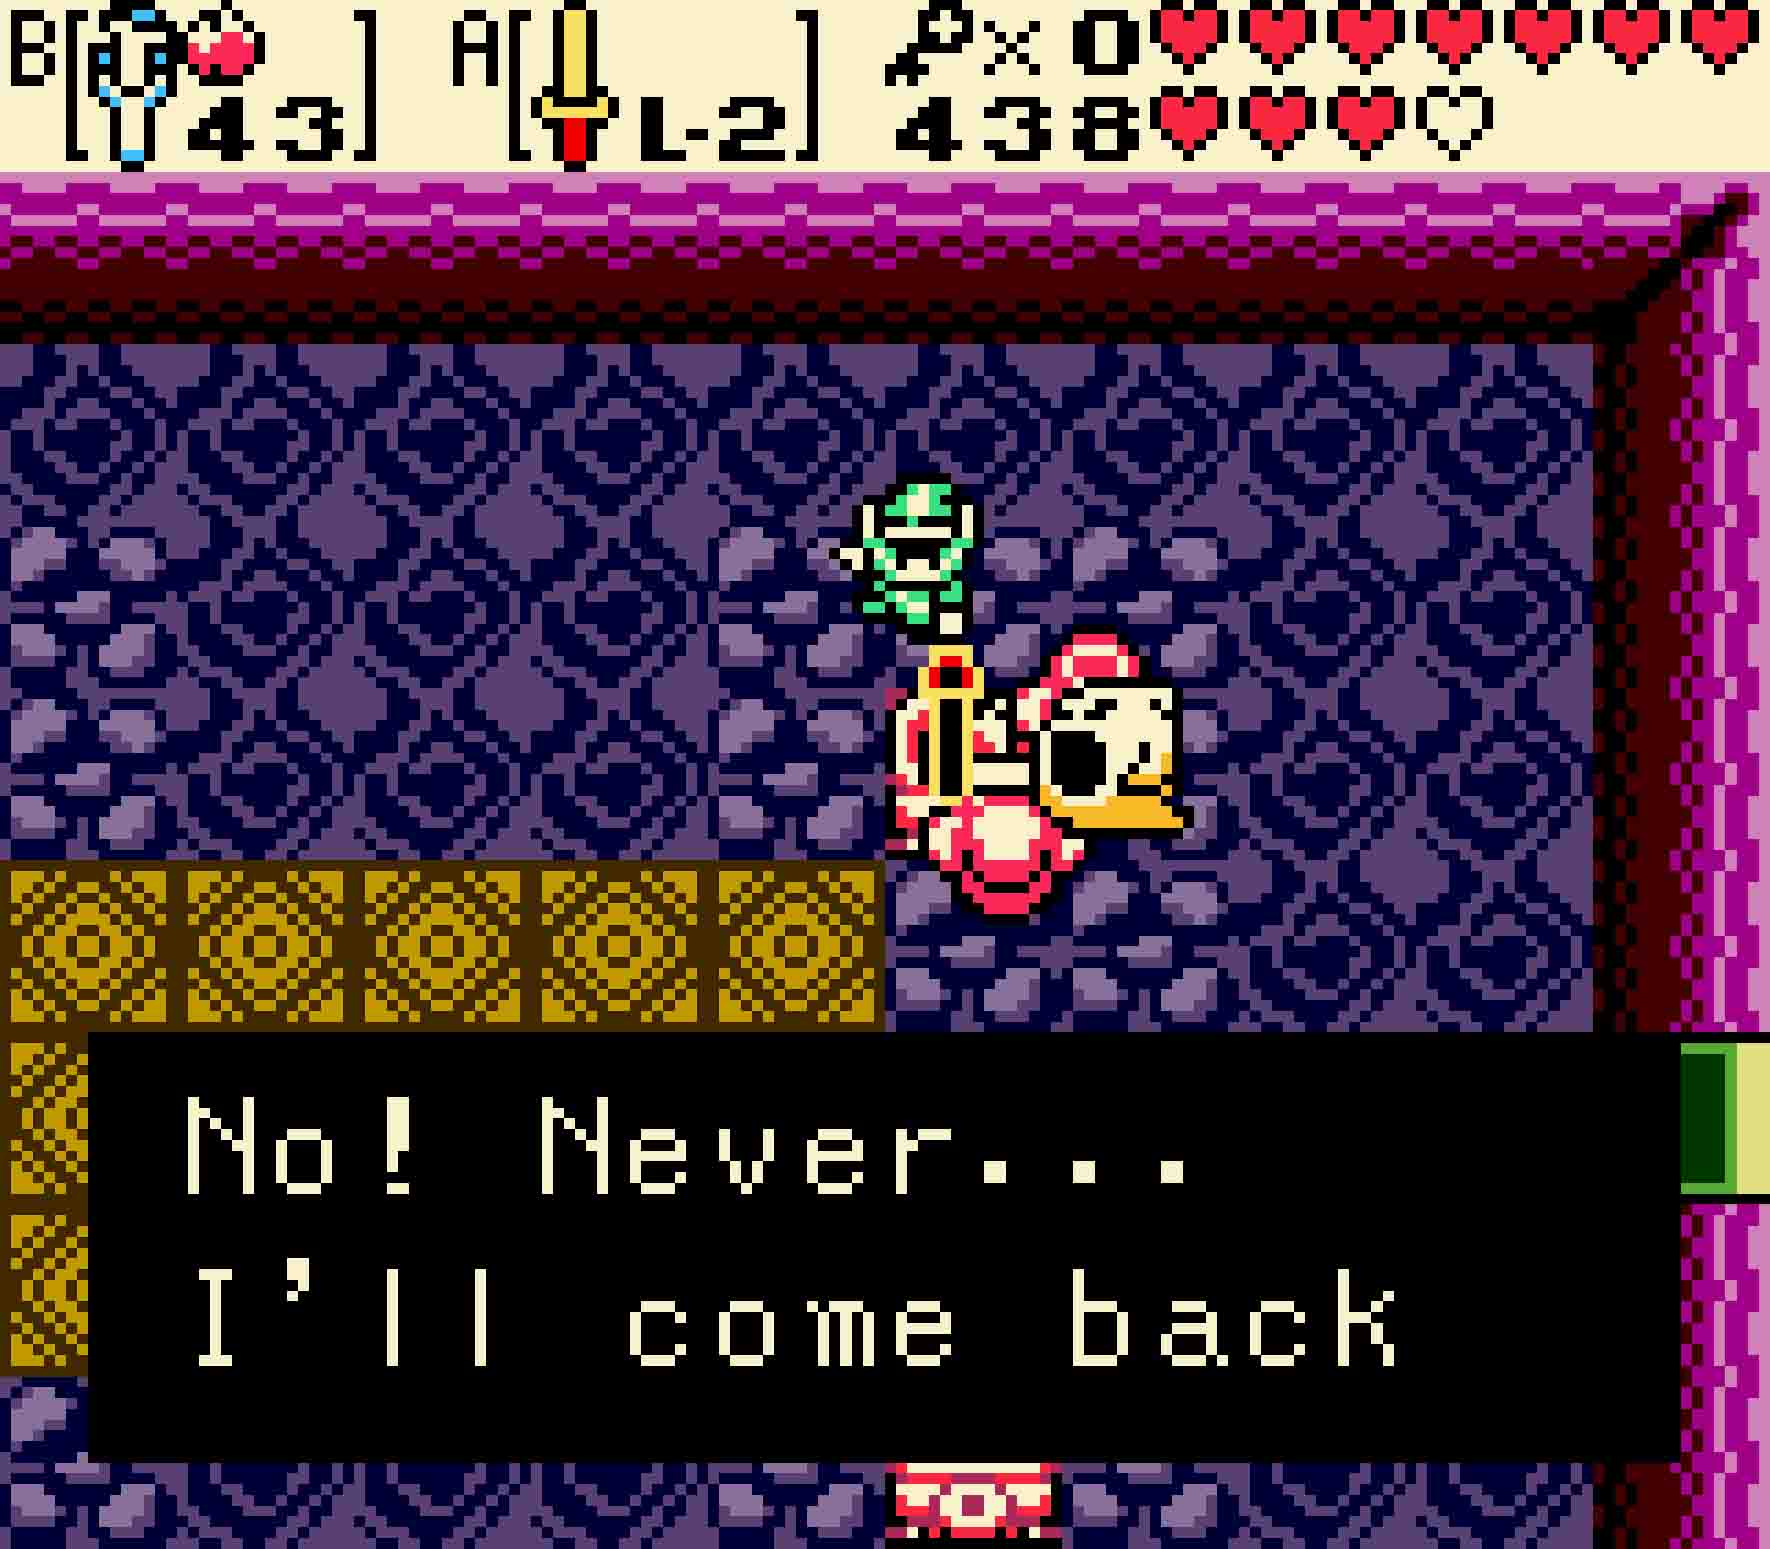
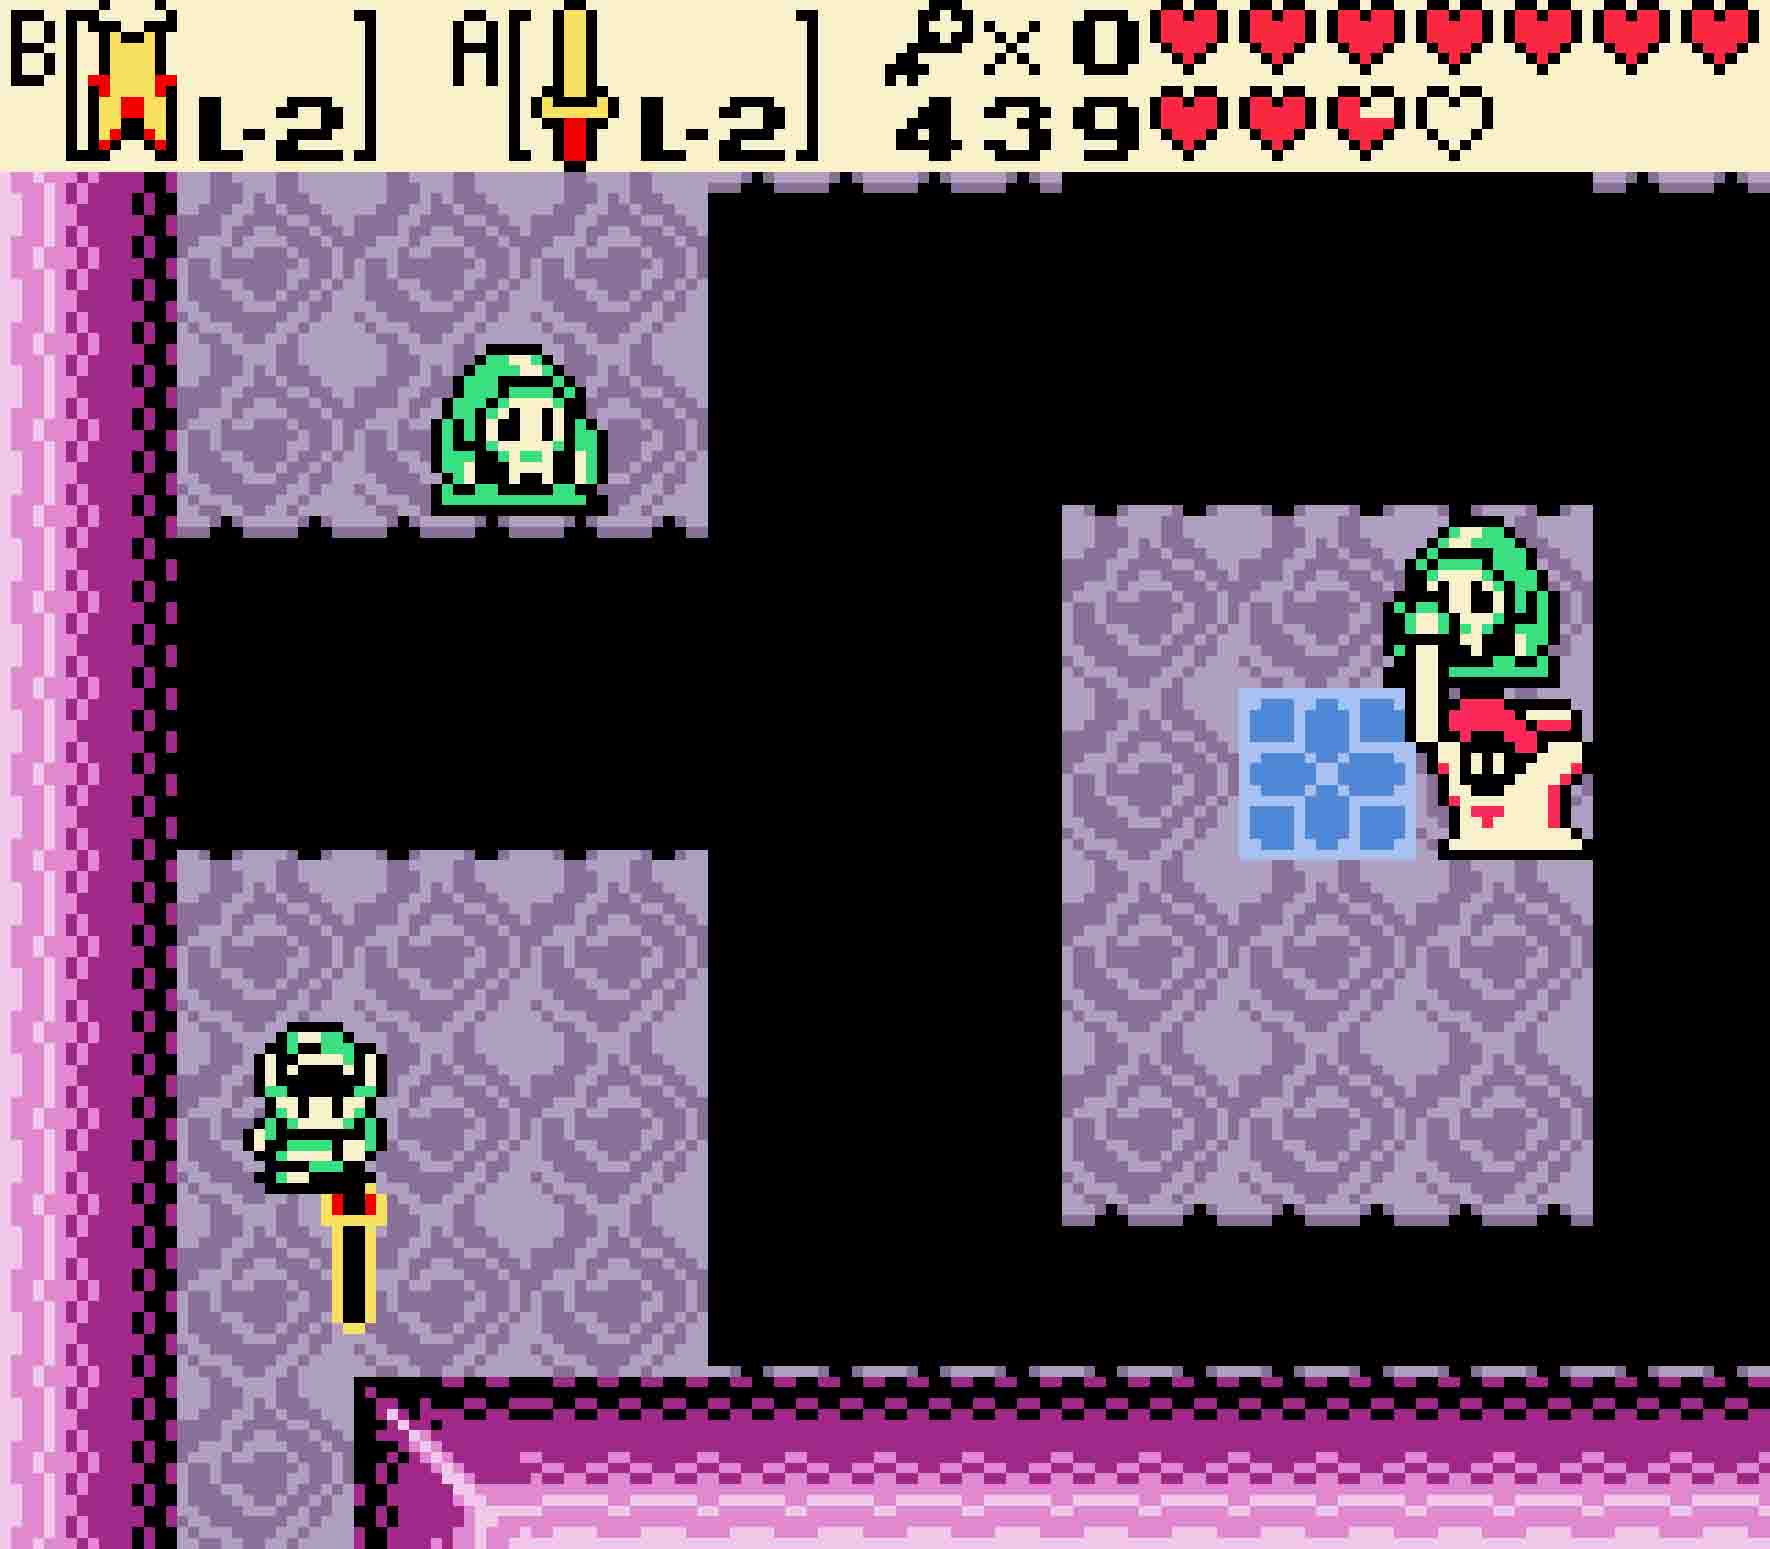
This pathway will curve to the north, and then you’ll be back in the darkened room from earlier. Equip some Ember Seeds with your Slingshot, and fire them into the two unlit torches on either side of the gravestone. Doing so will cause a ghost to appear; this ghost is one of the two Poe Sisters of the dungeon. Distraught that you’re attempting to break her curse, she will engage you in swordplay. After the ghost phases in, and then she will travel in a straight line before disappearing. Step to one side as she passes, and then stick your sword in her. After several successful volleys, the ghost will depart, though she promises you’ll meet again.
Killing this sister will allow the room to the north to be explored more freely without any time restrictions. So head to the north, and then you will notice that there’s a cracked wall on the southwest corner. Bomb it open, and then head through the doorway to retrieve the Compass.
-
- Poes don’t like the light. Killing it will allow you to bring light to the cursed room.
17.3 Collect two keys
Head back east into the now uncursed room. There’s a staircase leading down from the room’s center. Push the heavy rolling logs on the right side of the room in order to access the steps in the far back; then head downstairs.
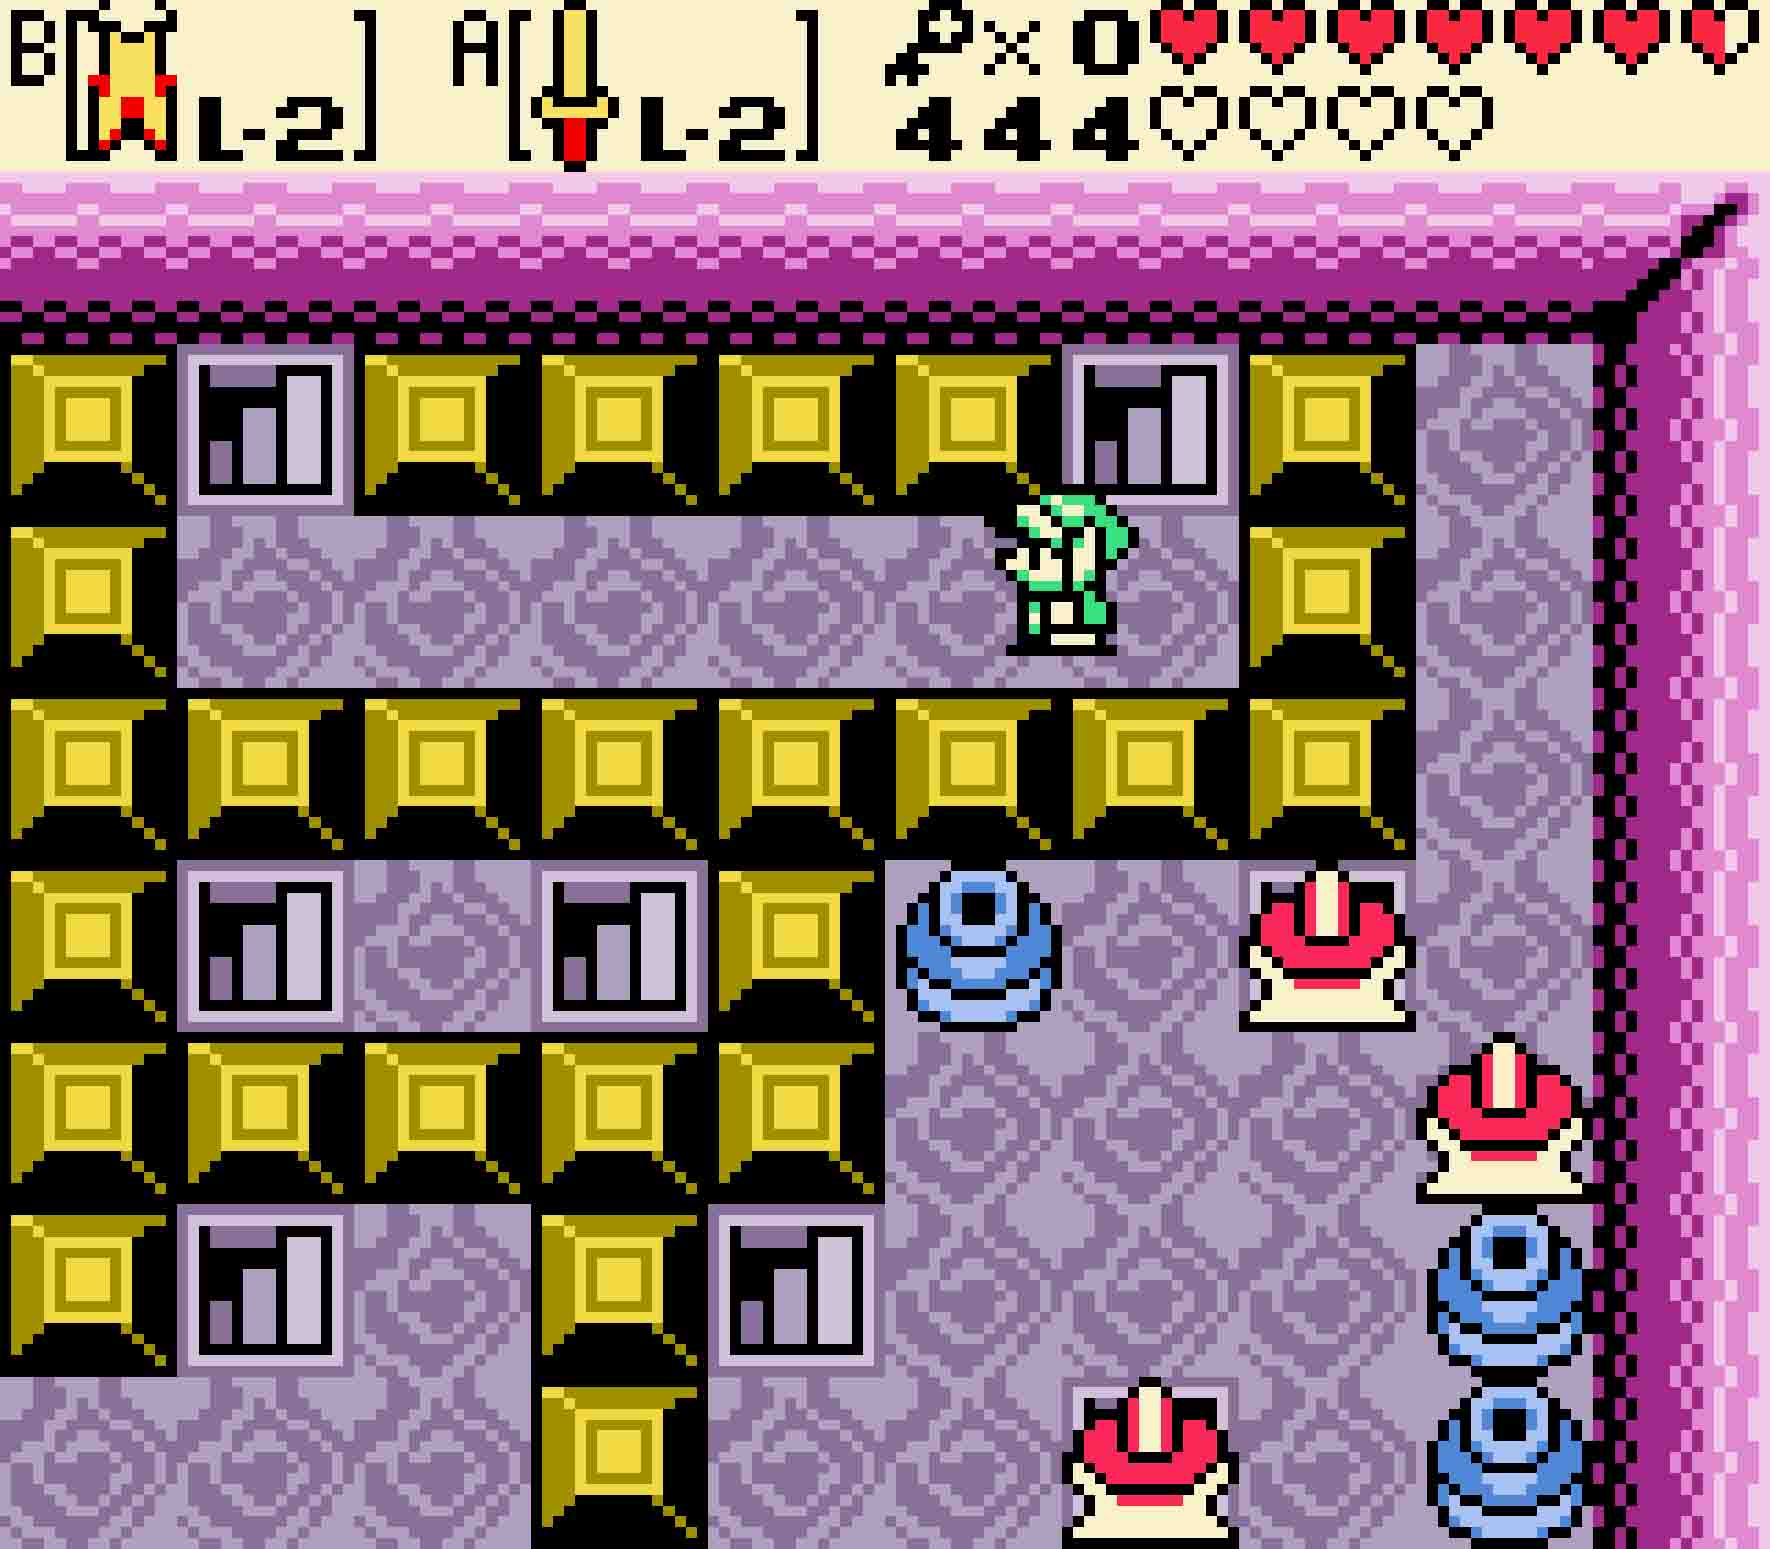
Be wary around the Armos statues that end up surrounding you when you emerge. Many of these will automatically animate if you touch them, so maybe have your Magical Boomerang ready. Head out of their circle and then make your way to the room to the west.
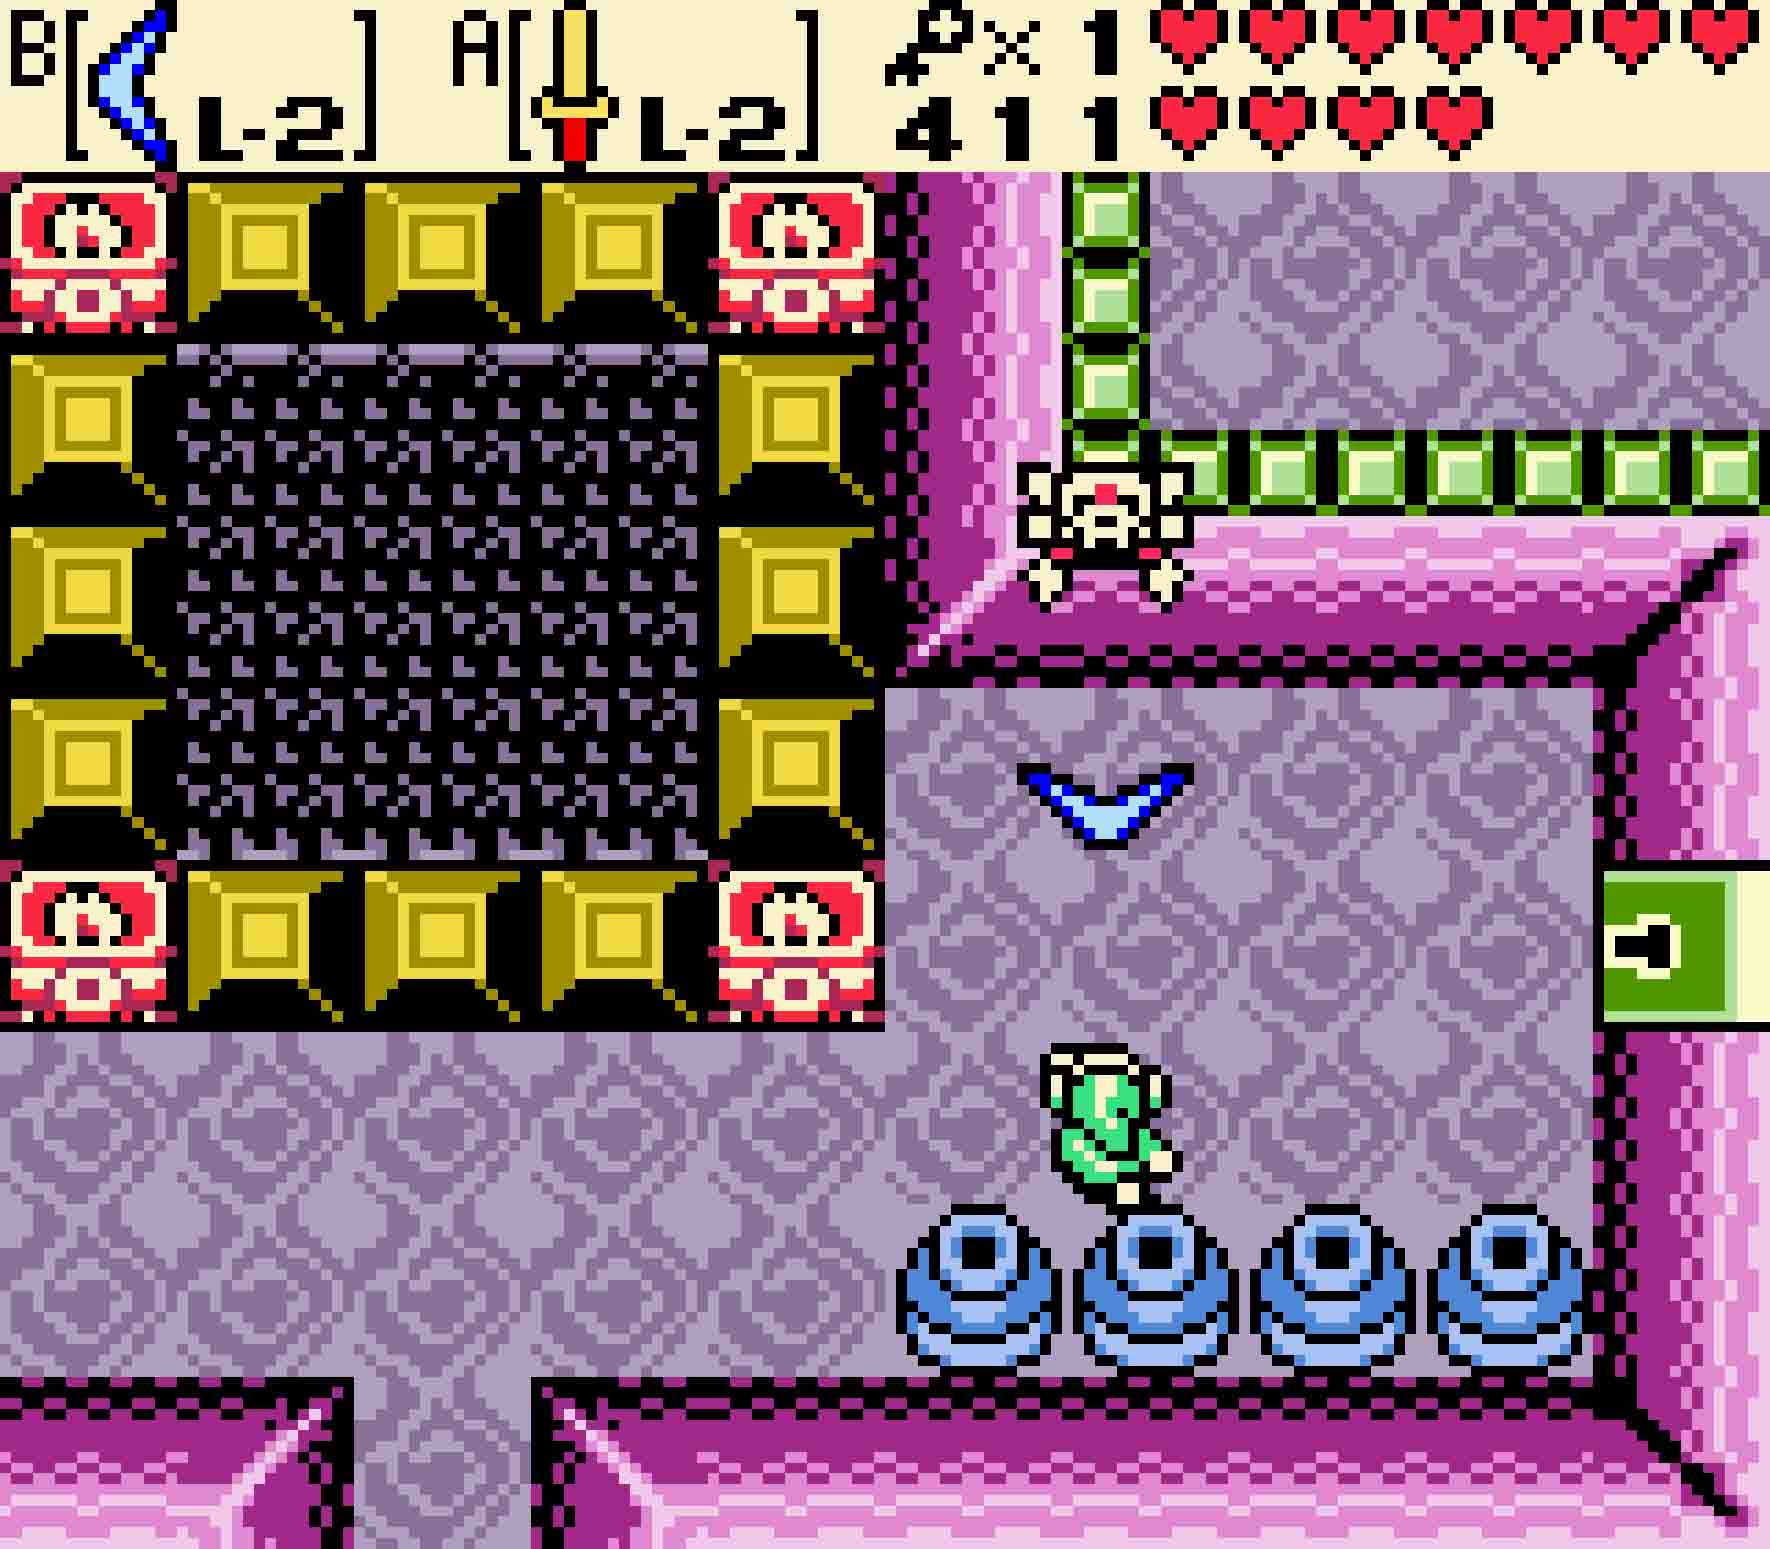
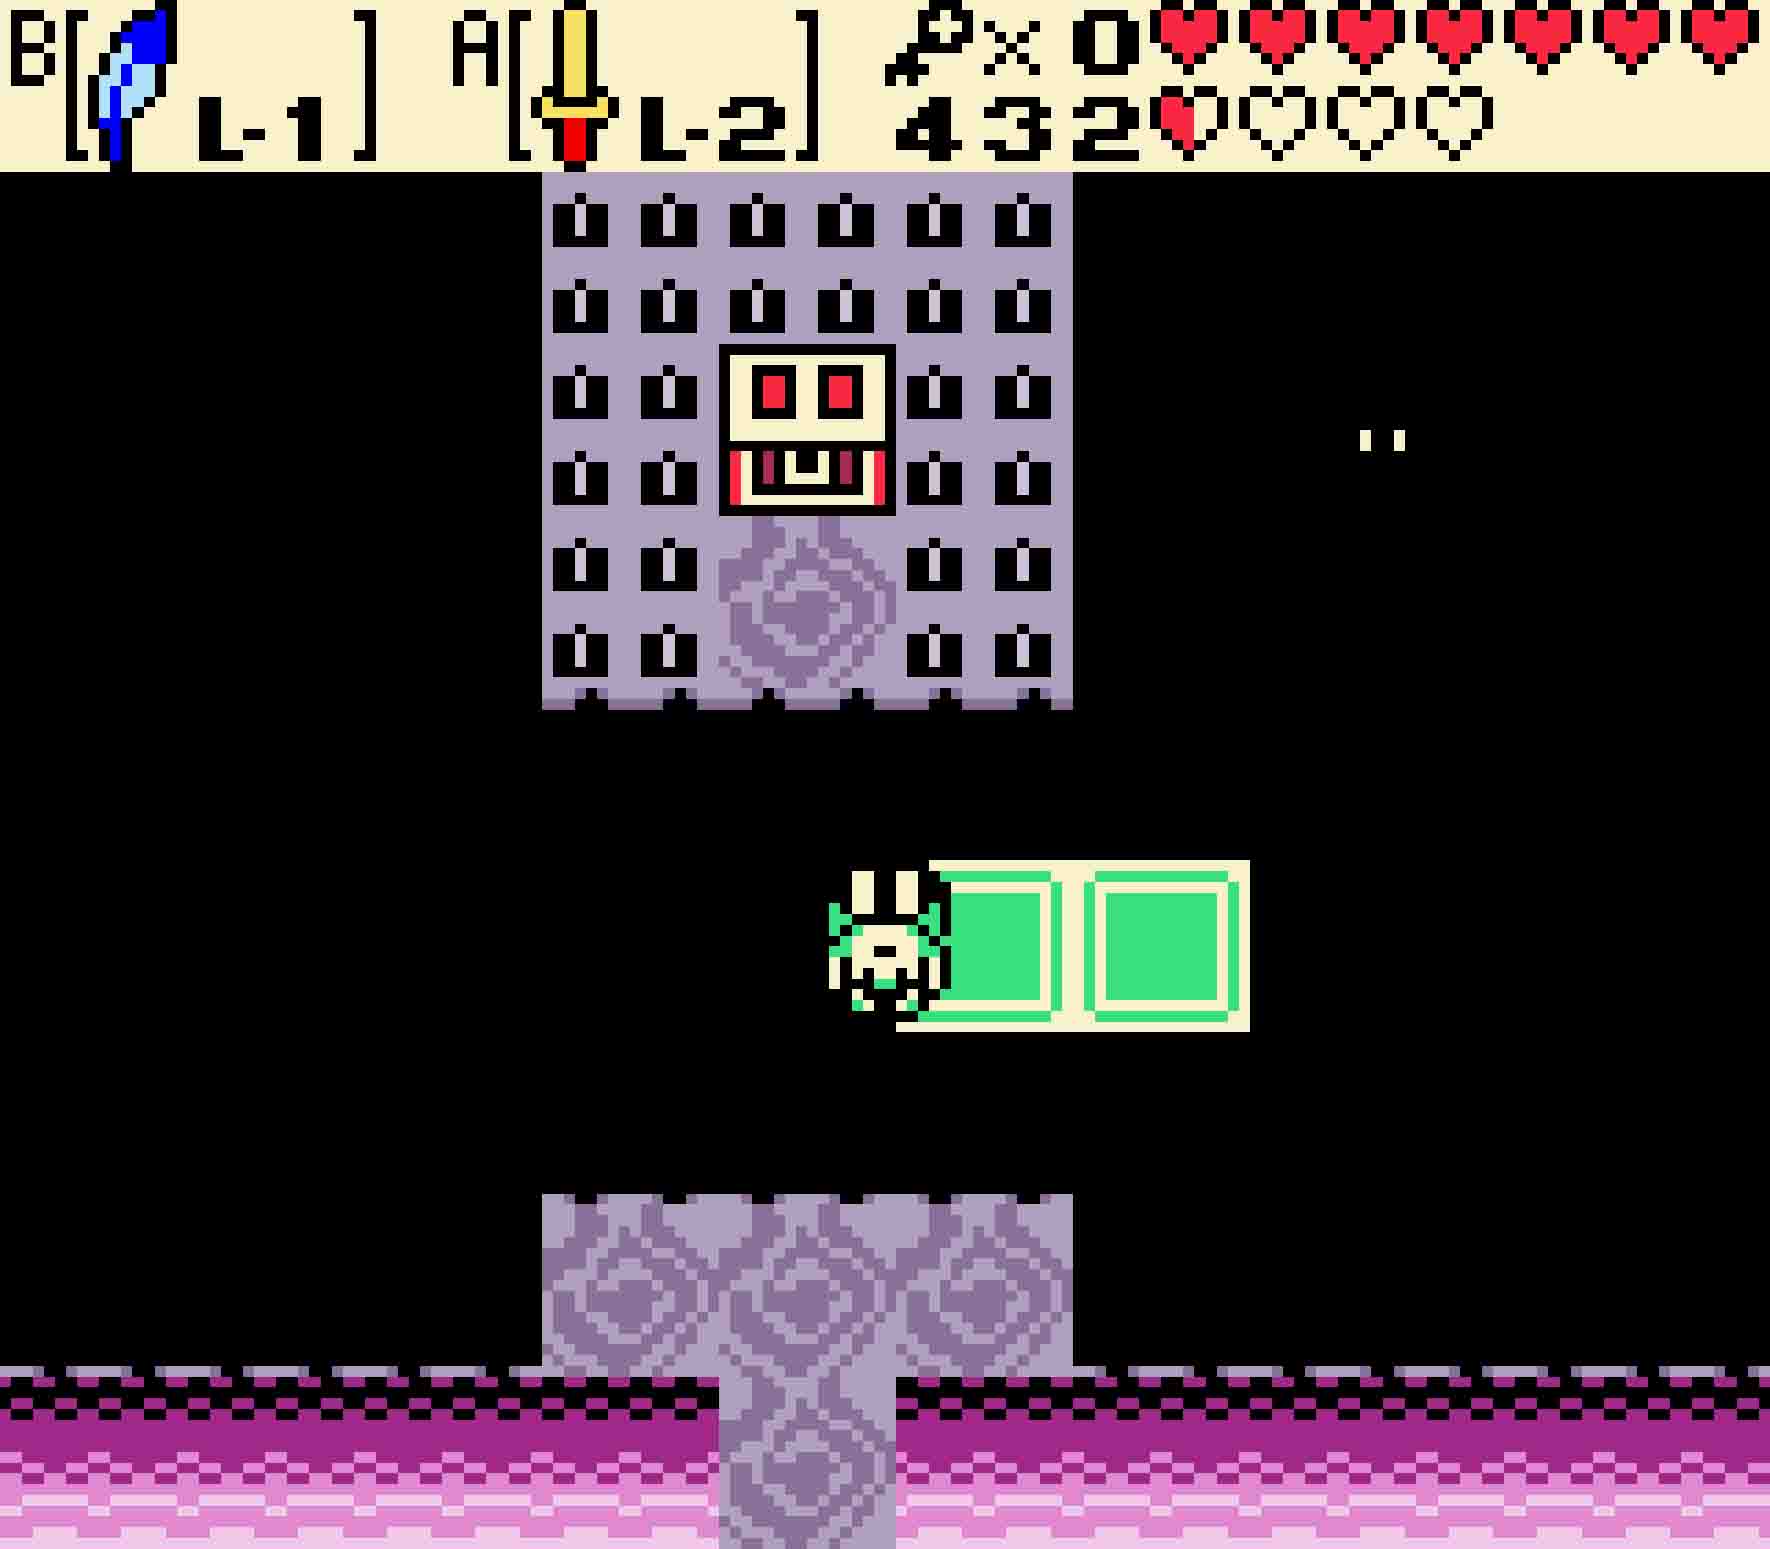
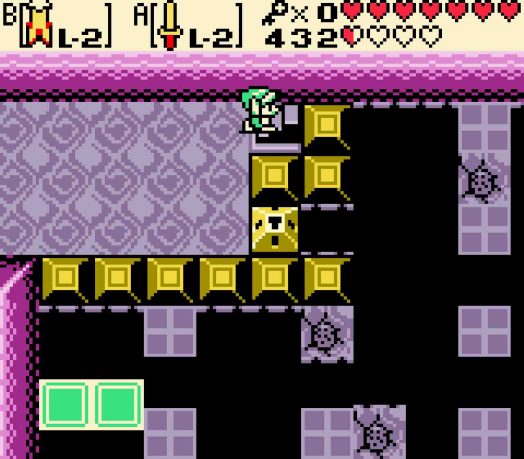
This room will seem like it’s largely empty, but there are a handful of green Zols swarming the floor switch up on the raised platform. Kill them, and then step on the button to cause a trampoline to appear. Before hopping on it, push it down two squares. Then hop up to return to an isolated chamber on the first floor. Veer to the left as you head upward so that you can land on the 1×1 square with a switch on it. Landing on the switch will cause a key to fall from above back down to the floor below. Fall down and collect the key.
-
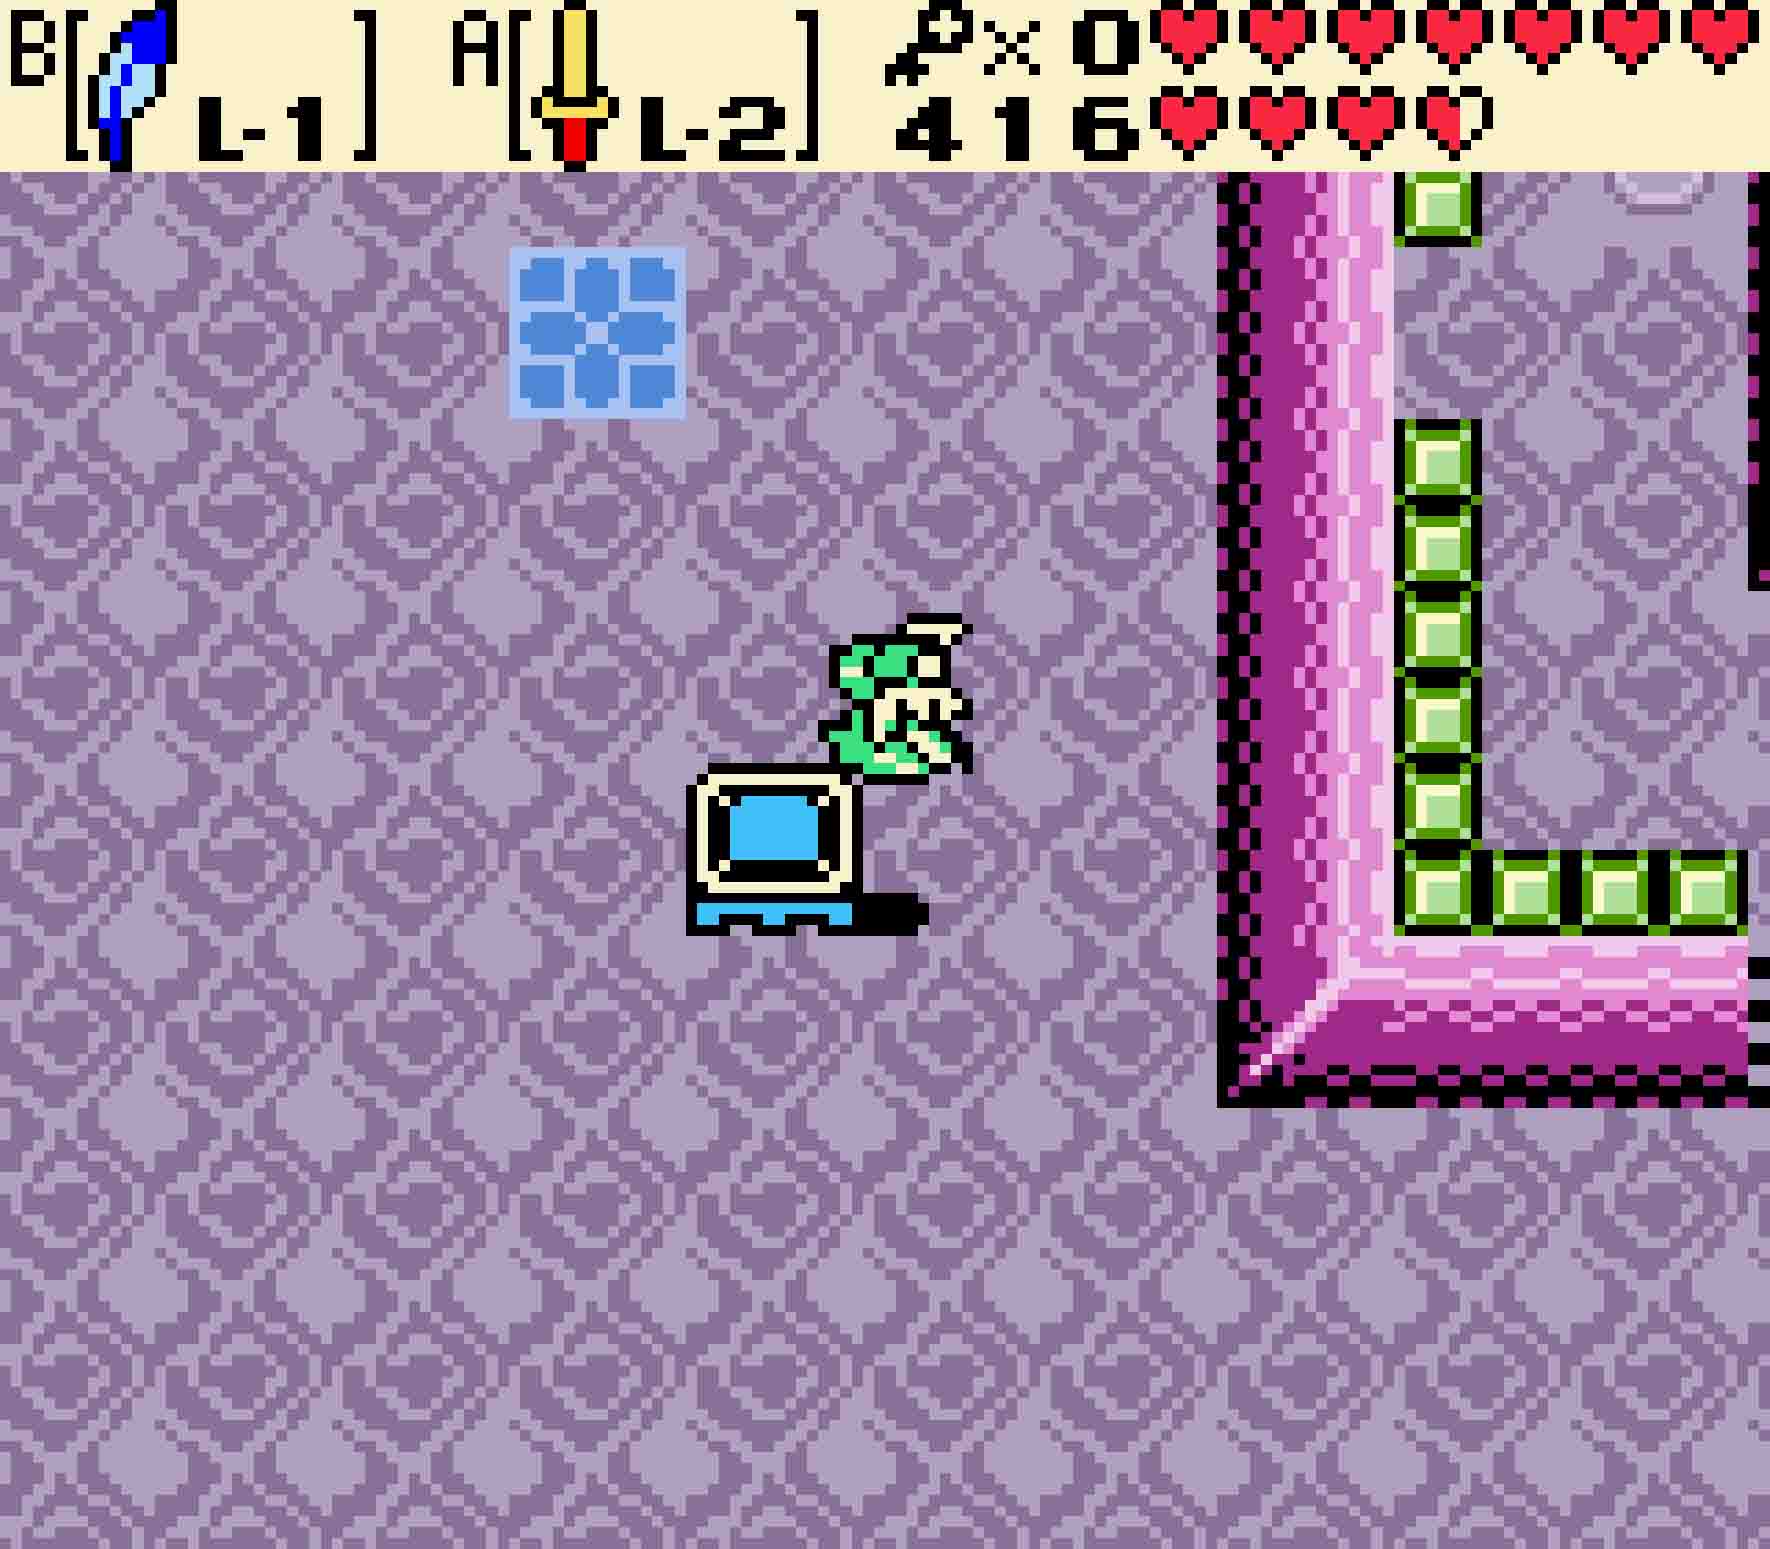
- Move this trampoline down a bit to head through a huge gap in the ceiling.
-
- Back on the upper floor, fly onto the button to drop a key.
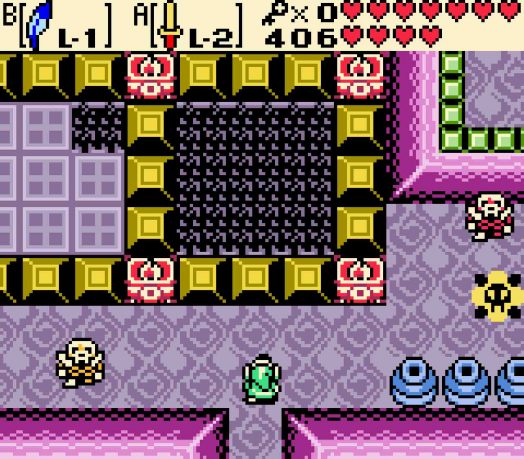
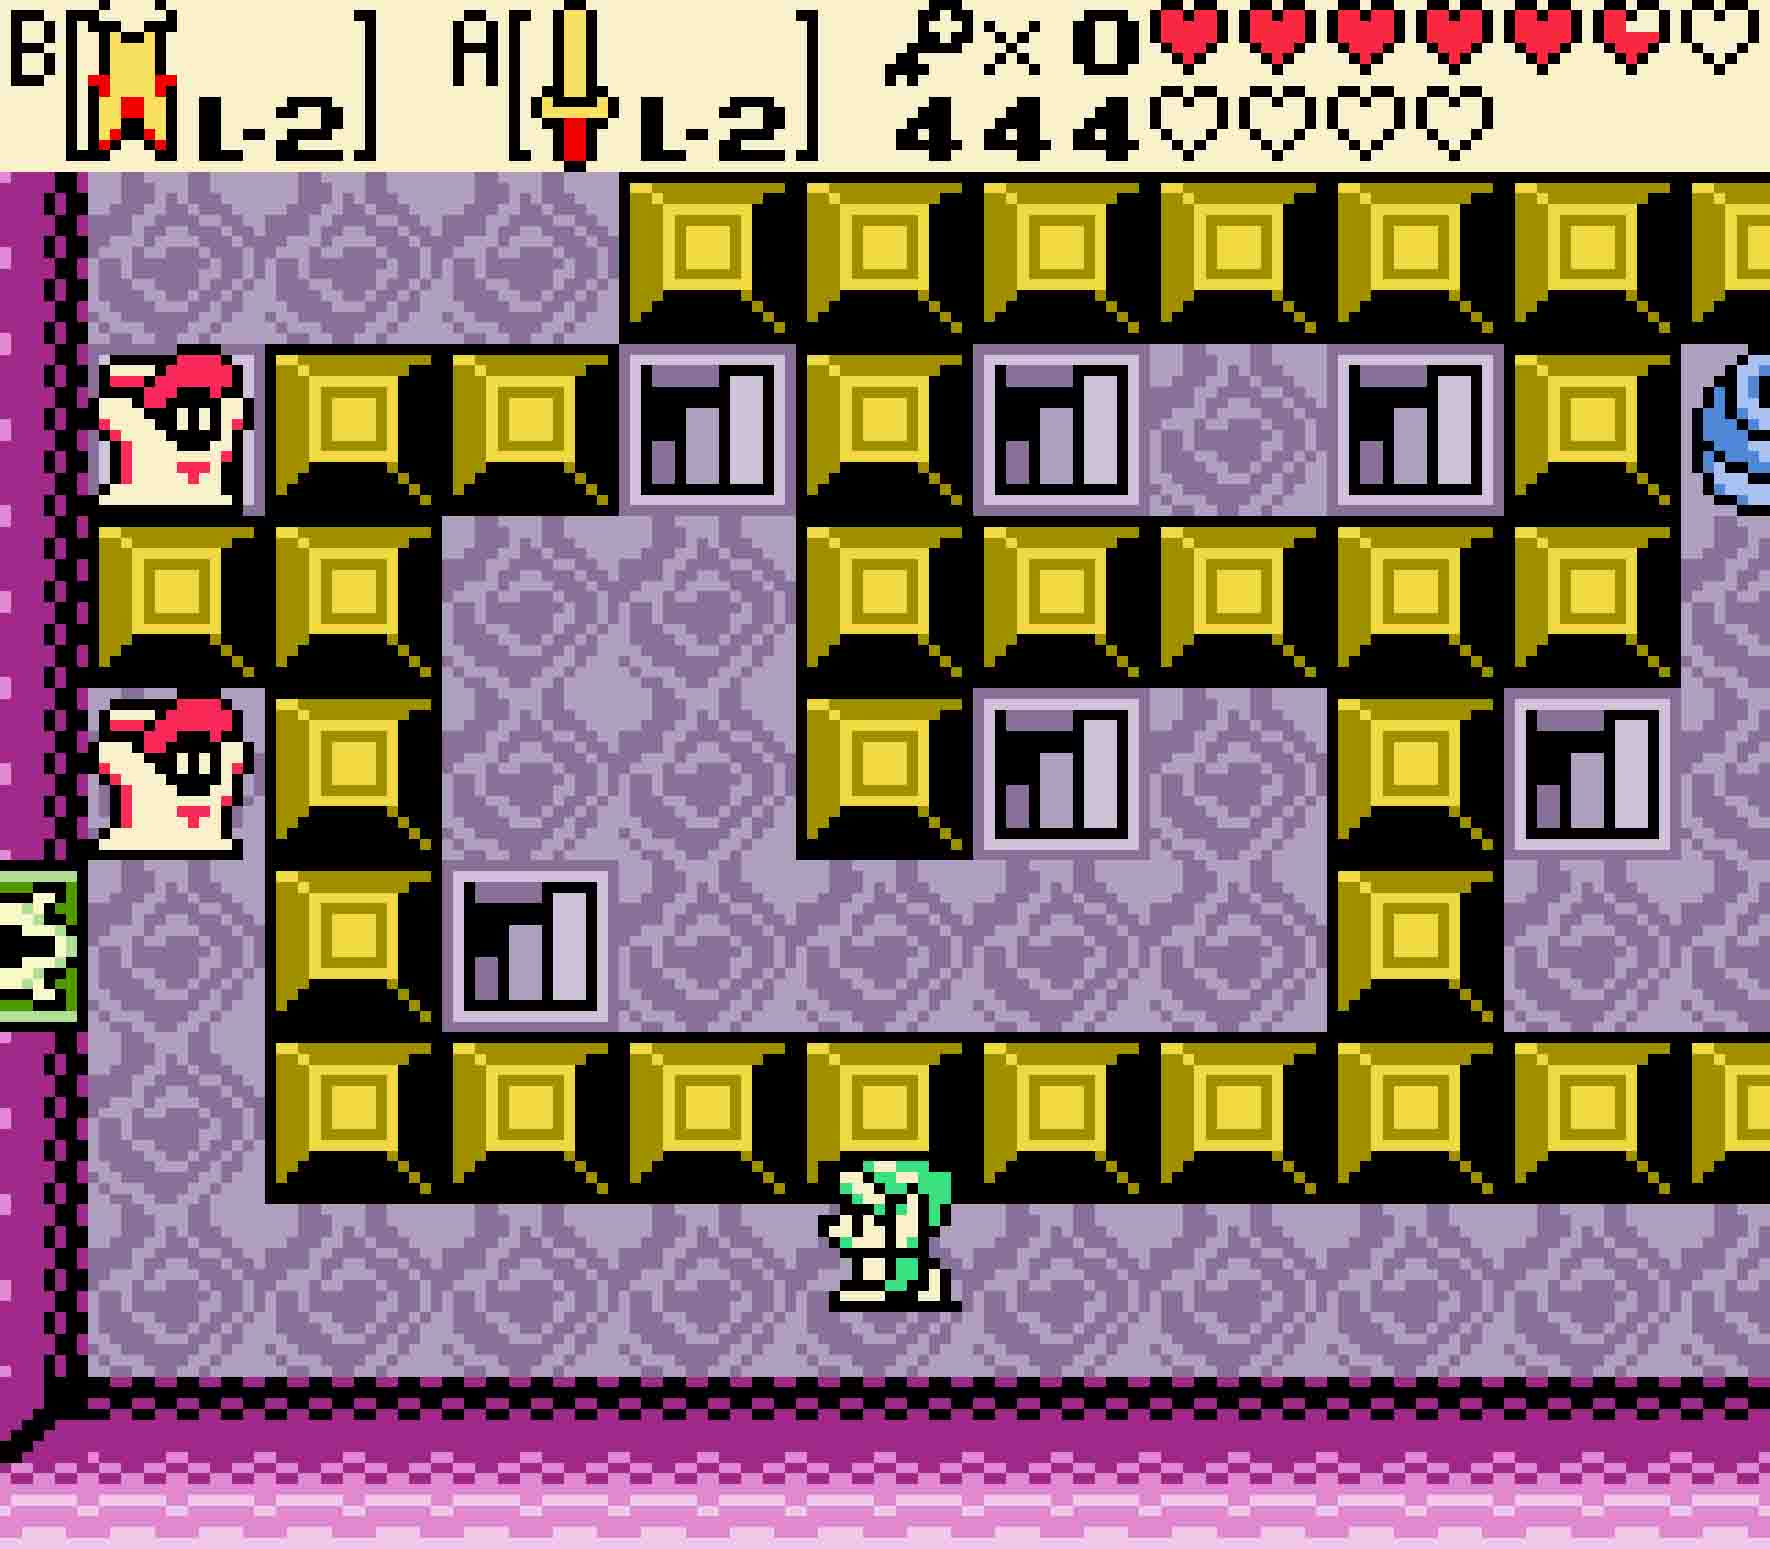
These Armos are rather tricky. Every time you enter this room, seven of them will randomly be enemies.
Return to the east, and now you’ll have to deal with the Armos statues in earnest. Seven of these statues secretly are enemies, and one is exactly as it appears: just a statue. Which one is the statue is completely random; every time you re-enter this room, it’ll change. Equip the Magical Boomerang and touch them one at a time until you discover the actual statue. Once you find it, you’ll want to push it onto the switch in the lower-right corner of the square. You’ll need to push the statue out of the square to get it on the switch, but it’s made simpler the more Armos you kill. Doing this will eventually unseal the door to the south.
Two more Sword Stalfos and an Anti-fairy will be waiting. Use the Boomerang on the lot, and then descend the steps onto the conveyor belt, and slowly make your way to the steps. Using Roc’s Feather here will help you move a bit faster if you dislike the slow going.
Downstairs, unless you’re quick to catch the first cycle, you’ll almost certainly miss the departure of the moving platform. It’s just as well as the number of Keese in this room should be whittled down to help ensure a safe journey. Once the platform comes back, step aboard and prepare to be whisked across the room. When it reaches the endpoint at the end of the room, use the Magnetic Gloves with south polarity to push yourself onto the floor on the left. Then head north.
Push yourself over the long gap with the Magnetic Gloves.
You’ll want to be quick in the next room as the bridge that spans the gap between the northern and southern halves of the room is made up of Flying Tiles, floor tiles that will rise up and attempt to smash you. You don’t need to use Pegasus Seeds; just be prepared and be fast. Once you cross the bridge, head to the west.
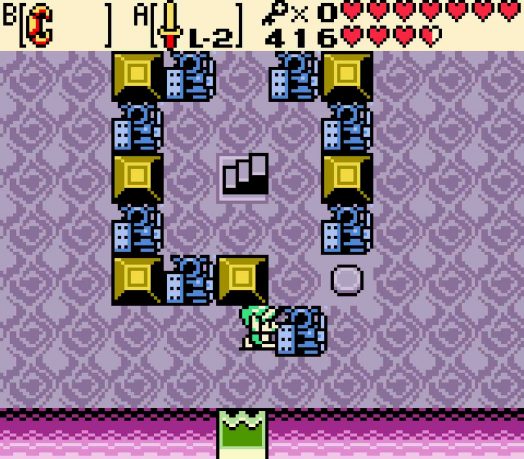
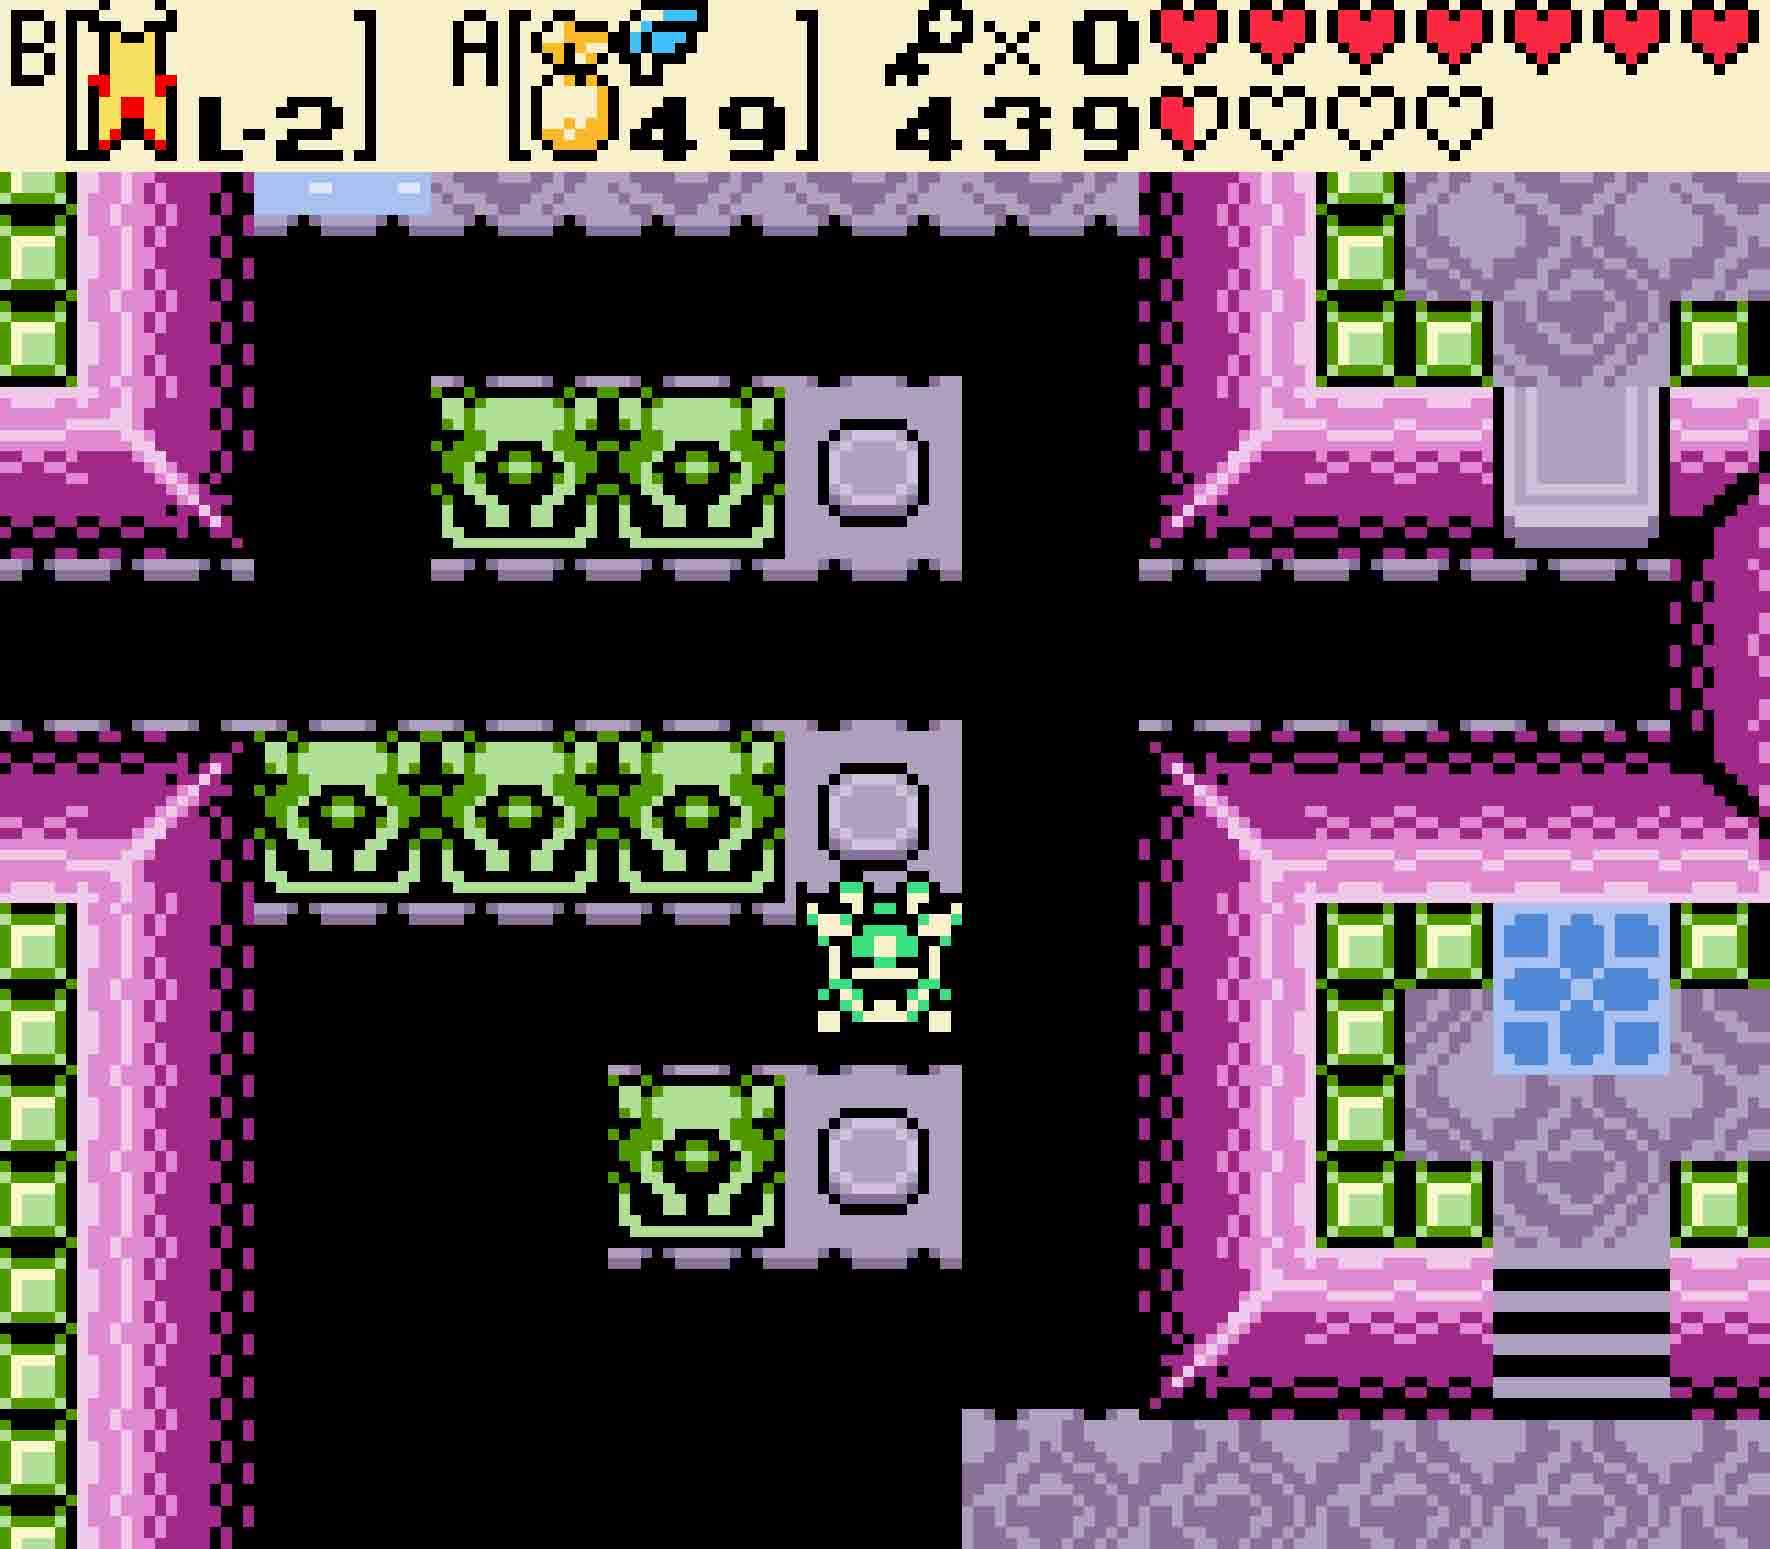
You’ll be presented with a rather curious puzzle involving Armos statues. There are eight statues in the room, and your job is to have them form a 3×3 (hollow) square atop each of the green floor tiles (some of them obscured by the statues themselves). The four buttons in this room will cause the Armos statues in the respective row or column to shift toward the button by two tiles (one position along the square). To solve the puzzle, naturally you have to press the buttons in the correct order.
Shifting the Armos correctly
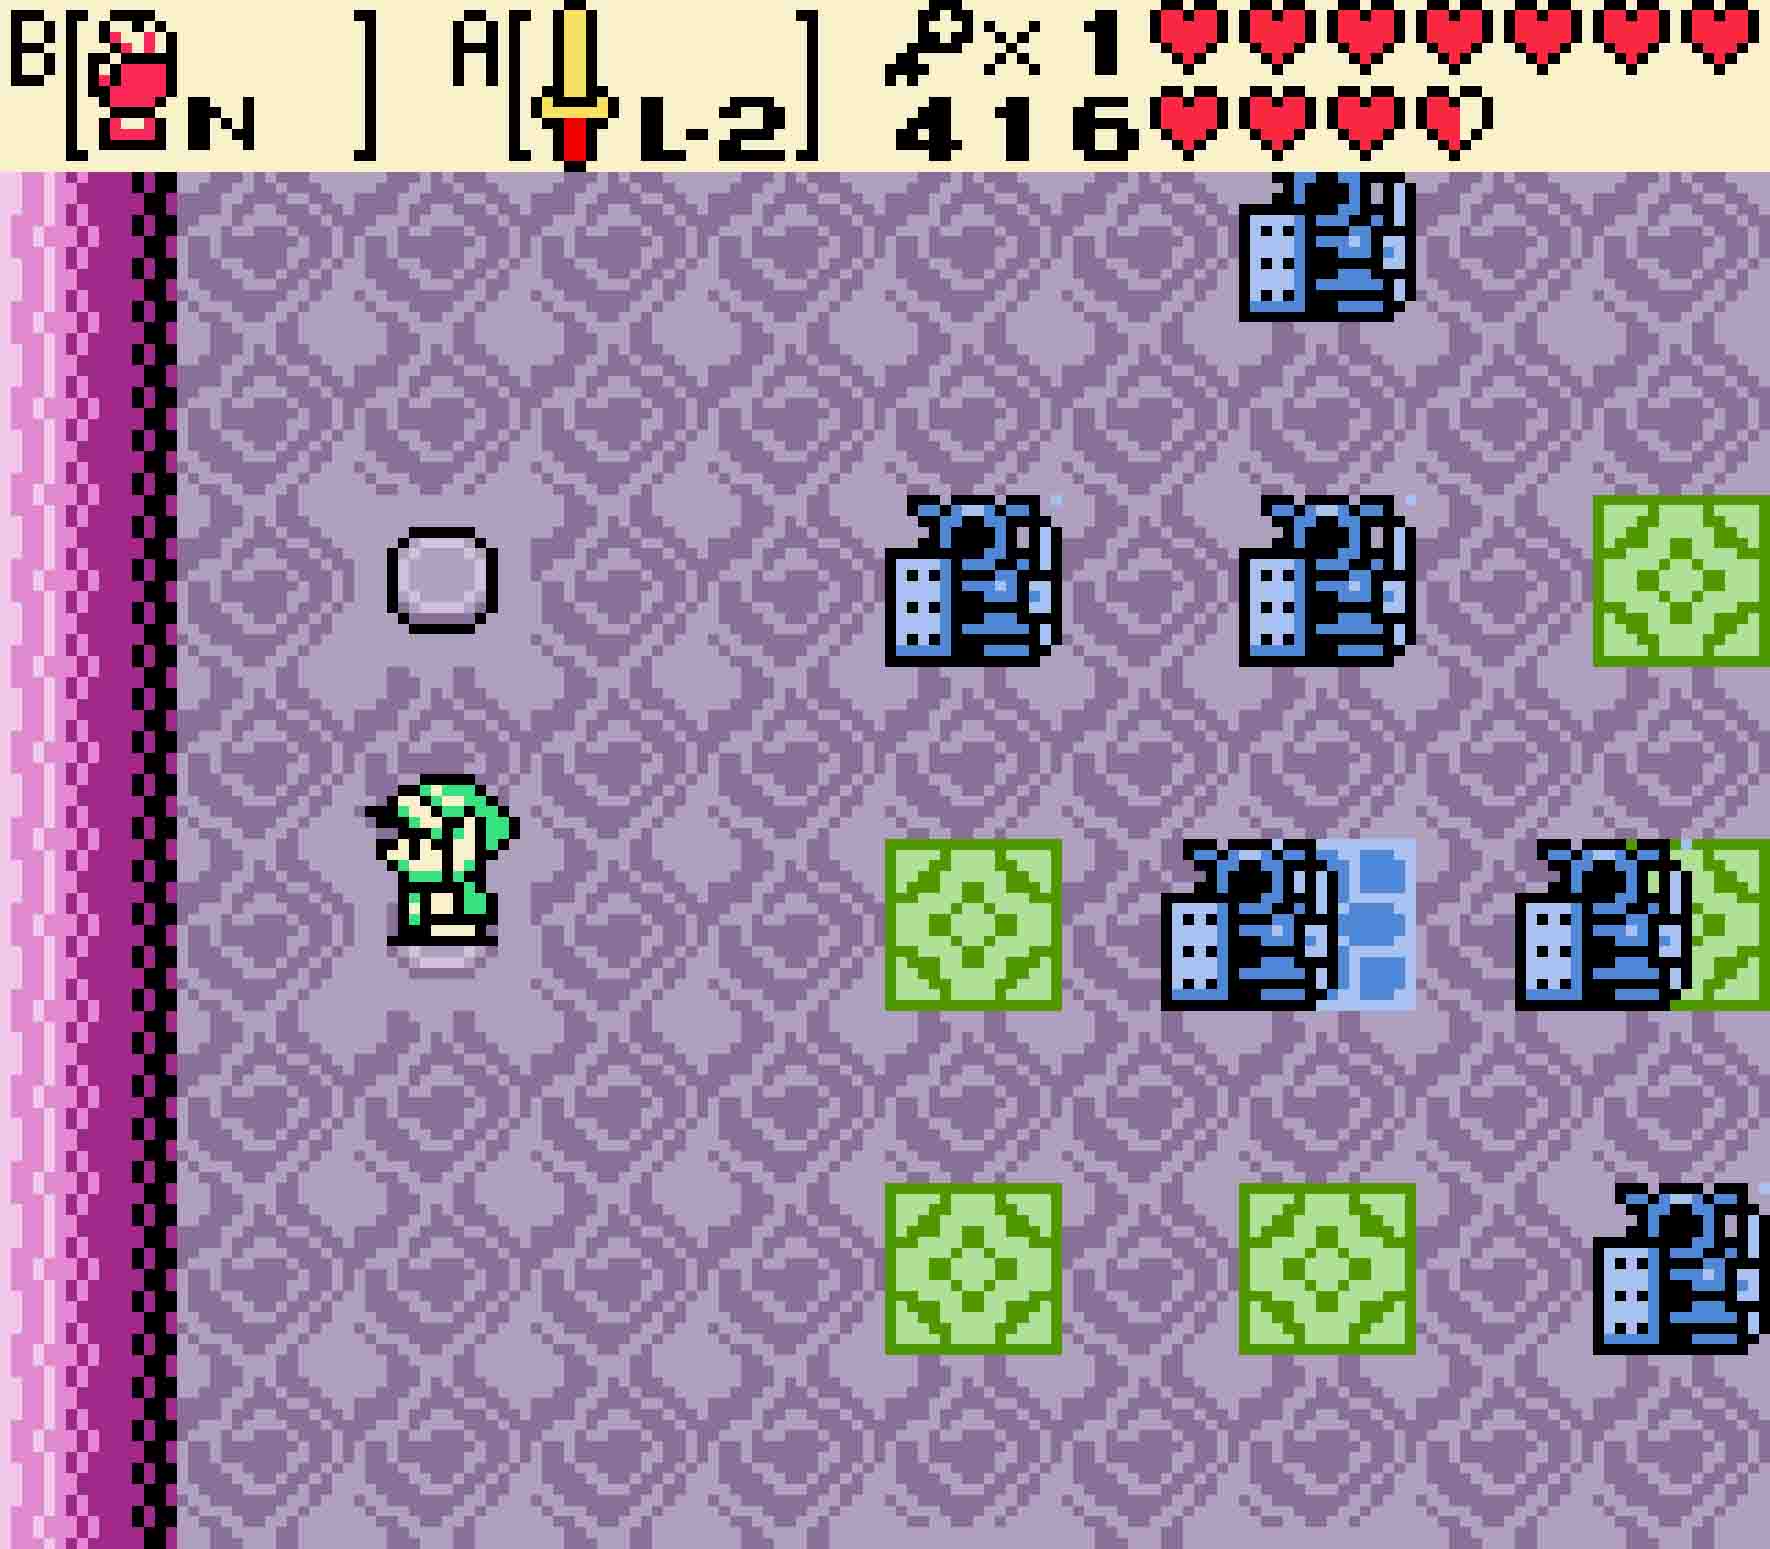
Step One Step on the button corresponding to the middle row of the square. This will pull the three statues towards you.
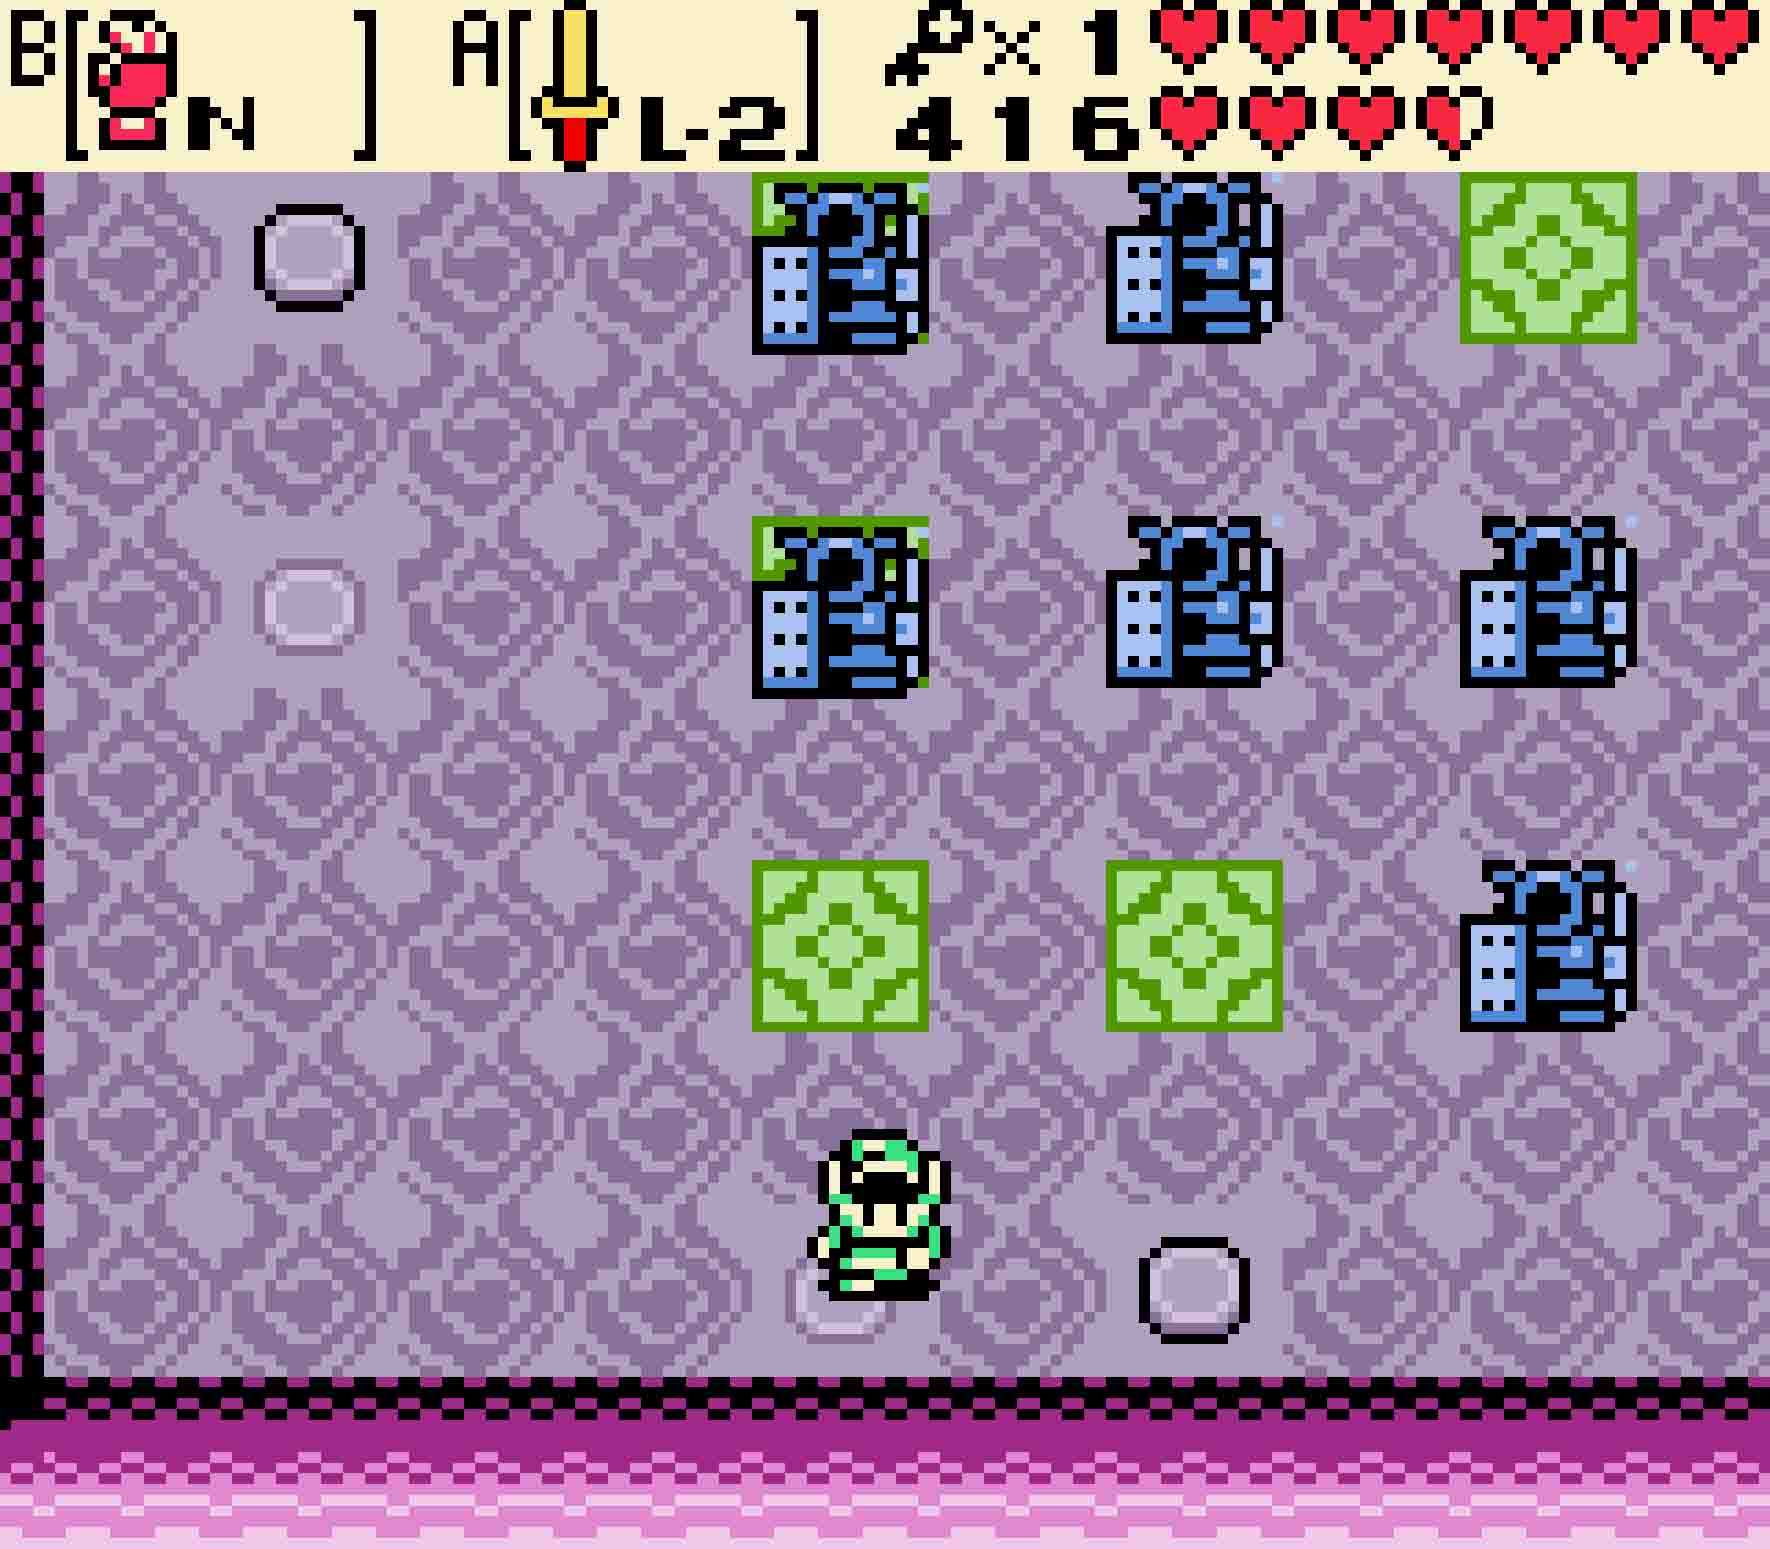
Step Two Step on the button corresponding to the leftmost column. This will now leave an empty space in the upper left of the square.
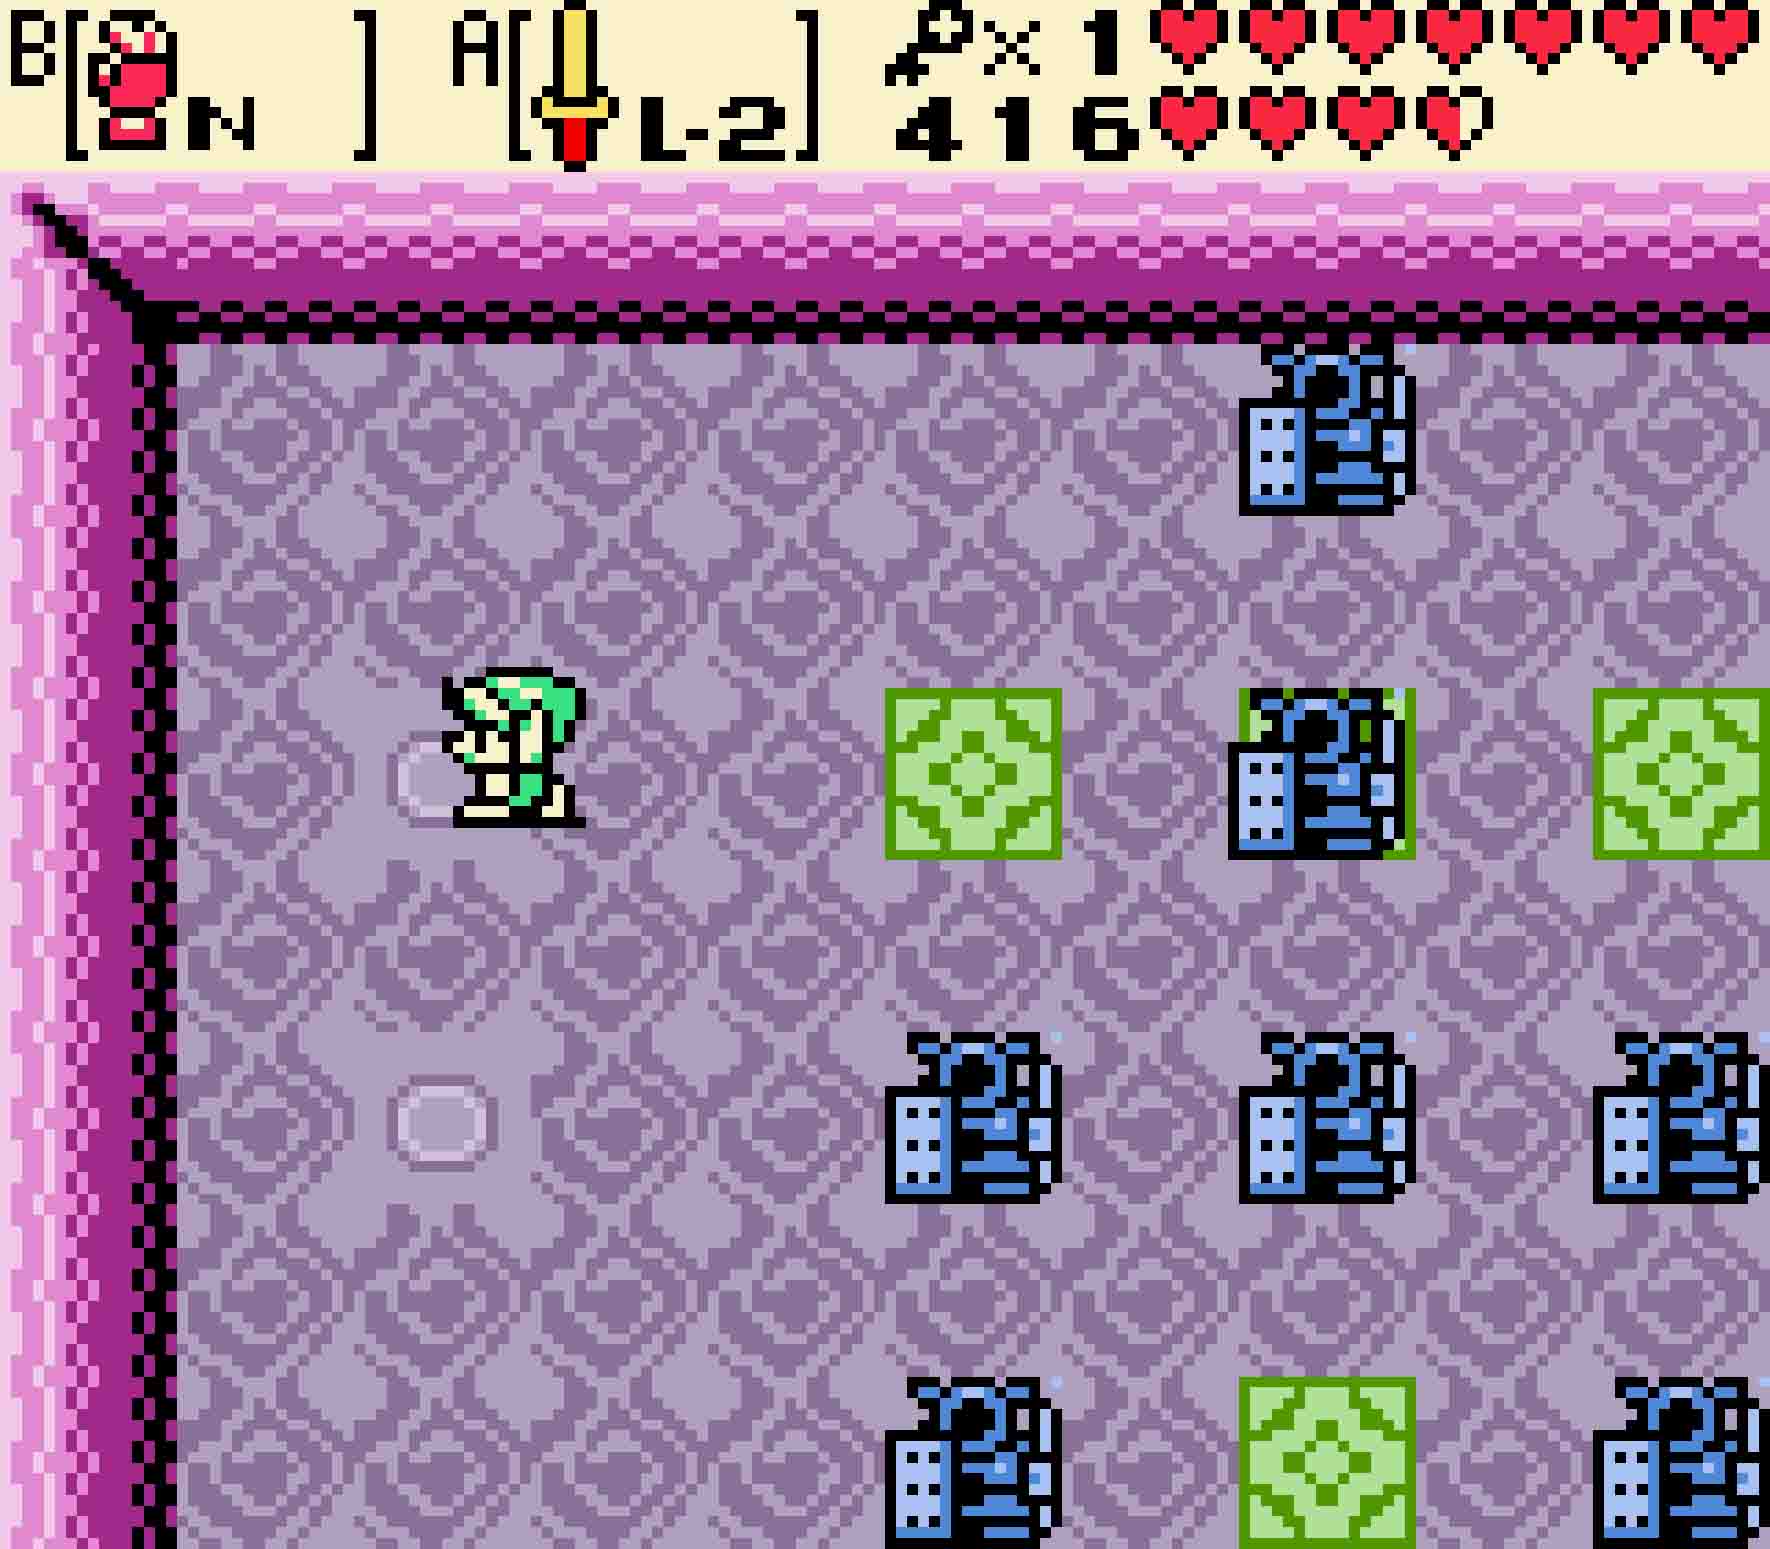
Step Three Step on the button corresponding to the topmost row. This means the top-center and bottom-center positions will be empty.
Step Four Step on the button corresponding to the center column. This will form the square, and a key will drop down from the ceiling in the center of the room.
17.4 Grab the Map
You’ll have to return back the way you came. Unfortunately, it’s not your last trip through this area.
Unfortunately, you’ve reached a dead end, so it’s time to backtrack again. Head back to the east, and quickly cross the Flying Tile bridge and head to the south. Use the Magnetic Gloves to pull yourself to the magnet over the pit, and let go when the moving platform is beneath you. Ride it until you reach the stairs; then head up.
The Anti-fairy will have no doubt respawned in the lowered section of floor, so you might consider getting rid of it or jumping over it as you see fit. Climb the stairs, and use the first of your keys on the locked door to the south.
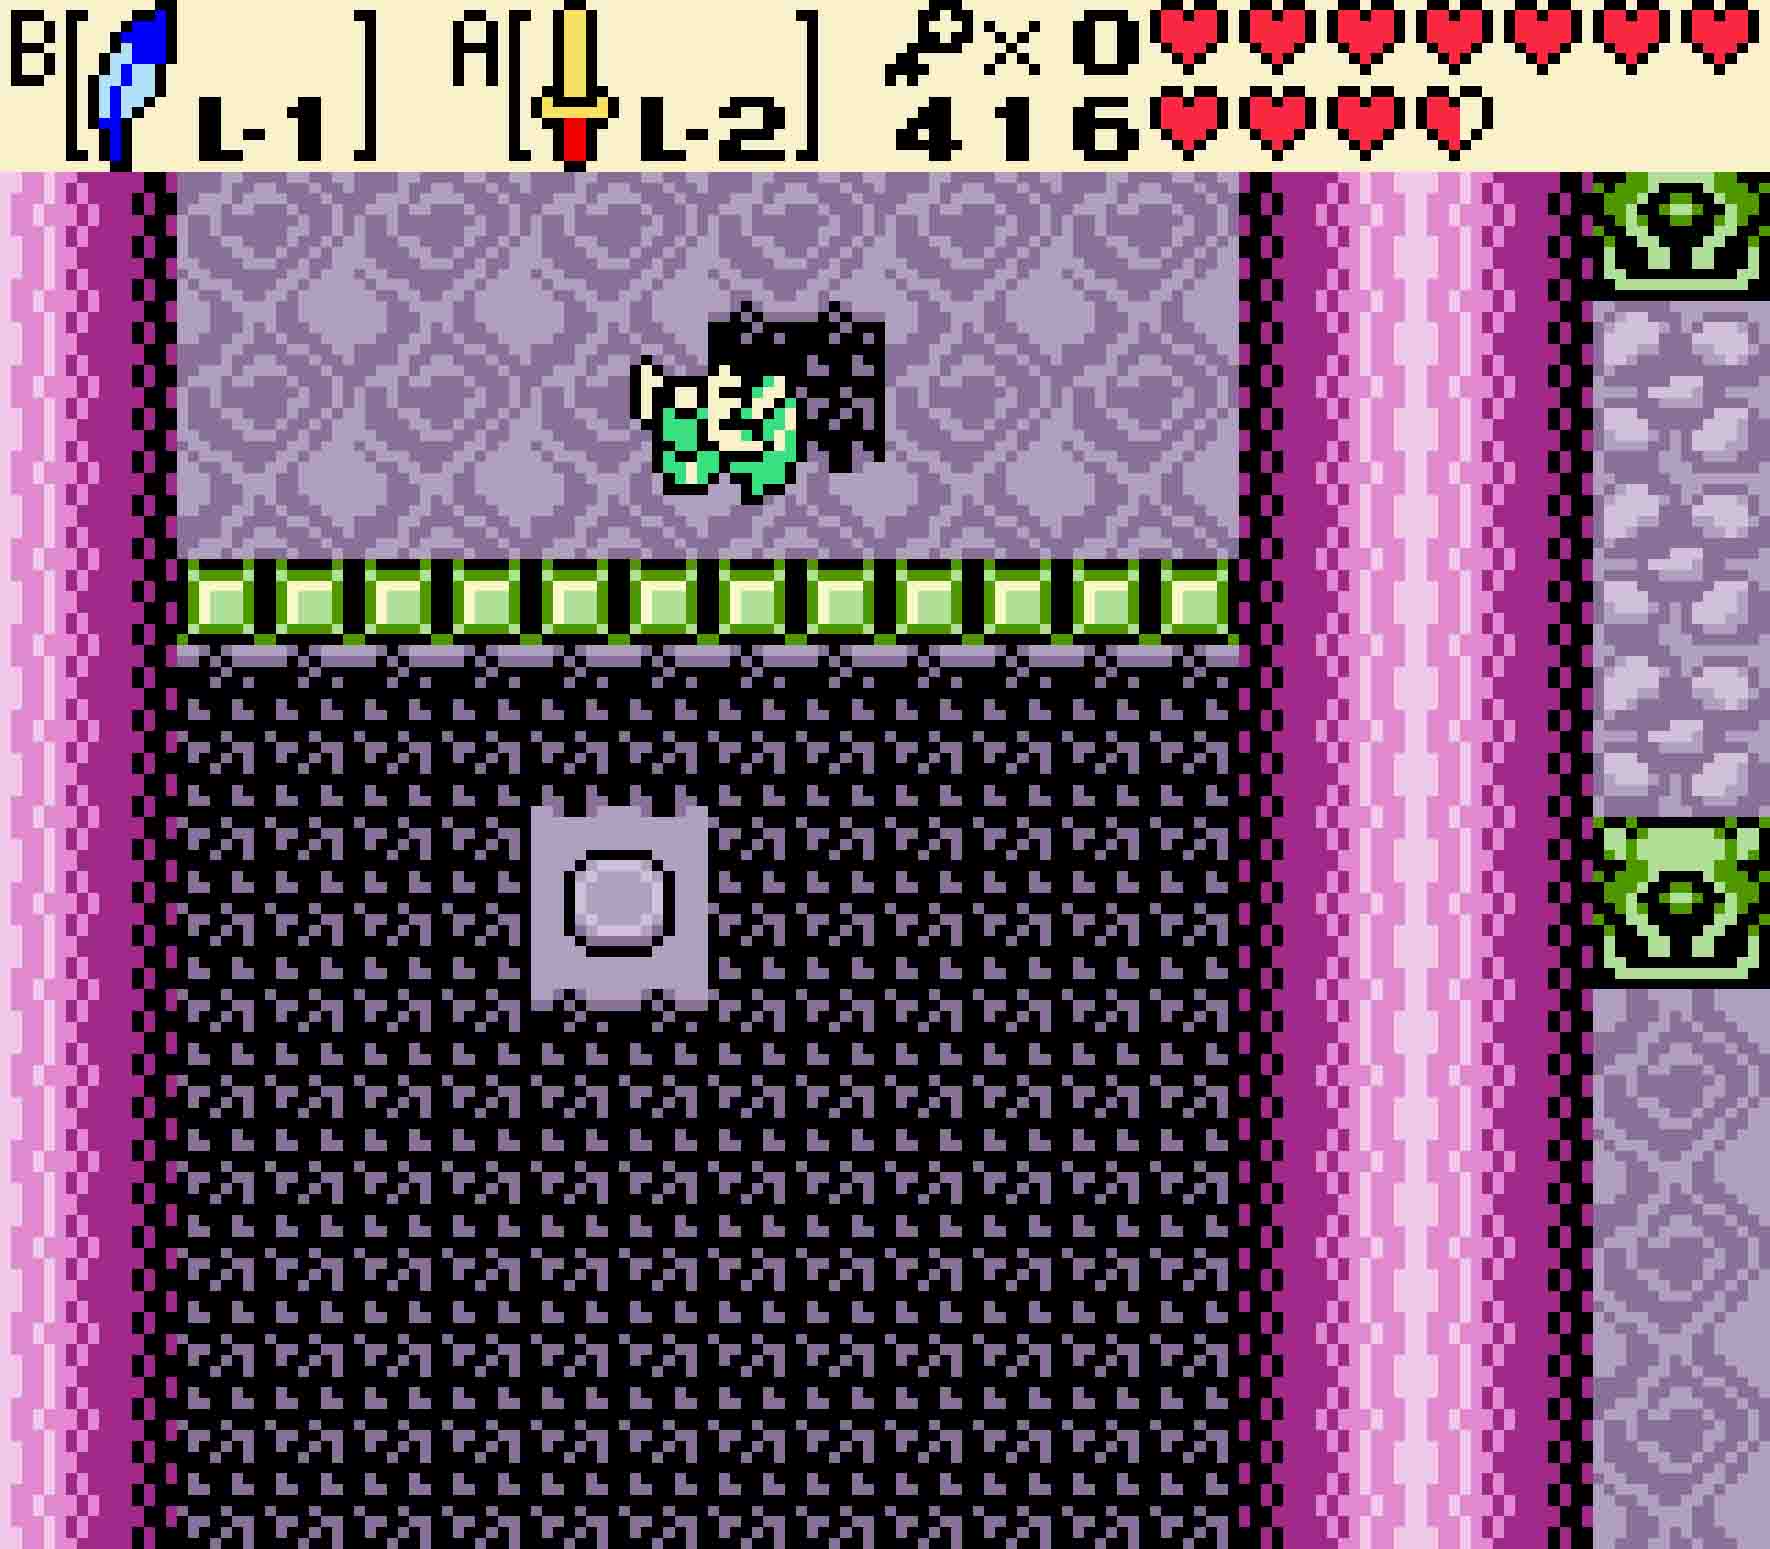
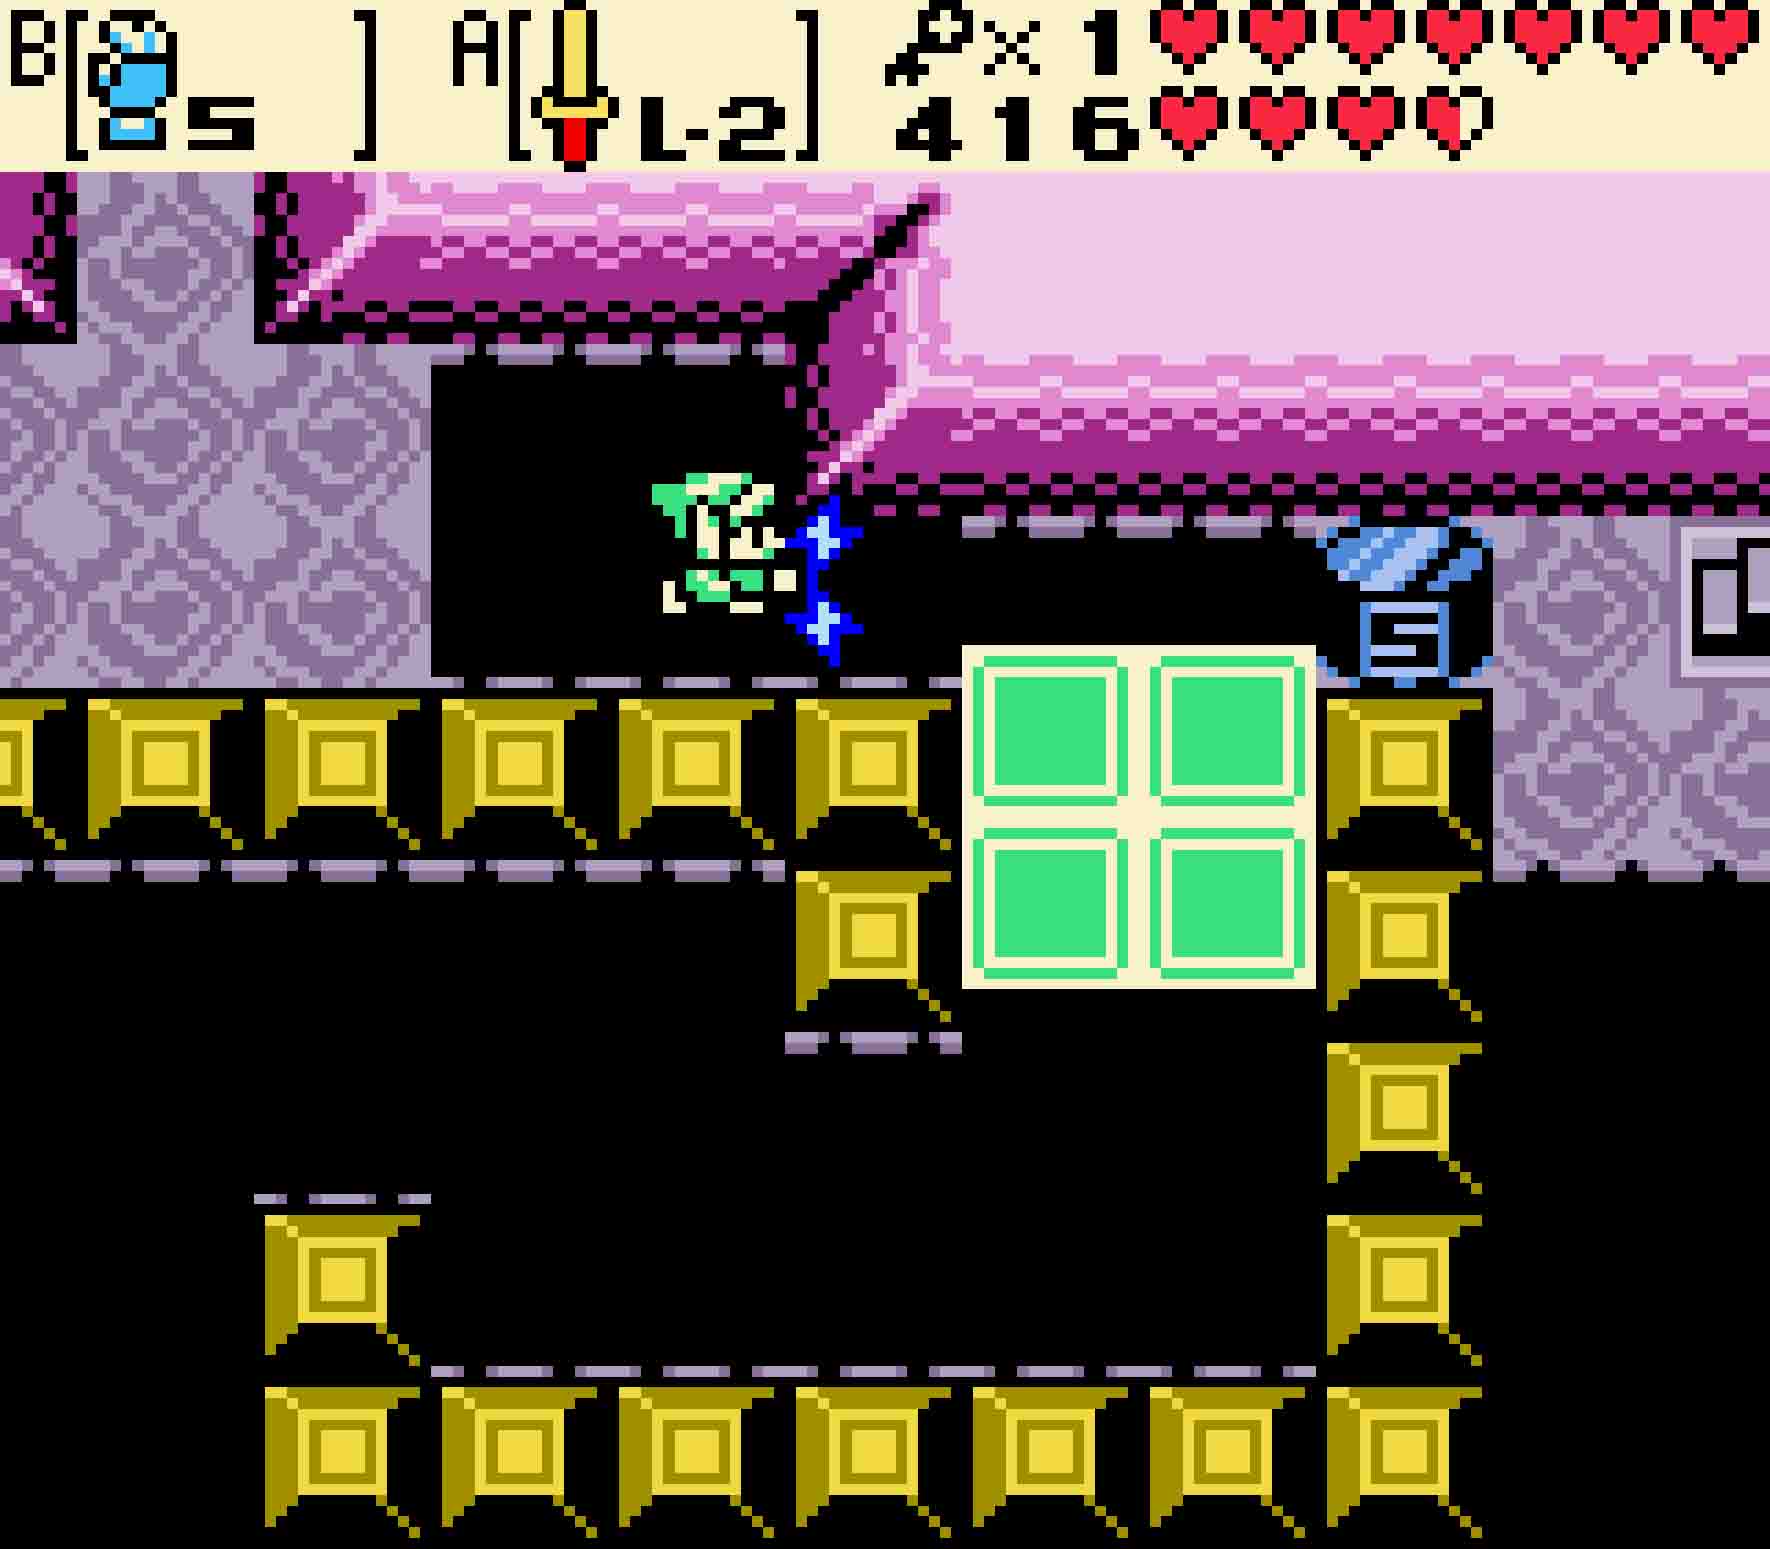
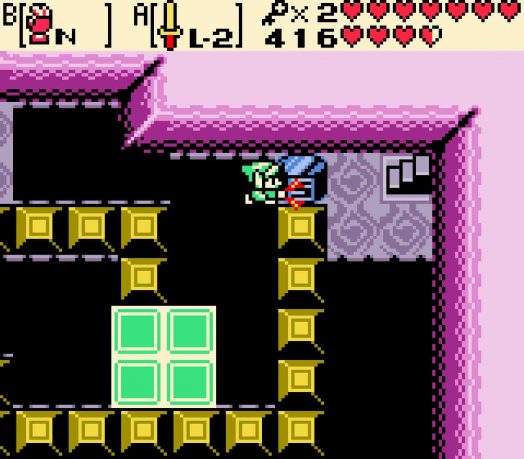
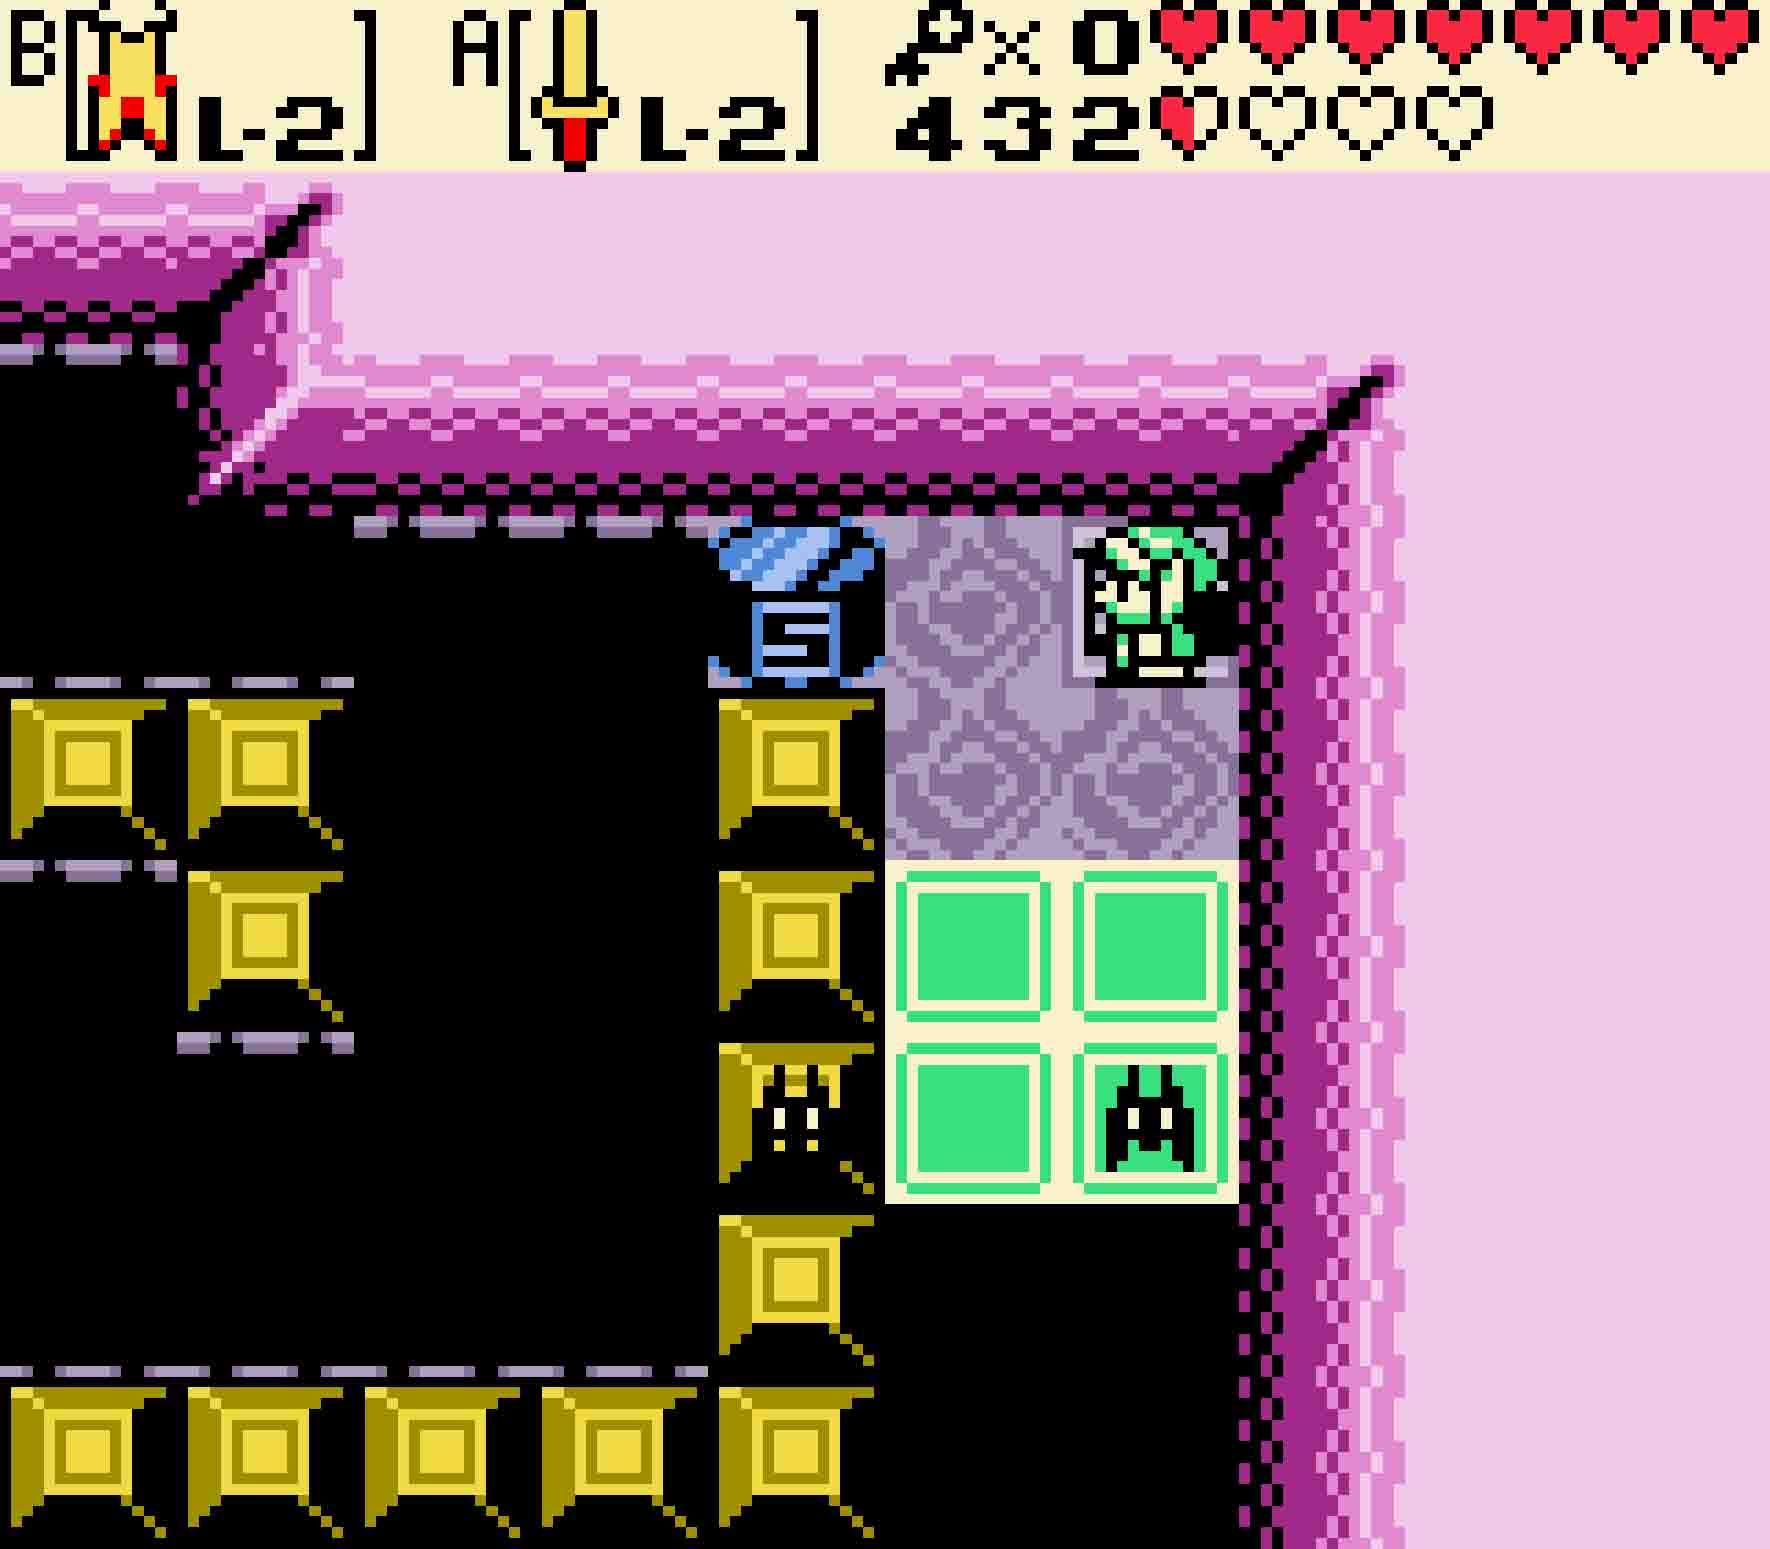
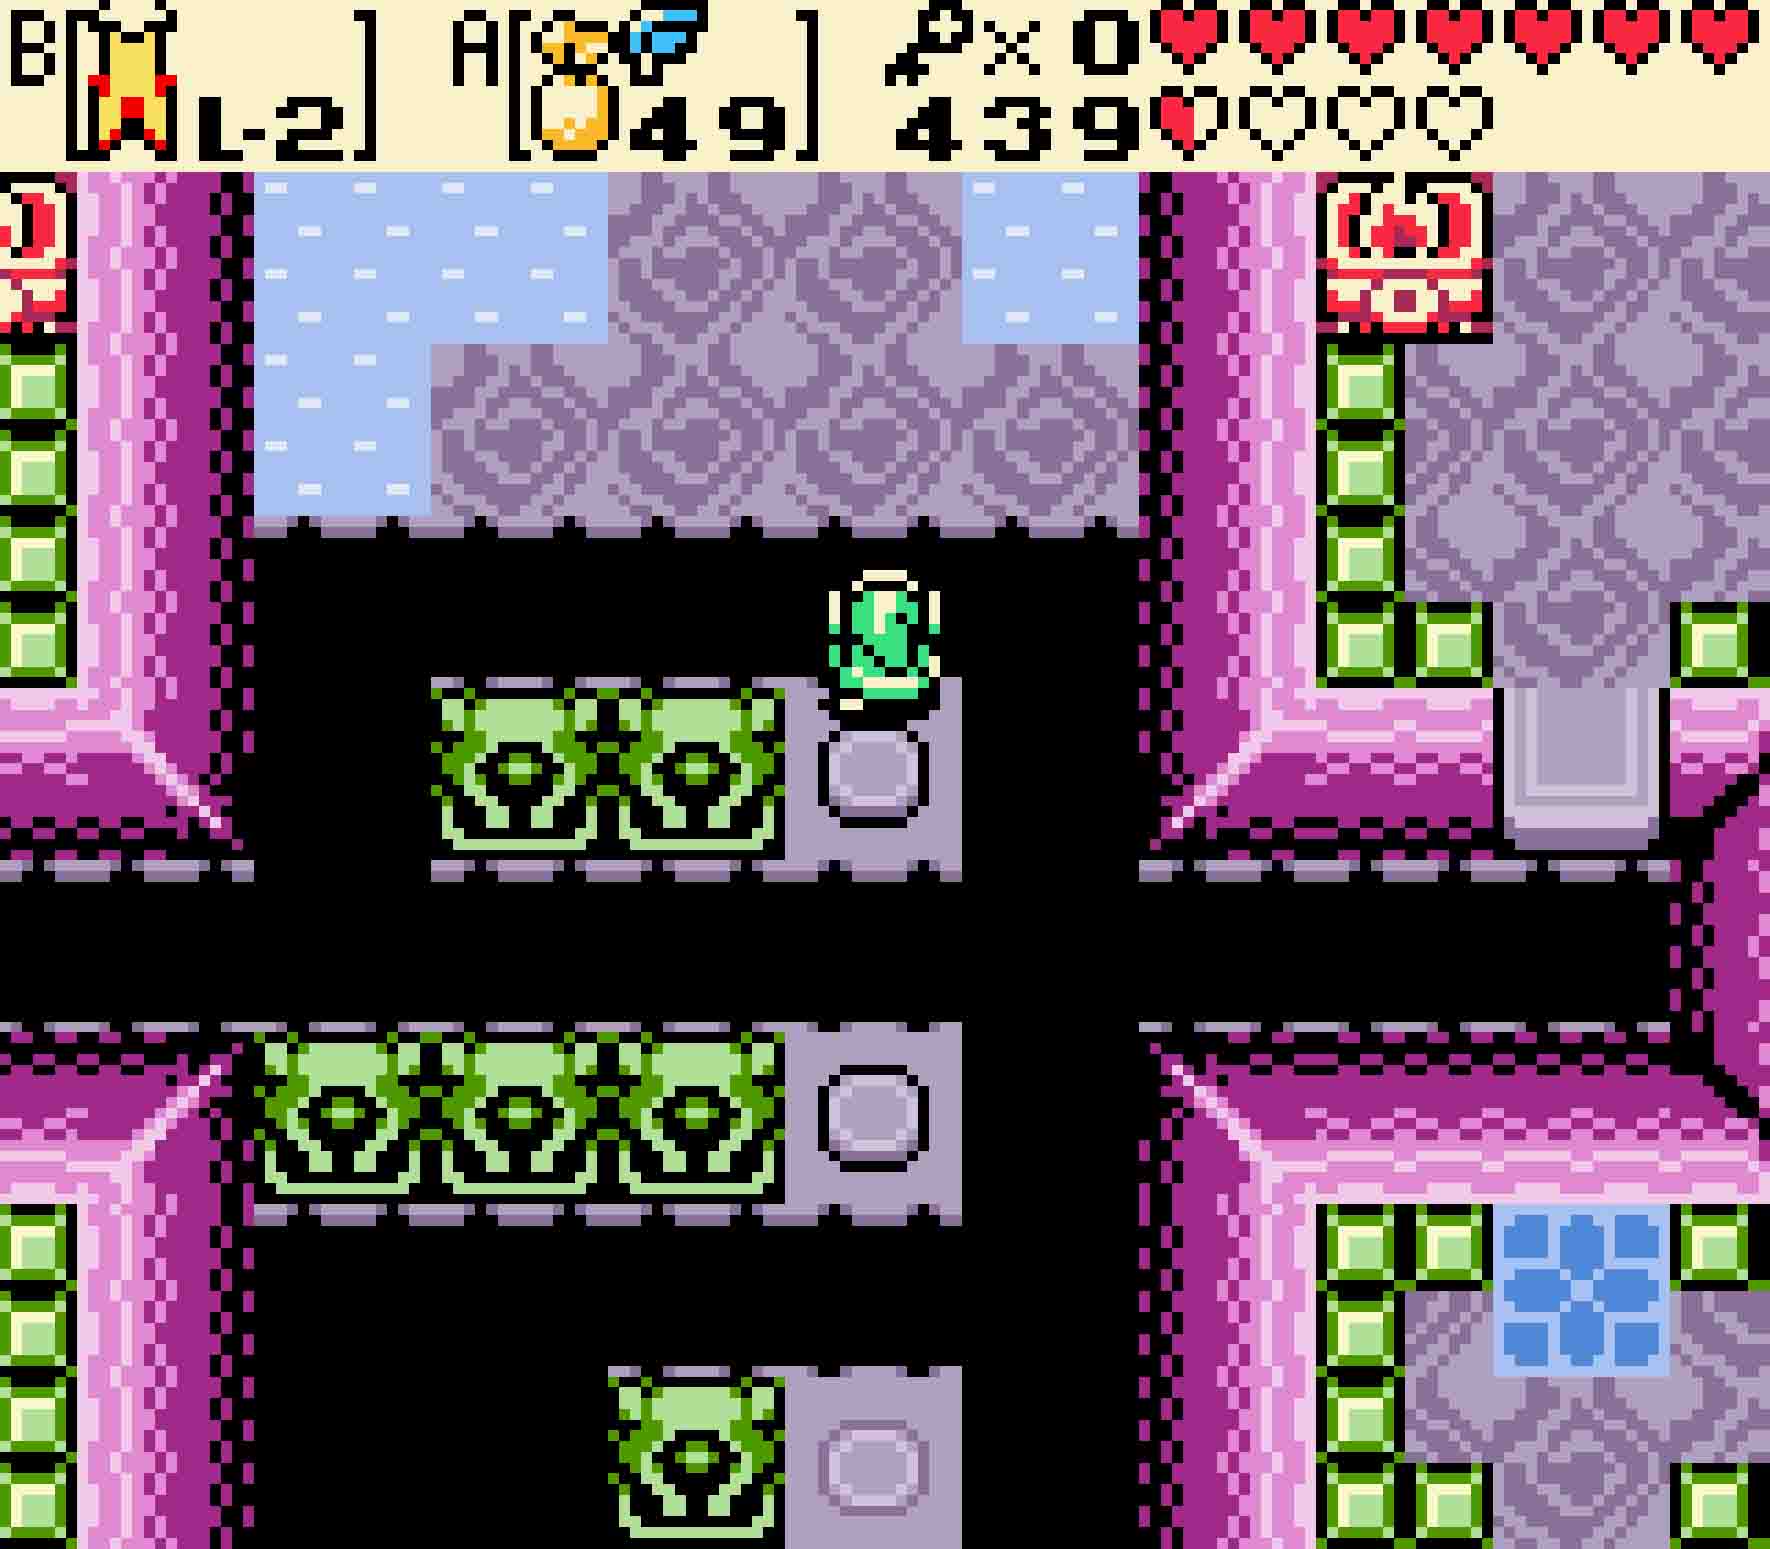
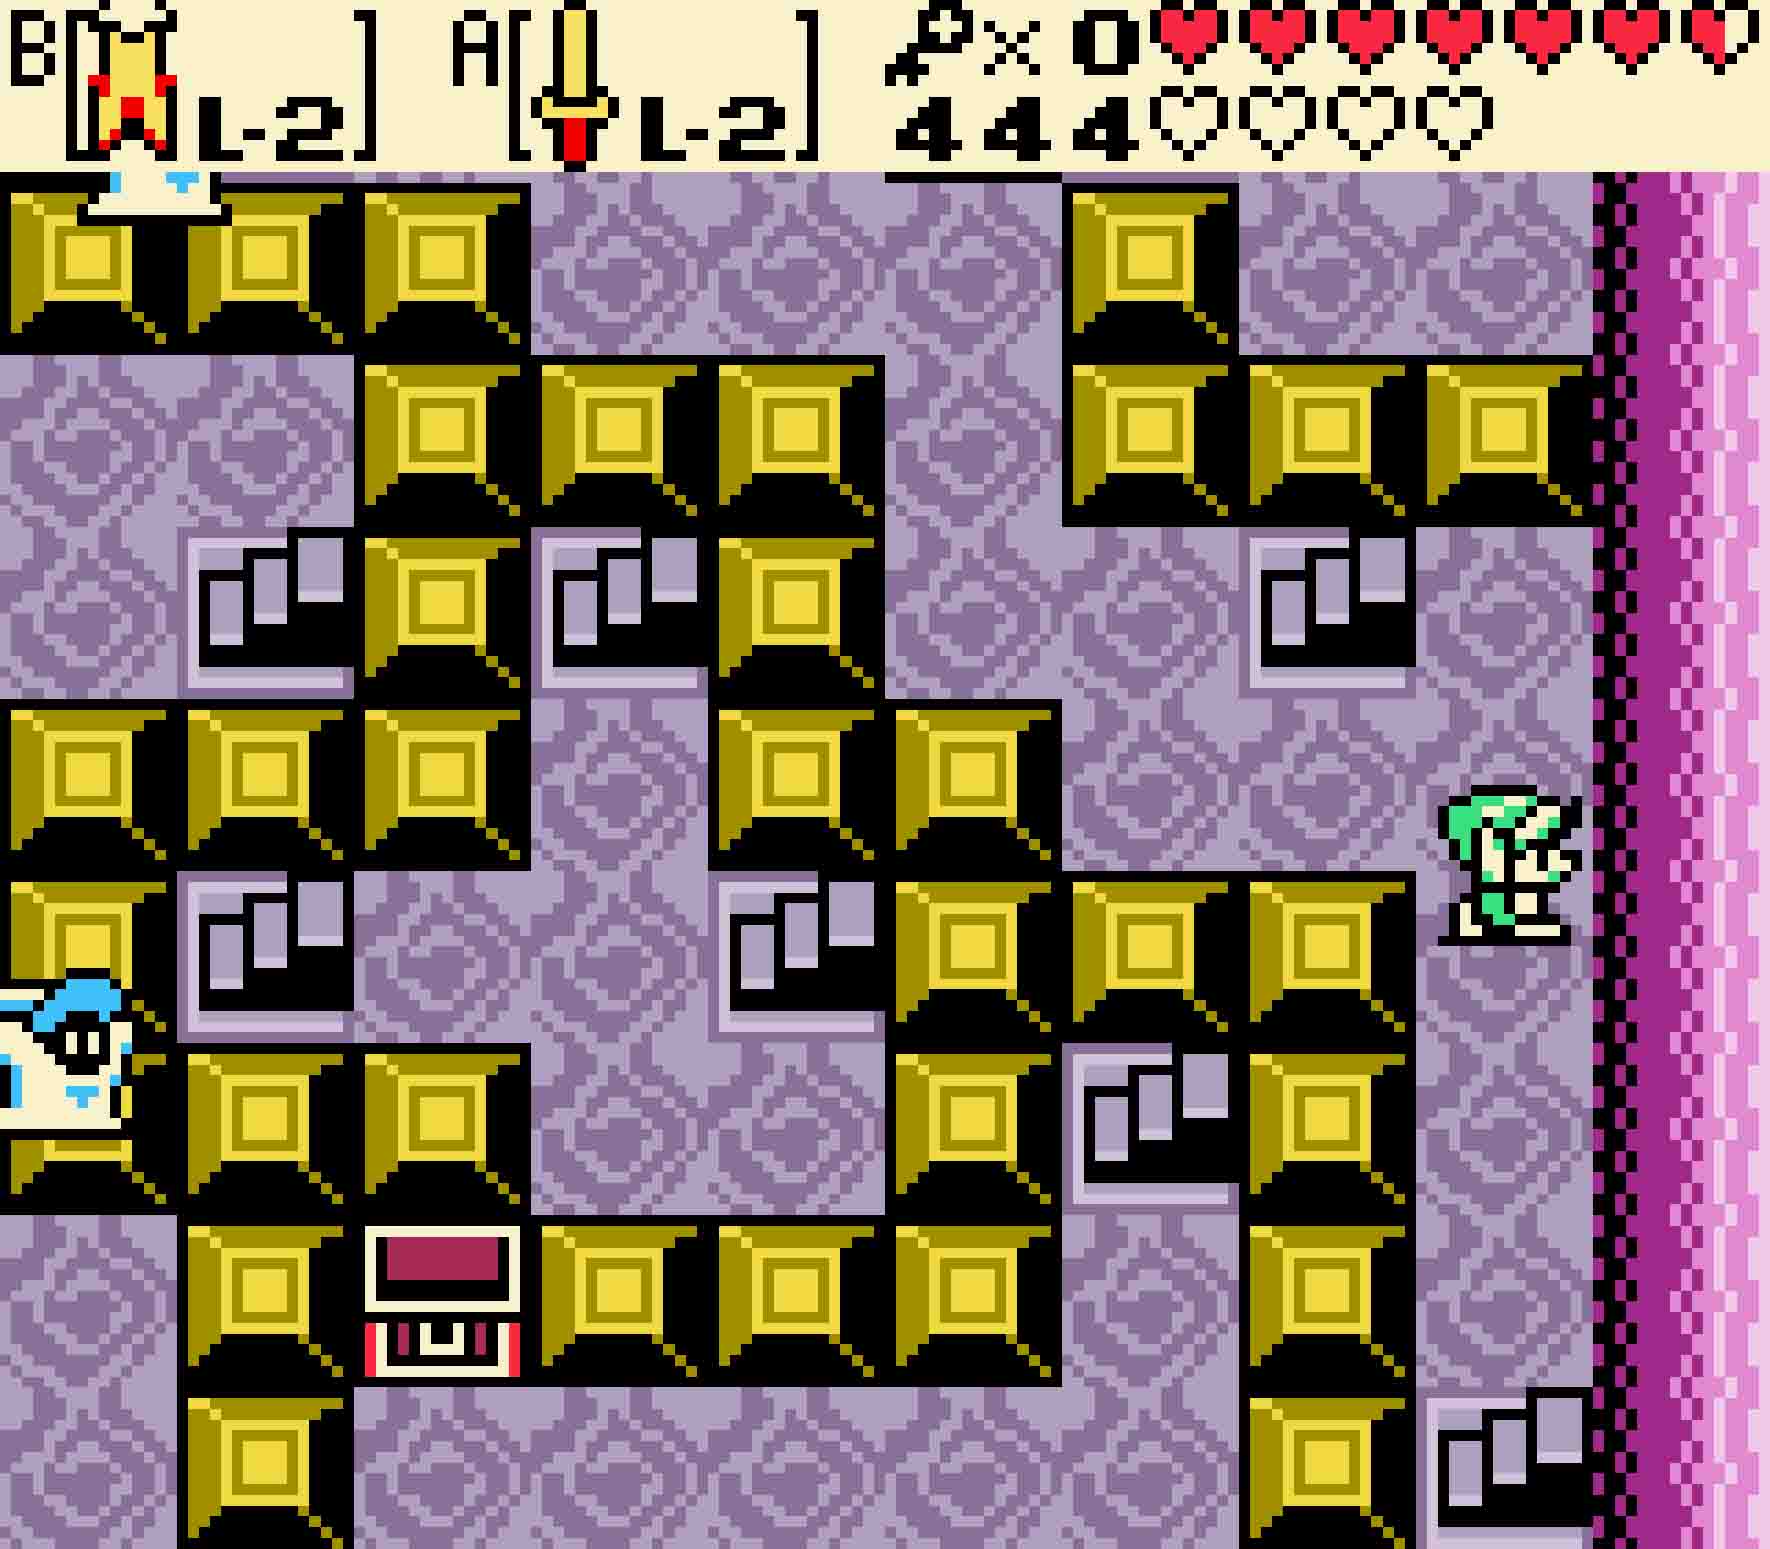
You’ll see a trampoline contained within the center of a square of blocks. While most of the blocks won’t move, the ones on the left side of the square will. Push the two outer blocks on the left side in one square, and then push the center of those three blocks up, the only direction it will move. You could hop on the trampoline now to see where you’ll get to, but you’d only end up falling back down. Instead, you’ll have to move the trampoline.
Hop over the trampoline with Roc’s Feather; then push it to the left three tiles and then up one so that it resides next to the block that was originally in the center of the left-hand side. Hop on it, and you’ll be sent up to 1F into the center portion of the room that you fought Stalfos in earlier.
-
- You’ll need to move the trampoline carefully to get into this otherwise sealed area.
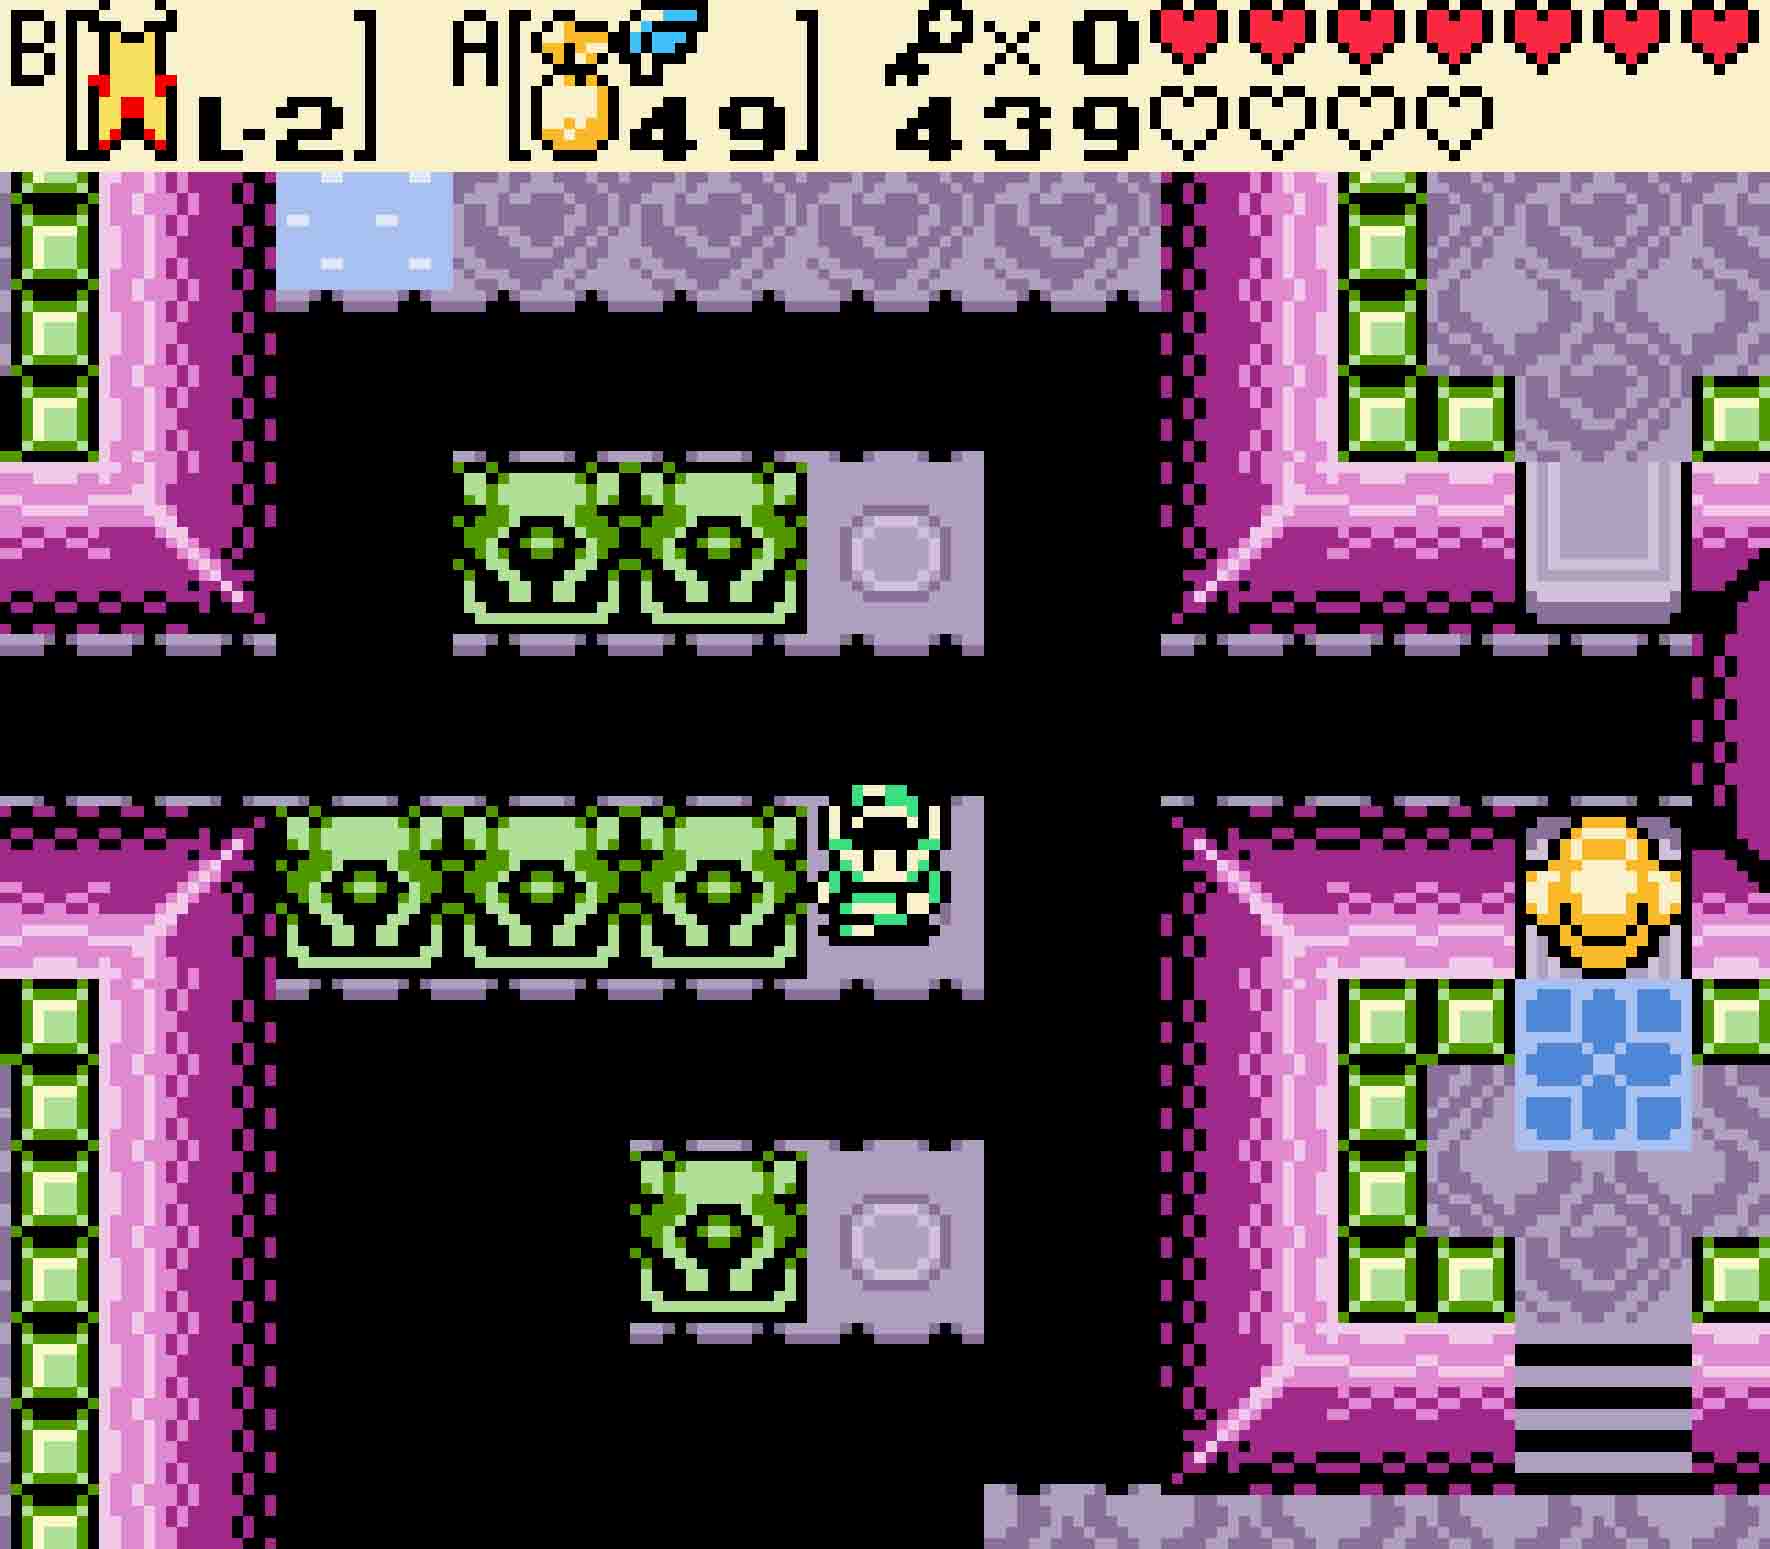
Veer to the left when you land, and then go east. You’ll encounter a Sword Stalfos and a Bubble. Be wary of the Bubble so long as the Sword Stalfos is alive. Once you have a safe opportunity, grab the contents of the chest, which will prove to be the dungeon’s Map.
17.5 Enter the second basement
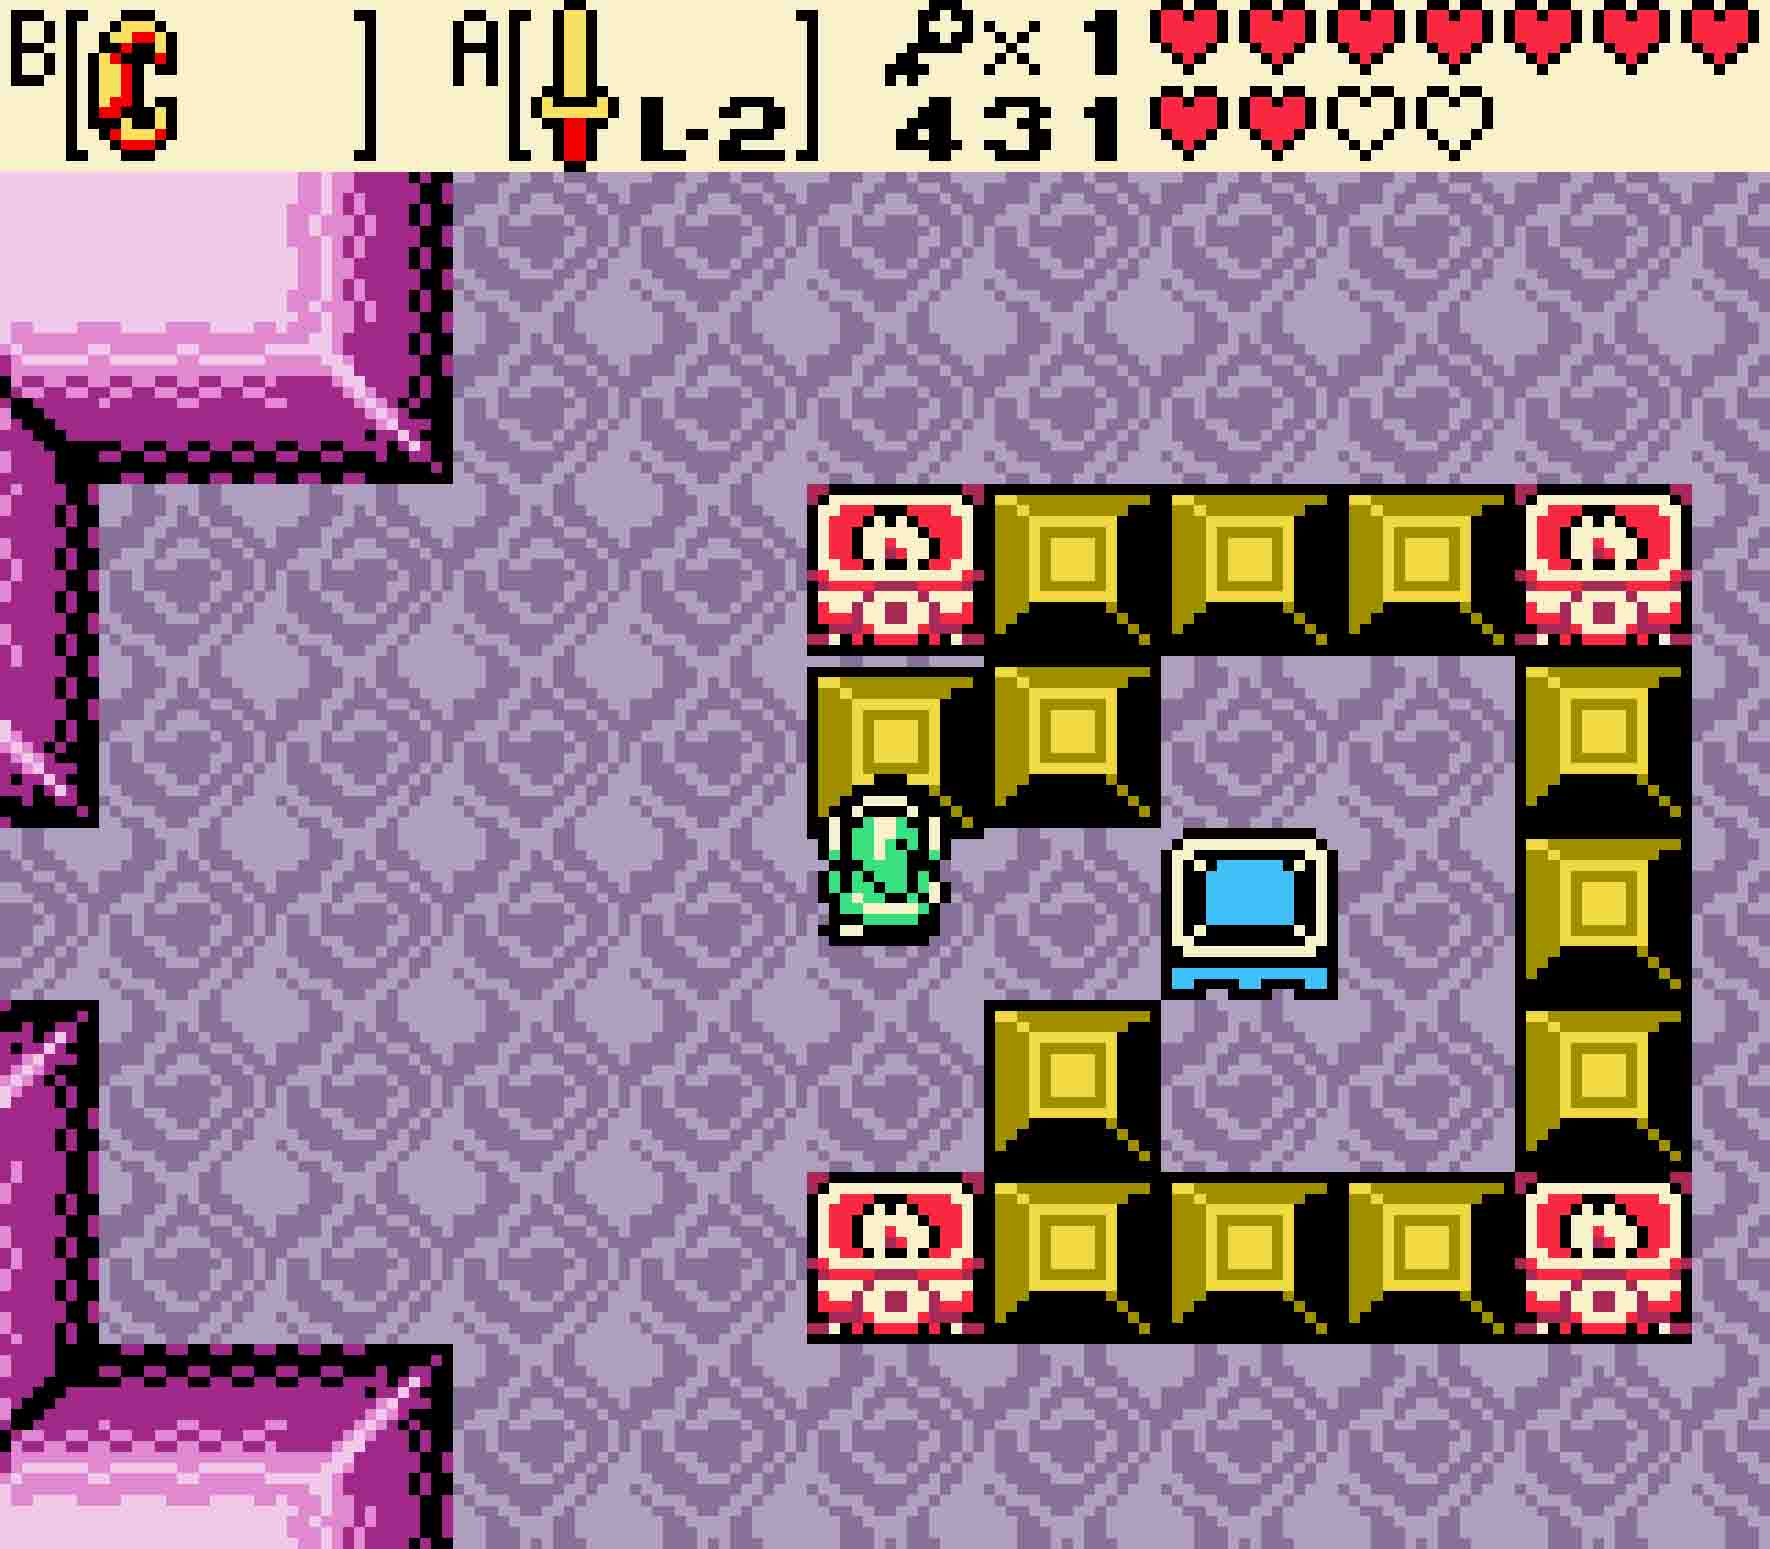
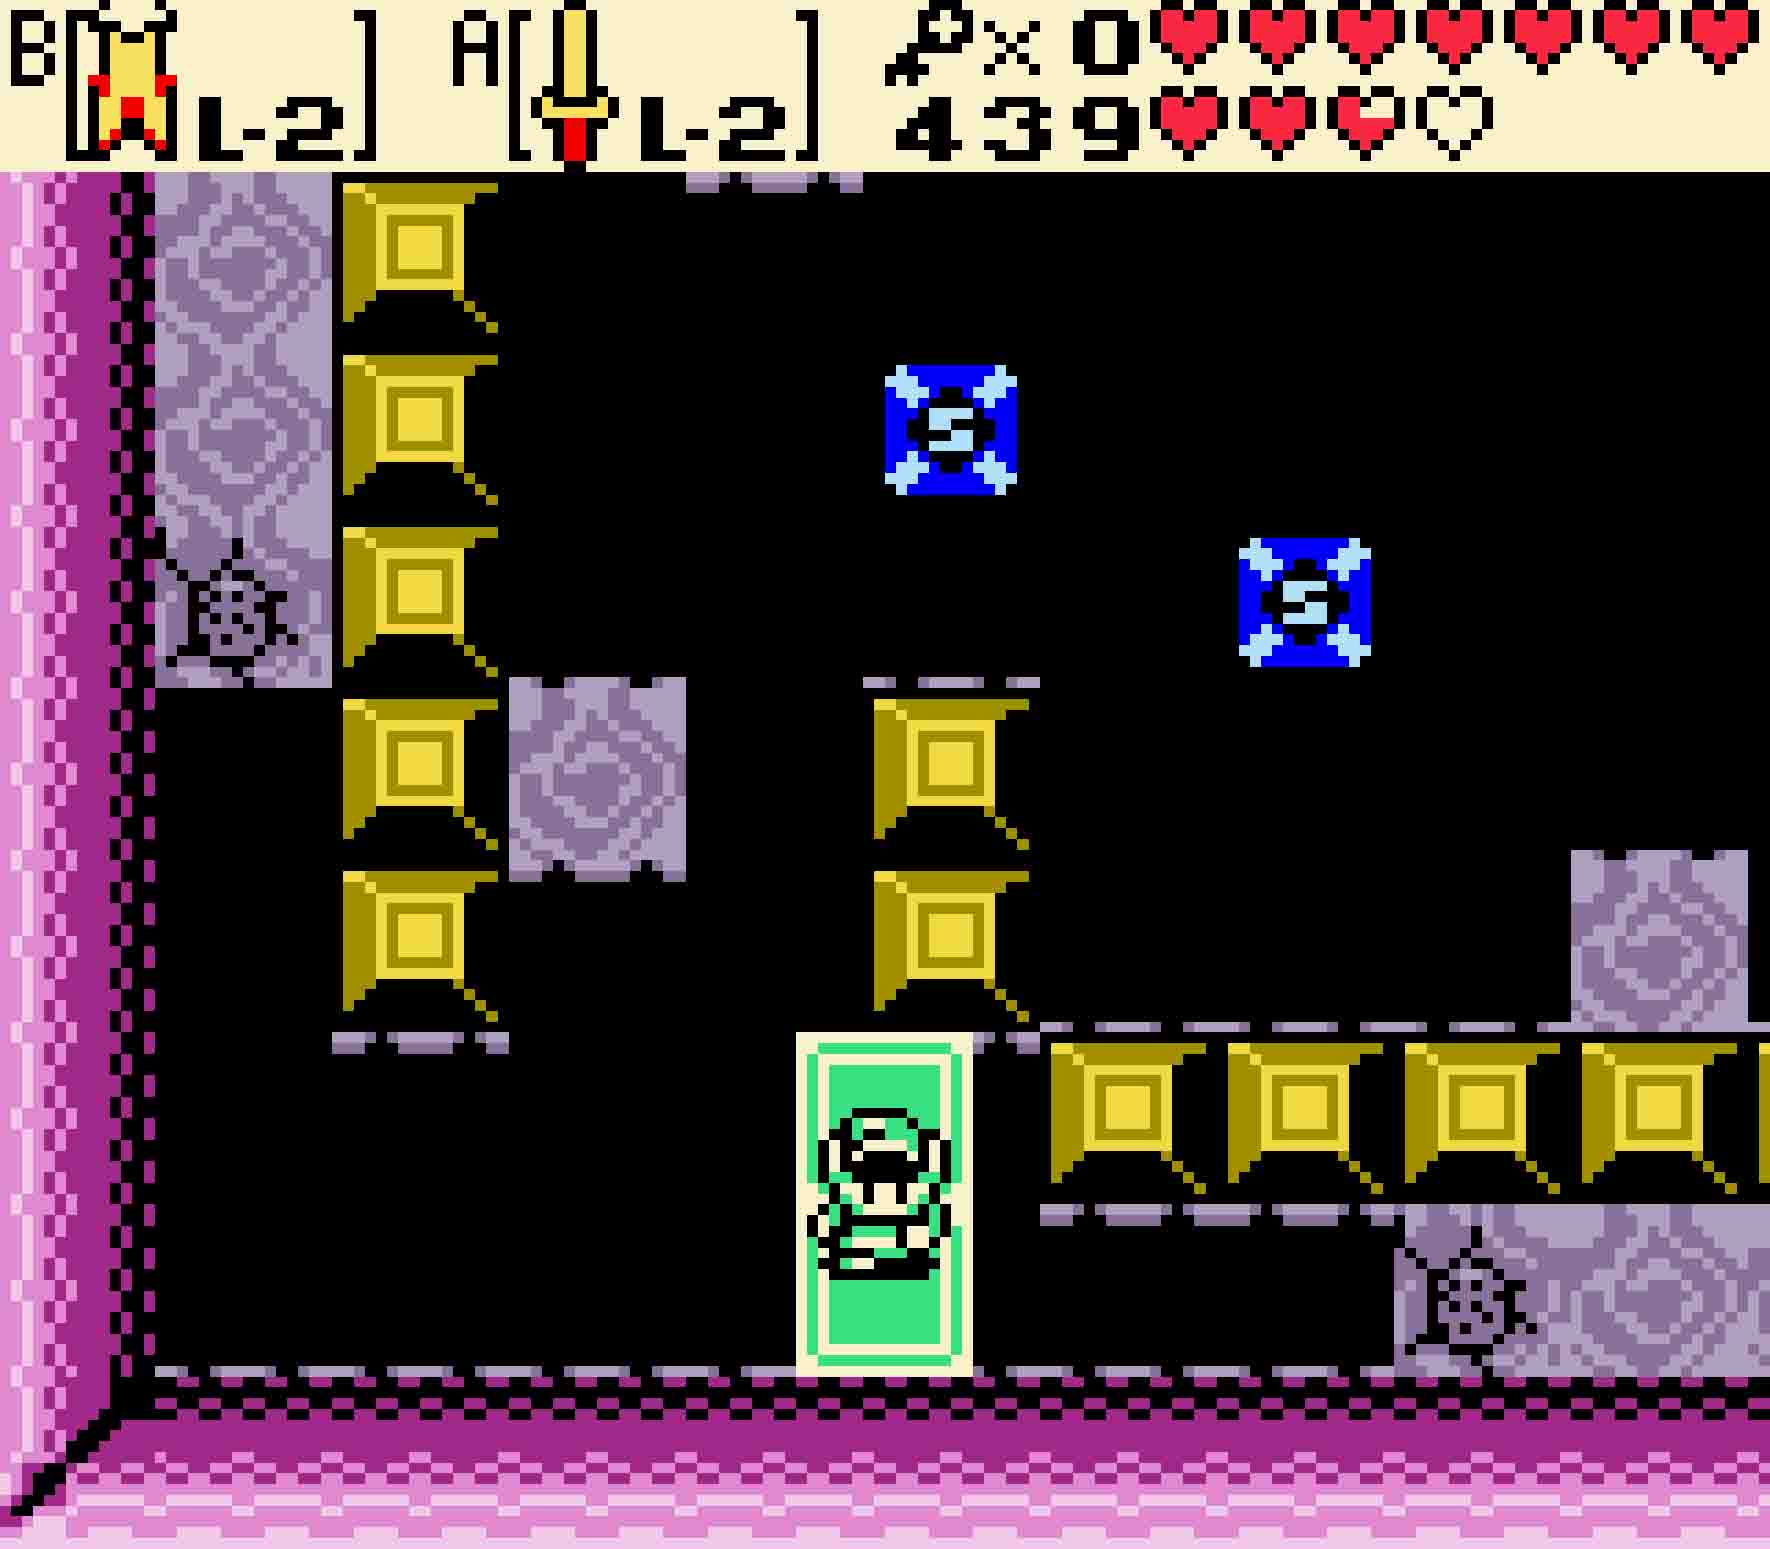
 Head back to the east, and then fall back down the narrow hole in the floor. You’ll land back just outside of the square containing the trampoline. With the Map acquired, it’s time to clear out the second up until now unseen cursed room. Use your remaining key to unlock the door to the east.
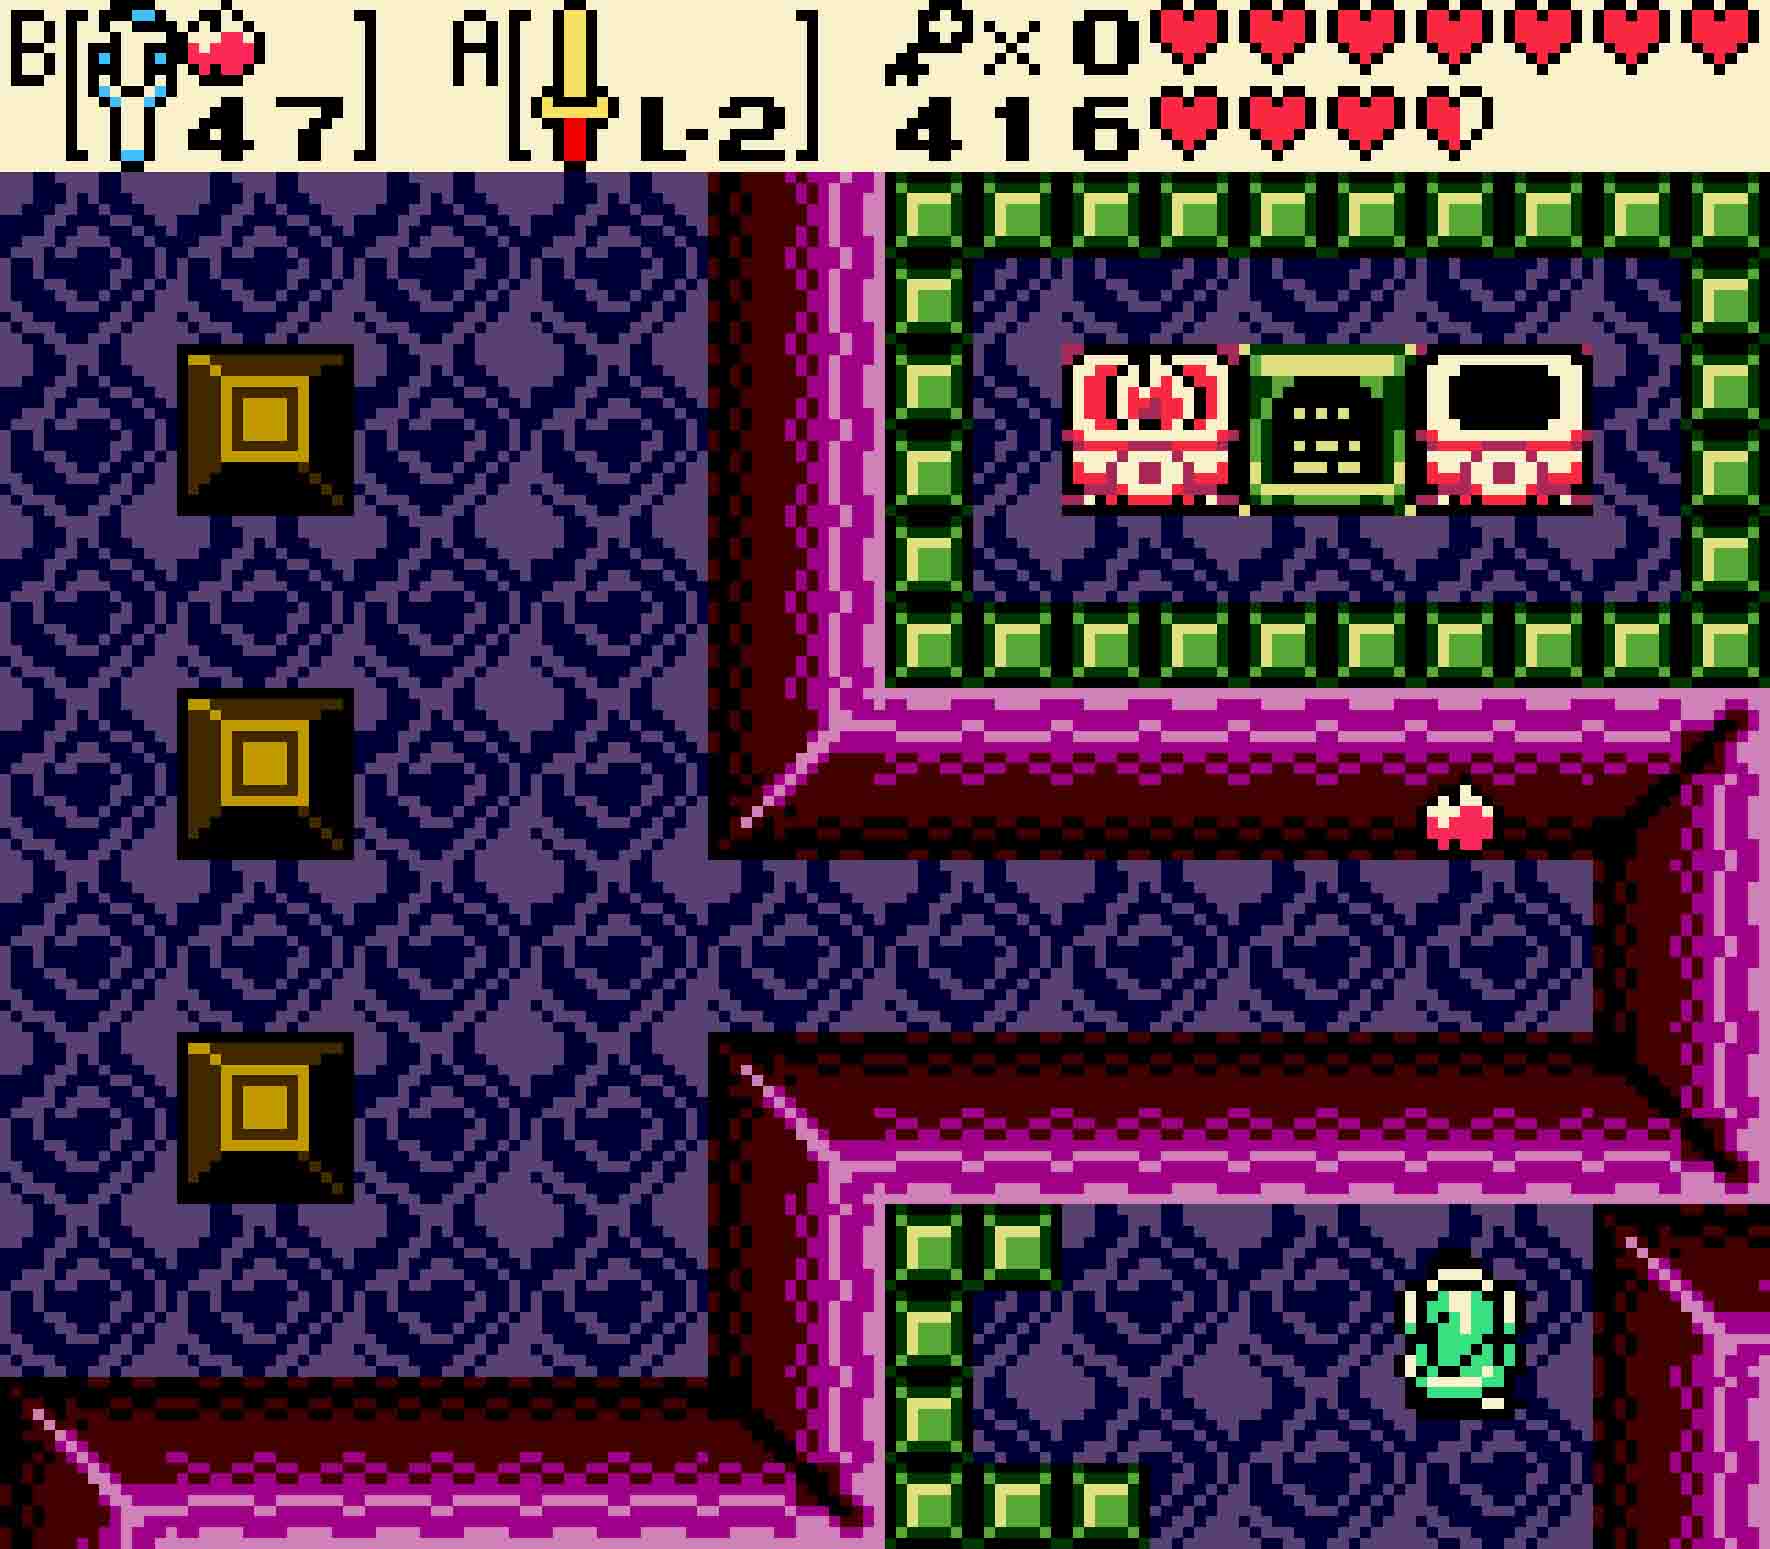
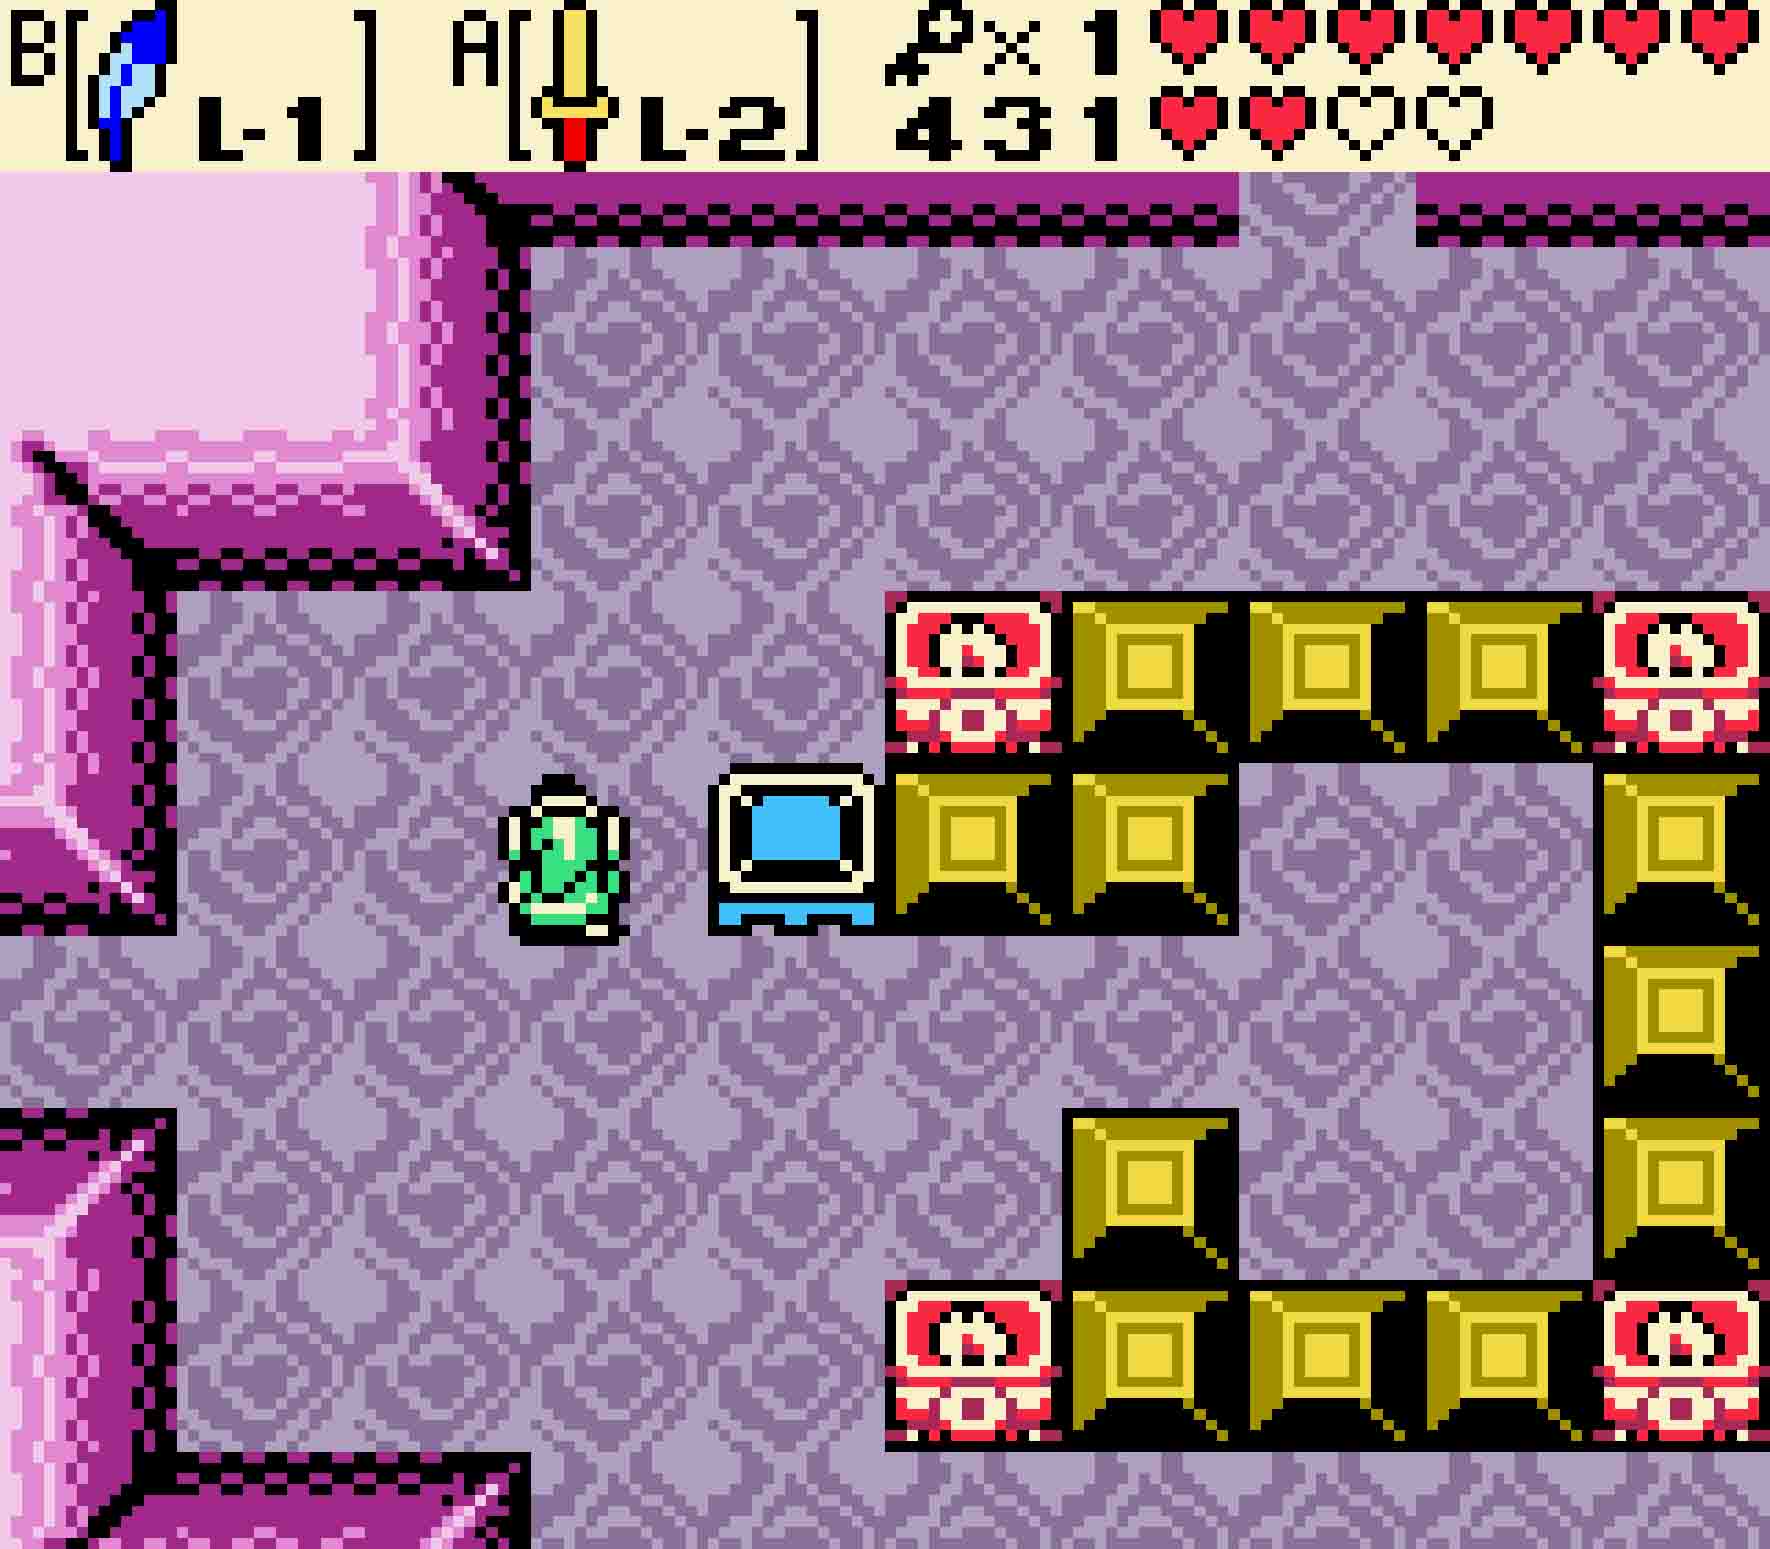
Again, you’ll enter a dark room. This time there are four torches in the room surrounding the gravestone; worst of all, these torches won’t stay lit for long. Consume a Pegasus Seed, and then quickly switch to your Ember Seeds using your Seed Satchel. Quickly run around the blocks, lighting each of the torches with Ember Seeds. You’ll need to be extremely quick and accurate. If a seed misses the mark, the flame will hang around for a crucial second or so, meaning you can’t use another Ember Seed until it’s extinguished.
-
- You’ll have to light all four torches; be quick as they go out.
-
- The Poe Sister will not be happy about that. She’ll fight for her darkness.
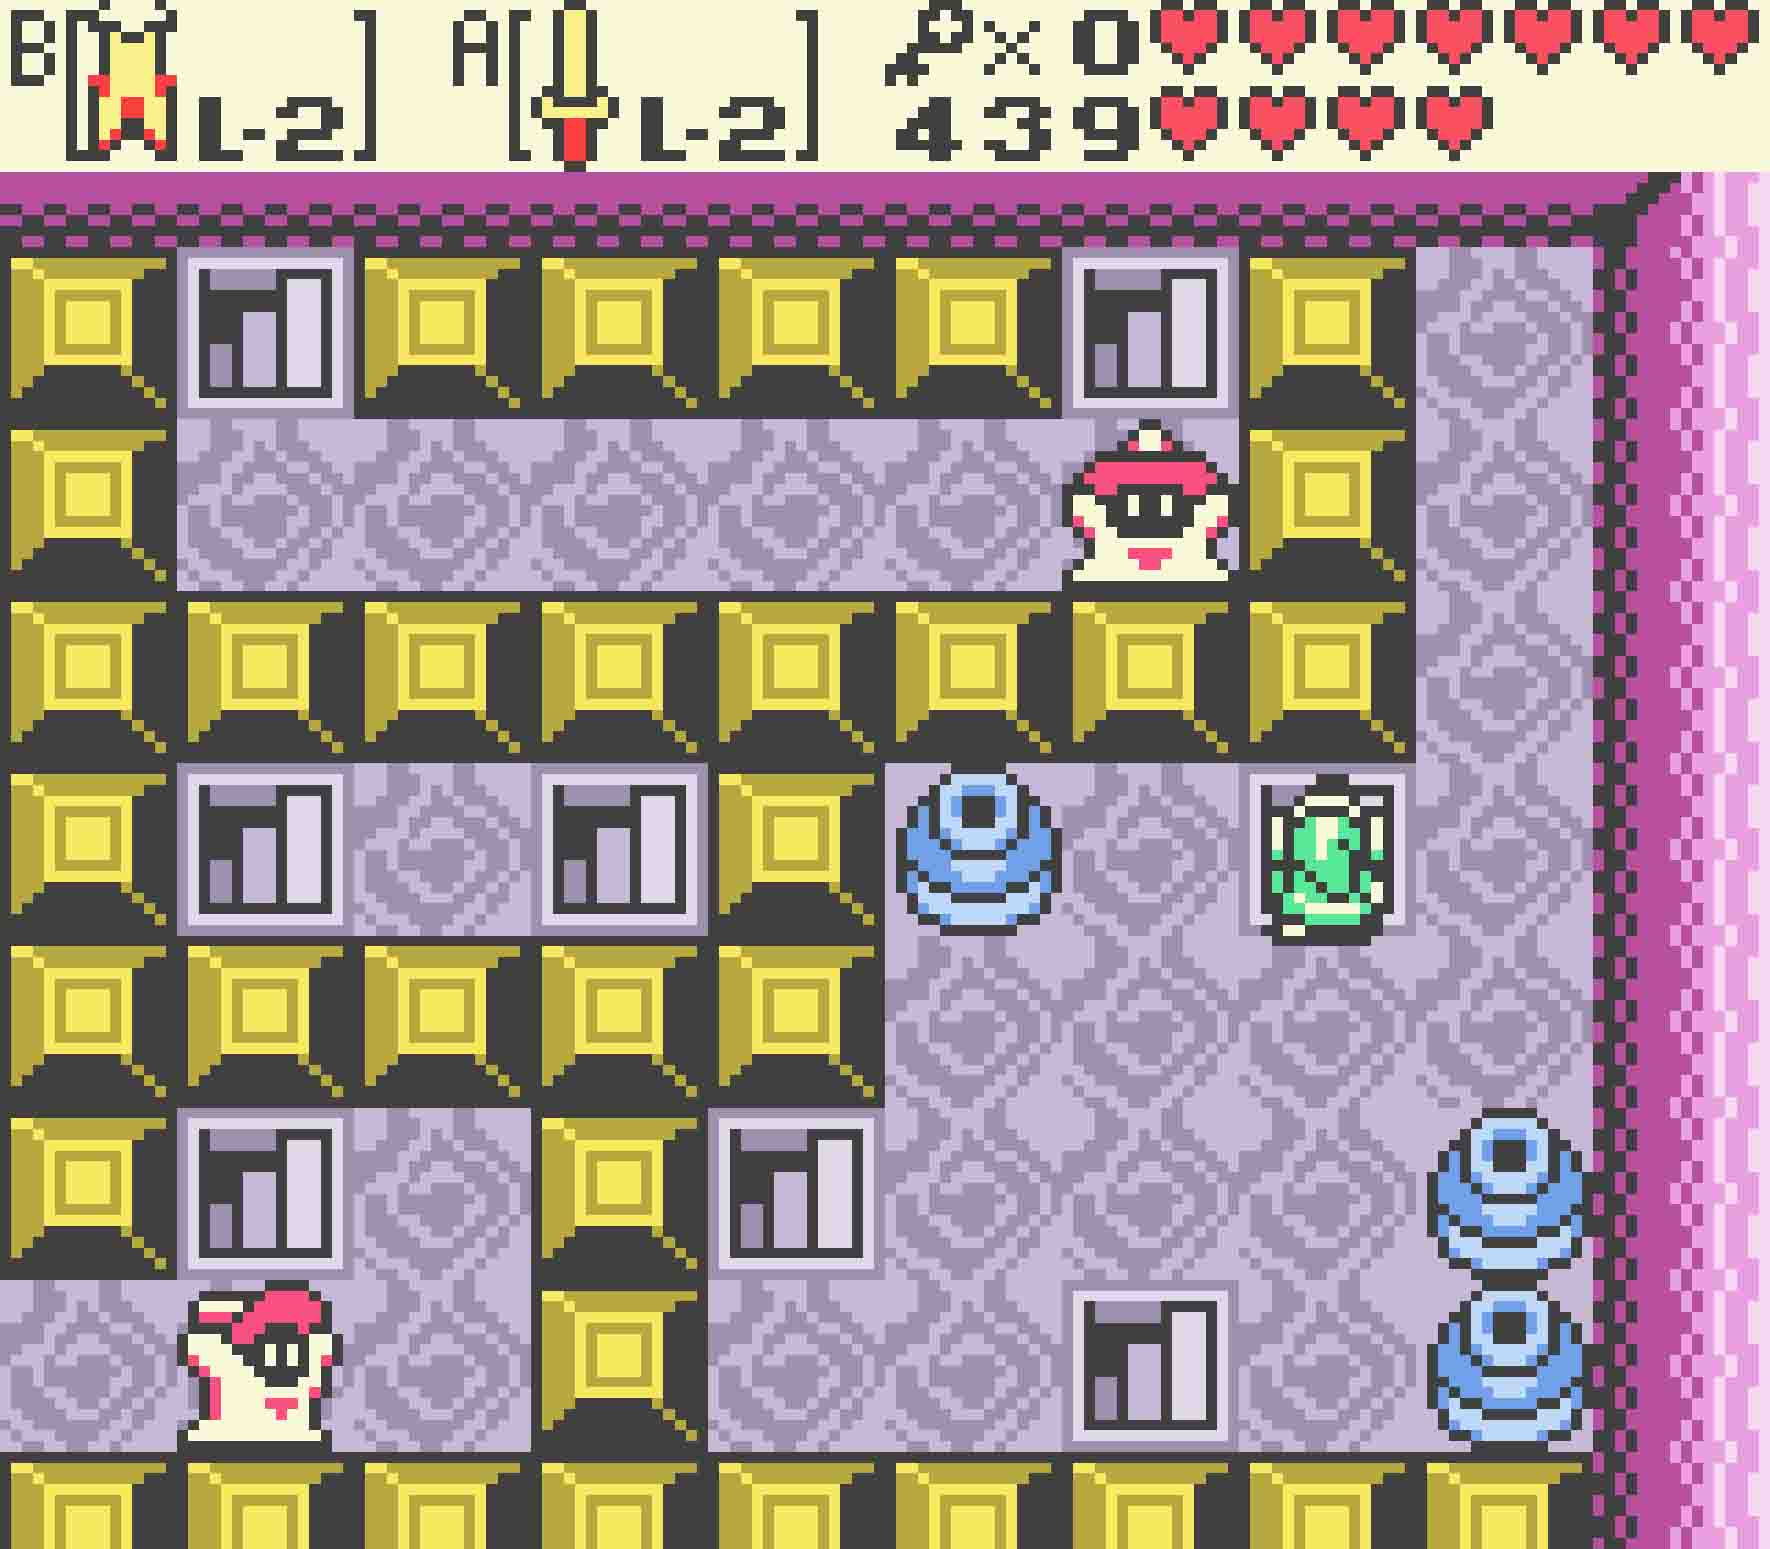
Once all four torches are concurrently lit, the second of the Poe Sisters will come out to taunt you. Instead of a sword, this sister will carry a lantern. Similar to before, the second Poe will phase in and out; however, unlike before, she will move in circular arcs and leave flames in her wake. You’ll have plenty of time to charge up Spin Attacks. Once again, several hits will cause the curse she put on the other room to break, allowing you deeper access into the dungeon.
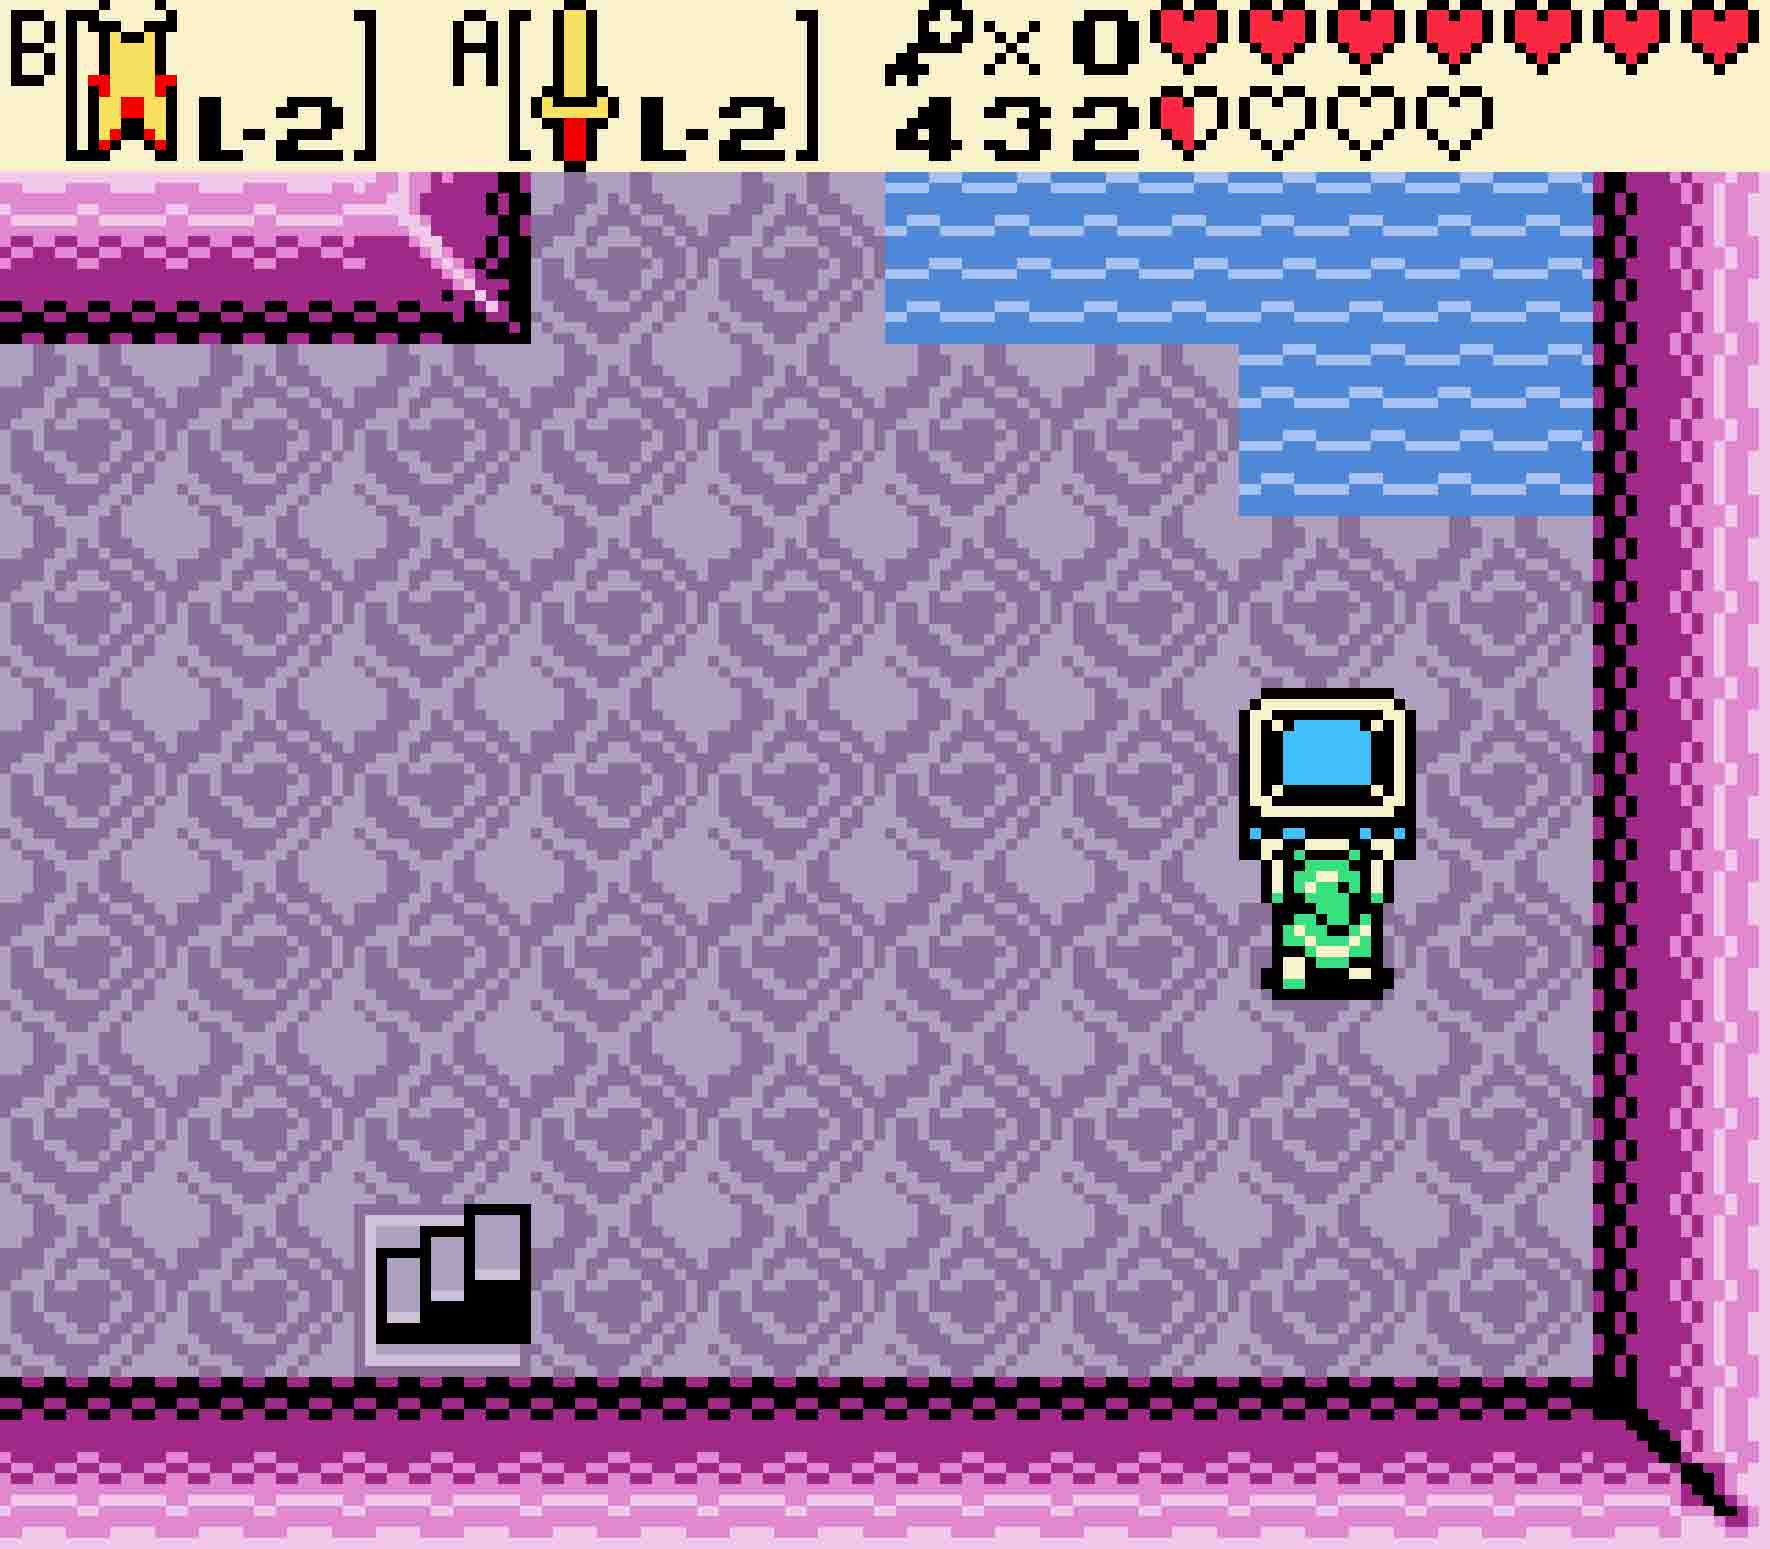
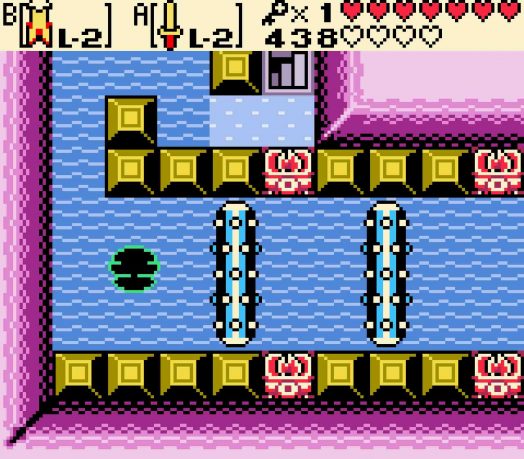
As for that now-uncursed room? That’s just two rooms to the west. Head over there, and you’ll see two Rolling Spike Traps mechanically moving over the water. Jump in the water and dive under the first. Resurface for air afterwards so you can dive under the second one safely. Then continue around the blocks to reach the staircase heading down to the second basement.
-
- The second Poe Sister is much more into magic than physical attacks.
-
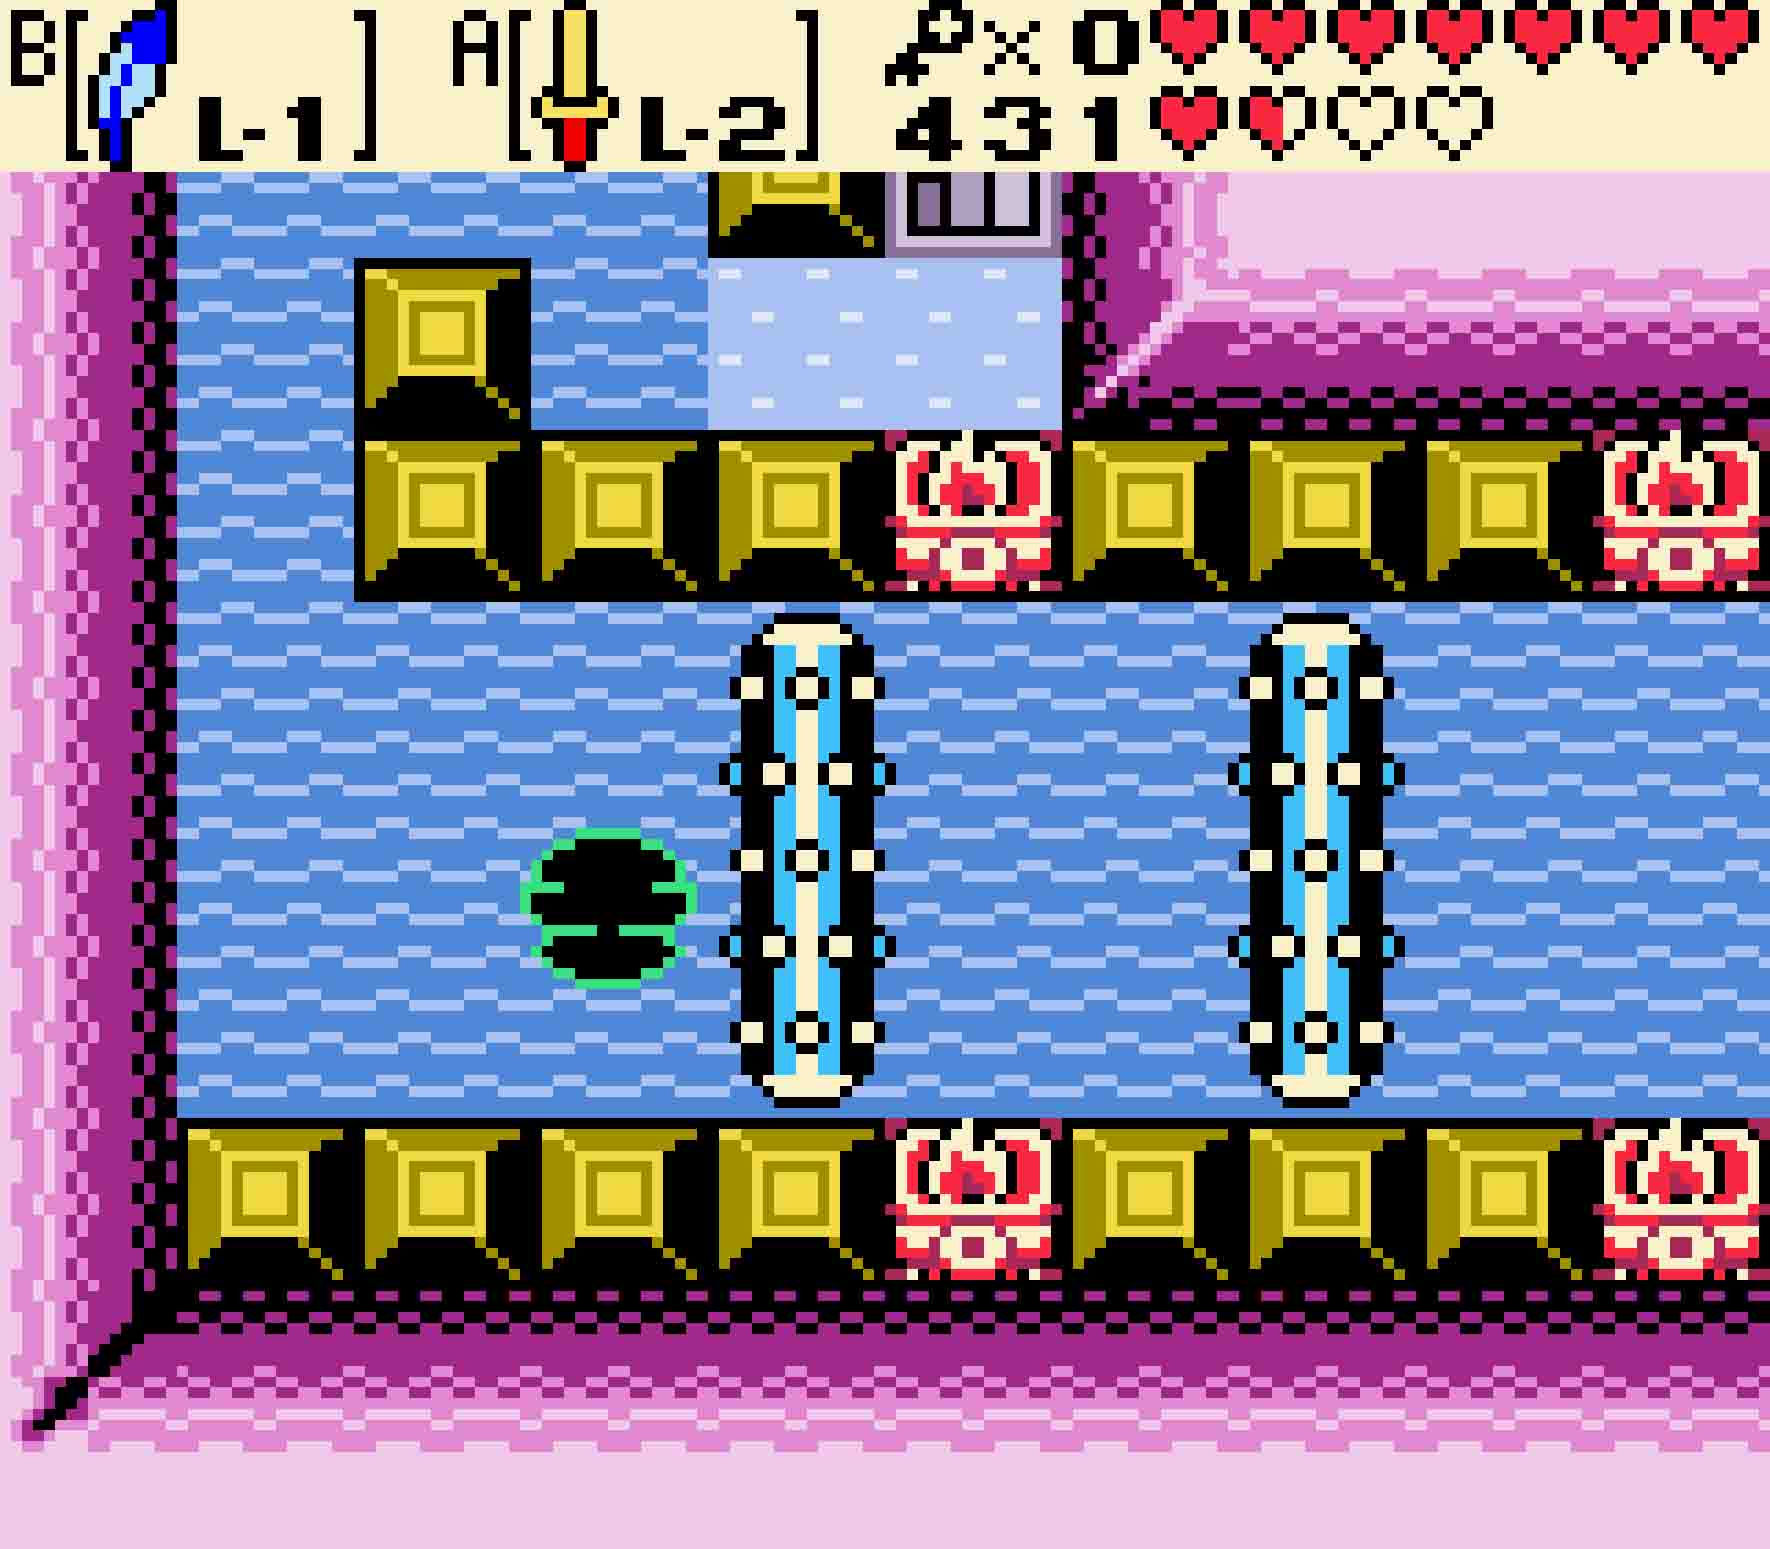
- Once you defeat her, you can swim freely through the next room.
17.6 Earn Roc’s Cape
You’ll arrive on the second basement without much choice in direction. There’s a locked block, but you have no key. So simply head west. Three Darknuts will be patrolling the next room, though only one of them will be on your side of the room. Kill the one with the sword that’ll be near you first. As for the other two, those suits of armor might appeal to some magnetic influence. Use the Magnetic Gloves, and with them you can pull the Darknuts over the pit, dropping them into oblivion. Doing so will cause a bridge to appear, allowing you to walk to the west side of the room. Cross the bridge and head north.
-
- The Magnetic Gloves will be doing overtime here. You can use them offensively here.
The only reason for you to cross the bridge is to hit the Crystal Switch; this will cause the hovering magnets on the other side of the room to start spinning, a necessary requirement for you to cross. Head back south, wander over the bridge, and then return to this room on the other side. Then you’ll need to prepare a very precarious crossing over the inky abyss.
Crossing the Magnetic void
Step One Use the Magnetic Gloves with north polarity to attract yourself to the spinning magnet directly in front of the room’s entrance.
Step Two After the magnet spins a quarter turn, quickly release the Magnetic Gloves’ pull and switch polarity so that it pushes you backwards. You’ll want to let it fling you all the way back against the block behind you.
Step Three Let go of the magnetic pull, quickly turn towards the top of the screen, and switch polarity again so you’ll be attracted to the magnet directly in front of you.
Step Four You have two options here. You can let the magnet spin you a half turn before you turn to the left and then switch polarity twice — once to repel because you must and a second time to attract you. Or, as pictured here, you can have it spin you a ¼ turn before triggering the repel.
Step Five If you perform the latter maneuver, you’ll then have to time a very precise, mid-air transition. When you’re just below the final magnet, turn upwards and engage the Magnetic Gloves one more time to latch on to it.
Step Six Once you’re south of the magnetic once again, flip the polarity to repel you over to the island with the two trampolines.
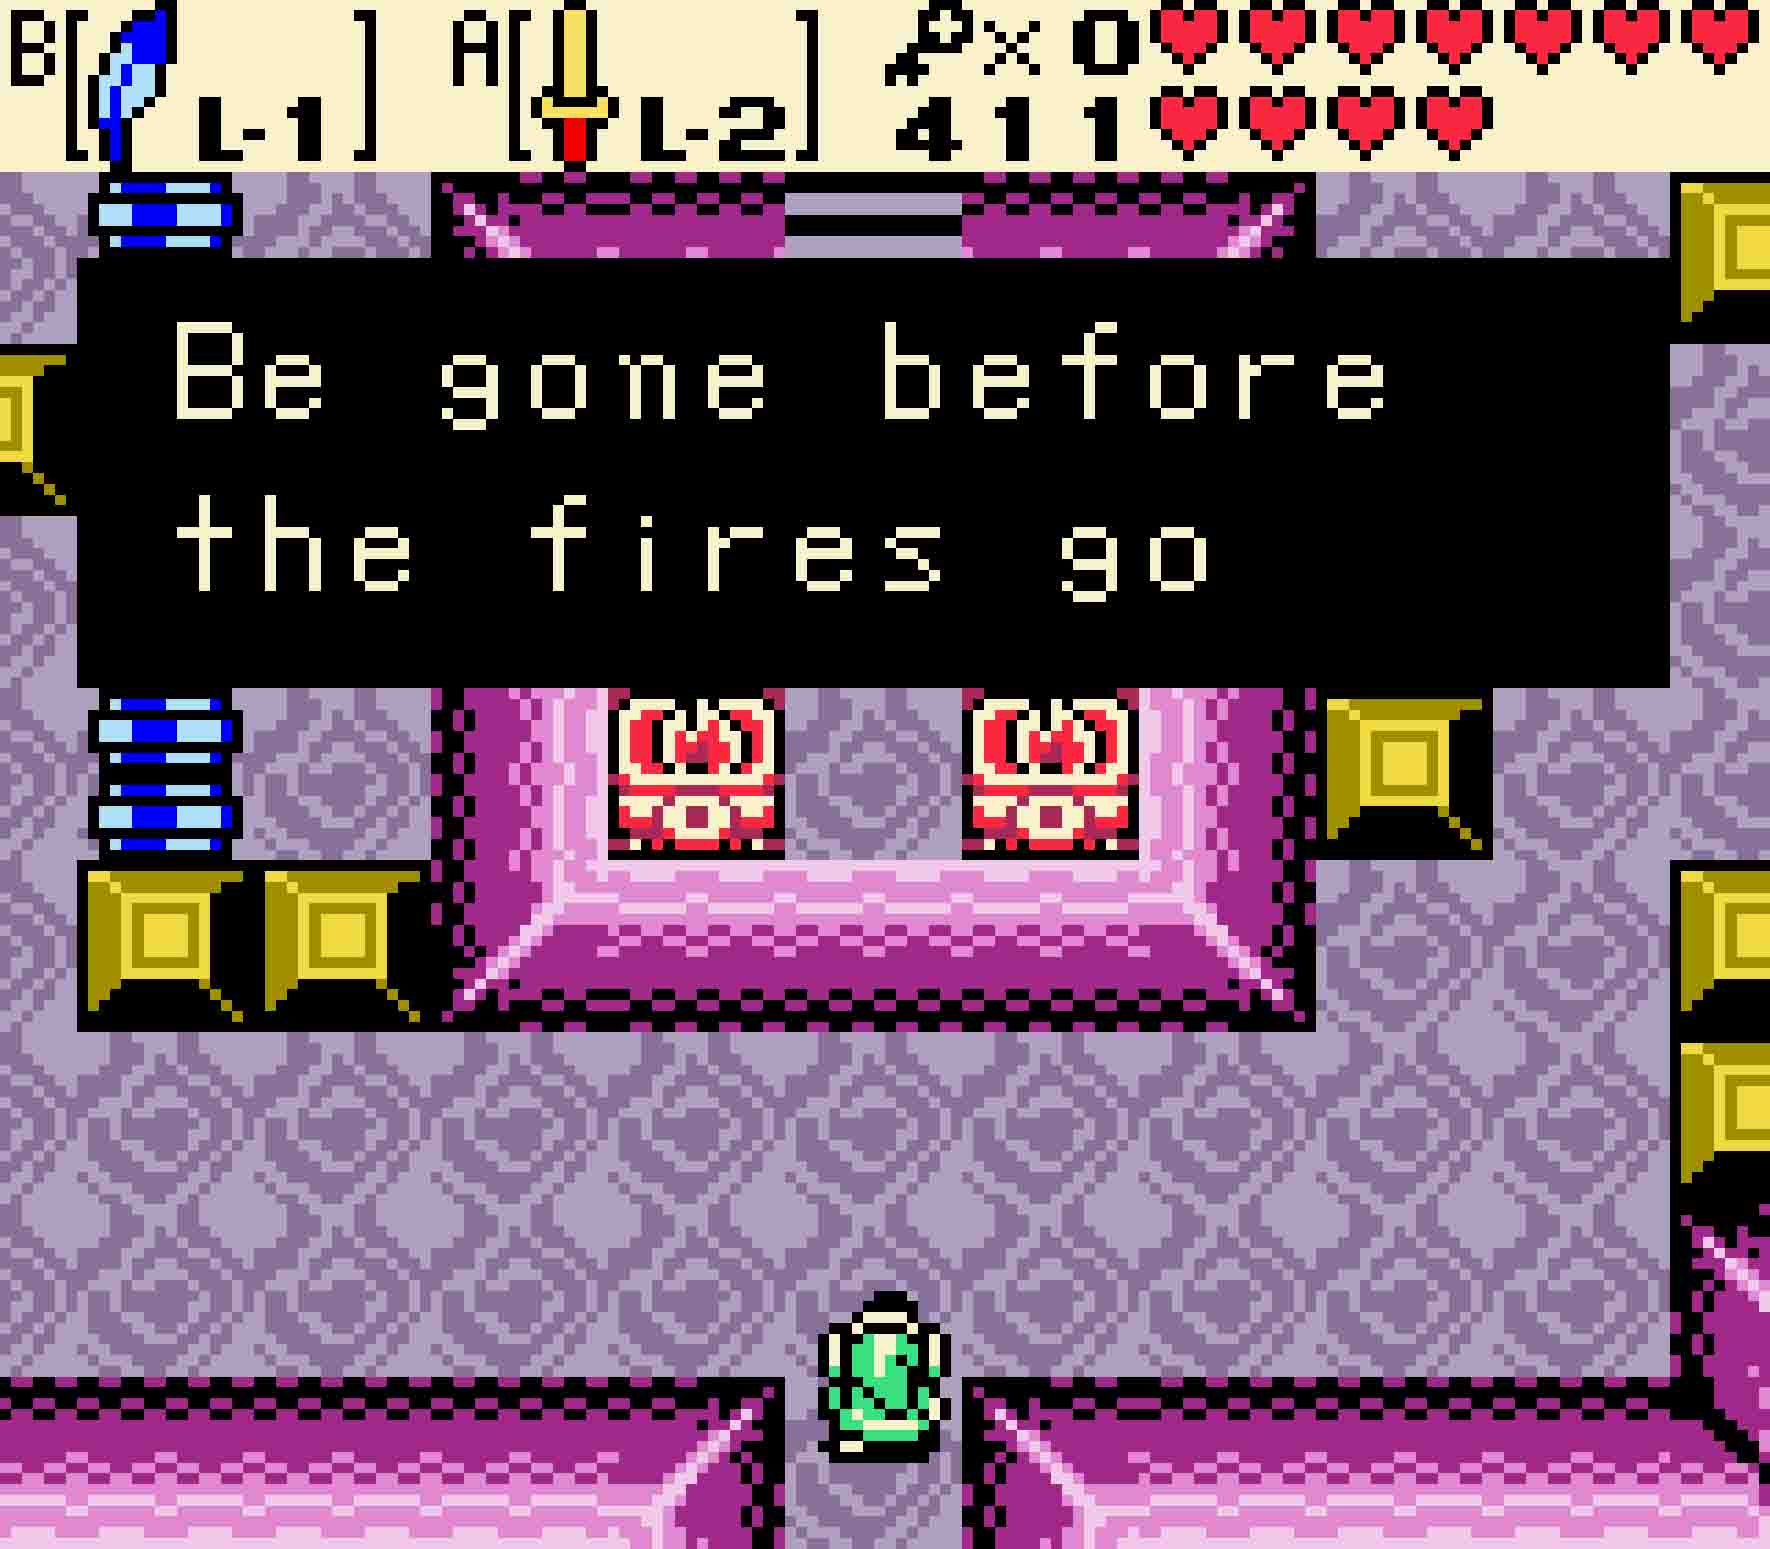
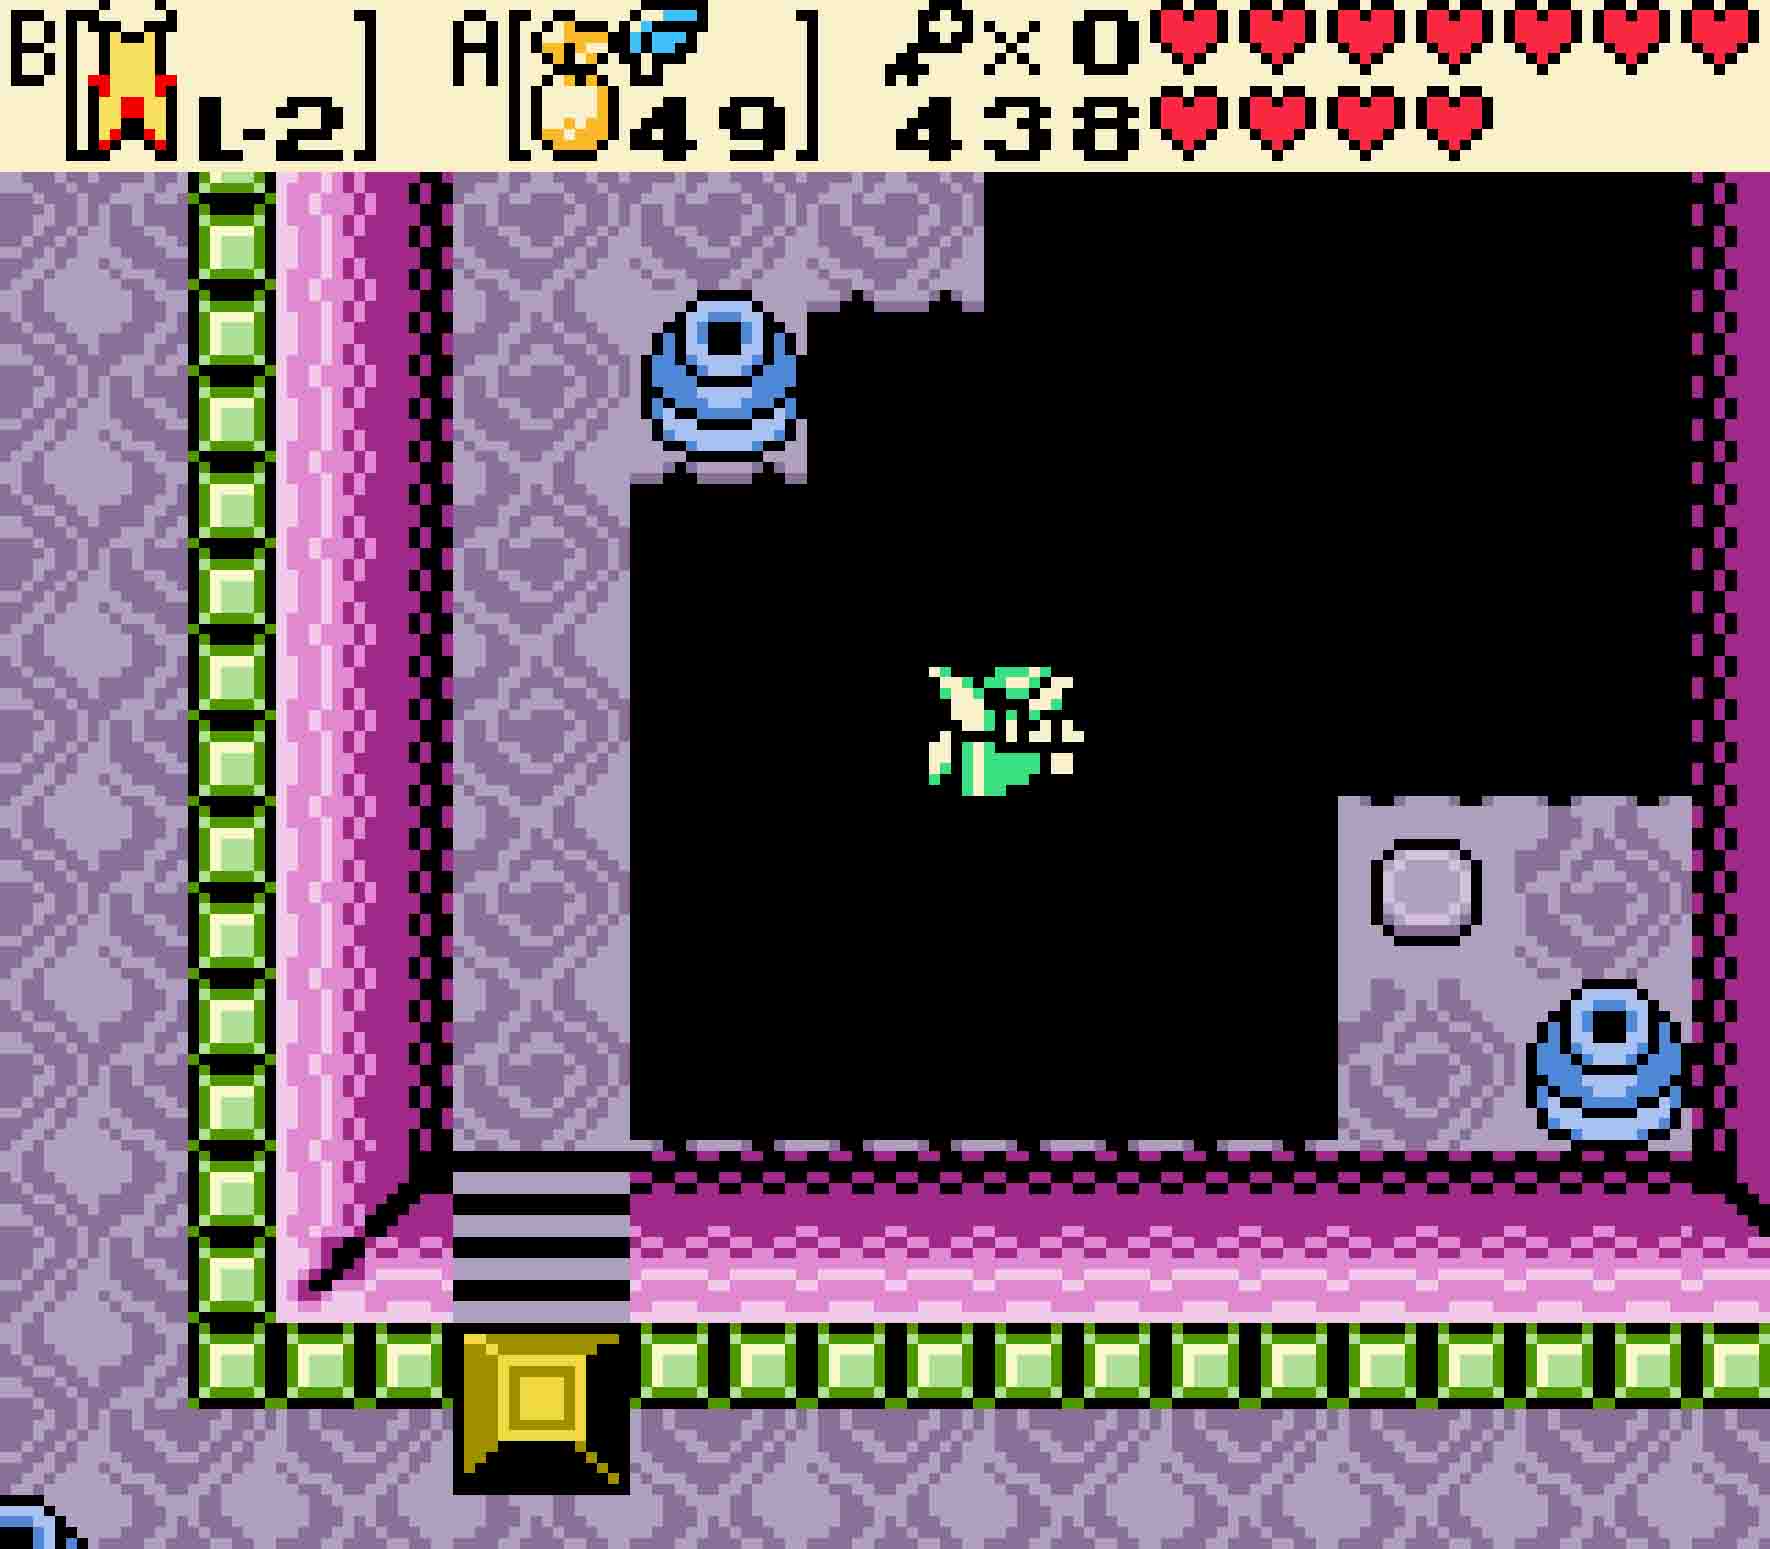
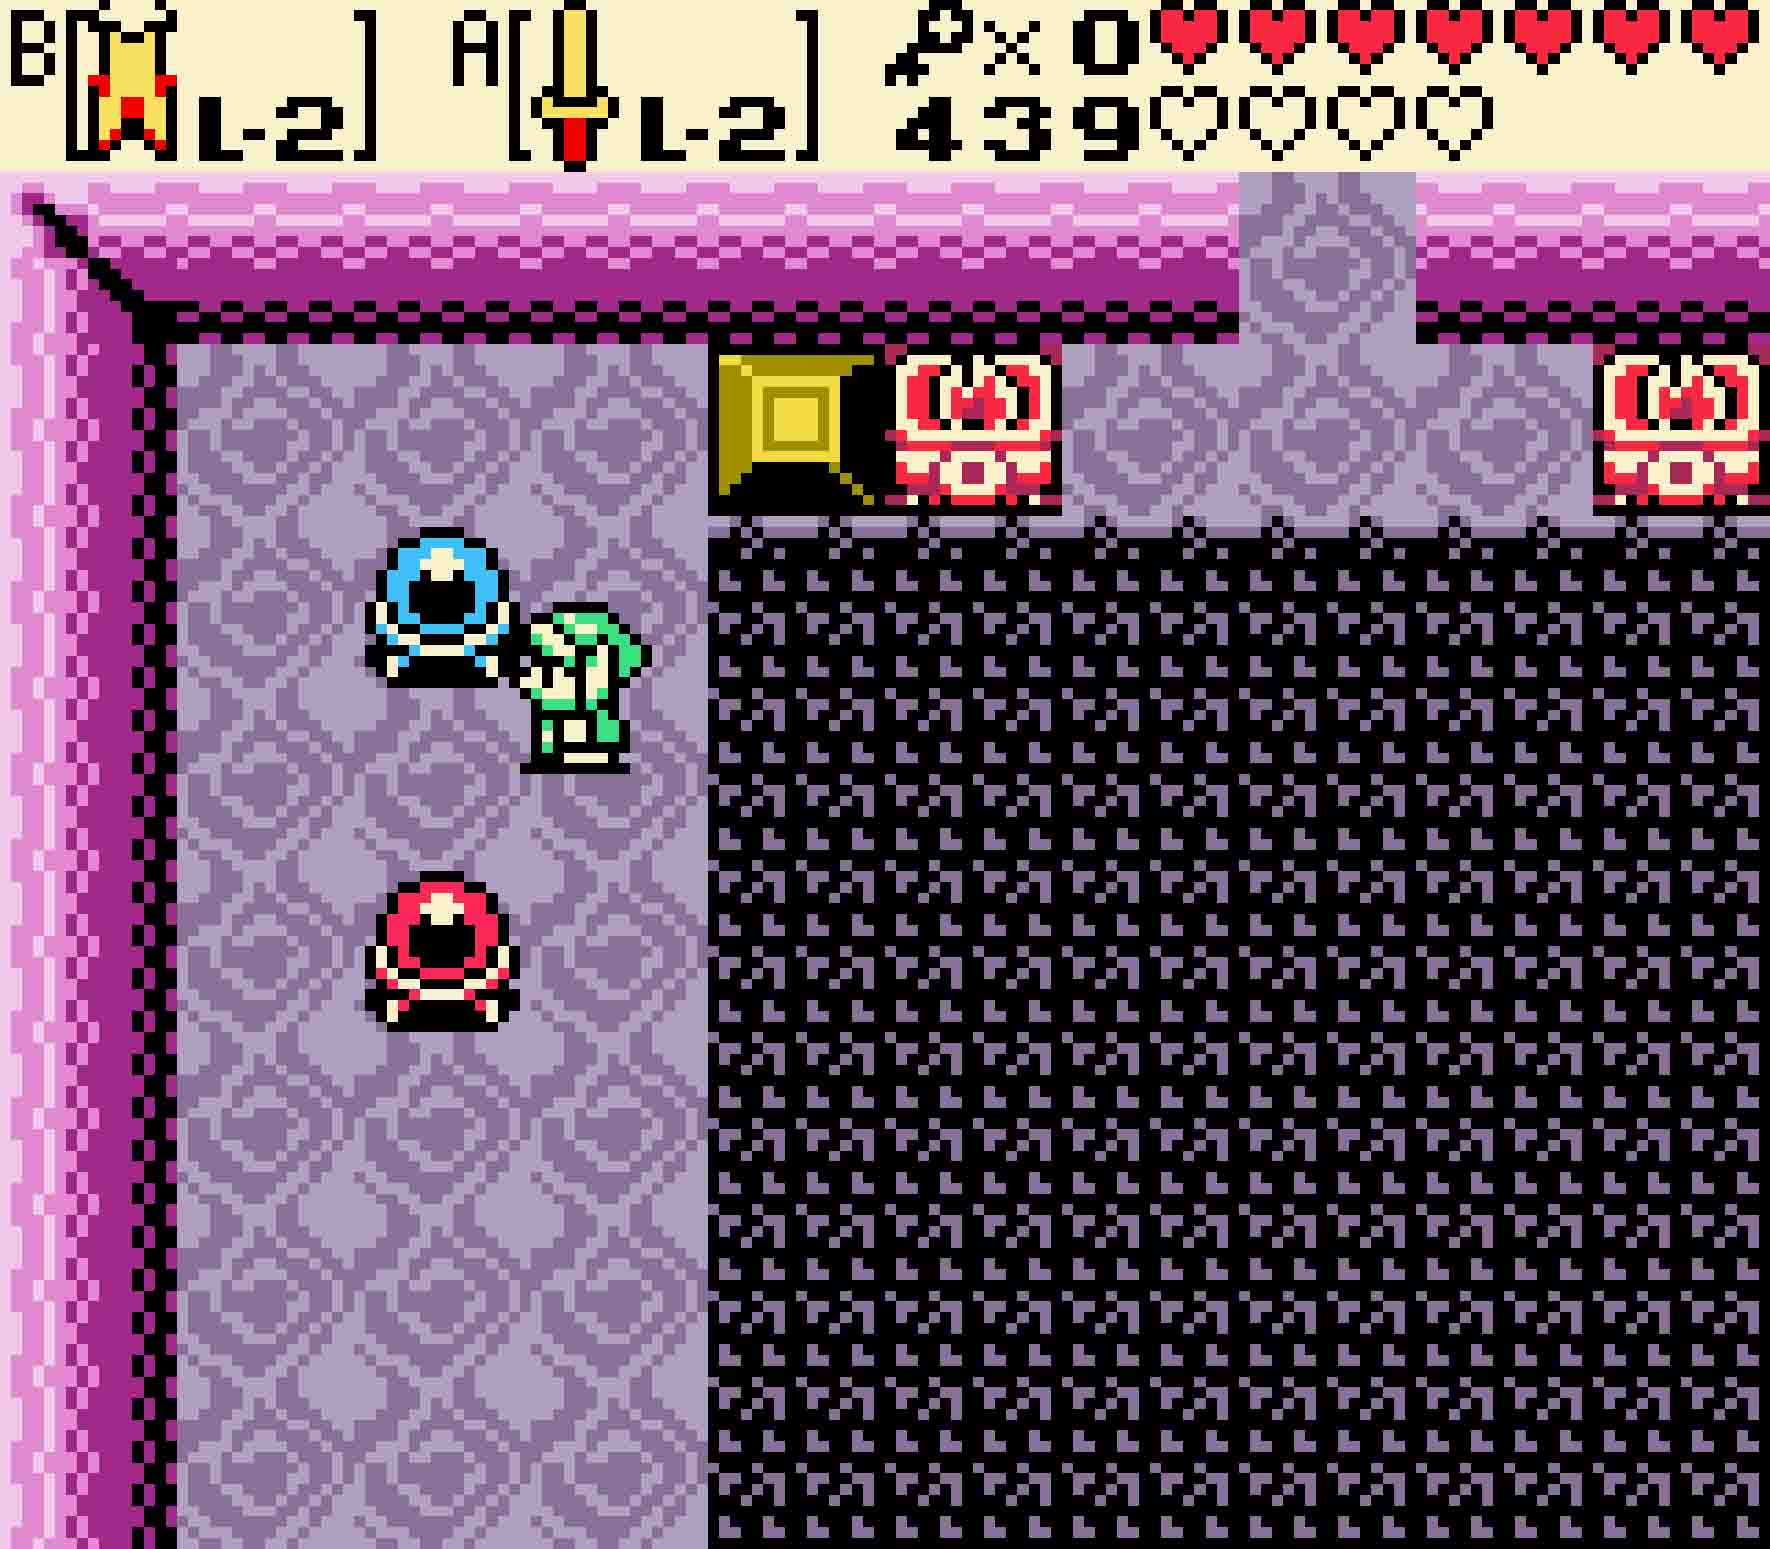
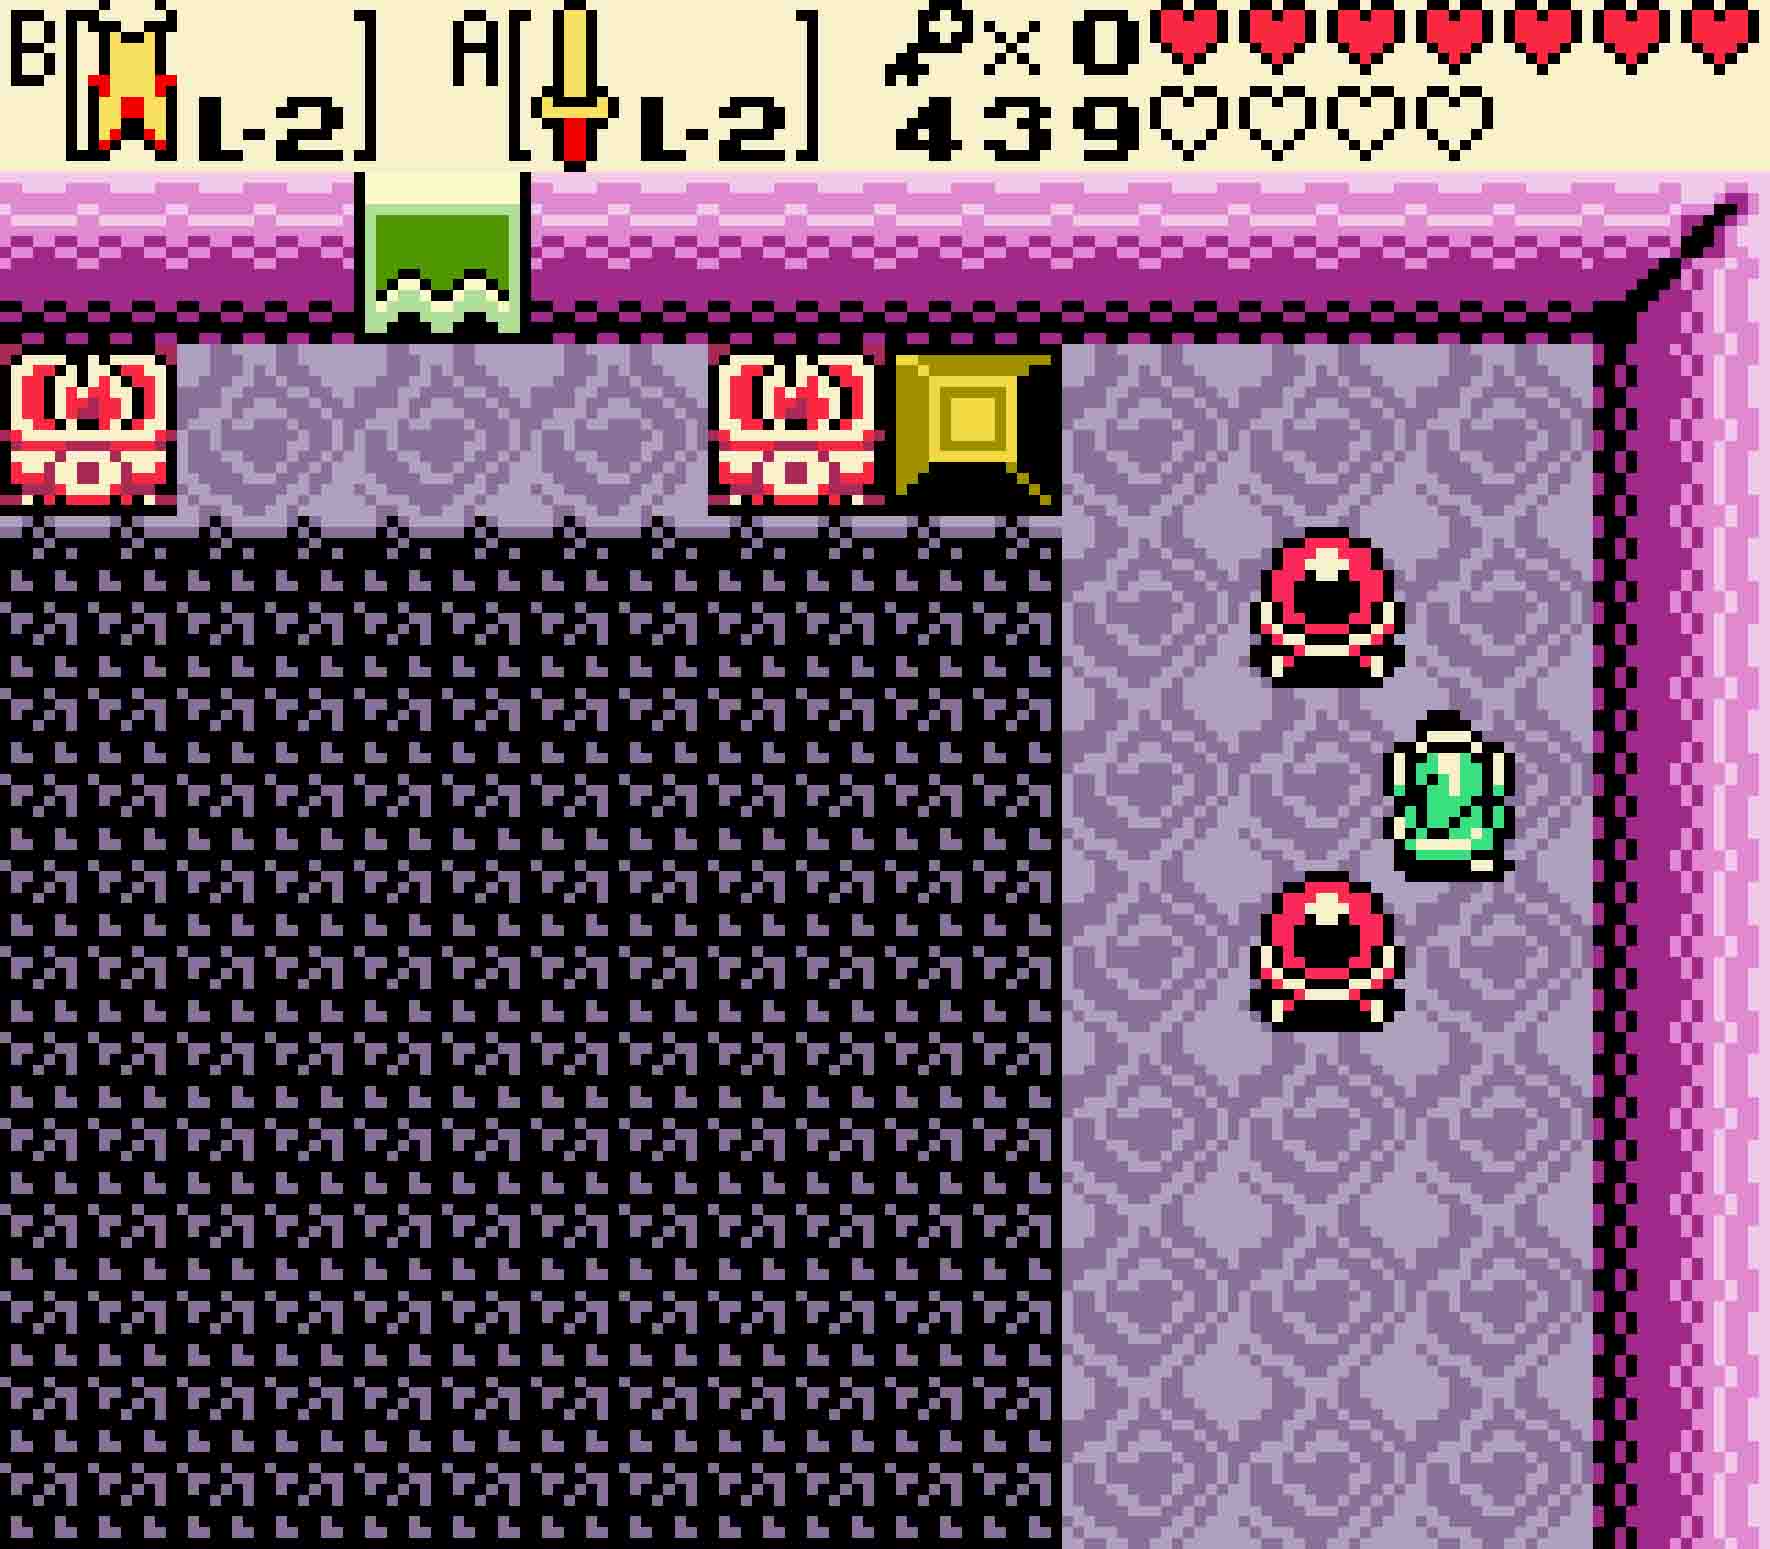
To start, bounce on the blue trampoline, and then veer to the right when you reach your destination. There’ll be two Stalfos — one blue and one red — there to greet you. These guys aren’t too hateful, but the torches will continually hurl fire at you until they’re dead. Once you defeat both of the Stalfos, the sealed door leading northward will open. The only problem is you can’t access the door.
Instead, fall back down into the pit that you just jumped up through. You’ll land back on the trampoline island. This time, jump on the red trampoline. These red trampolines are special in that they’ll send you flying up two floors. So from B2F, you’ll suddenly be on 1F. Veer to the south when you land, and you’ll find an isolated room with two Anti-fairies. Use the Magical Boomerang on them; then carefully navigate the spiked floor using Roc’s Feather to reach the top part of the room.
-
- You need to kill all the enemies here to open the door.
-

- Once you’ve done this, jump on the red trampoline to go up two floors.
Fall into the narrow 1×3 gap on the upper floor, and you’ll land just before the door you unsealed a moment ago. Head inside to discover your last challenge before getting the dungeon item. There are some Keese in this room, and it’s worth spending some time to kill some of them before hopping on the moving platform. This moving platform will not stop; it’ll keep spinning quickly about the room, so you’ll have to anticipate and time your leap. Don’t try to make the leap to the chest in one cycle; let the moving platform carry you once around before going for the chest.
Once you get there, open it up to upgrade your Roc’s Feather to the L-2 Roc’s Cape! Now you can leap over longer distances!
-
- Jump down the small pit in the corner to go back down a floor.
-
- Then you’ll just use this fast-moving platform to get the prize.
17.7 Backtrack for another key
This dungeon has a lot of backtracking.
You still need that key in order to open the locked block. Unfortunately it’s quite a ways back. You can skip the moving platform this time as you can make the jump back to the island by the door in one bound. Head south, and then you can choose which of the two pits to fall in. They’ll both take you to the same rough area. On B2F, use the Cape to leap over long distances until you finally reach the doorway one room to the south near the bridge. Head east. Then ascend the steps to B1F again.
Dive underneath the Rolling Spiked Traps and head back east. Turn to the north back to the room with the Anti-fairy inside the moving walkway. Head down the steps onto the moving walkway, use the Boomerang on the Anti-fairy, and then head back down to the lower level via the steps.
Once again, you’ll have to use a fast-moving platform to get to the other side. The Keese might have respawned by now if you’re weren’t lucky, so consider waiting a cycle to kill some before stepping aboard the Moving Platform Express. At the other end, either use the Magnetic Gloves or Roc’s Cape to make it to the far island. Then head north.
Once again, hurry across the bridge before the Flying Tiles do too much to wreck your crossing. This time head to the east and take cover from the tiles on the far side of the blocks. You’ll then need to cross two elongated holes. Though they’re not entirely straight, Roc’s Cape is capable of getting over both of them. Just tweak both of your jumps around the corners to make it. Then finally go east.
-
- Roc’s Cape will get you around some devious corners.
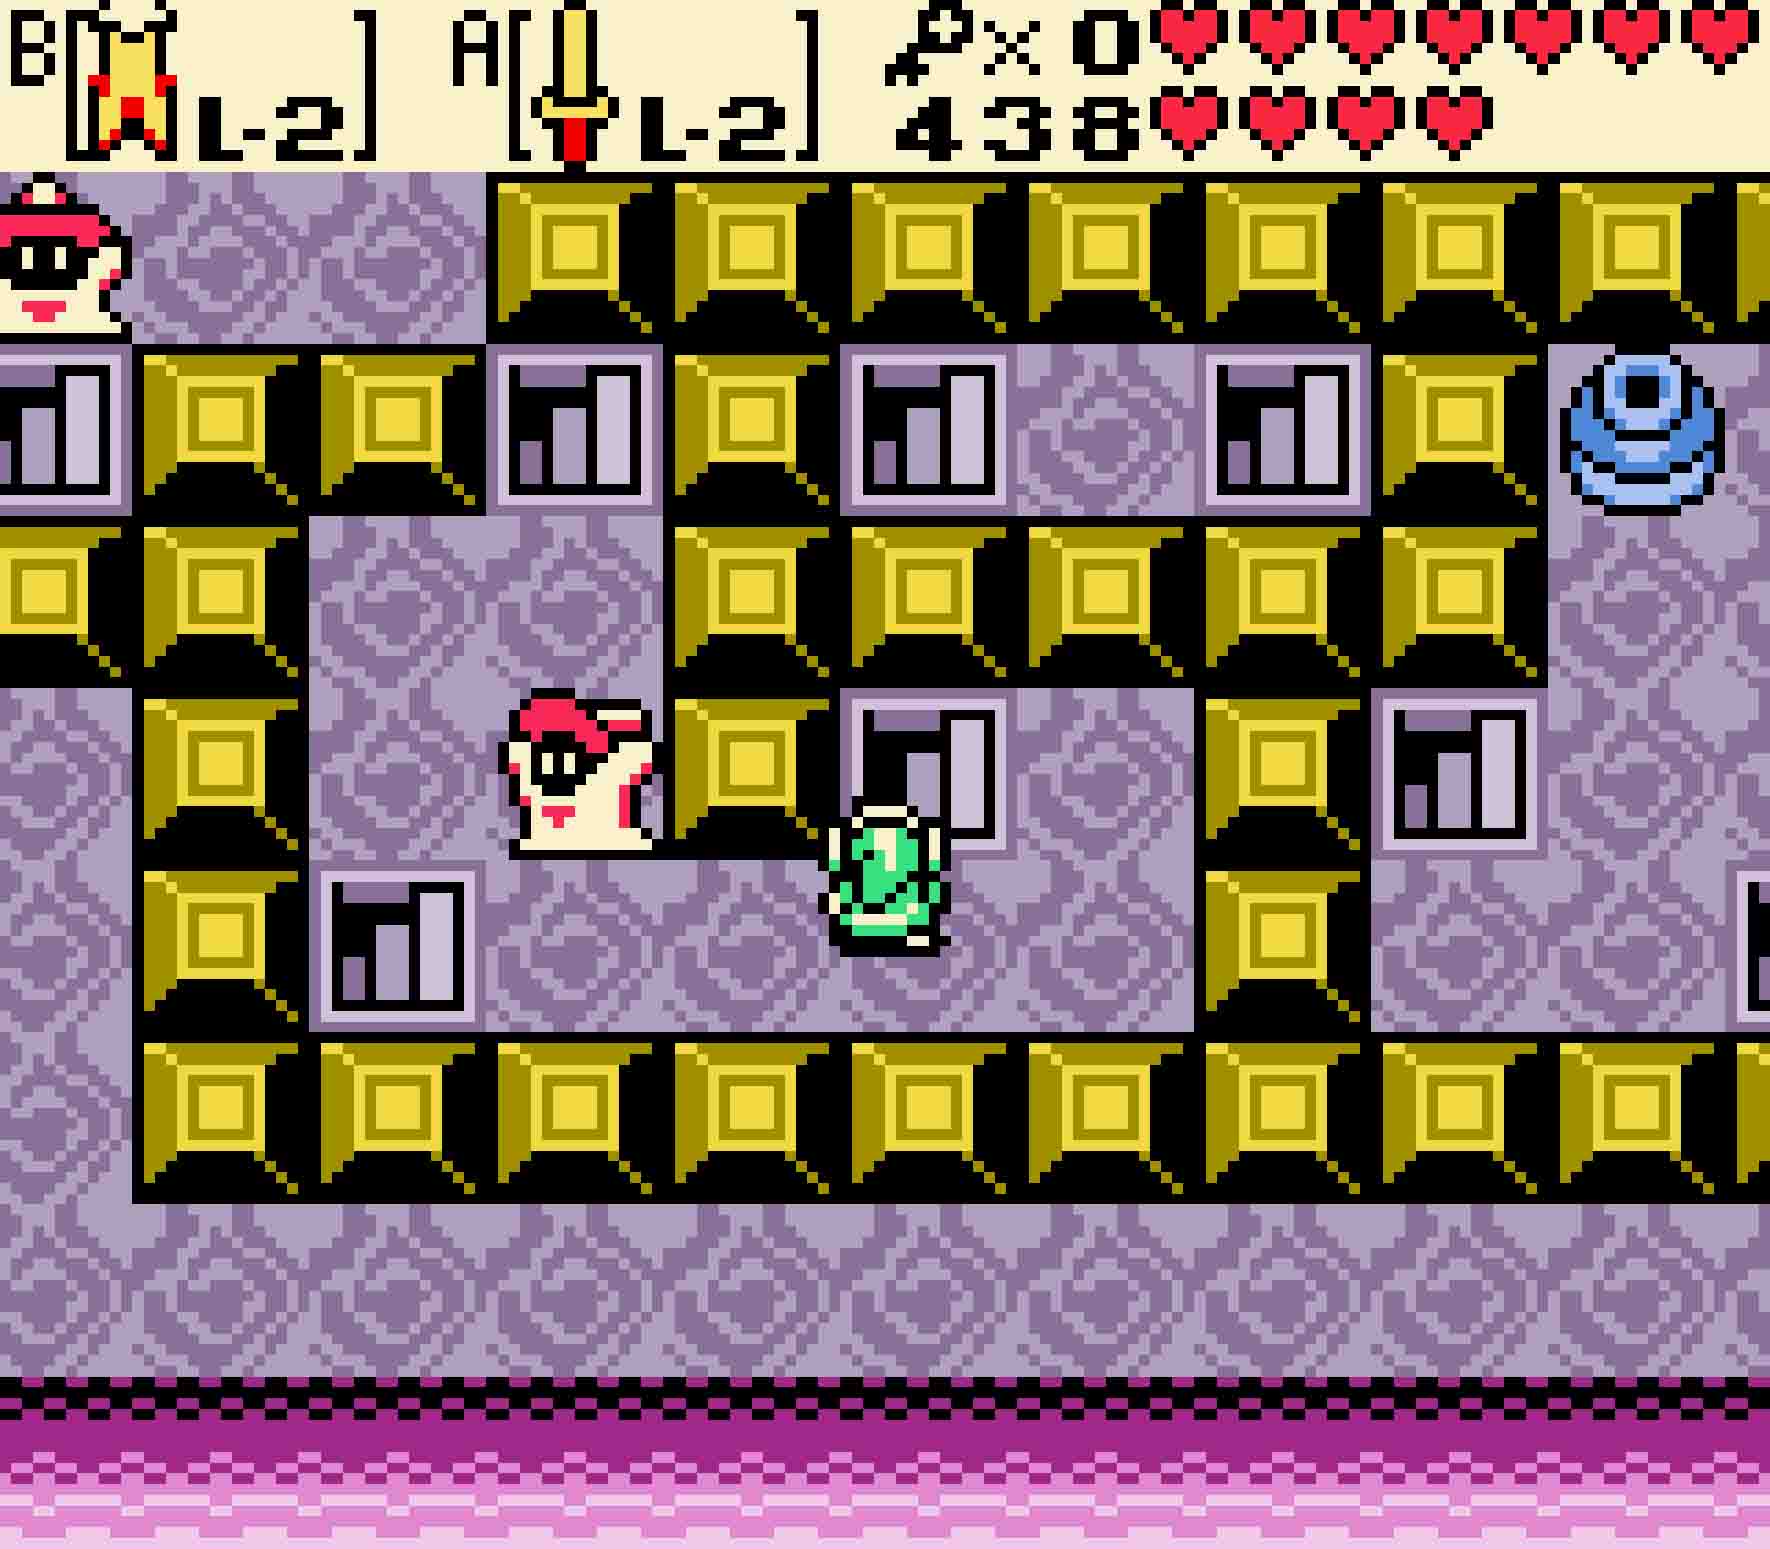
Three Magunesus will be hovering in the next room. You’ll need to use the Magnetic Gloves to kill all of them before you can proceed. Once you do, a blue trampoline will appear in the room. You can use the steps to guide you to where you need to move the trampoline, but moving the trampoline three squares upward will be enough.
When you surface on the first basement, you’ll have to land on a moving platform; at least this one is slow-moving. Let it carry you over to the steps before trying to get off your ride. Switch to the Magnetic Gloves, and use north polarity to drag the magnetic orb to the left and then off of the platform. Once you put it on the switch, a chest will appear containing the key that you need.
-

- Use the trampoline to hop up to access this magnetic orb. Use it to depress the switch.
17.8 Defeat the Poe Sisters
 Which means you now need to backtrack to the locked block. Head west and, oh yeah, once again find the Armos statue out of the seven other imposters. Push it onto the switch to allow you to head south. Head south once more to the room with the trampoline, and then head west to the room with the Rolling Spiked Traps over the water. Dive under them and head back downstairs.
Finally you can unlock the locked block in front of you. But before heading out into the wilderness of that pothole field, wait until all of the Flying Tiles have flown their course. Only then should you venture out into it. Once it’s clear, use Roc’s Cape to make two eastward jumps to the far right wall. From there, it’s two small hops to the southern wall. Make sure to keep a light touch on the crumbling floor as you proceed. Finally, you have two leaps to the left. The easiest way to go from here is one large leap to the north and a quick leap to the west. Then let the moving platform carry you the rest of the way to the door.
-
- The Flying Tiles can be treacherous given how those tiles make up the easy path.
-

- Fly quickly through the room from safe spot to safe spot to get to the door.
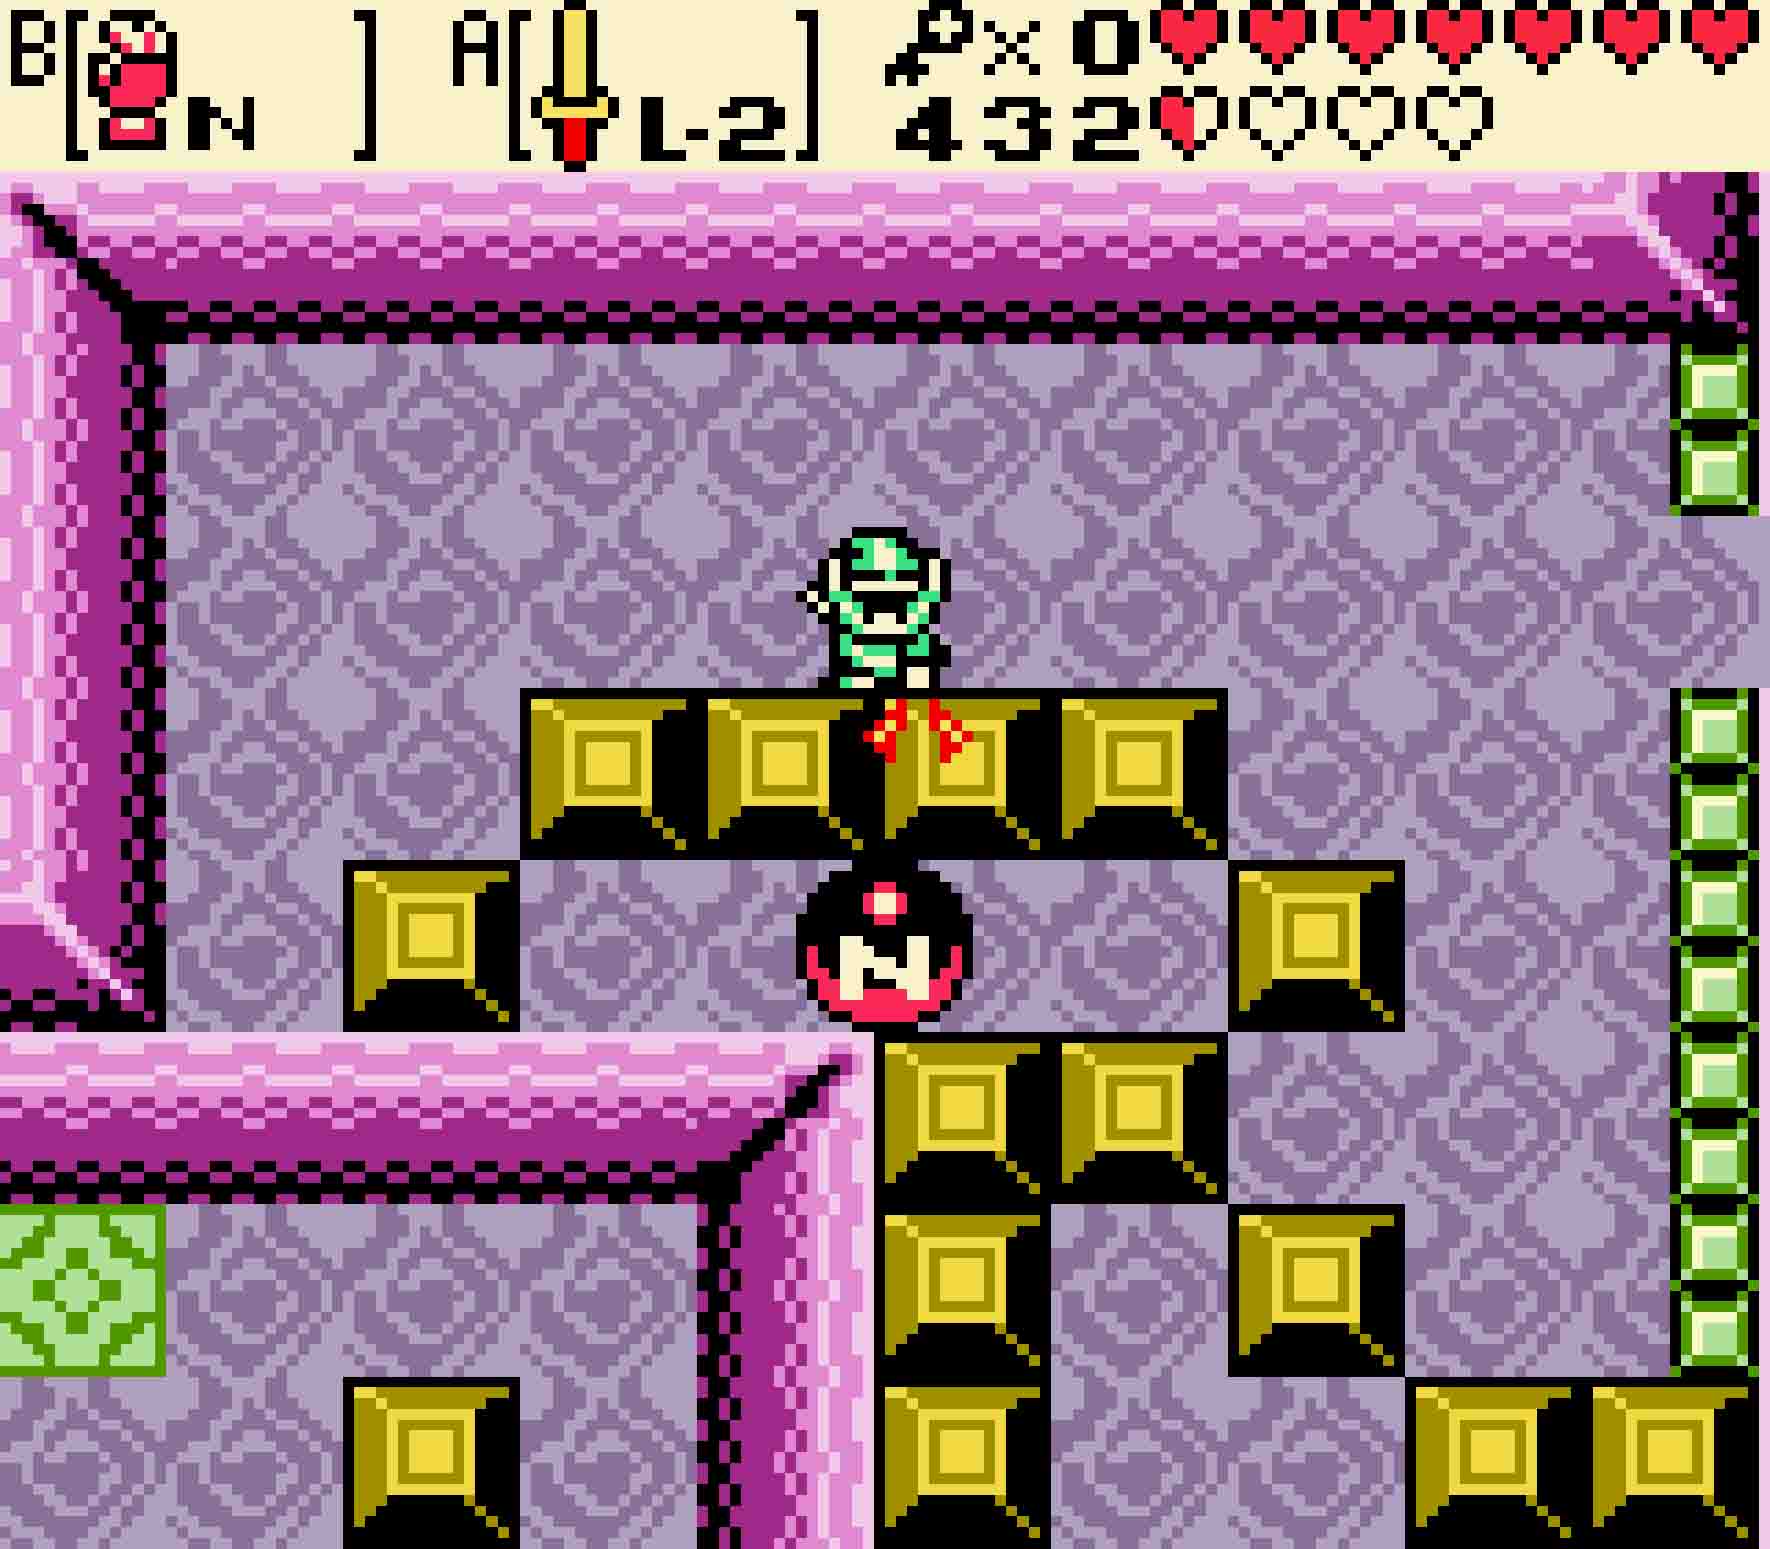
The next two rooms will require you to take the scenic tour of them before you can actually do anything. Walk south, east to the wall, and then all the way back north, spiralling around the central portions of the rooms. Once you make it to the north wall, jump down into the center, but be precarious as so much of the floor is ready to give out. You’ll need to kill the two Mini-moldorms to open the door, but just swinging your sword on the crumbled floor is likely to cause holes, so consider staying on the more solid ground near the doorway. Once killed, head south.
From there, you’ll need to reach the button in the bottom-right corner of the lower area, but it’s such a far distance. To make that gap, you’ll need to eat a Pegasus Seed, which will easily give you enough jumping distance. Jump to the island, hit the switch, and then immediately jump back. This will unseal the door to the east. Then just push the block at the top of the stairs south, and then head east to face the Poe Sisters.
-
- The safe space to kill these Mini-moldorms is near the door. Patience is key.
-
- Cross the gap with Roc’s Cape and a Pegasus Seed to press the button.
You’ve faced the two sisters before individually. Now they’re going to fight you together. If it were just that, this fight would be cakewalk. However, there’s one more twist to deal with: These ghosts will overpower you if the lights on the torches go out. More specifically, if all four torches are ever unlit, you’ll be sent to the dungeon’s beginning, and the last thing you’ll want is to backtrack your way here.
The torches won’t go out on their own; instead the two Poe Sisters will occasionally take turns away from attacking you to blow the torches out. Keeping them lit should be your top objective — even more than damaging them. Keep your Slingshot equipped with Ember Seeds, and always, always, always keep two torches lit at all times, preferably three. Whenever three torches are lit, go in on the attack. Each has their own HP, so it’s possible to kill one well before the other; in fact, that’s recommended as that reduces their capacity to blow out torches. Once both are dead, you’ll get a fairy, and the doorway east will open.
-
- Not only do you have to defeat both Poe Sisters, but you can’t let the lights go out.
-
- Other than turning out the lights, though, the Poe Sisters have no new tricks.
17.9 Collect the final key
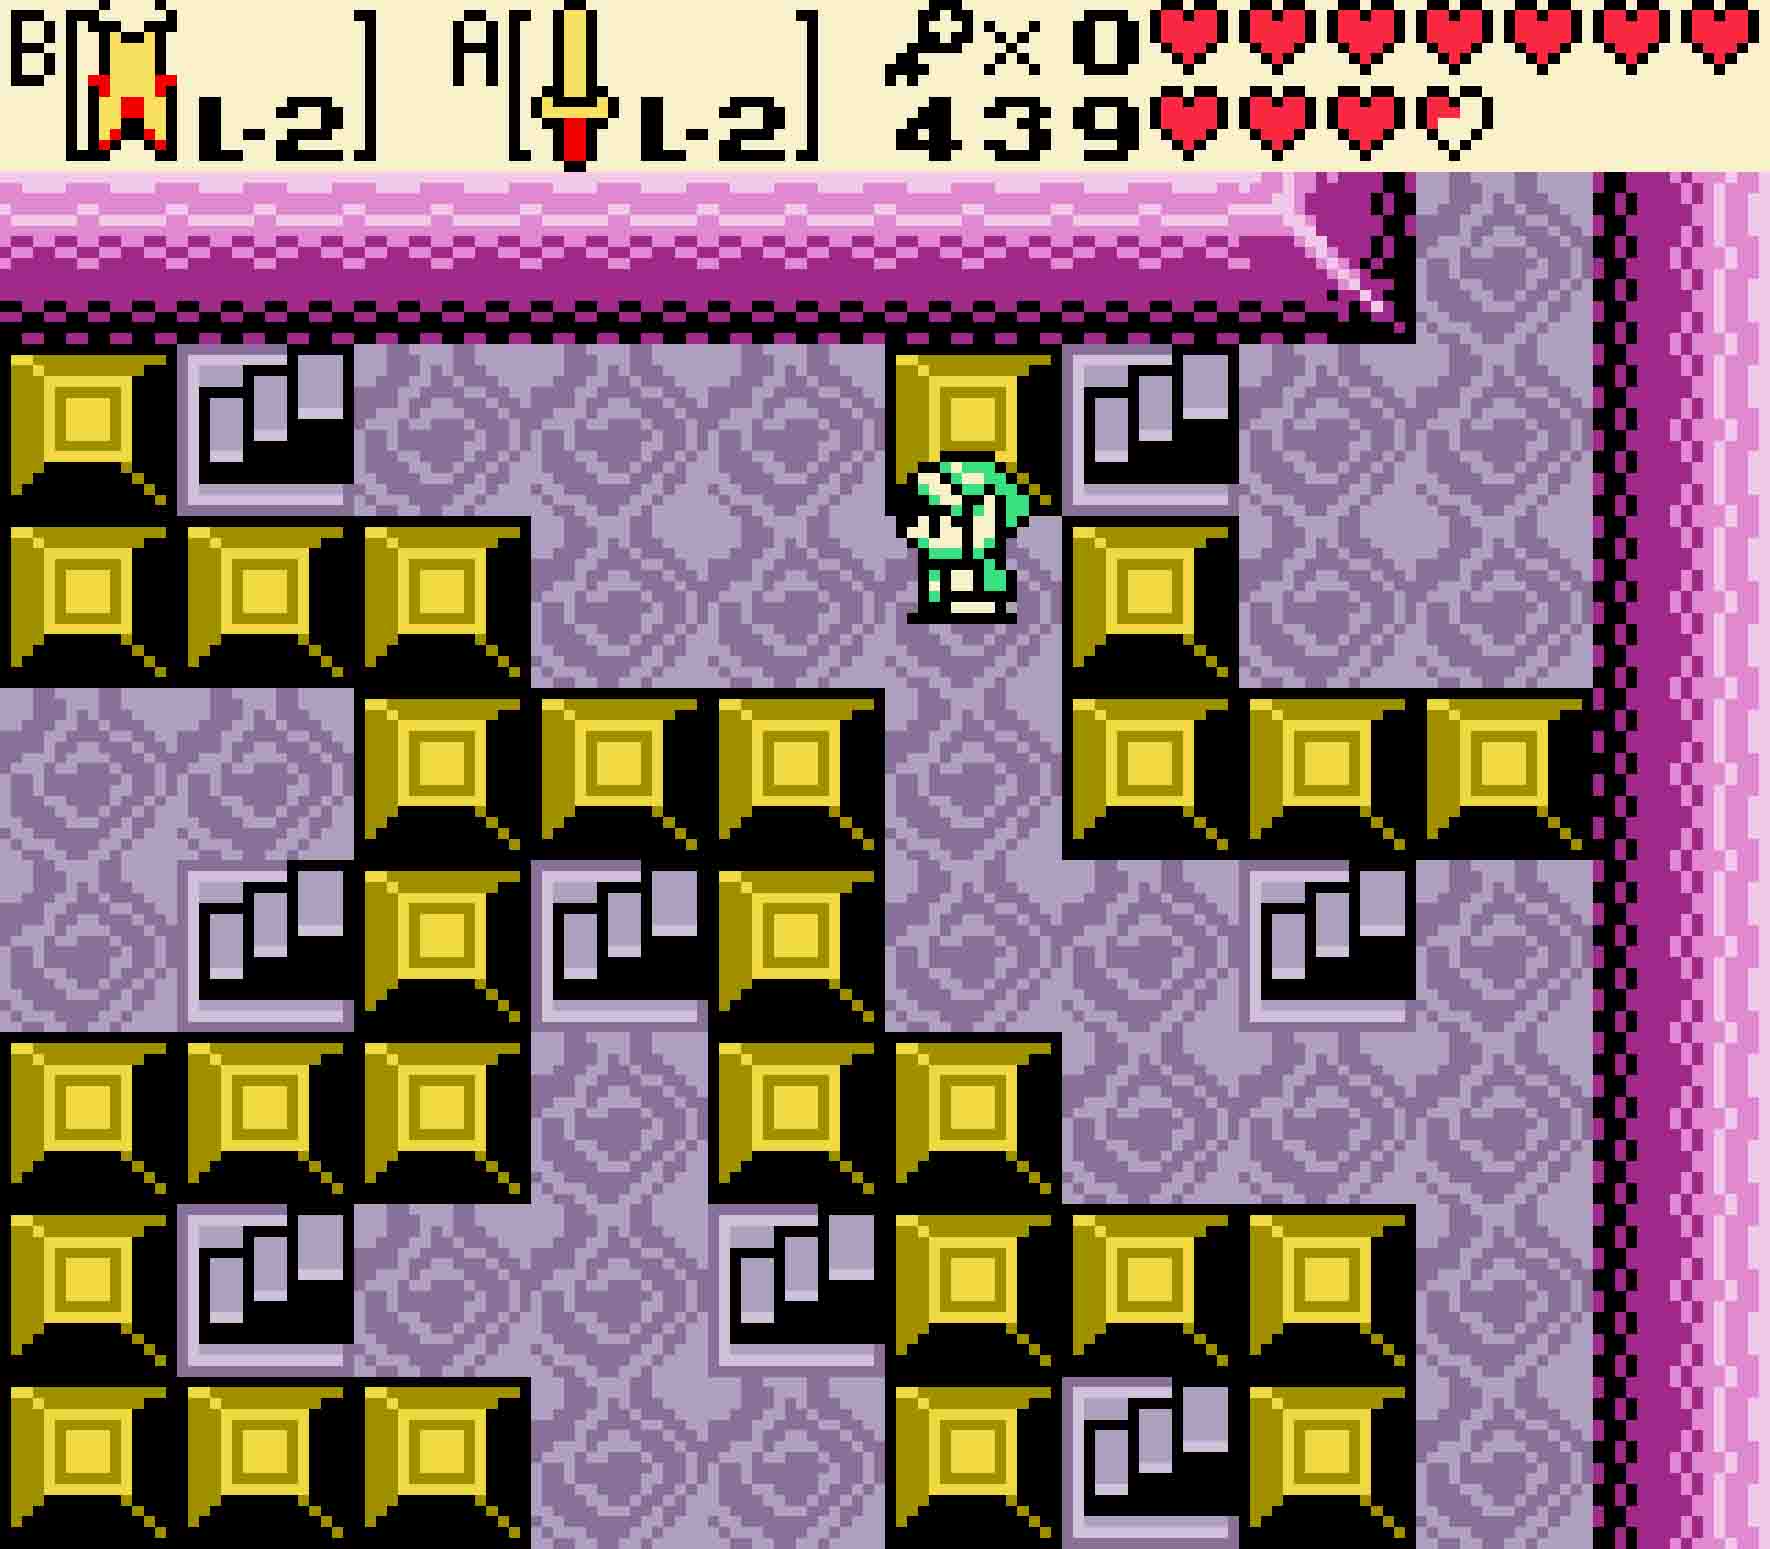
Head east, and you’ll find yourself amidst a complete panic of stairways. This room and the one above it form something of a three-dimensional maze that you have to navigate. Making matters more difficult is that both this room and its twin will have red and blue Wizzrobes buzzing all over it. Don’t bother killing them as they’ll just respawn every time until you enter each room. But worst yet is that this will be the first of two times you’ll need to get through. For now, here’s how to get to the door in the northeast corner:
Navigating the stairwell maze
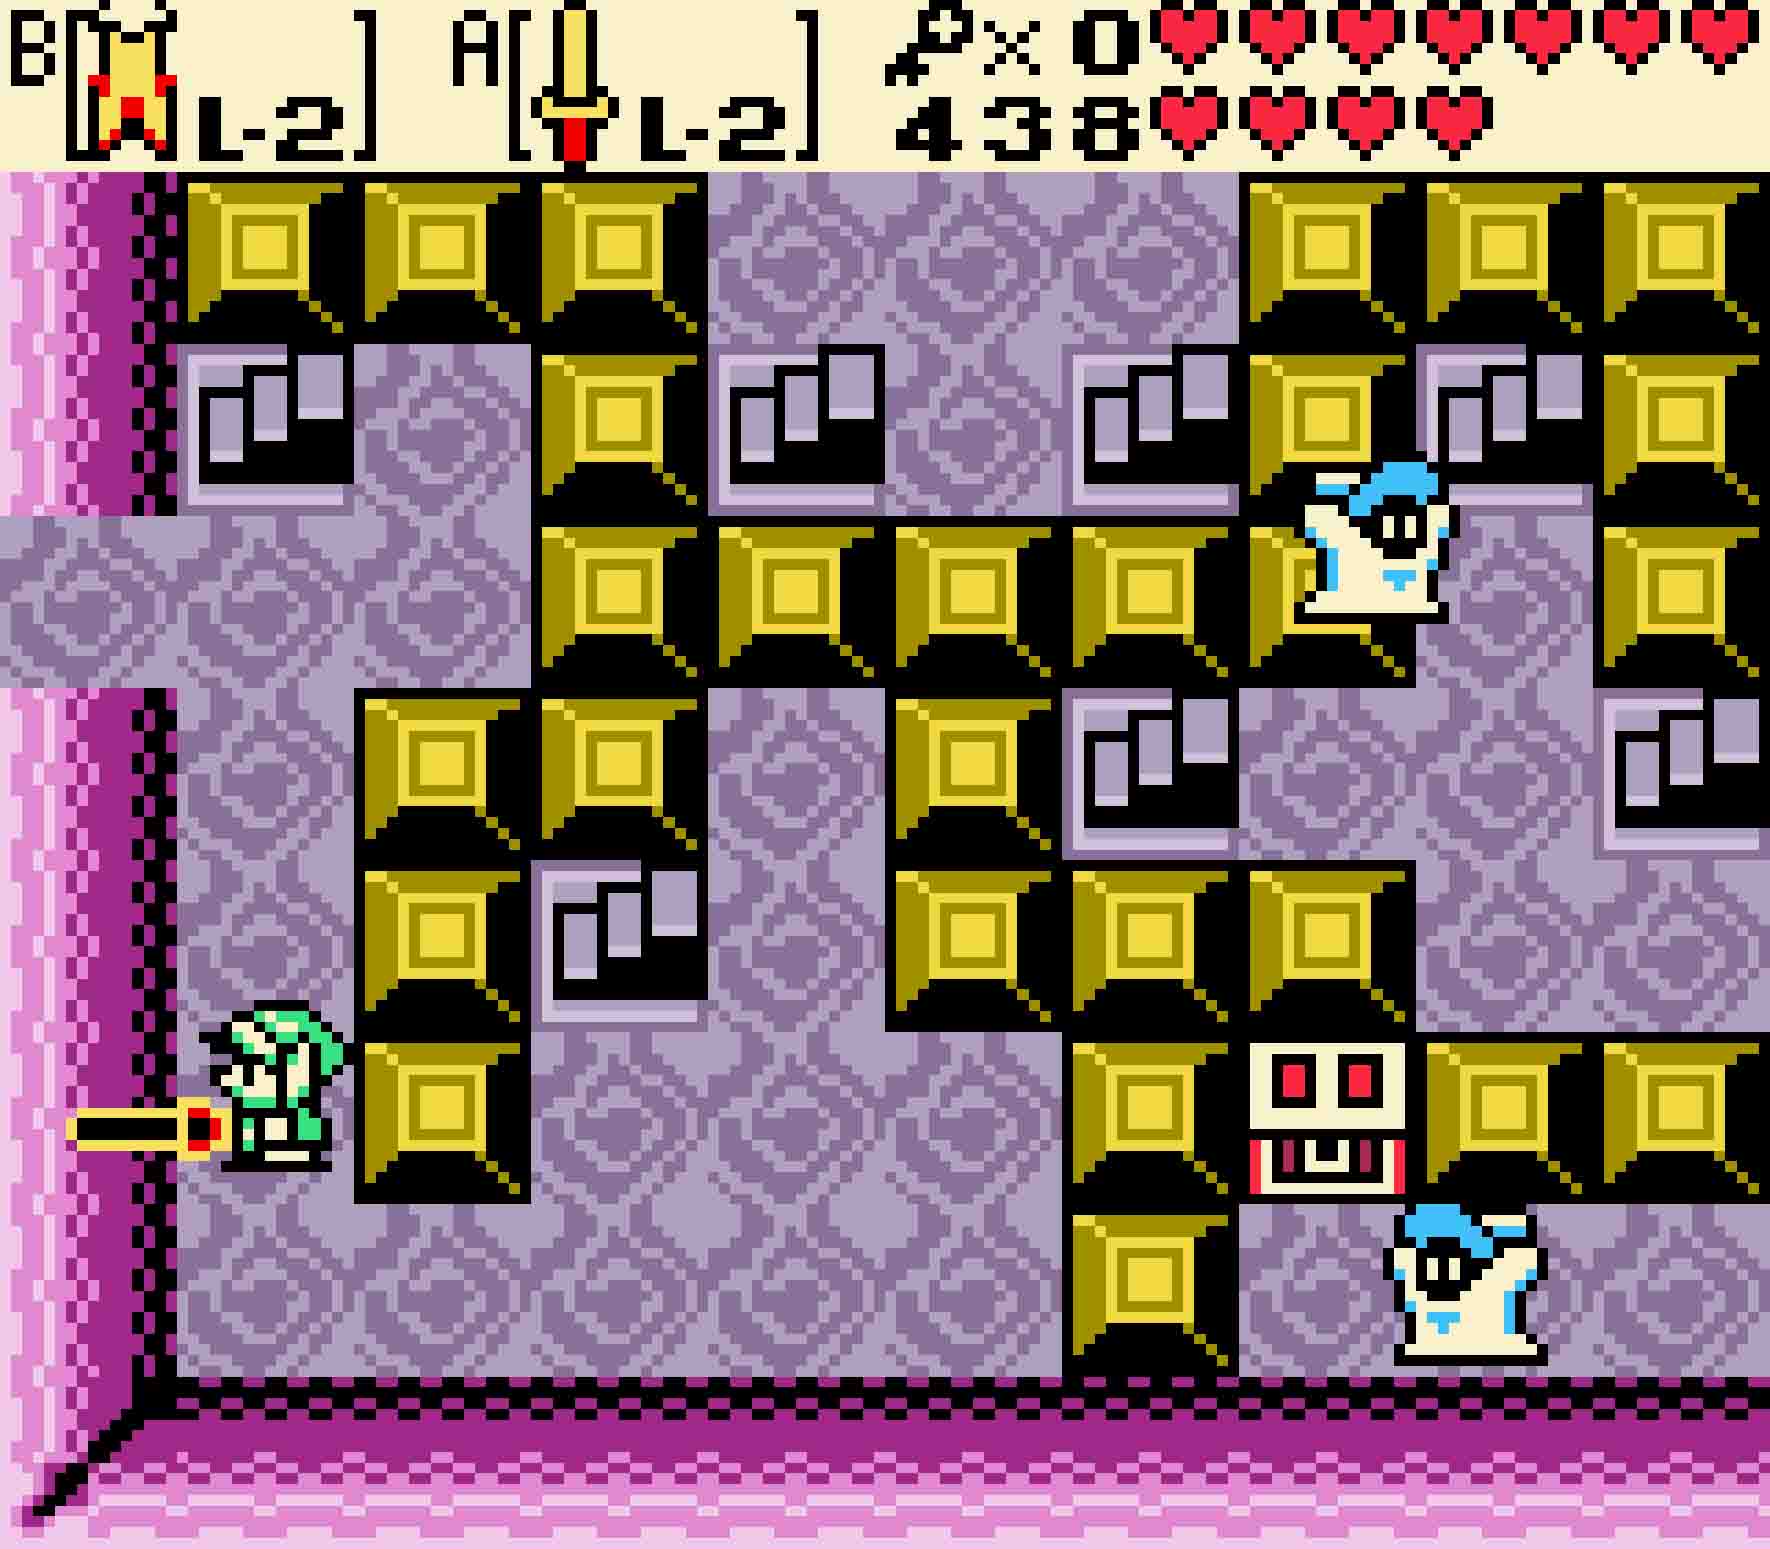
Step One Head south around the blocks to ascend the lower of the two staircases on offer.
Step Two Take the staircase just to the right of where you are.
Step Three Walk to the steps directly to the east of your staircase to go back up.
Step Four If you want to get a single Rupee in a treasure chest, take the southern staircase. You’ll hit a dead end and have to come back. Otherwise, simply take the upper of the two new staircases.
Step Five Head up and to the left and ascend the staircase you find along the northern wall.
Step Six Now you’re home free. There’s only one other staircase here, and it will take you directly to the exit. Once you head back down, head north.
When you reach the next room, you’ll have the privilege of doing another magnet hopping game. However, thankfully this one is much easier.
Crossing over the magnetic maze
Step One Head up to reach the gap in the fence line on the left. Then use north polarity to cling to the first magnet ahead of you.
Step Two After a quarter turn, quickly switch polarity and let it take you all the way to the southern fence line.
Step Three To make matters easy for you, use Roc’s Cape to hop to the tiny island up and to the right.
Step Four Pull yourself to the next magnet in front of you.

Step Five After a quarter turn, quickly turn to the left. You’ll have to switch polarity, meaning that you’ll have to push yourself away from it. But that’s okay as you’ll still stay suspended above the pit.
Step Six Switch polarity to pull yourself towards the final magnet.
Step Seven One last quarter turn later, switch polarity and head for the crumbled floor to the north of the area. Do be careful as, even suspended with the Magnetic Gloves, the floor will still crumble as you hover over it. So don’t tarry once you get to the island. Move, move, move!
Step Eight Finally hop to safety on the 1×1 island just before the moving platform.
Step Nine Hop onto the moving platform, and then finally make your way north along the western wall.
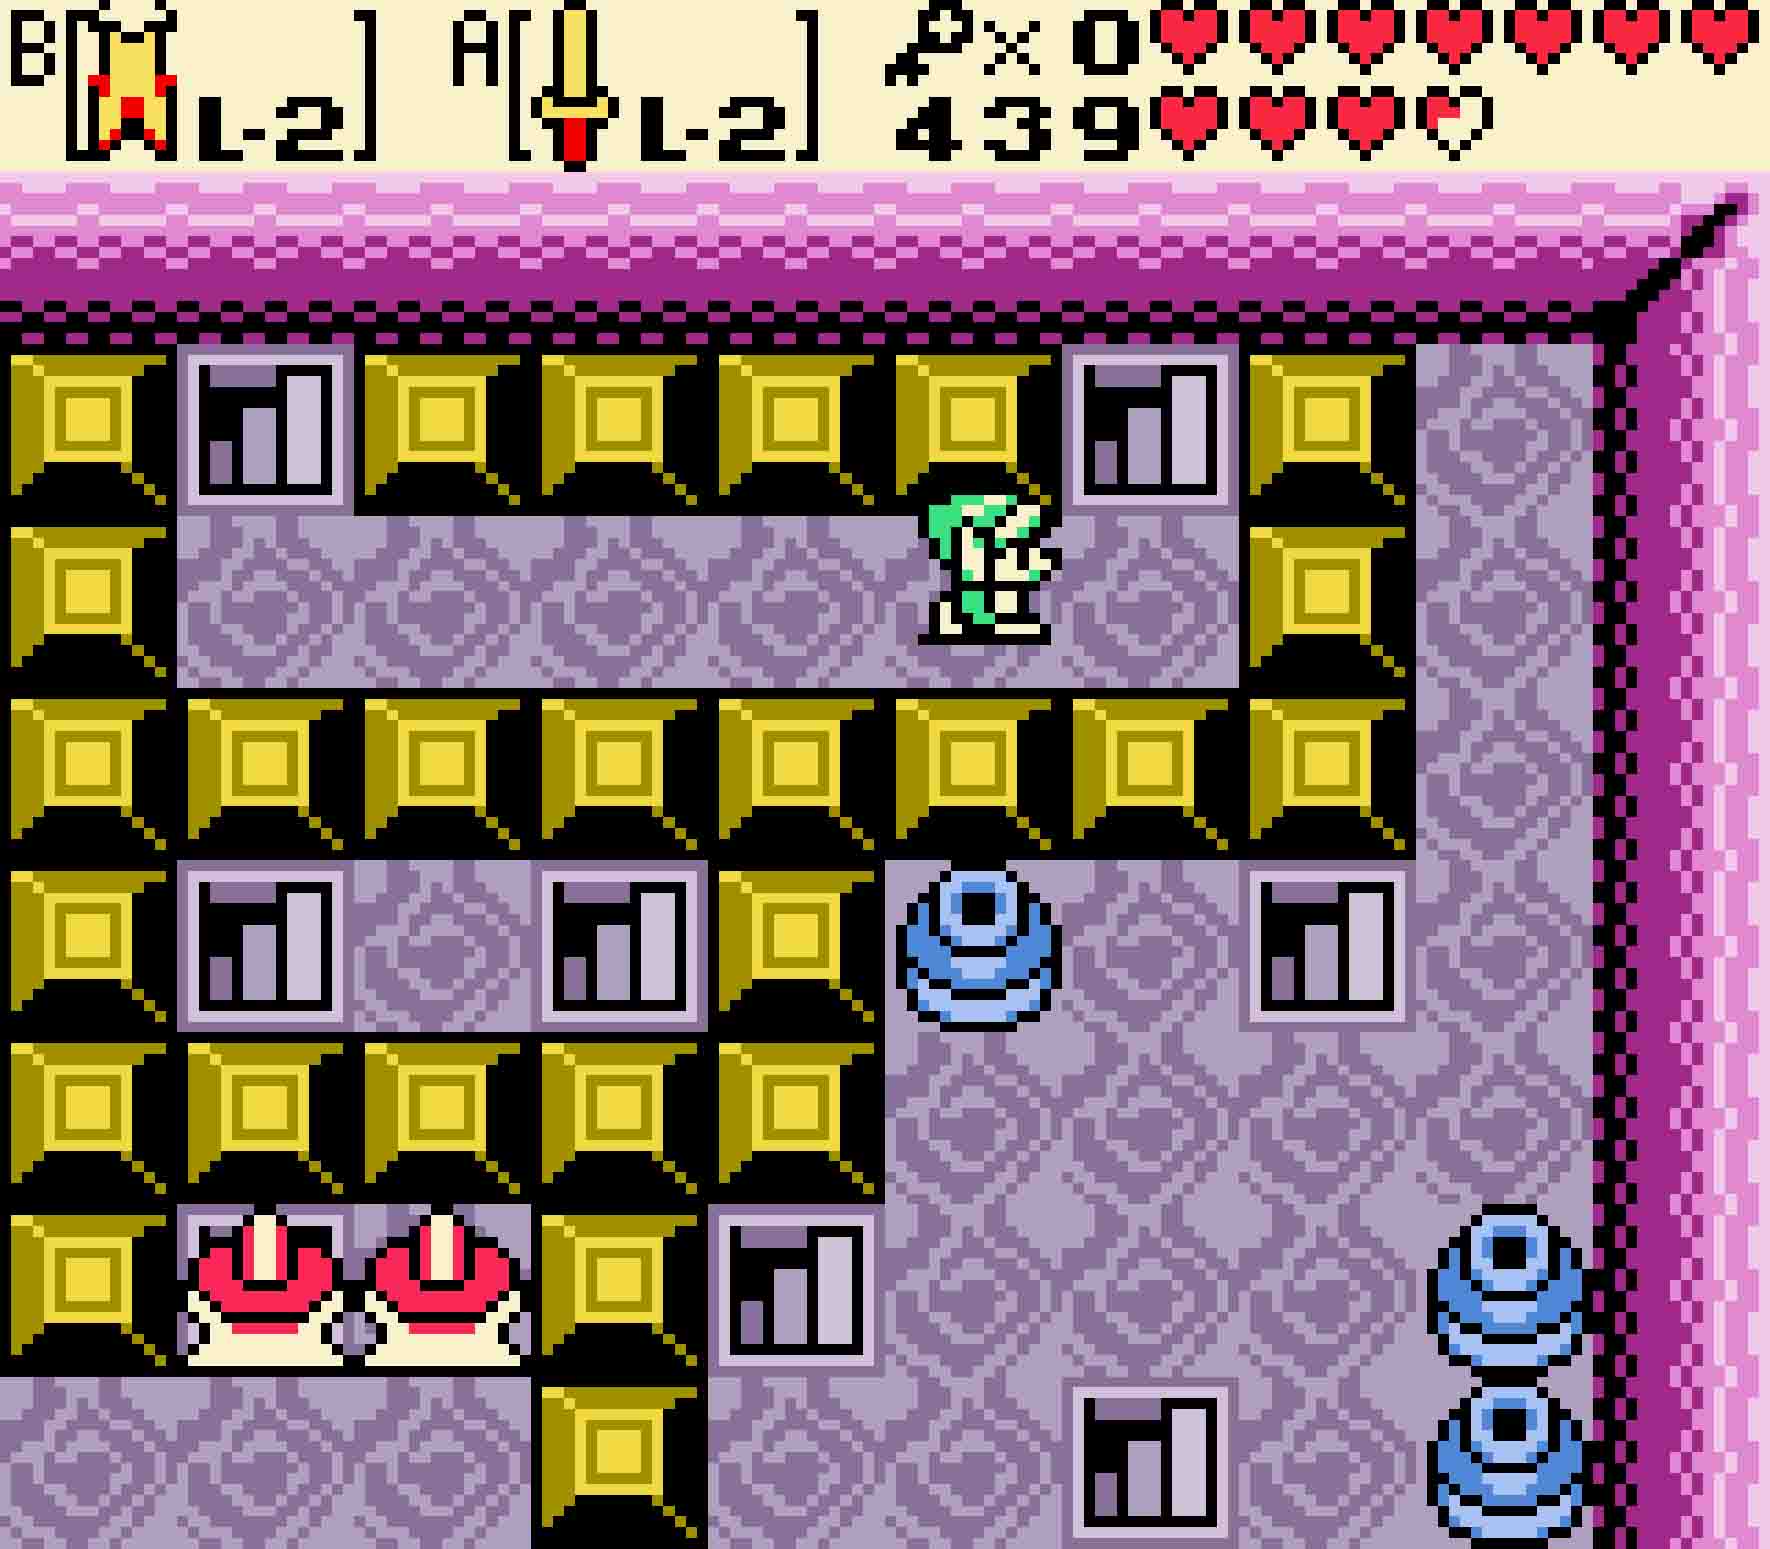
In the next room, you’ll have to deal with the trifecta of red Wizzrobes, Shrouded Stalfos, and Sword Stalfos. Use the Roc’s Feather to move from island to island as you hunt down the survivors. Once you kill everything, a key will drop down on the central island.
17.10 Find the Boss Key
Thankfully, making your way back to the locked door is much easier. Fly over to the southwest corner of the room and head back south. Jump to the moving platform, and let it carry you east. Instead of navigating the magnet maze again, simply fly to the narrow passageway along the southern wall, finally pushing the last block east when you reach it. From there, just head north to reach the last locked door.
Use the raised leaping platform to walk along the raised walkway so you can proceed north. Descend the steps there into the water, and then swim your way back south in the main area.
There will then be three buttons in front of you, all of them directly aligned. You have to press all three buttons, but there’s an order to this. And that order is hinted to you by virtue of how many statues are residing next to each of the buttons. That’s right, your first target will be to hit the button furthest to the south. It’s quite the long leap, but a Pegasus Seed will allow you to make it.
Eat a Pegasus Seed, and make the treacherous jump to the southmost switch. Then leap back to the north to hit the topmost one. The hop to the middle one is considerably shorter, so you might consider waiting until the Pegasus Seed wears off so that you don’t risk overshooting. Once you step on the last button, a similar jumping platform will appear on the raised walkway to the east. Hop back down past the lower button to the bottom-right part of the room, and then use the raised walkway to head back north.
-
- You’ll need to hit the buttons in the right order. Use a Pegasus Seed to make that first long jump.
At the very end of that walkway, you’ll see another switch. Step on it to make a red trampoline appear. Remember, that trampoline will send you flying all the way back up to 1F. Hop on it, and then veer southward in order to land on the moving platform that’ll be crawling along this room.
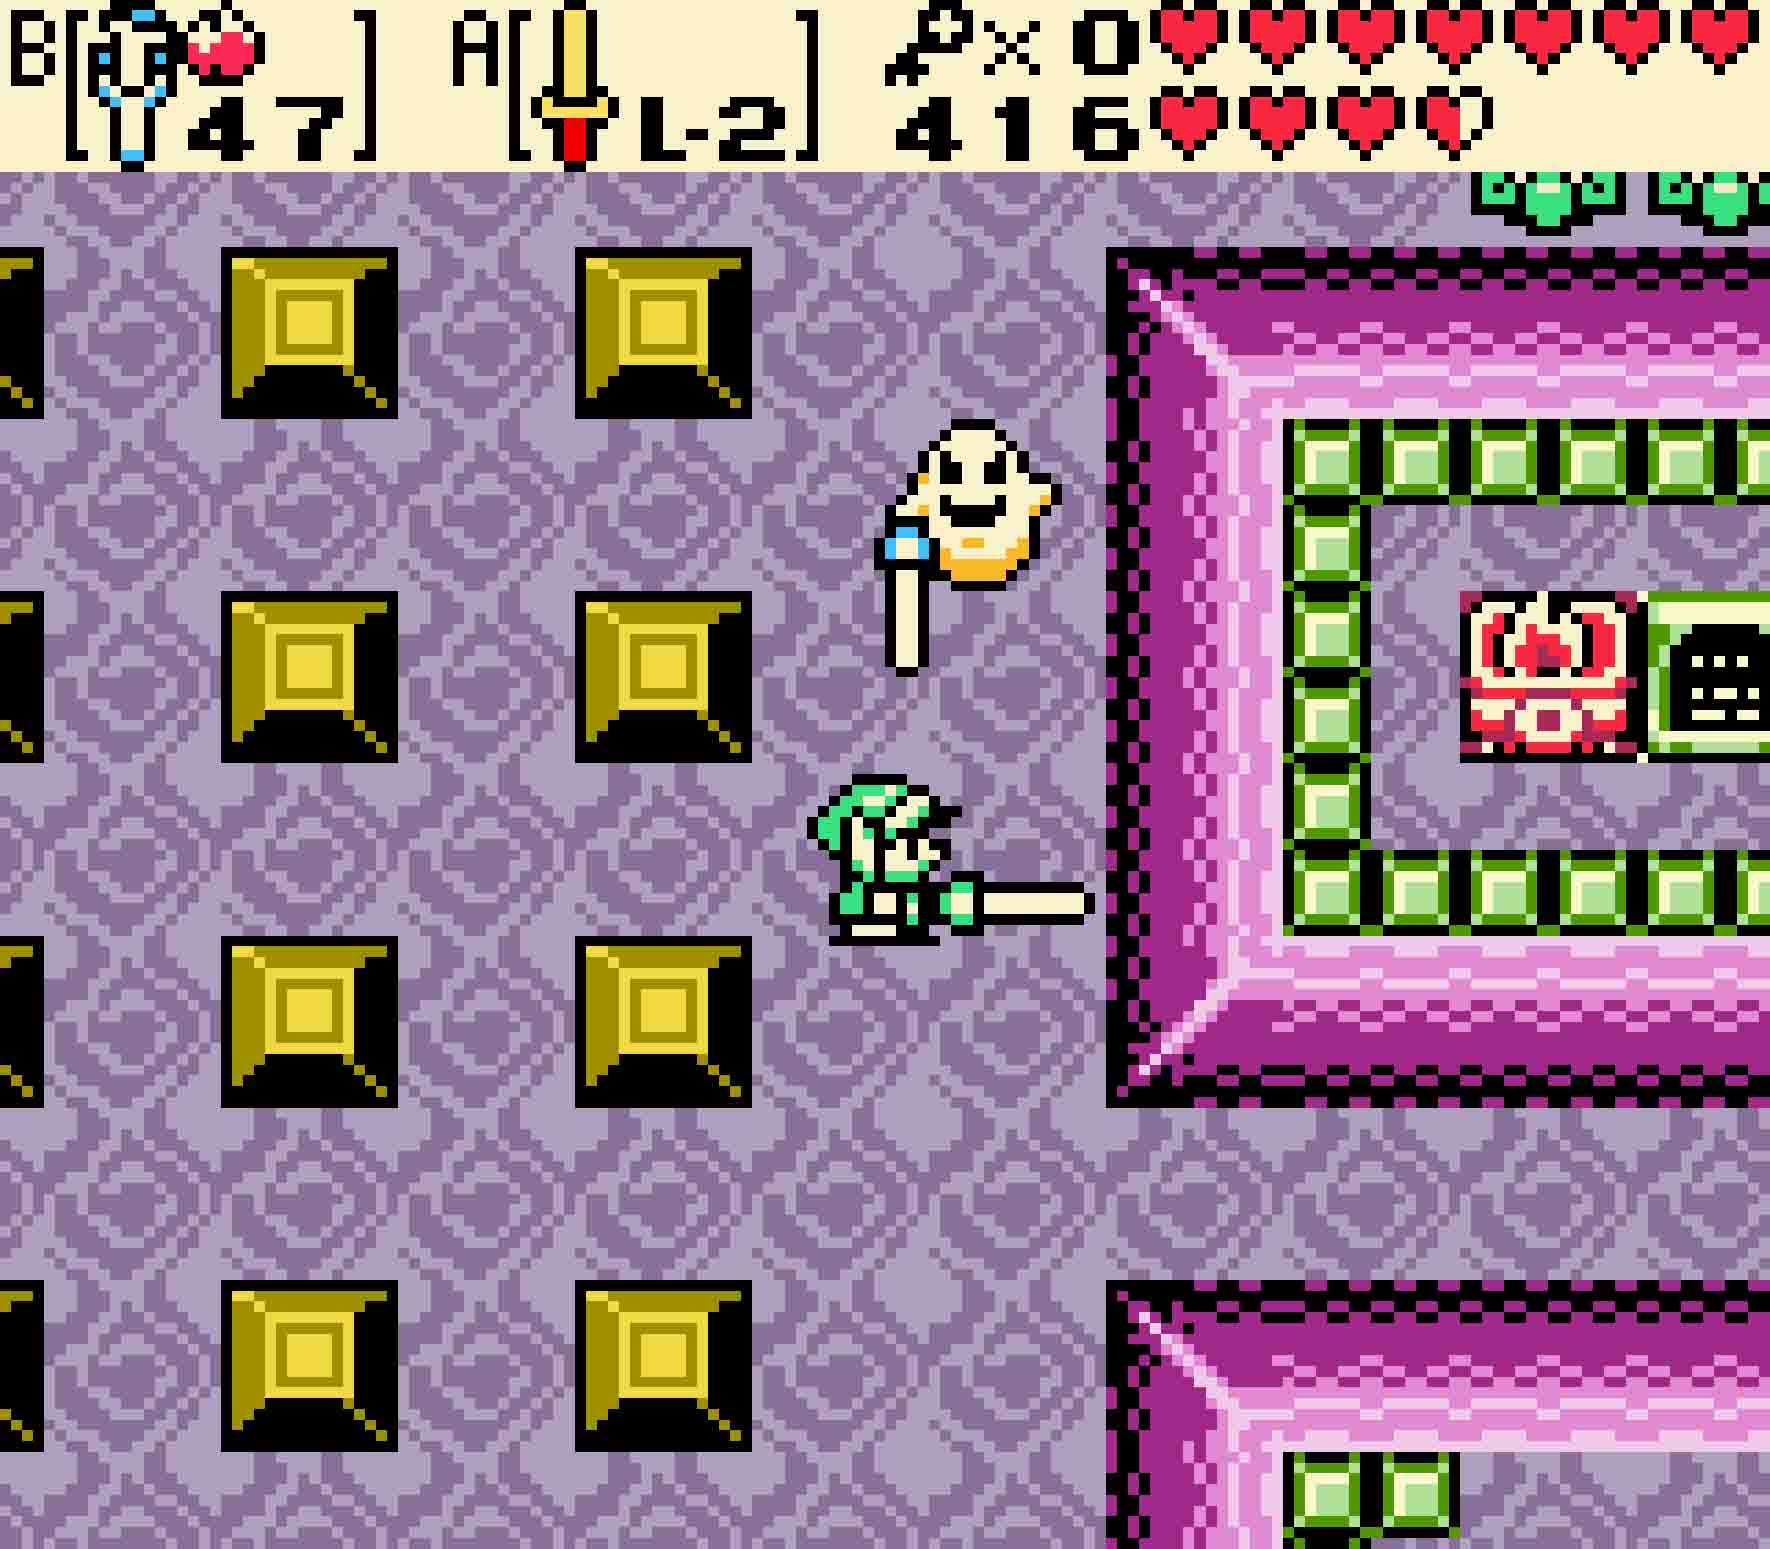
You’ll notice two staircases in this room that head down to B1F, one on the left side of the room and the other on the right. When you descend both staircases you’ll find two Crystal Switches on either side, both currently set to blue. Shooting a Mystery Seed at the owl on 1F will tell you what you need to do. On the left-hand side, you’ll want to leave the upper Crystal Switch alone while you flip the lower one to red. On the right-hand side, you’ll want both Crystal Switches to be red. Once you have this configuration, the sealed door will open up. Use Roc’s Feather to tweak your jump to the northern platform to reach the door.
-
- The left side needs to have the lower switch flipped.
-
- However the right side needs both flipped to red.
The last obstacle you have to face is more Stalfos and more torches shooting fire at you. Again, the Magical Boomerang works wonders in stunning your enemies. Kill all the Stalfos to not only stop the projectiles coming at you but also to receive the Boss Key.
17.11 Reach the boss’ lair
You’re in the home stretch now. Just one last stretch of backtracking will bring you back to the boss’ lair.
Head south, and then fall into the gaping pit to get back to B2F. Take the left catwalk and head south and west through the formerly locked door. Then walk southward two more times, and you’ll be once again lost in stairway city. The boss’ door is in the southwest corner on the upper floor. Thankfully this time it takes a lot fewer steps to reach it.
Navigating the stair maze once more

Step One Head up the only set of stairs available to you.
Step Two Then head to the only set of stairs back downward.
Step Three Then, in the rather (comparably) wide area available to you, take the staircase at the very southeast corner of the room.
Step Four This will take you directly to the boss’ chambers.
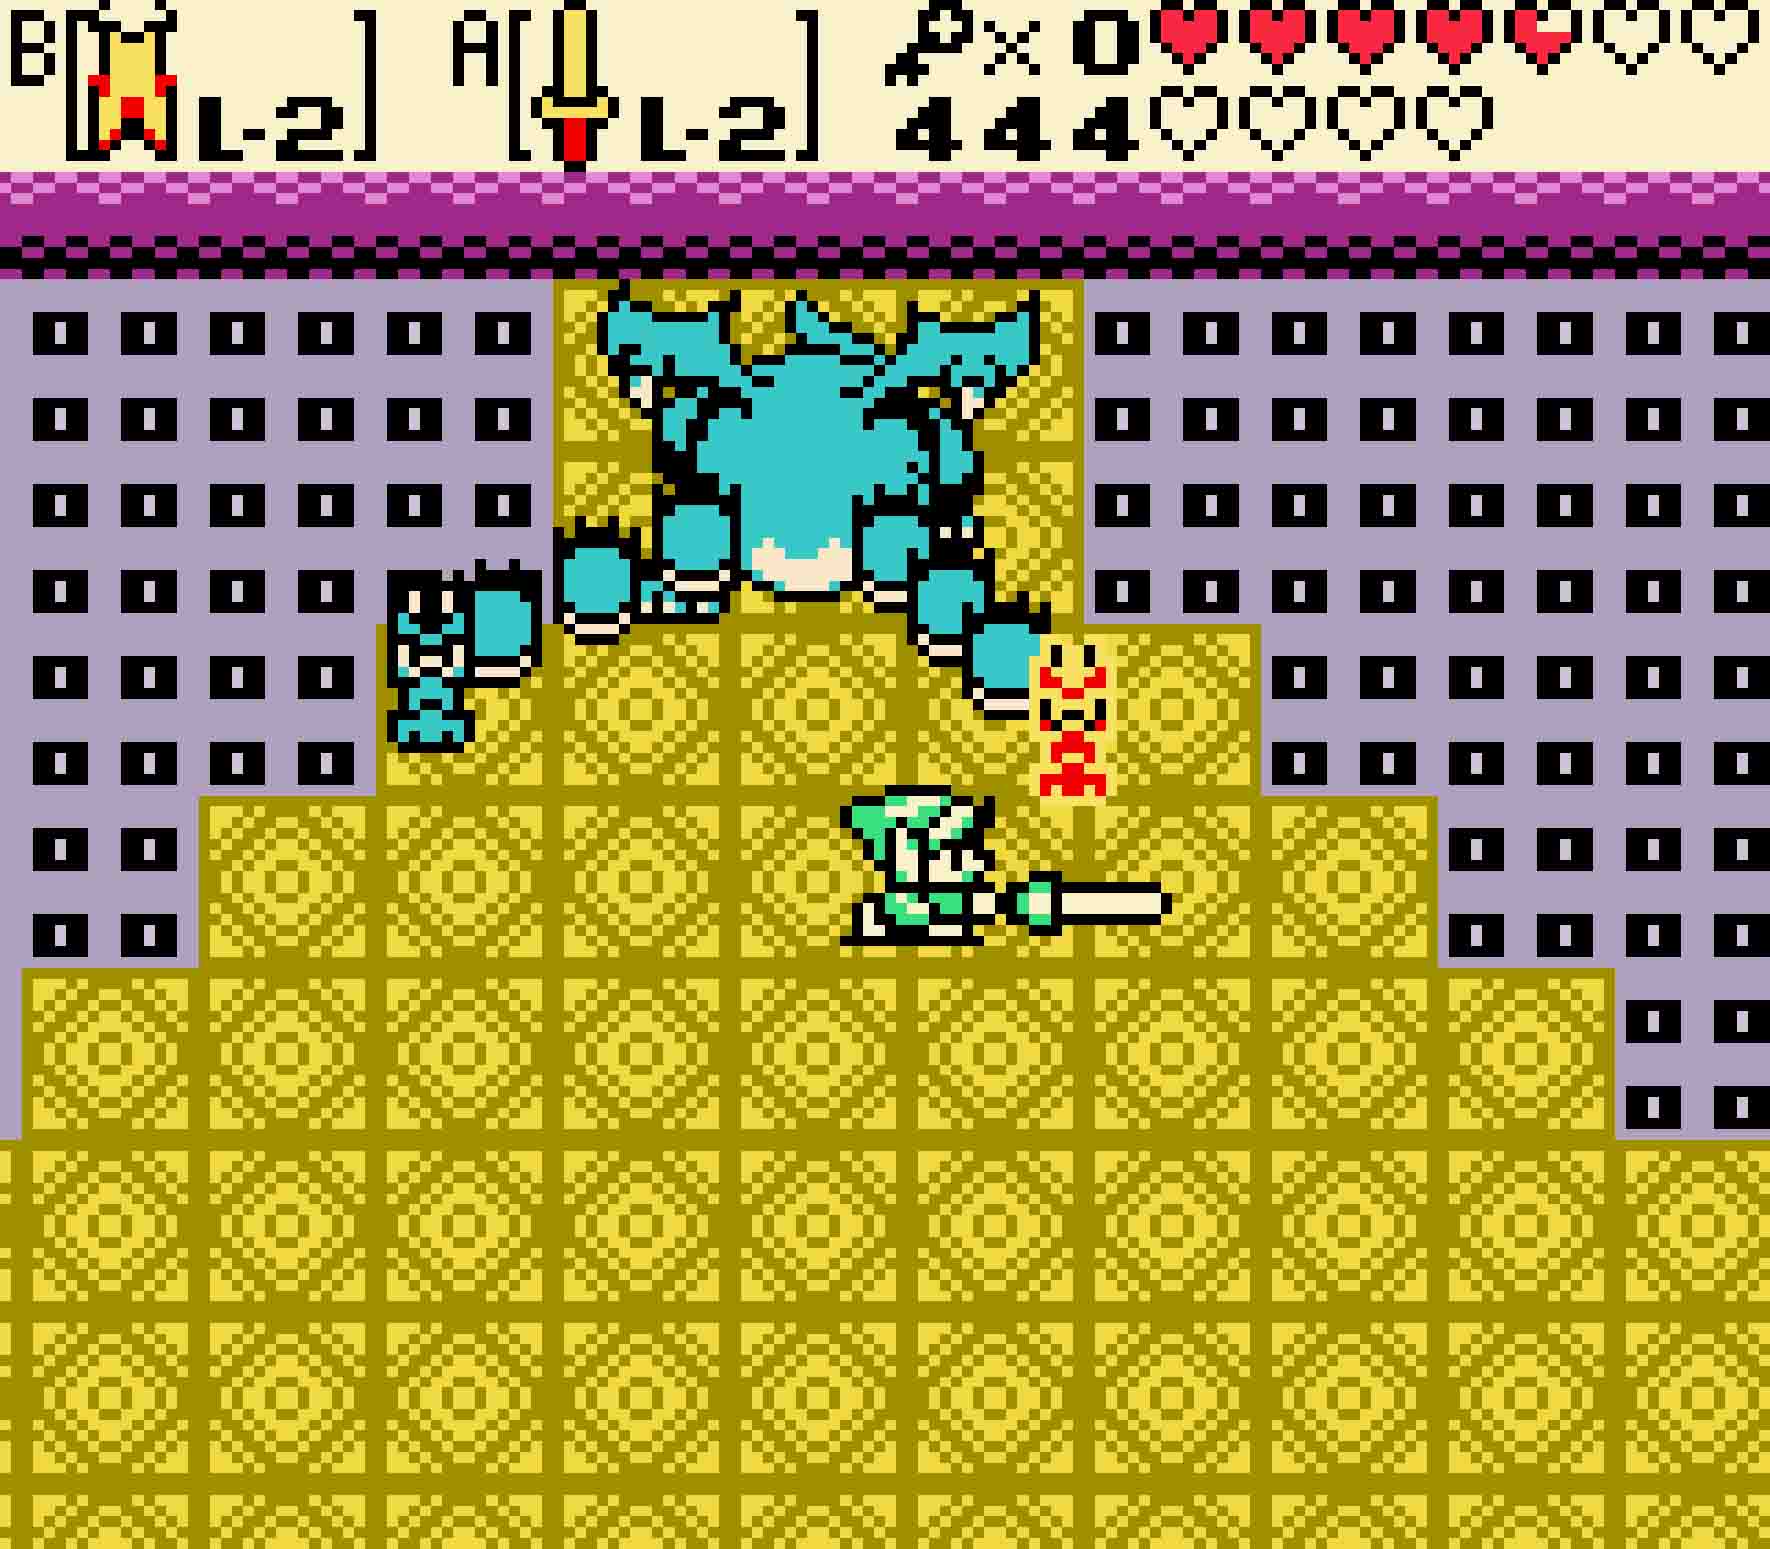
17.12 Defeat Gleeok
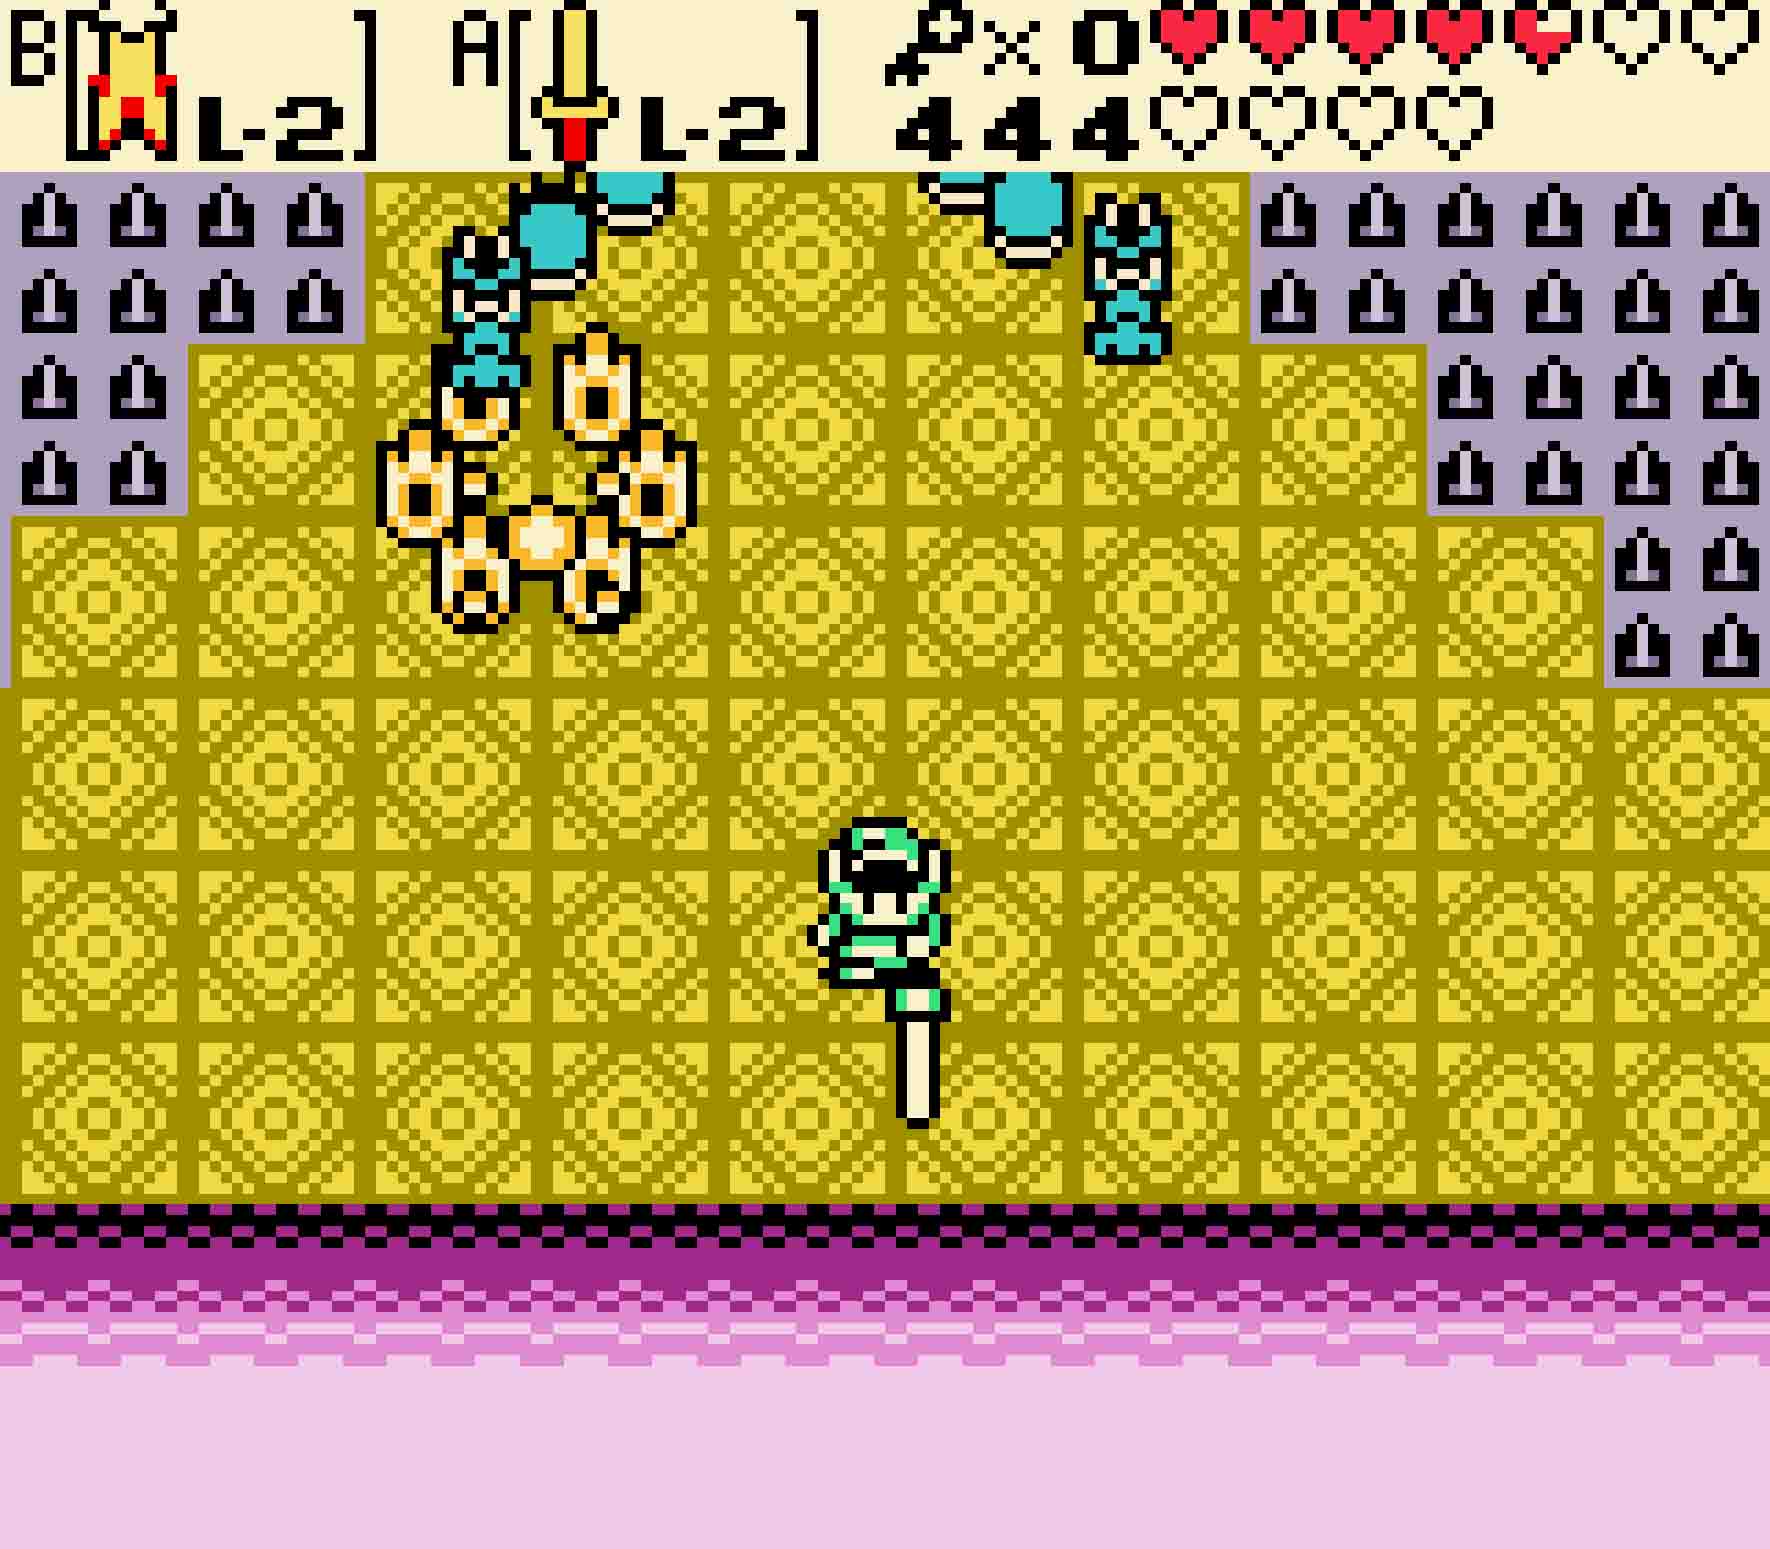
 Gleeok is another famous boss from the original Legend of Zelda. Gleeok is a two-headed dragon. The body won’t move but rather will stay in place; however, the heads will swerve around and shoot fire at you.
The fiery attacks come in three basic forms. The most common attack is the most deadly: It’s a stream of fire that separates into three streams. You can try to stand in between two of the streams of fire, but far and above the easiest way is to just use Roc’s Cape to fly over it. The second attack is less common; it will be a single fireball that will immediately spring out into a very short-lived circle of fireballs. The last of the attacks is an extremely infrequent one, but Gleeok can surround you with fire on all sides; when that happens, you’ll simply have to jump over it.
-
- Gleeok will spit lots of fire that you’ll have to carefully avoid.
-
- You’ll need to attack each of the heads and damage them with your blade.
To defeat Gleeok, you need to defeat both heads of the dragon. Sword hits, especially charged Spin Attacks work extremely well. In fact, you can also use Roc’s Cape while holding and even charging a Spin Attack, and you should use this to your advantage. There is just one major catch to destroying Gleeok. Whenever you do sufficient damage to one of the two heads, it will be severed from the body, and it will then take a somewhat slow path around the room, spitting fire. However, if you don’t hurry up and kill the other head, it will graft itself back onto the body, recovering full health as it does so.
As a result, you need to kill both heads of the dragon roughly concurrently in order to kill it. As a result, throughout the battle, try to distribute the damage done to each head as even as you can make it. You do get a few seconds of leeway, but that’s it. If you haven’t even damaged the first head at all by the time you kill one, there’s literally no help for you to finish it that cycle.
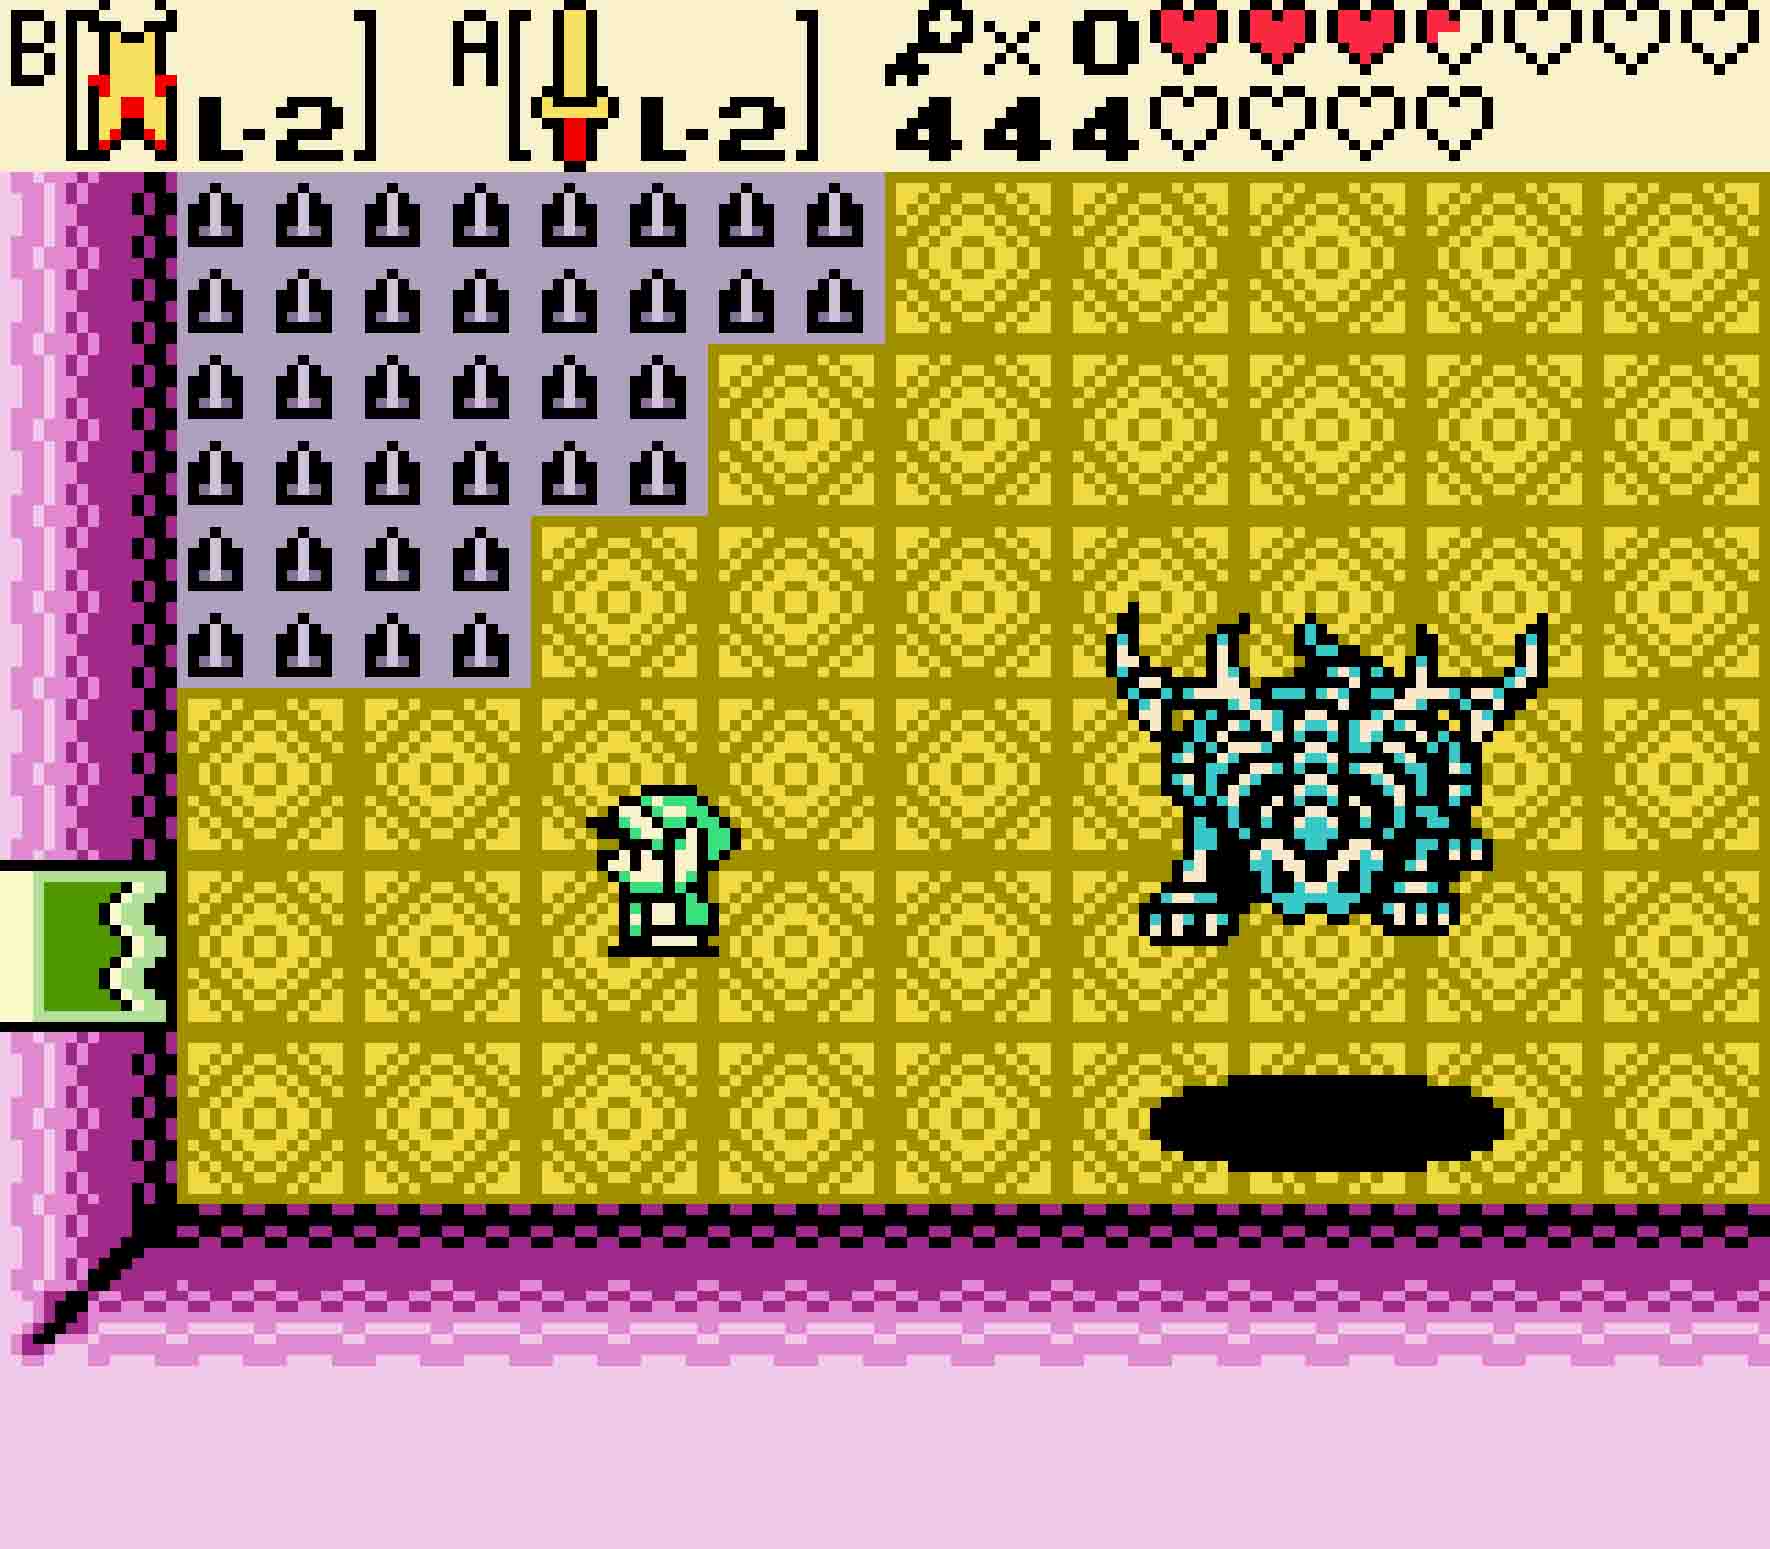
-

- You need to jump when Gleeok’s skeleton hits the ground lest he stun you and get a free hit.
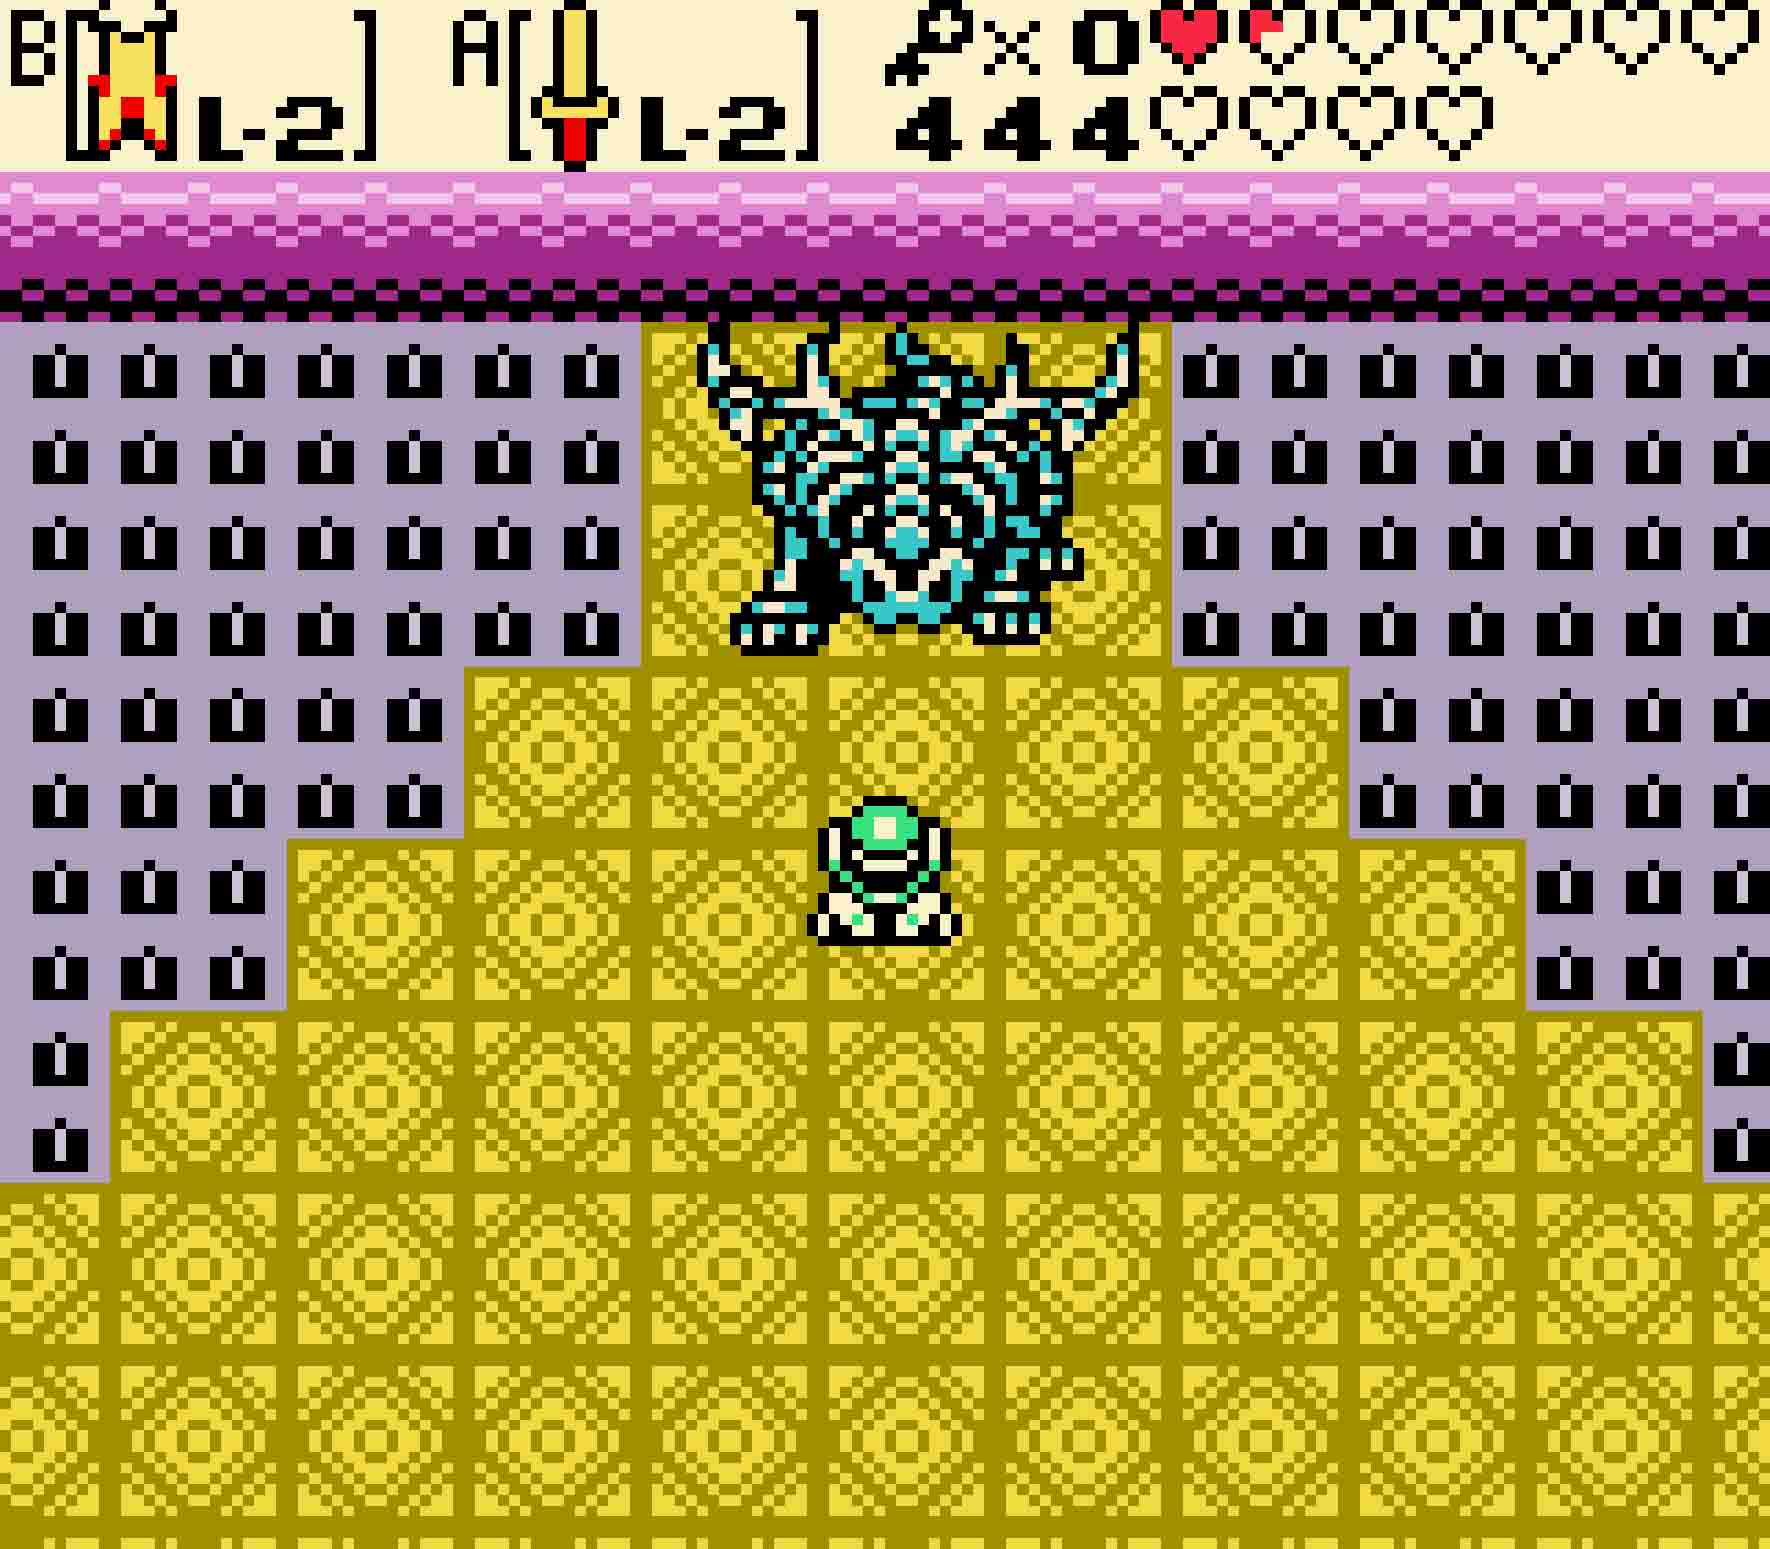
Once you do kill both heads, Gleeok will enter its second phase of the fight where it will literally attack you like a Gleeok with its heads cut off. Gleeok’s attack pattern thankfully isn’t that tricky. It will jump up into the air before pounding heavily on the ground. When it does so, you will want to use Roc’s Cape to leap up. If you don’t, you’ll be stunned, and Gleeok will ram you. If you successful dodge the stun attack, take a quick moment to attack, but then get out of the way before it rams you. Keep up the pace, and eventually Gleeok will be destroyed.
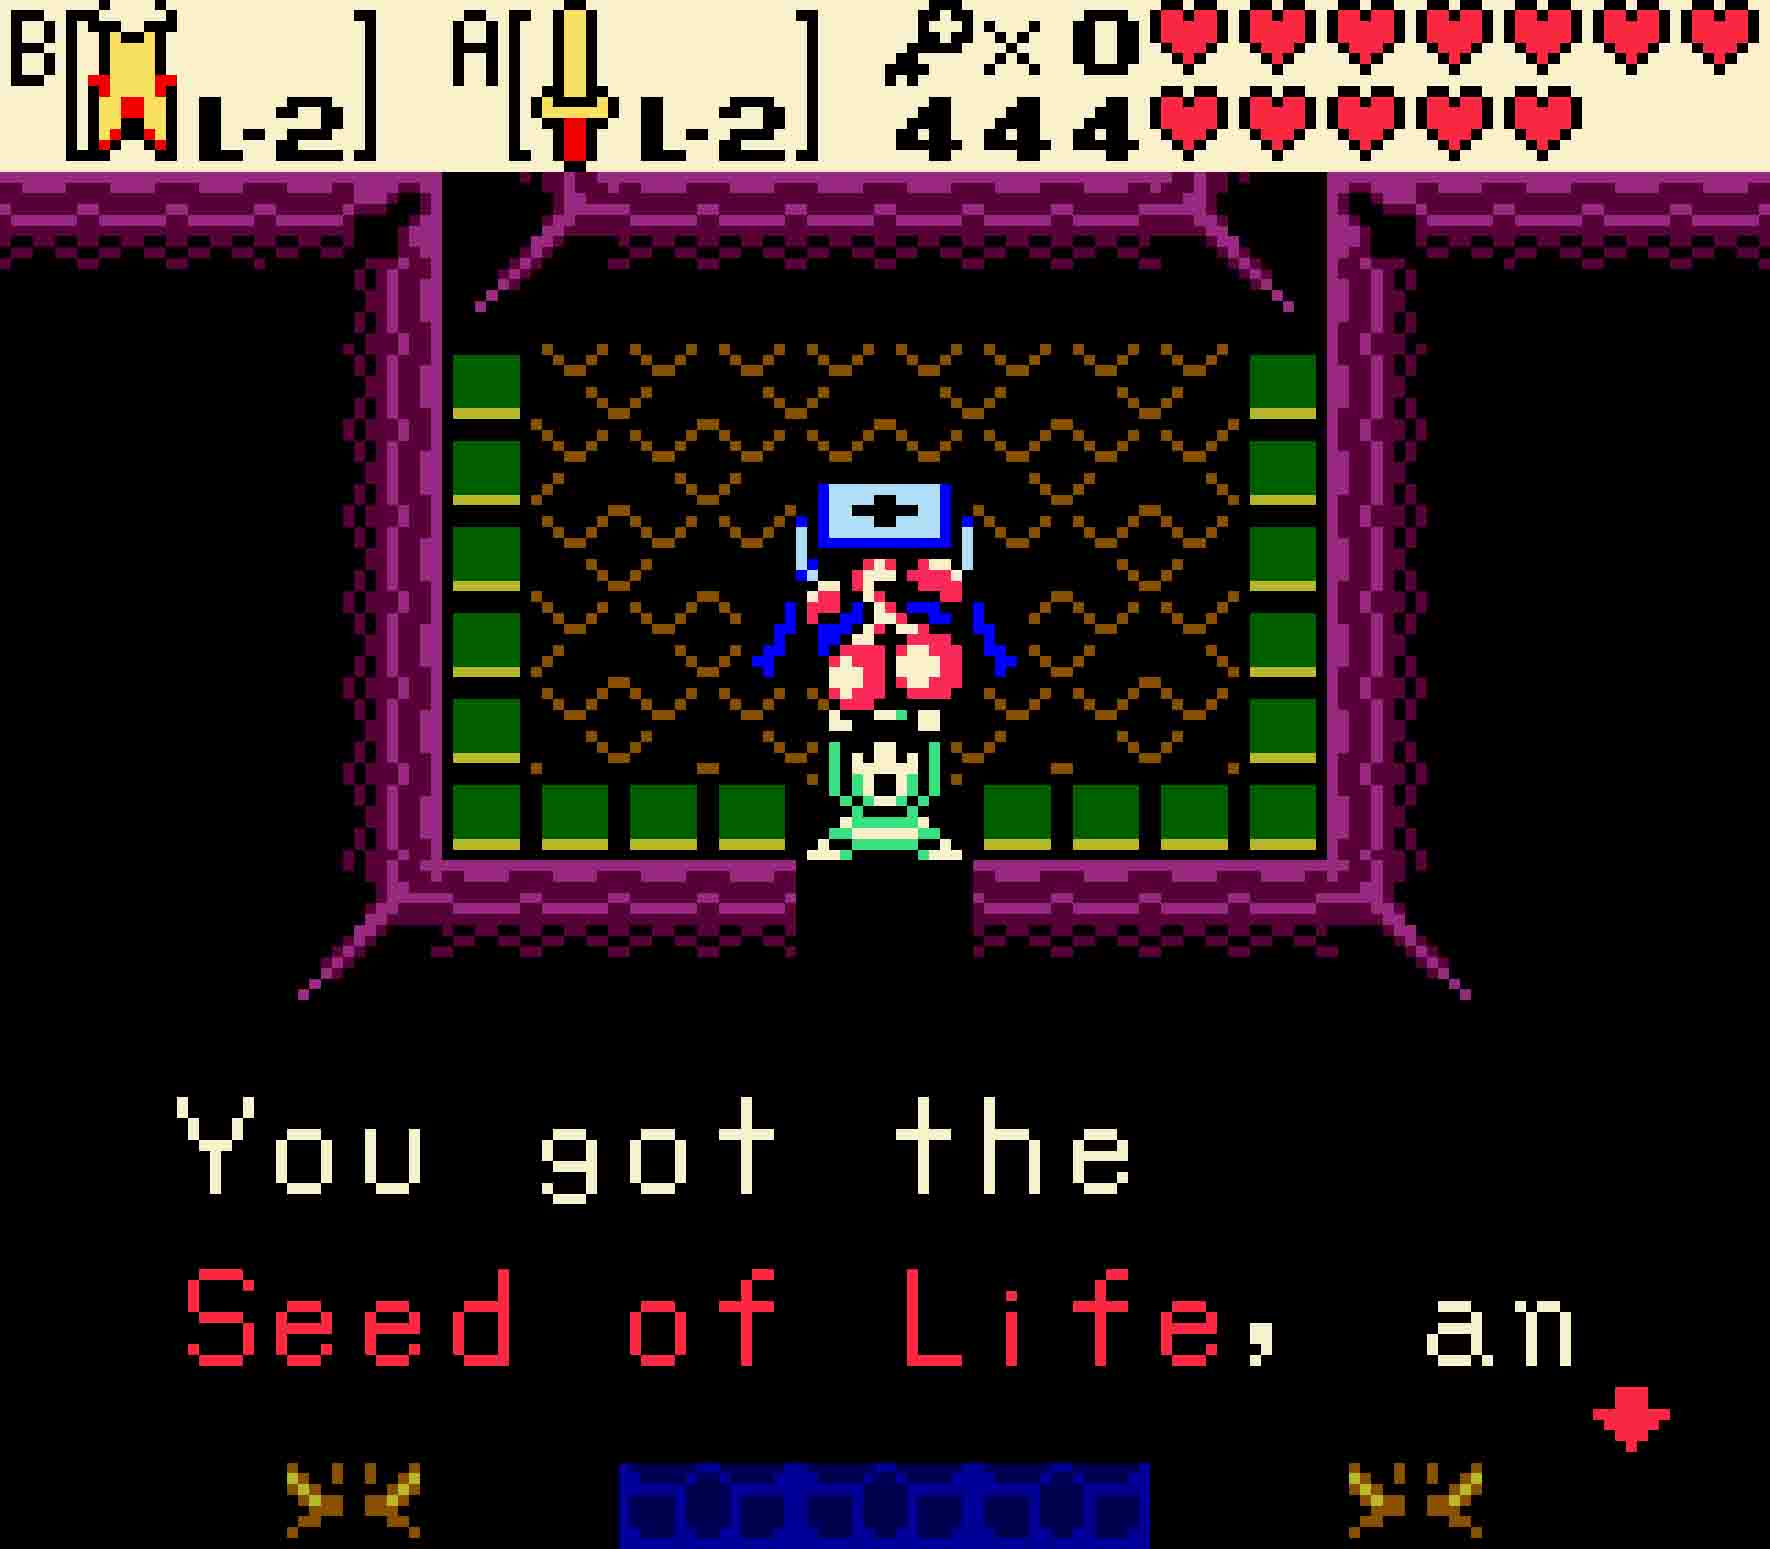
You can take the boss’ Heart Container as your own, and then you can head west to grab the Seed of Life, the penultimate of the Essences.