
Chapter 15: Ancient Ruins
- 15.1 Get the Map
- 15.2 Collect two keys
- 15.3 Grab the Compass
- 15.4 Obtain the Magical Boomerang
- 15.5 Hit two remote Crystal Switches
- 15.6 Snag the Boss Key
- 15.7 Grab the last small key
- 15.8 Defeat Vire
- 15.9 Find the boss’ lair
- 15.10 Defeat Manhandla
15.1 Get the Map
Ancient Ruins is the biggest dungeon in both of the Oracle games; however, it’s not the most complicated dungeon you’ve explored thus far. The opening is a little tricky, but once you make it past a certain point, everything should fall into place.
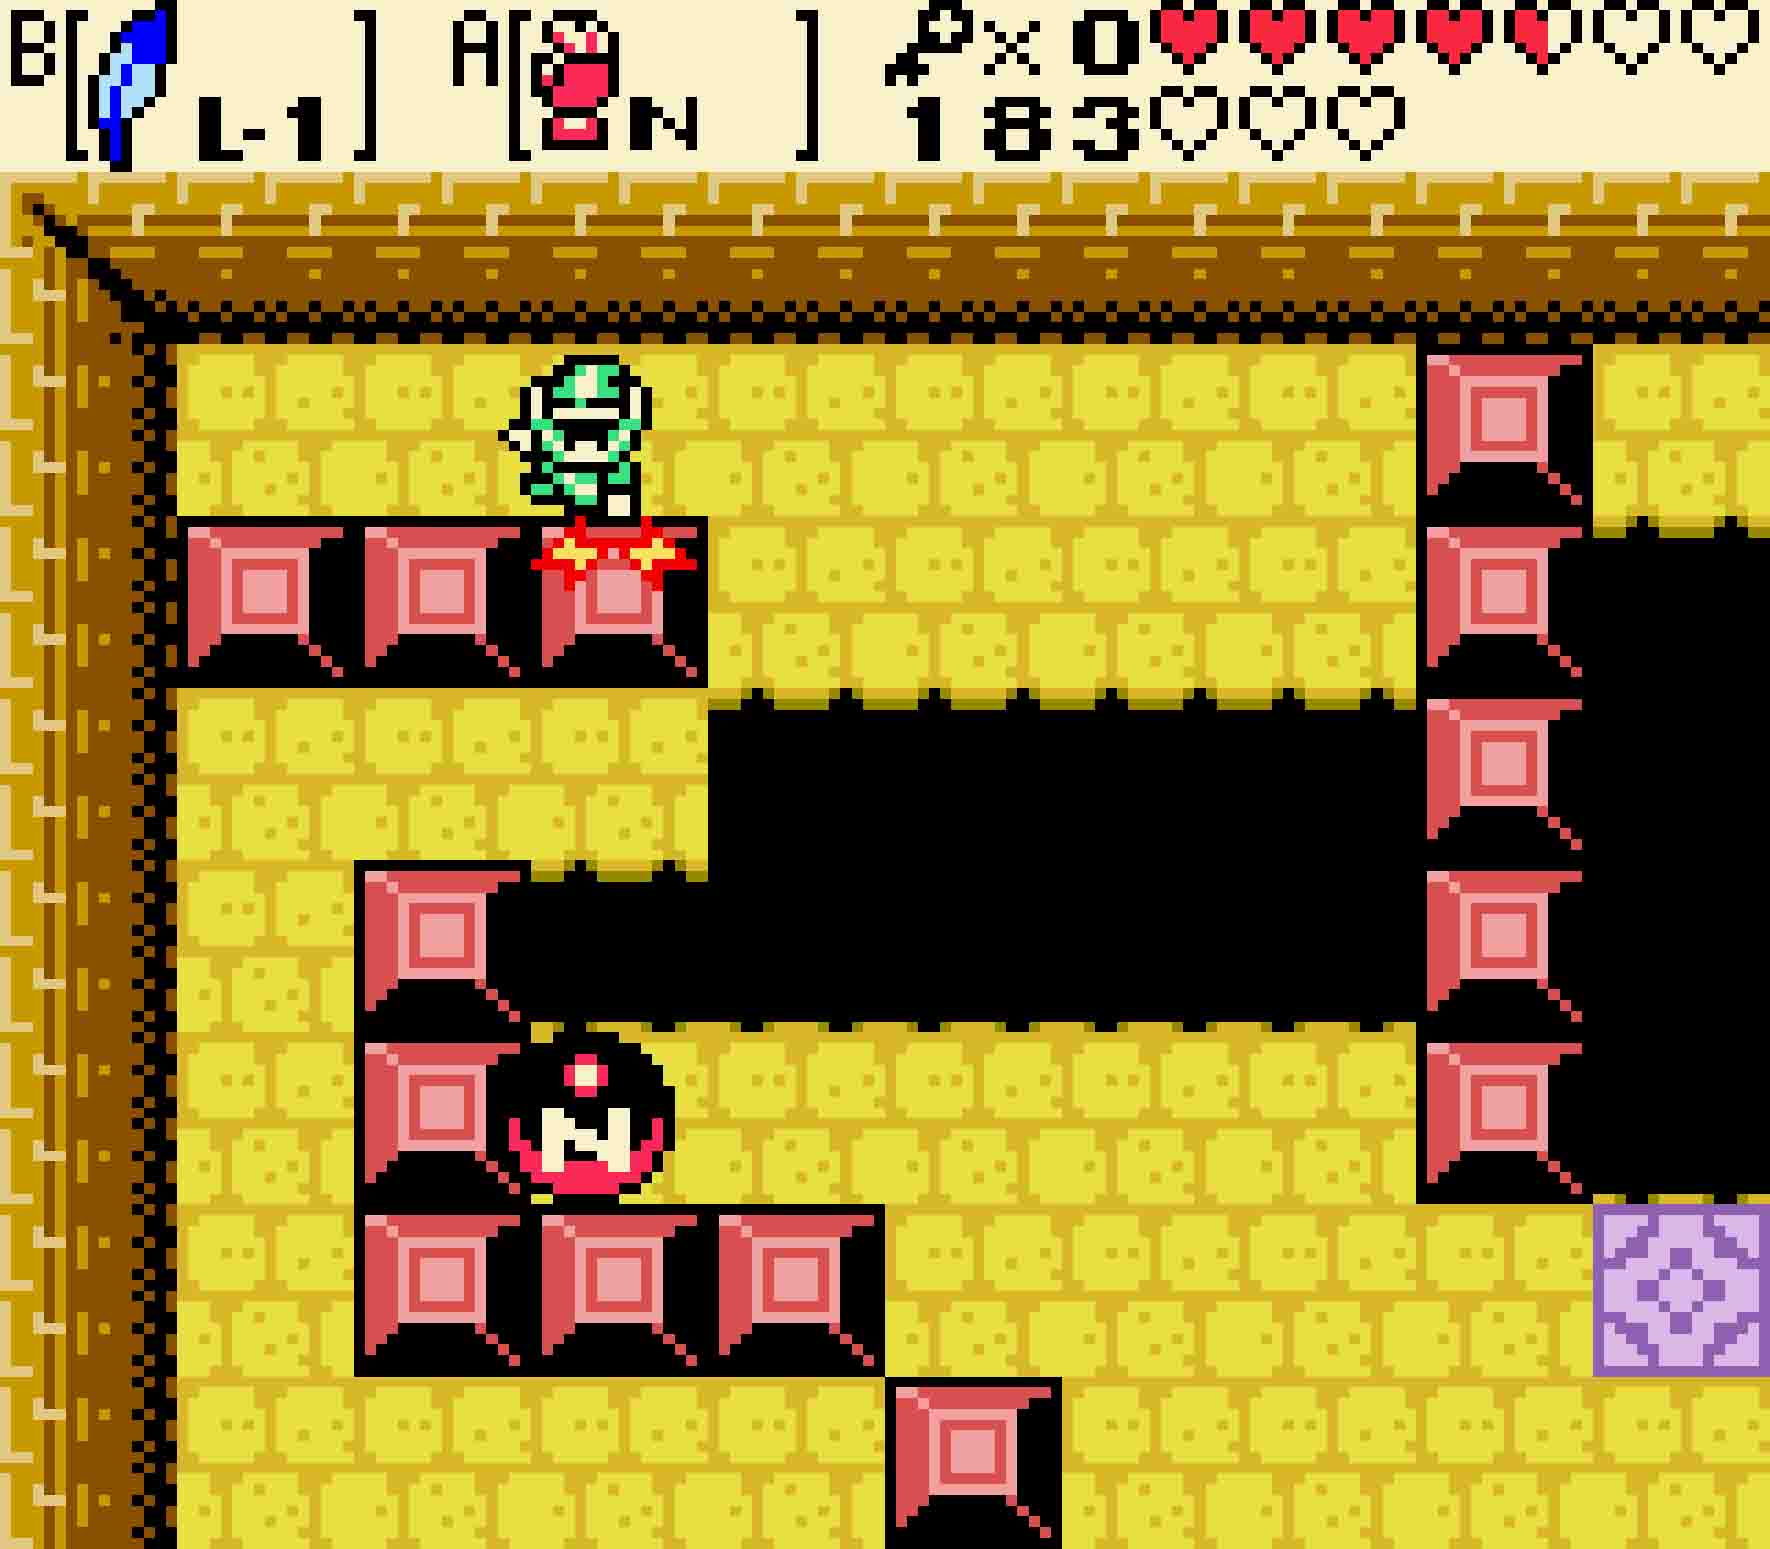
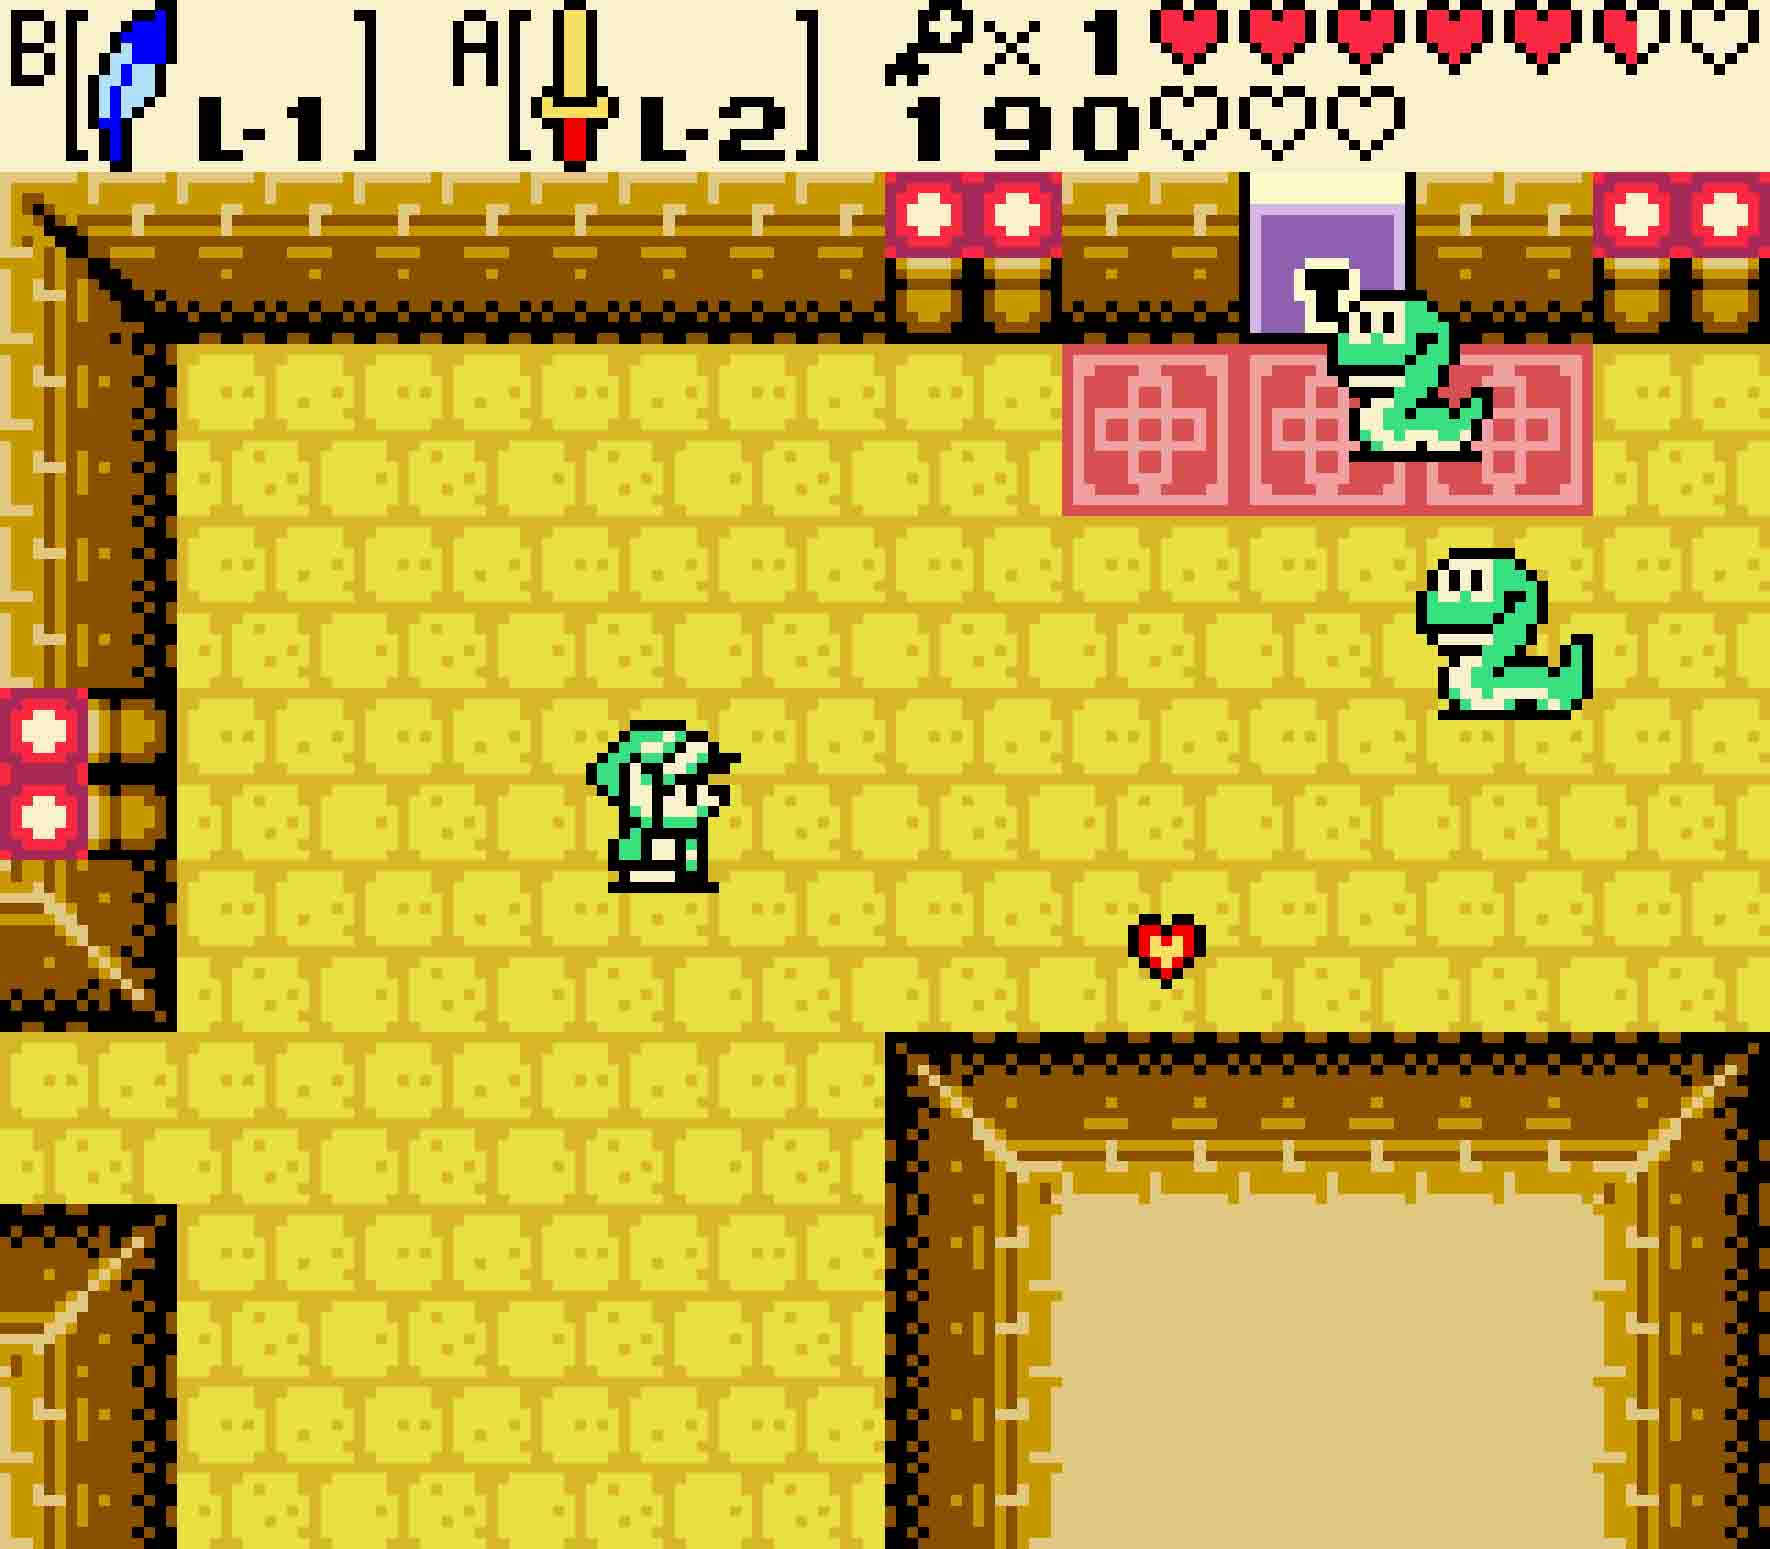
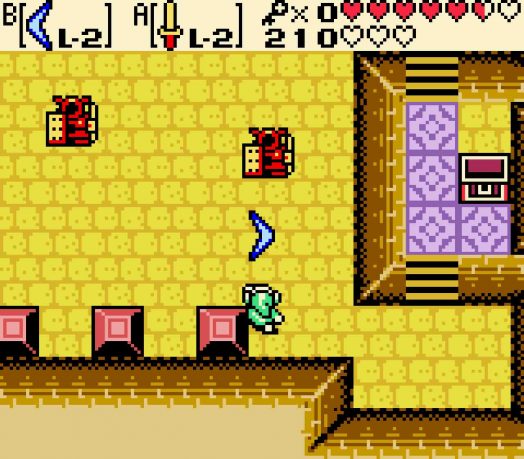
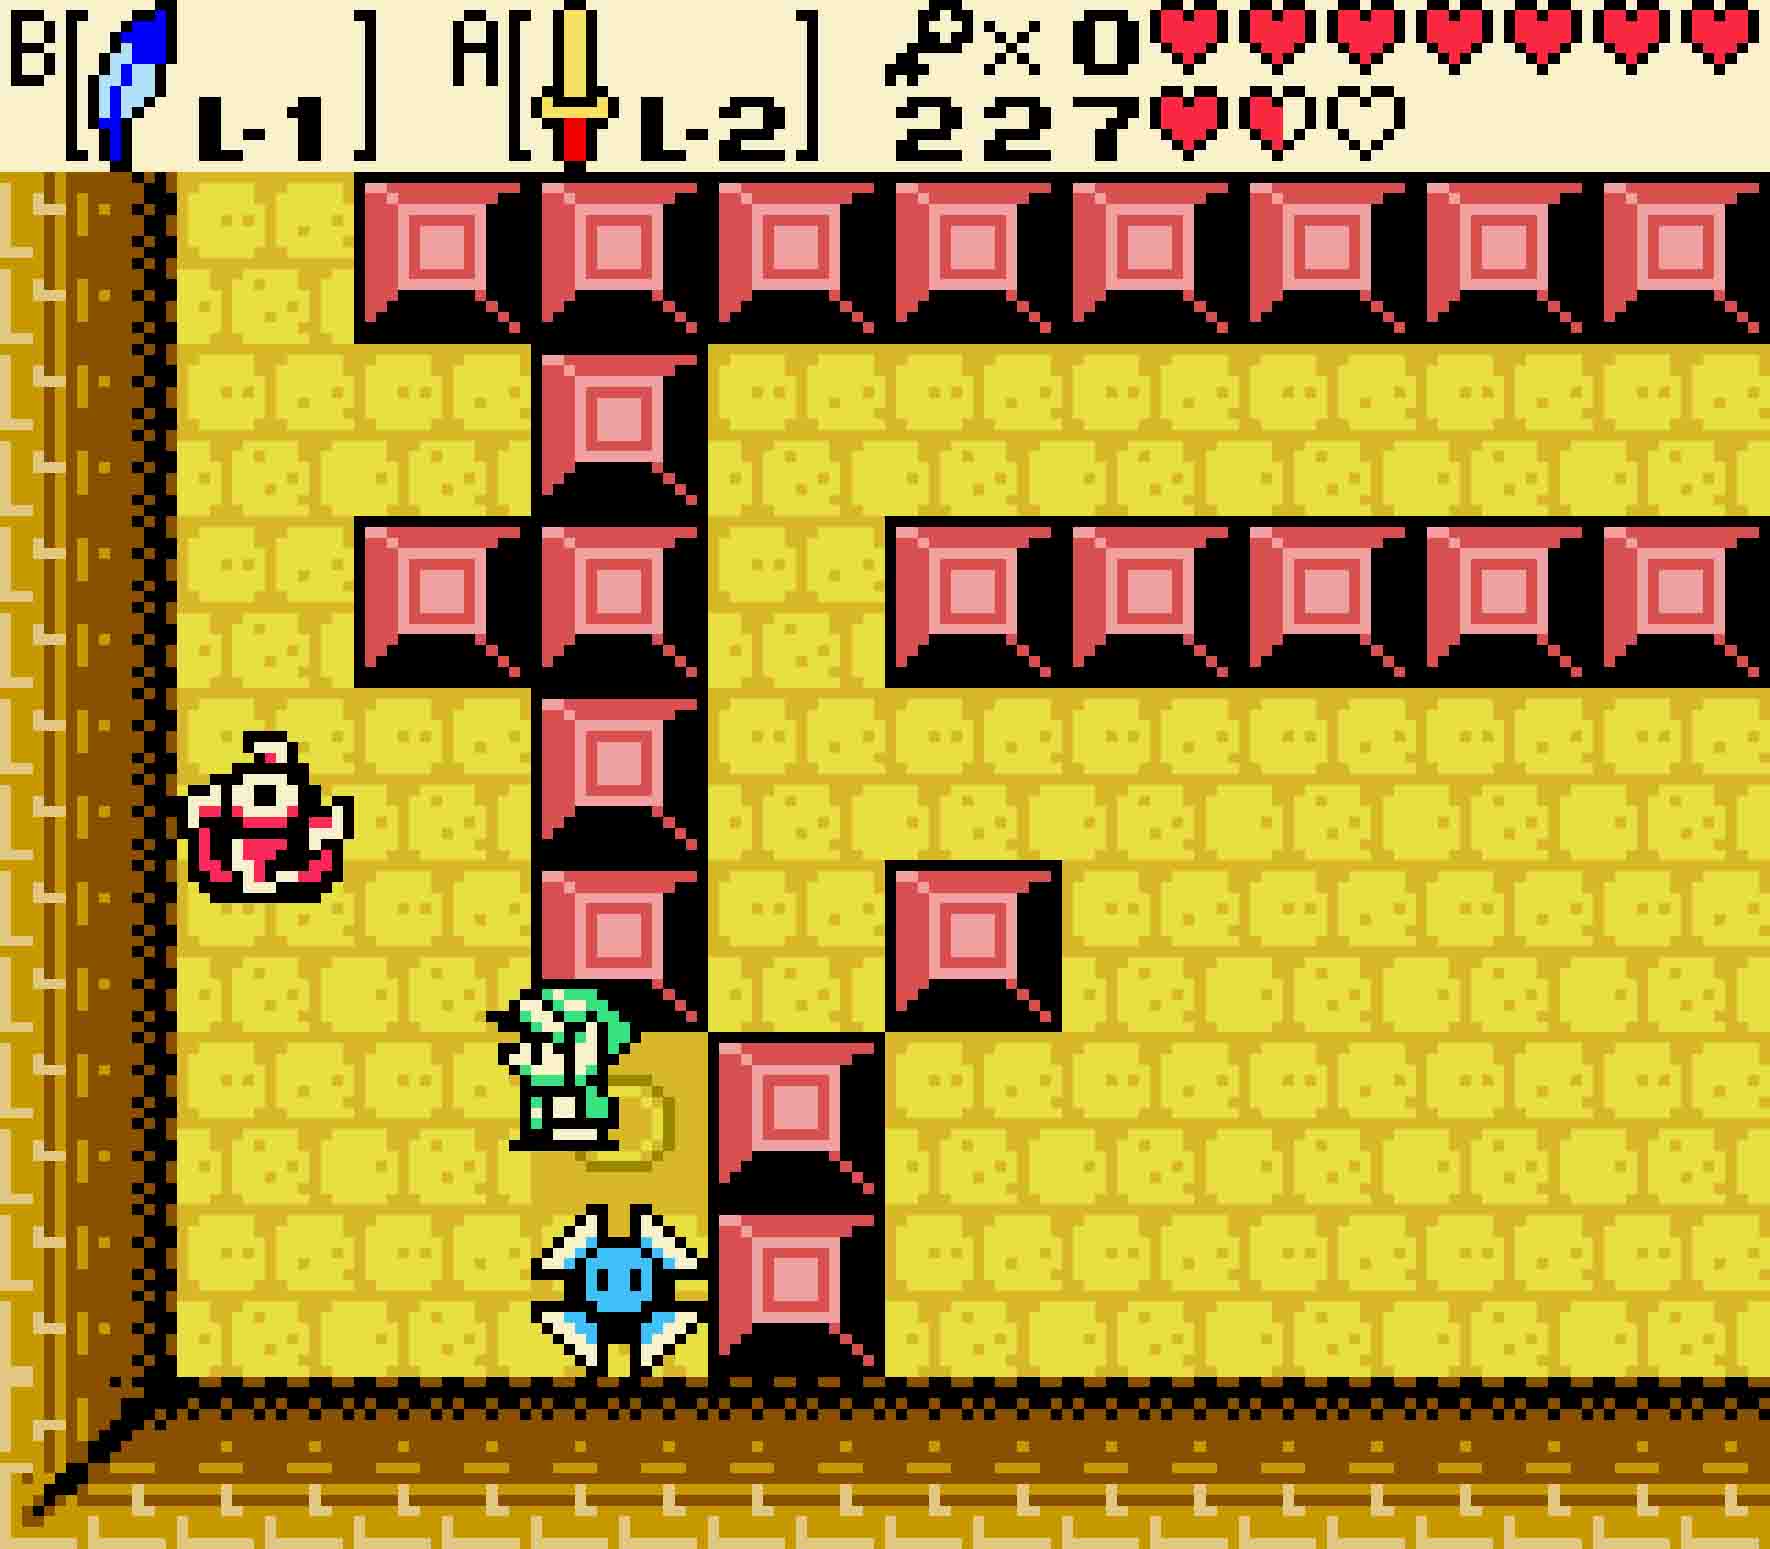
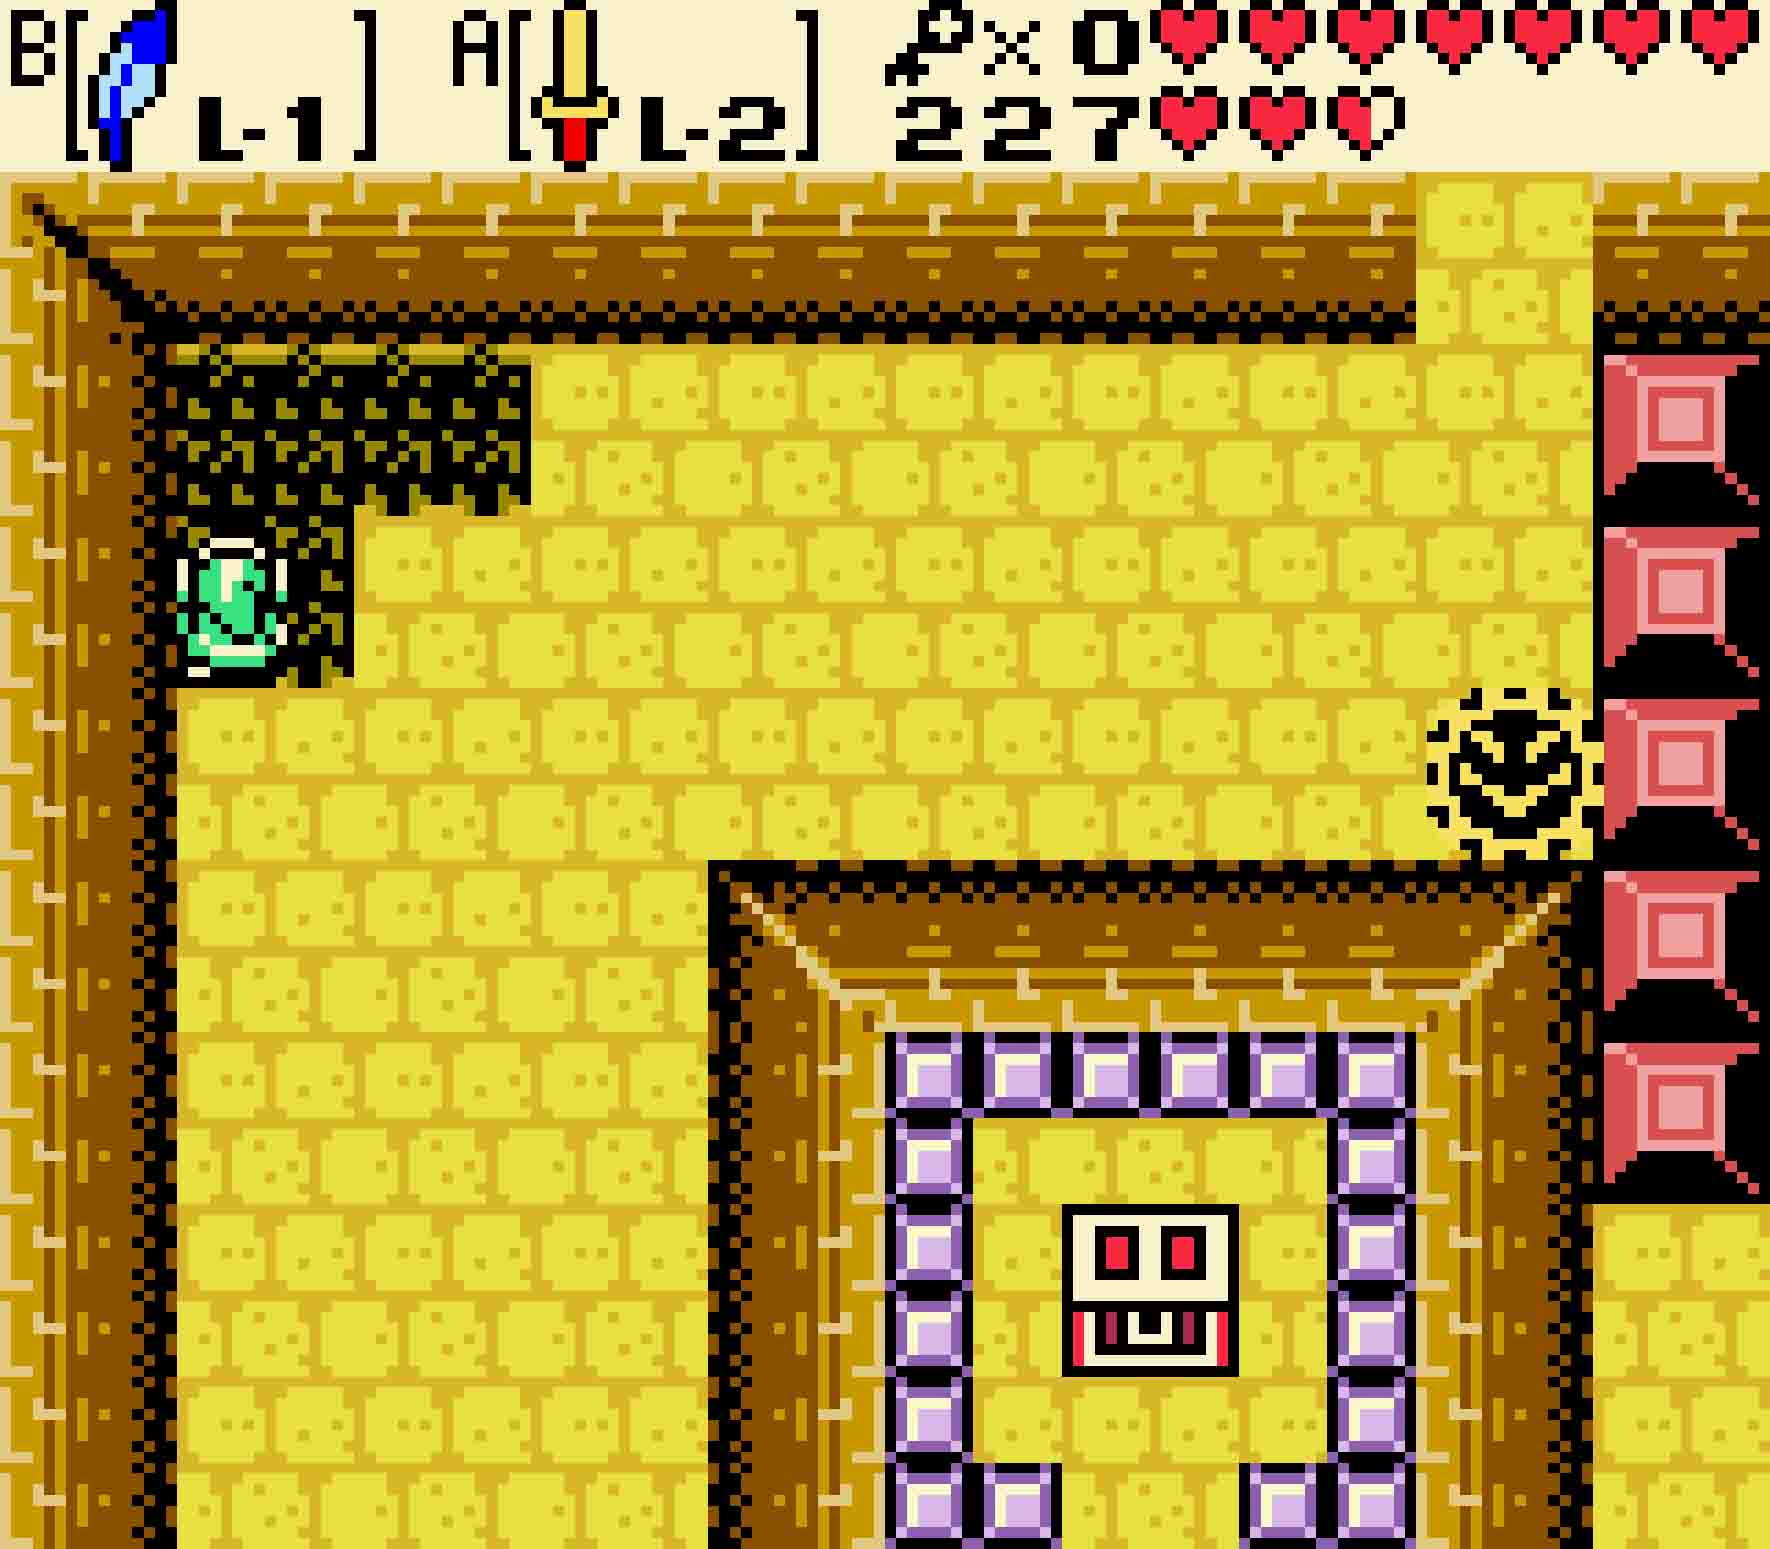
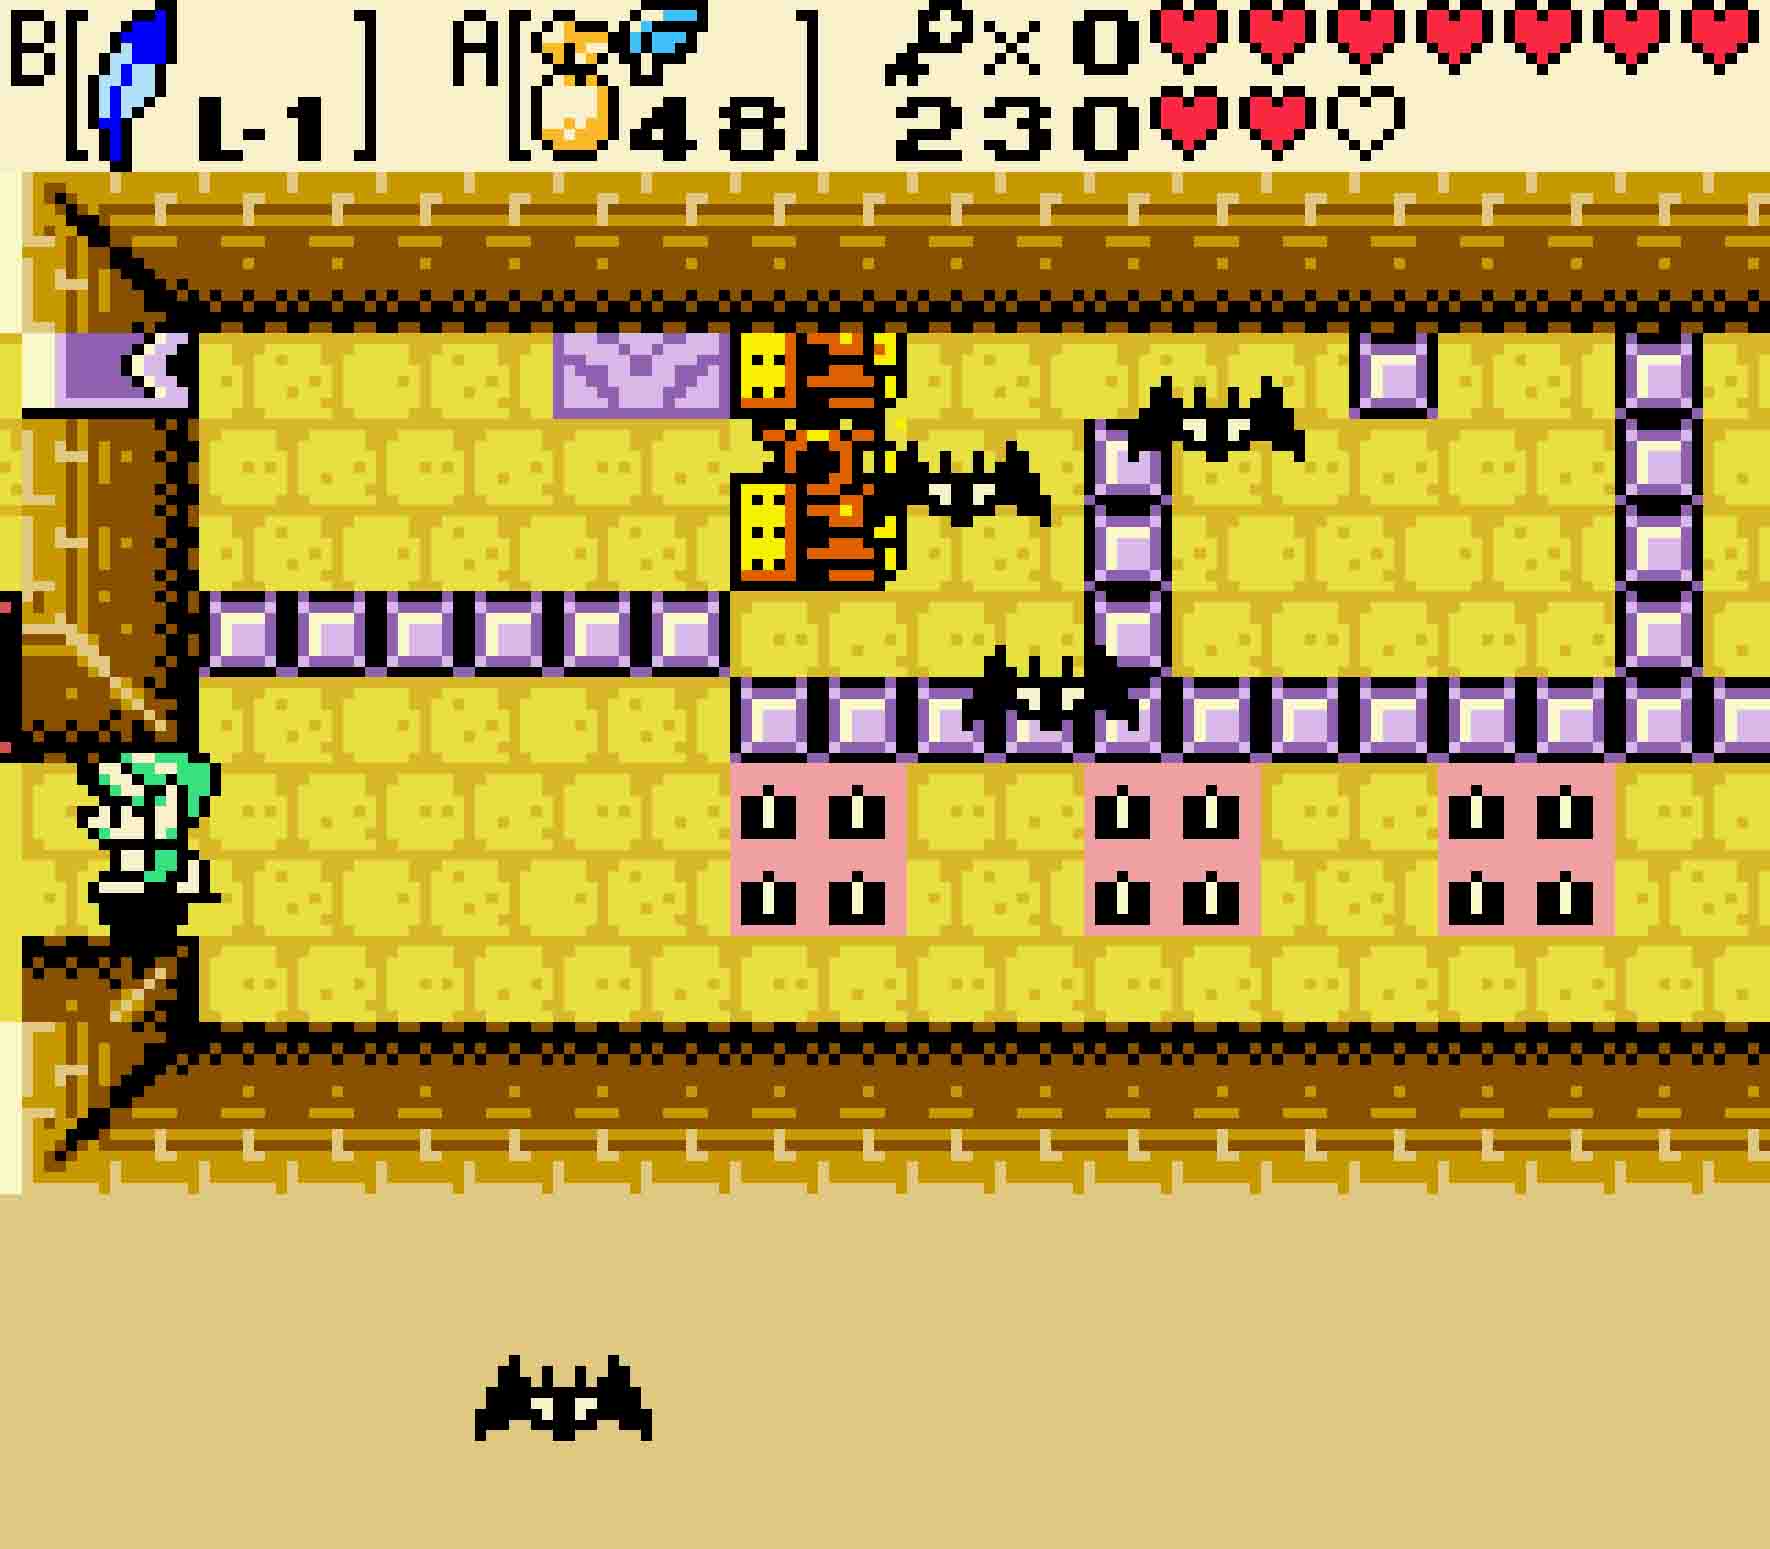
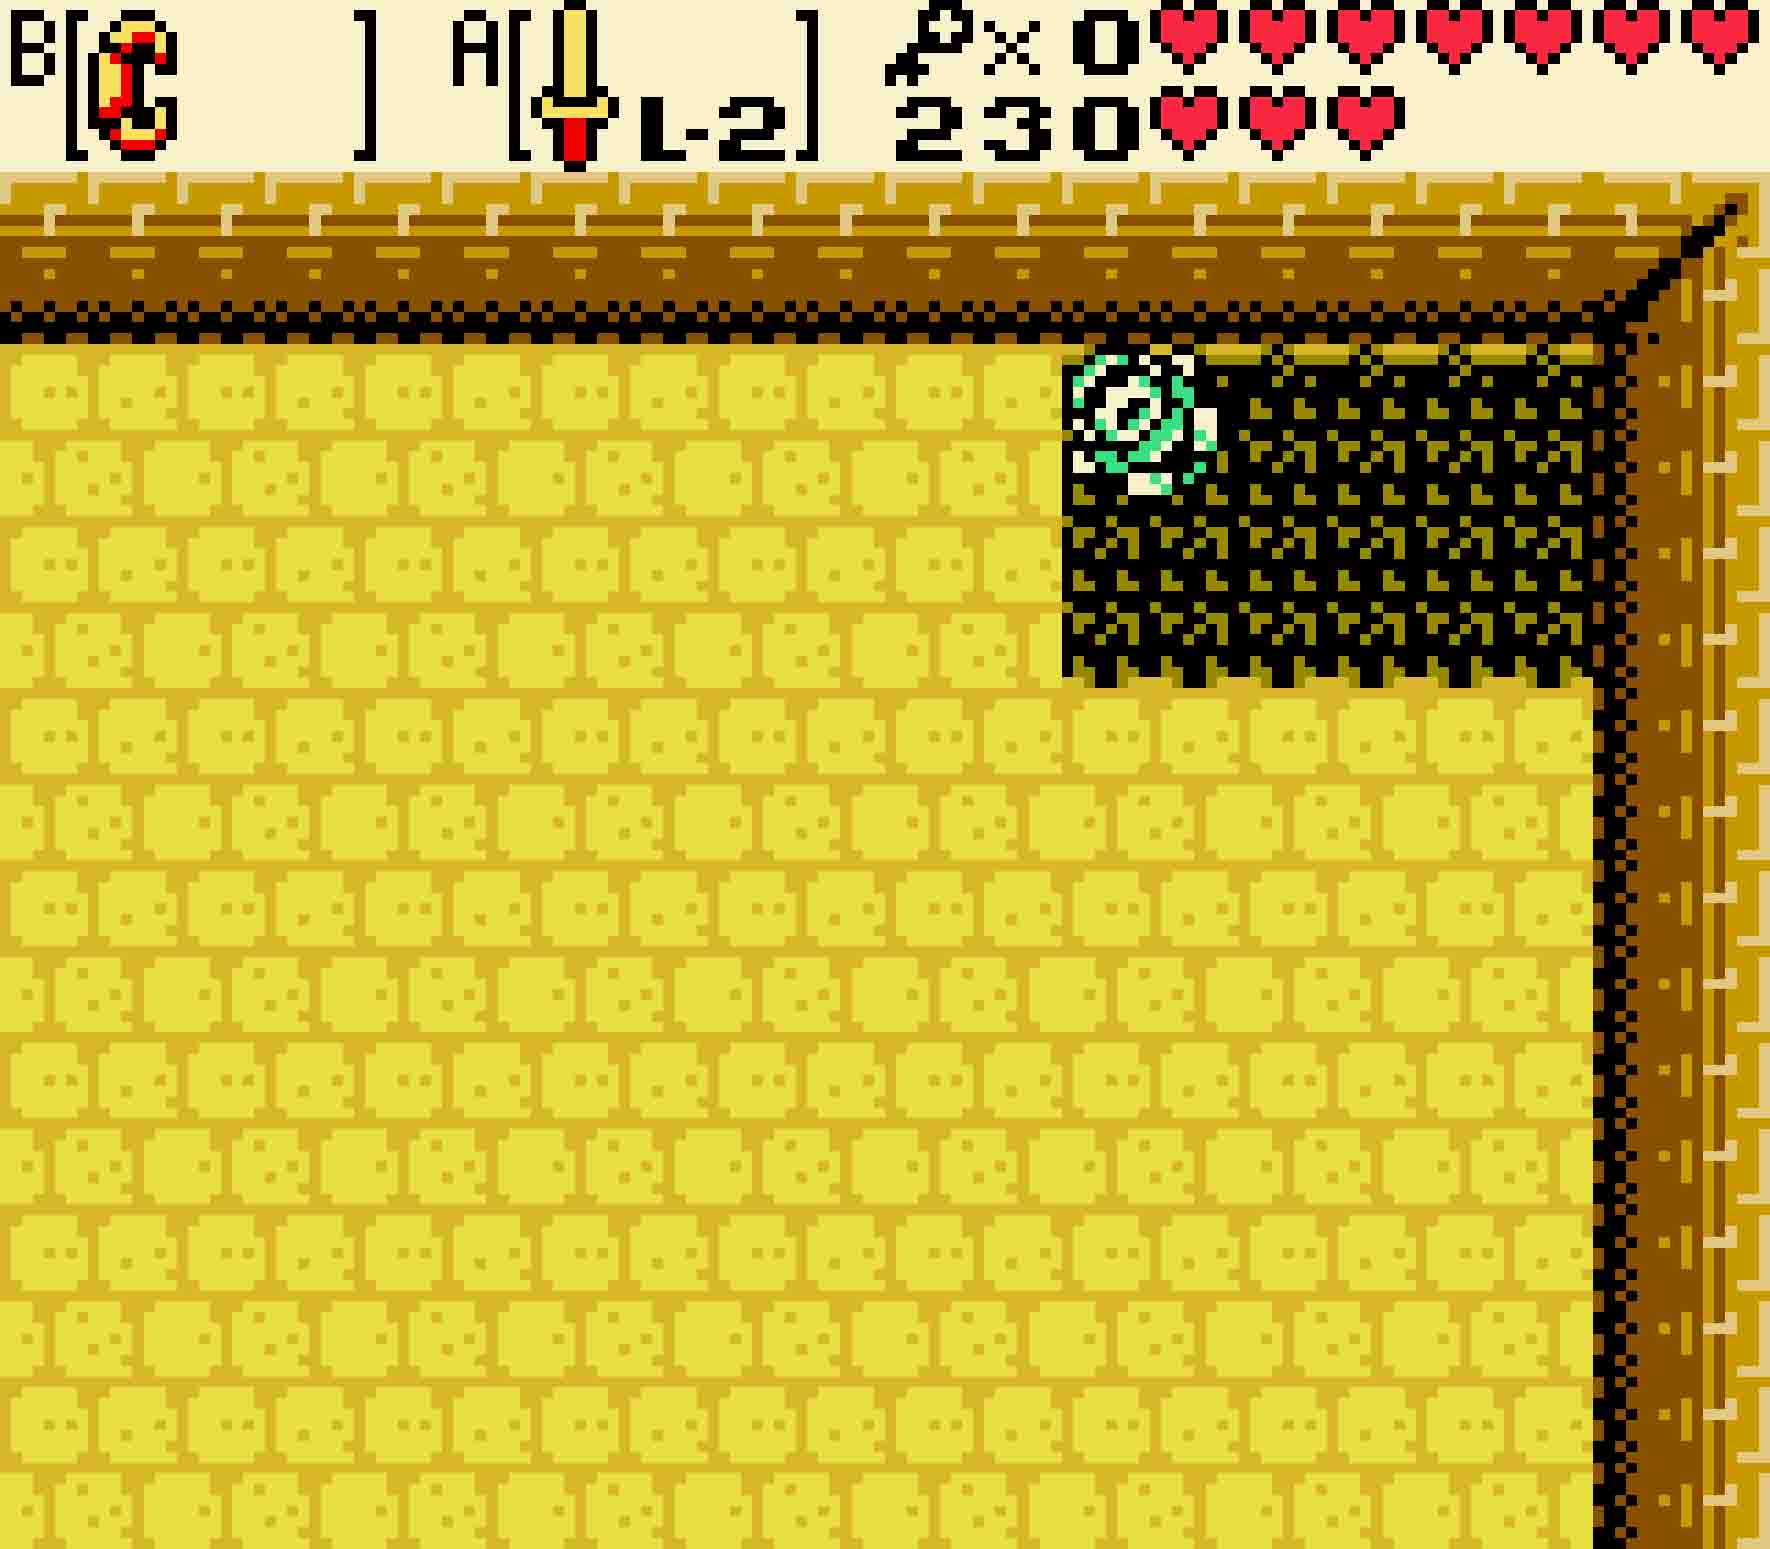
To start, head north. Keese will occupy the next room, but you can pass them and just proceed north. You’ll be confronted with the dungeon’s sole turnstile. You’ll be visiting this room multiple times, and it poses to be the most difficult obstacle of the dungeon. The turnstile will force you to go east. It’s not the direction you want to go, so this means you’ll have to do a loop.
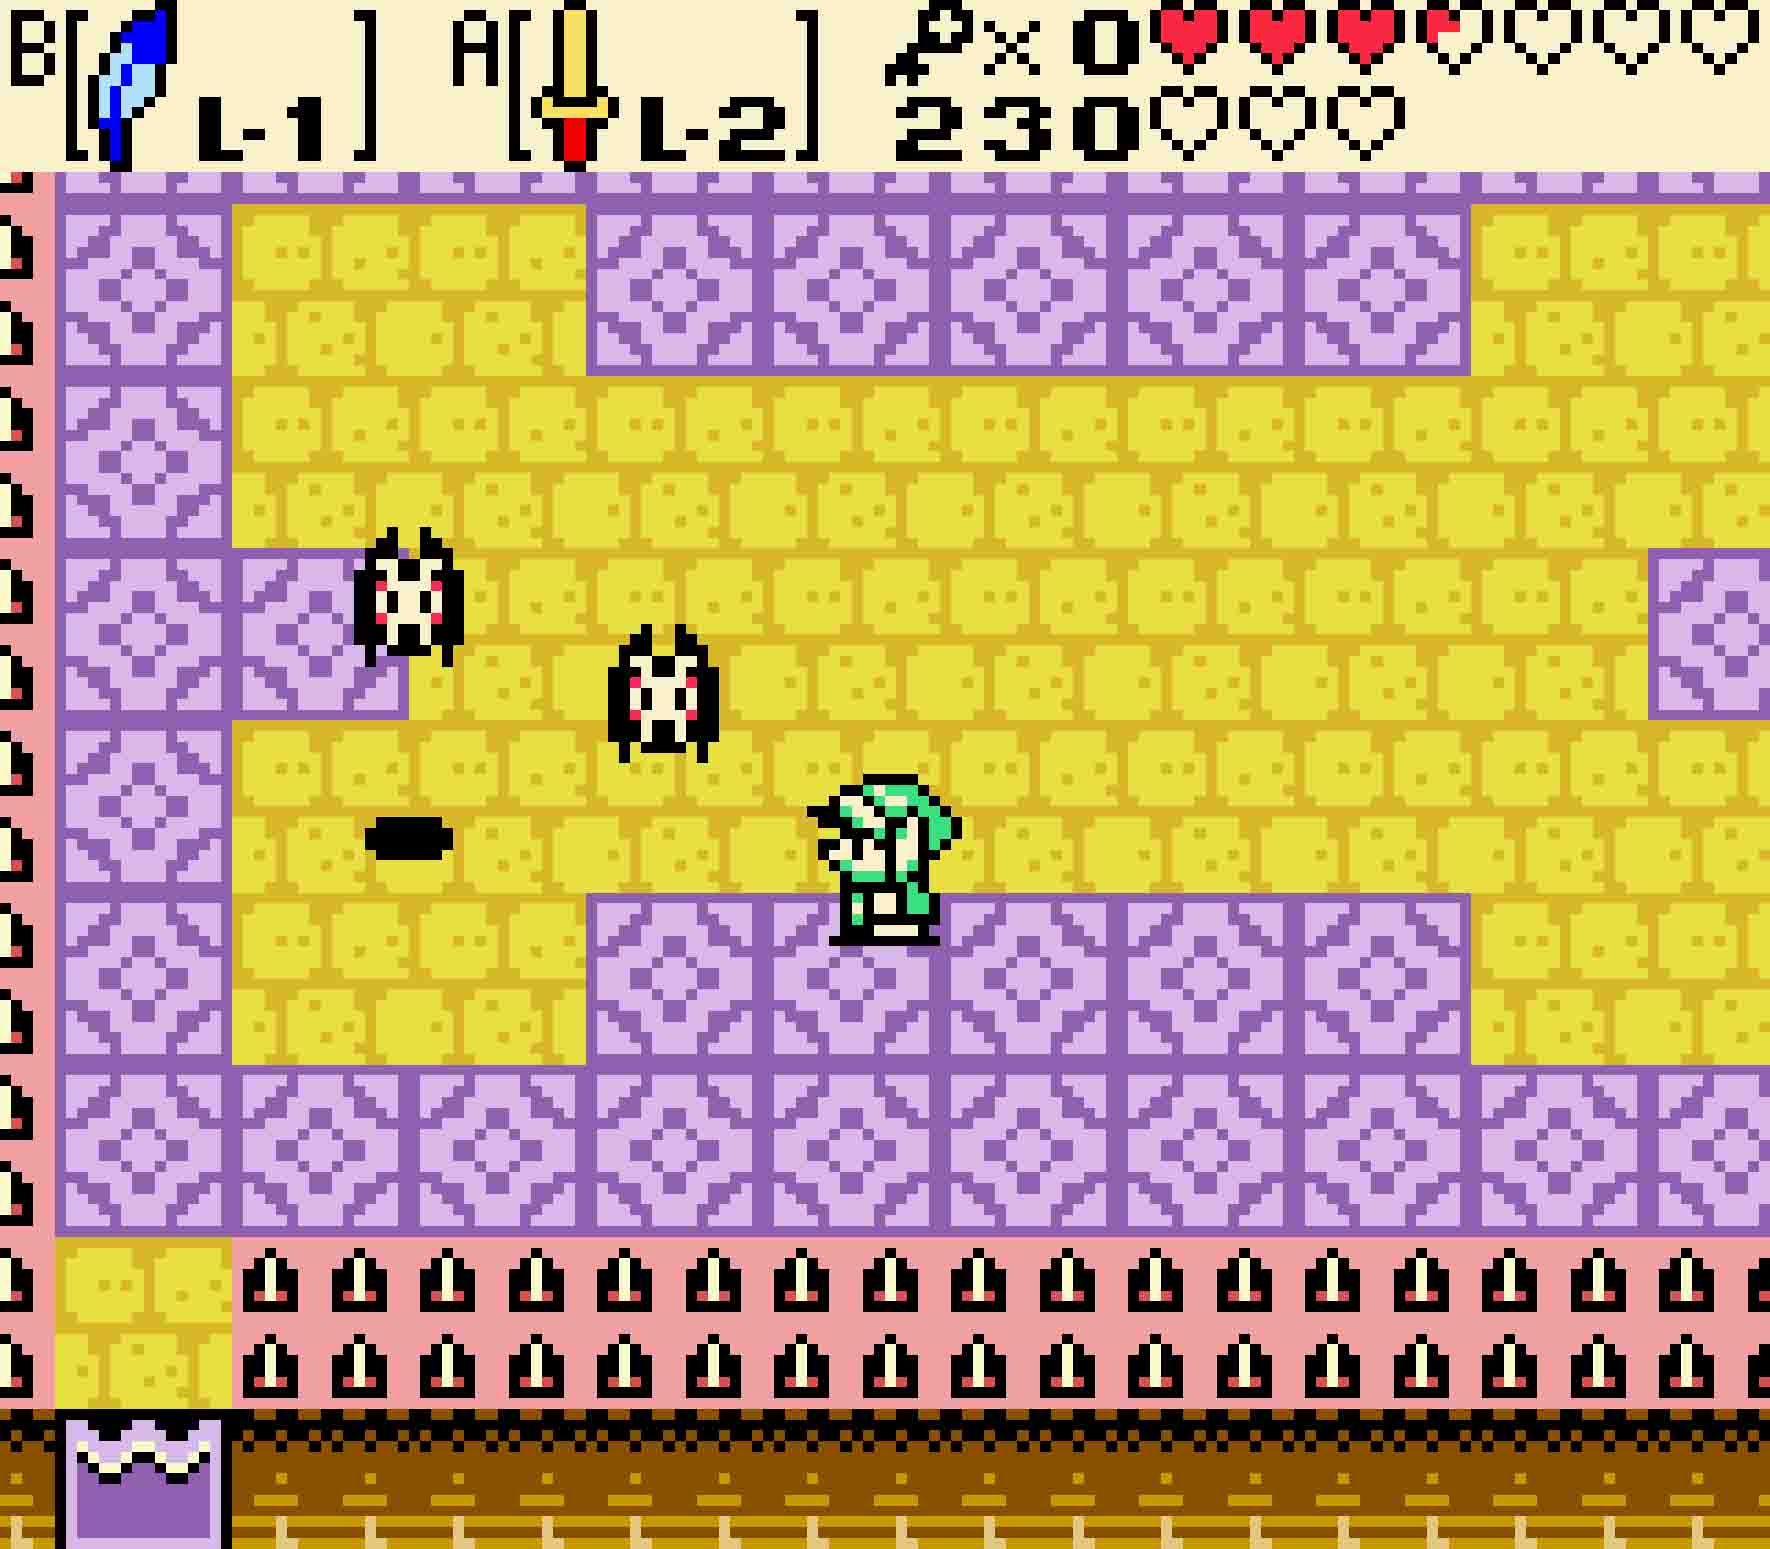
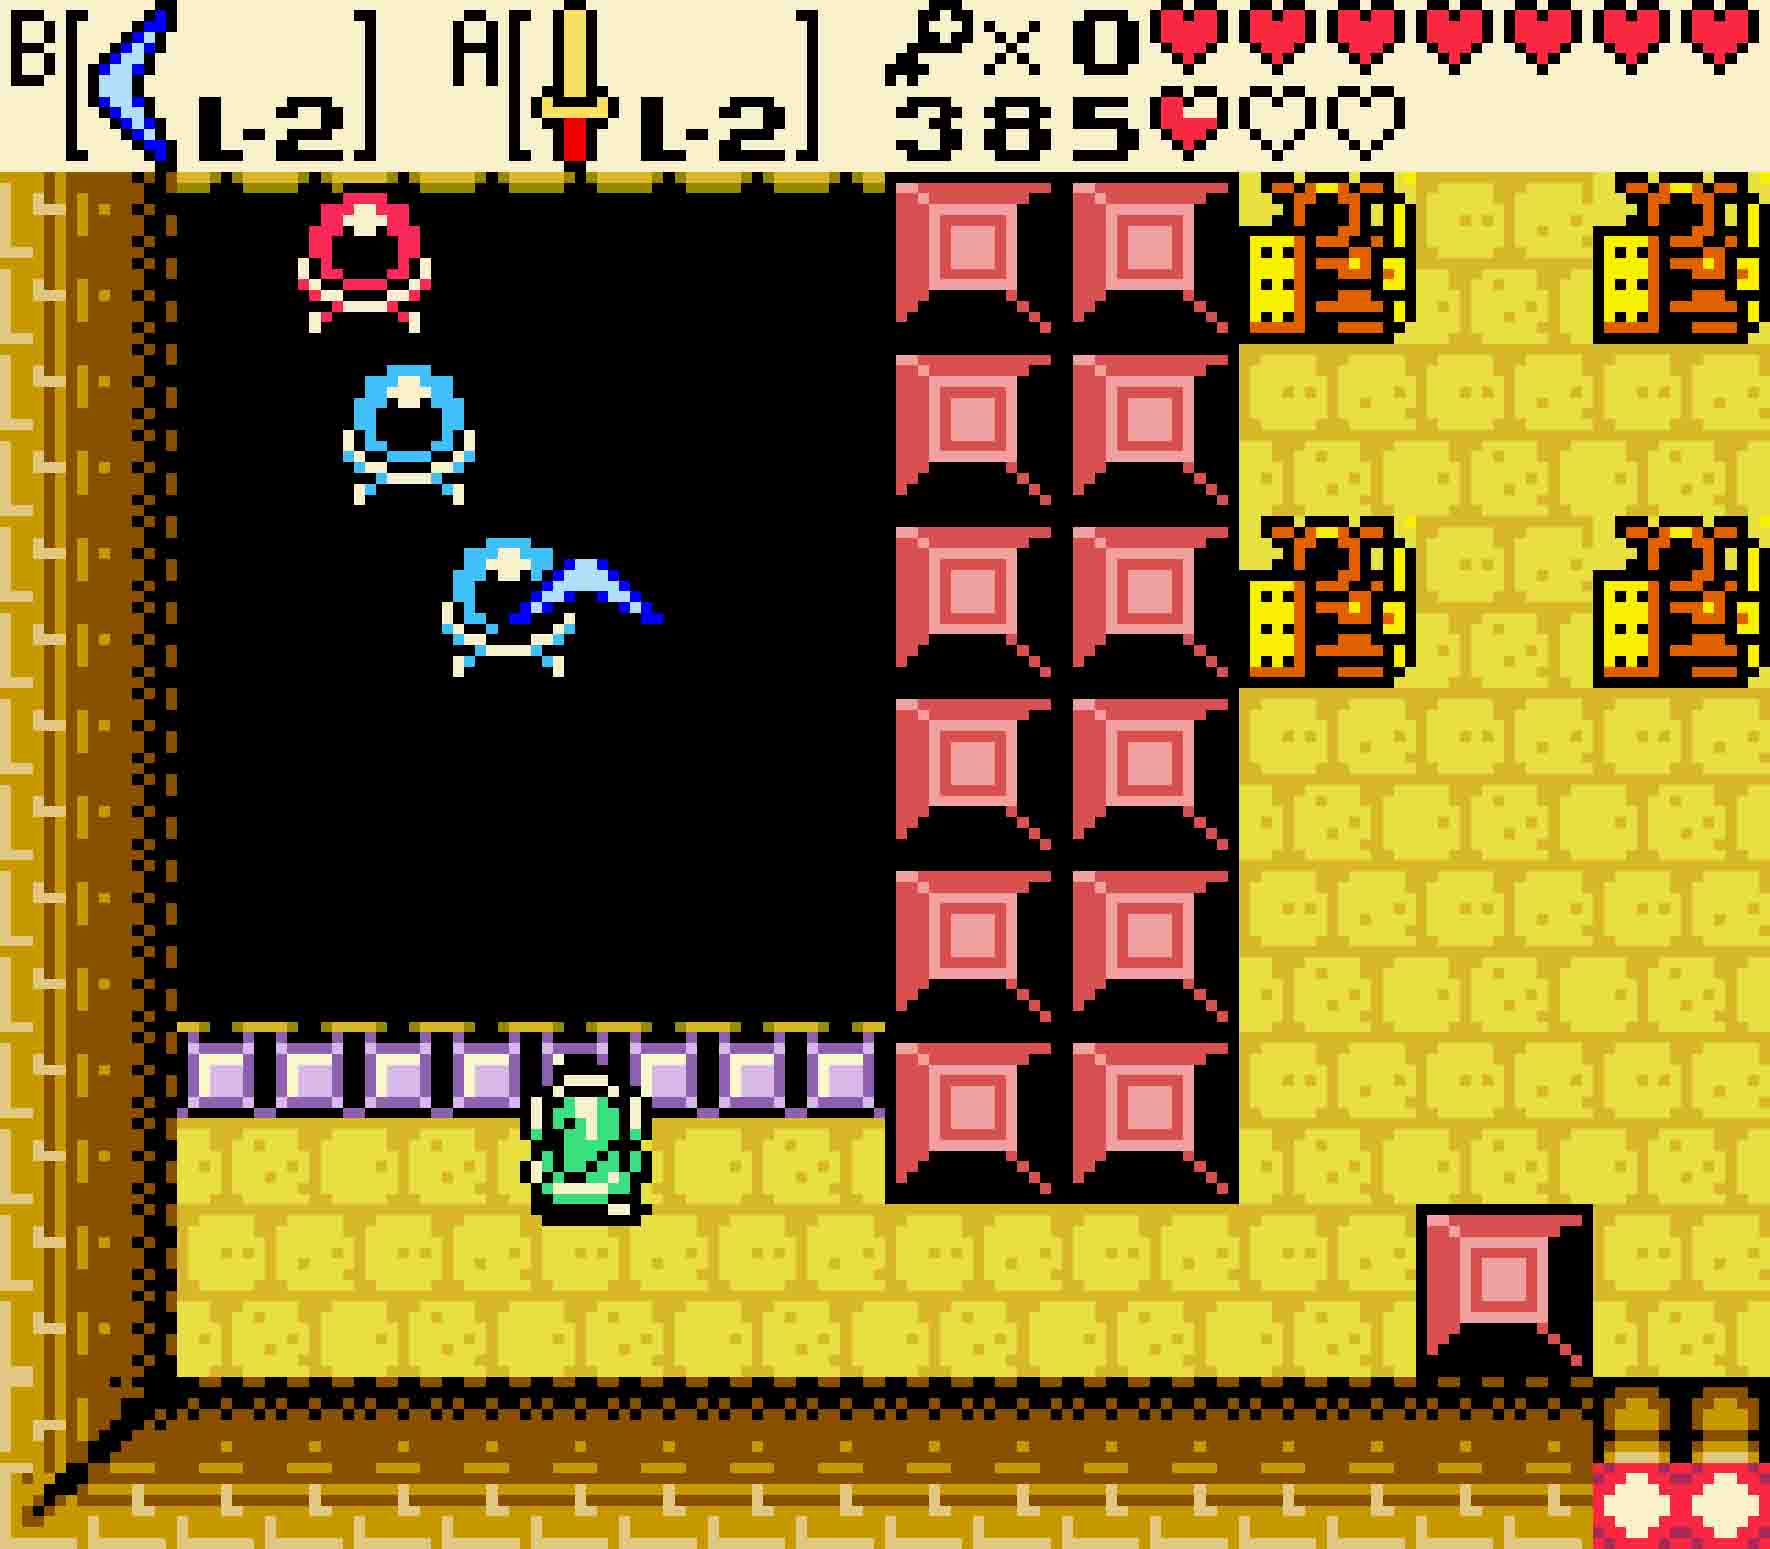
The next room will have a single Spark but a handful of Ropes. Simply defeat the Ropes as you make your way eastward. In the next room, two Bladed Traps will guard the entrances to the room, so be careful as you make your way past them as well as being light on your feet as you step on that crumbled floor. Then kill the three Gibdos. You can get the chest if you want; it will contain a mere five Rupees.
-
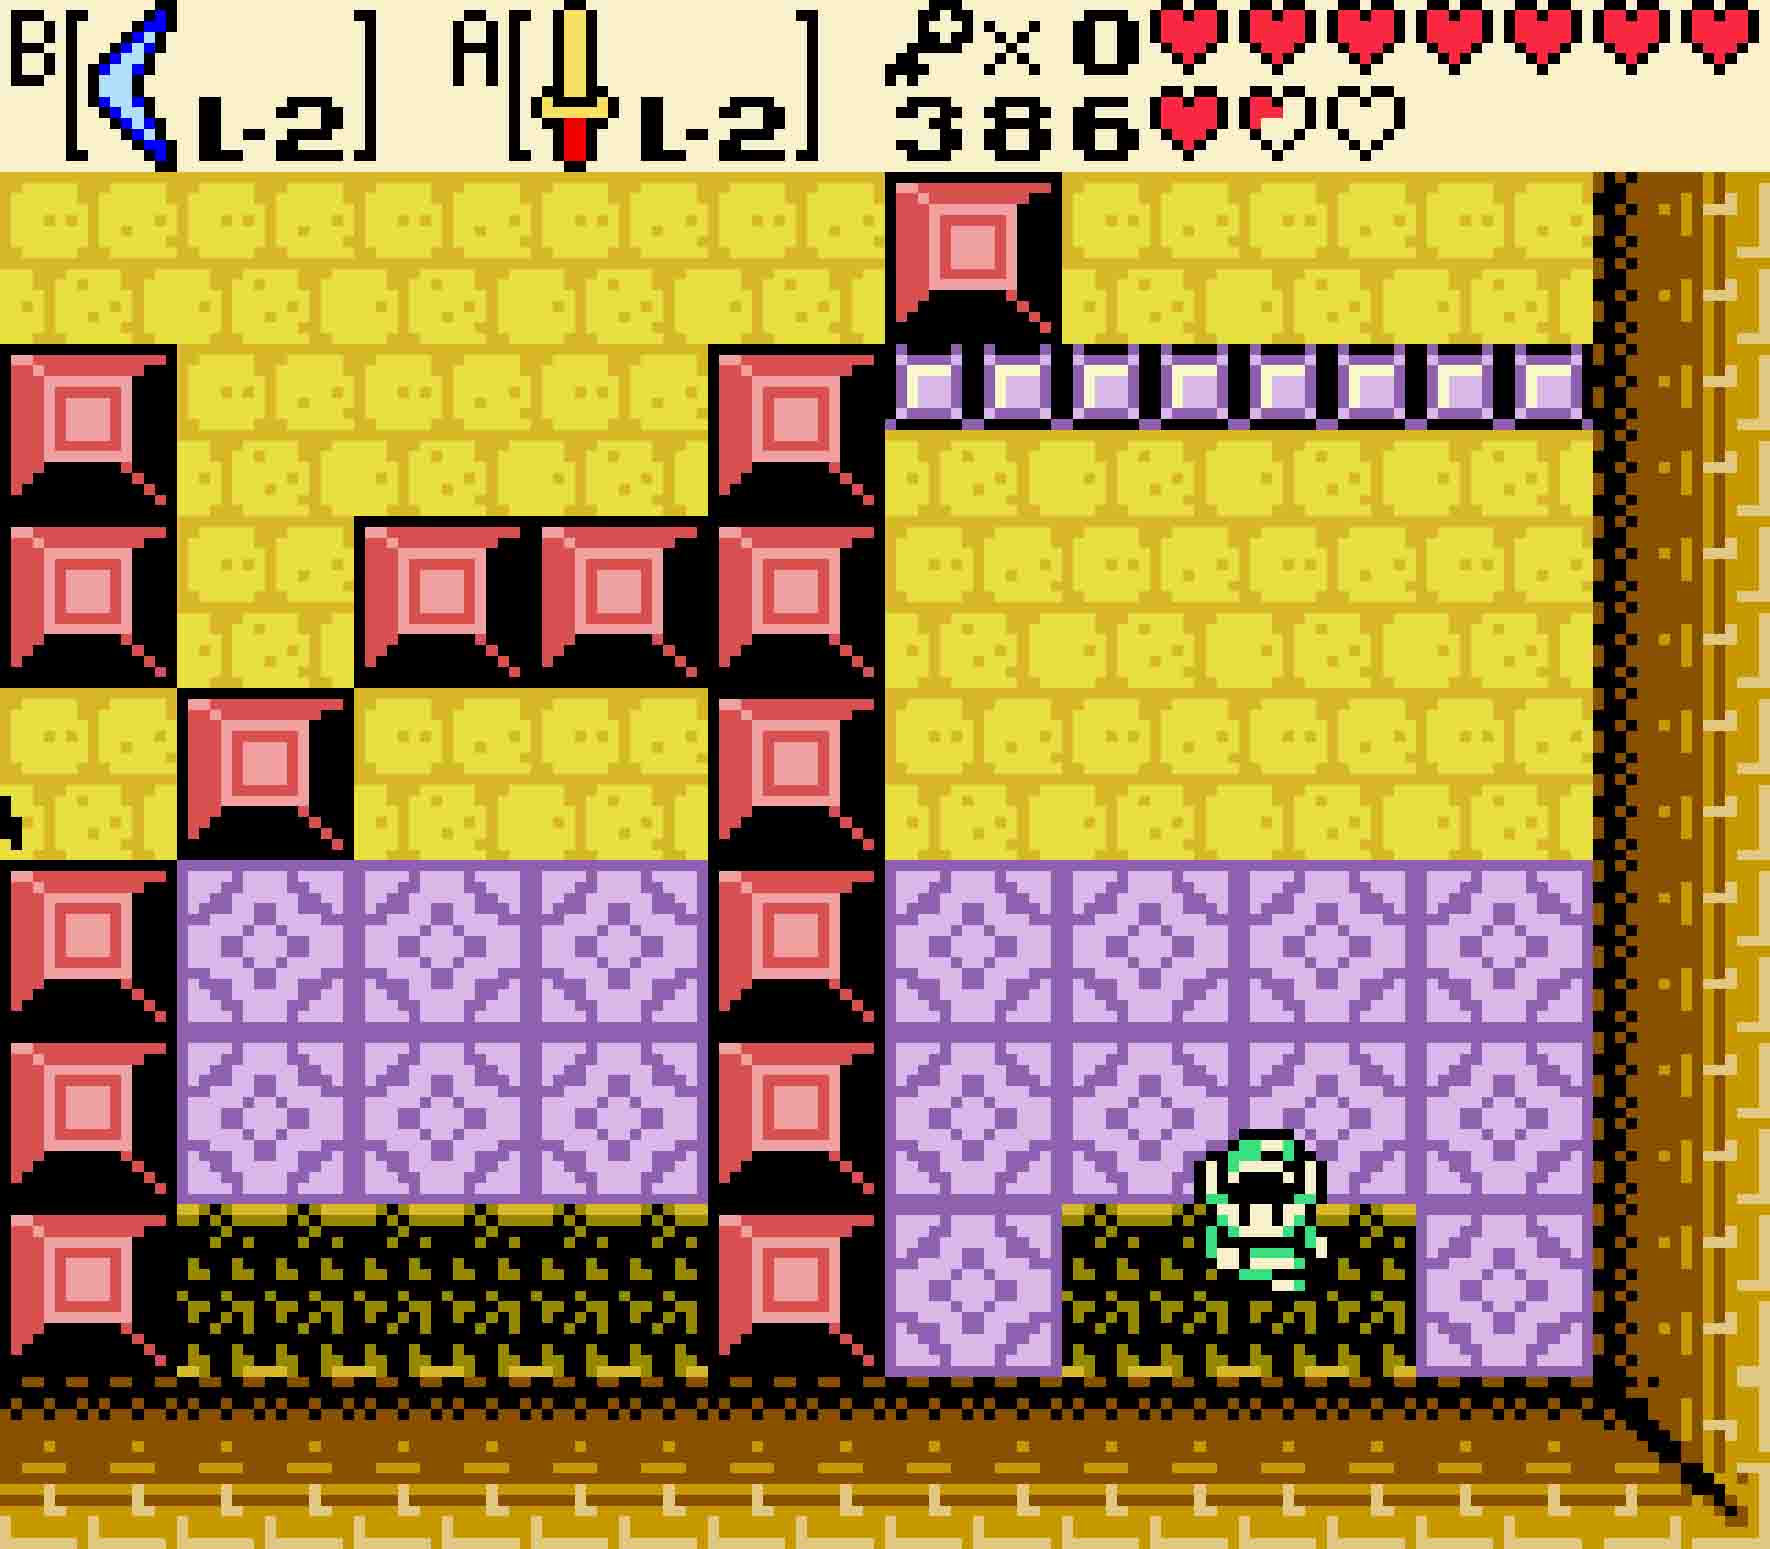
- You will visit this room so many times.
-
- Beware of the Gibdo and the Blade Traps here.
As you head south, the door will seal behind you. It’s just as well. There are more Ropes in the next room.
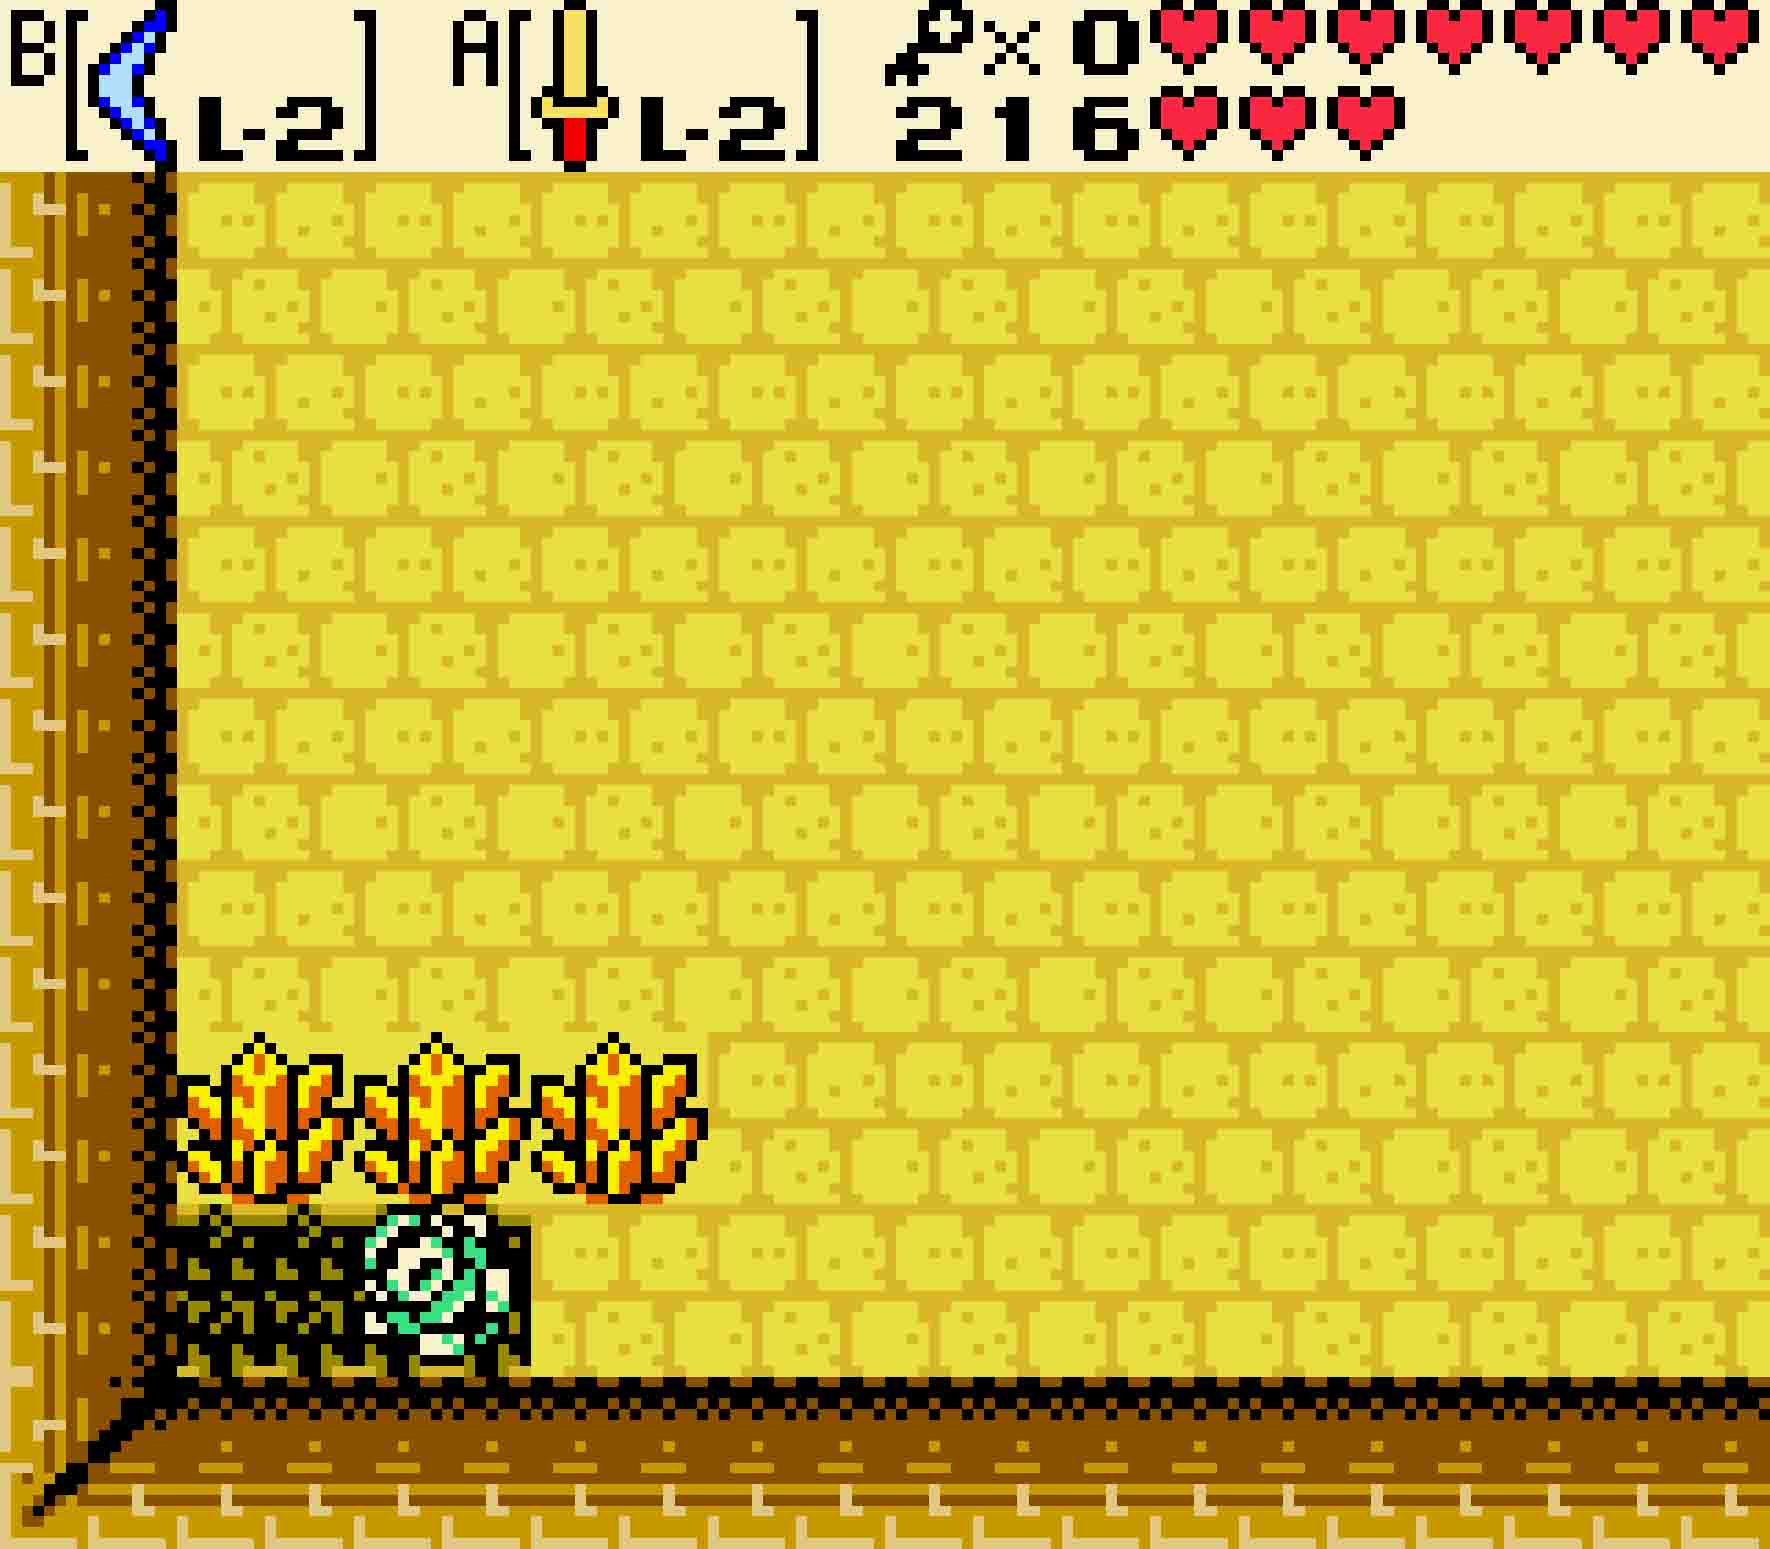
If you want, there’s a bombable wall along the south; you’ll find over 100 Rupees there. You don’t have much need for Rupees, but they can buy a few extra Gasha Seeds!
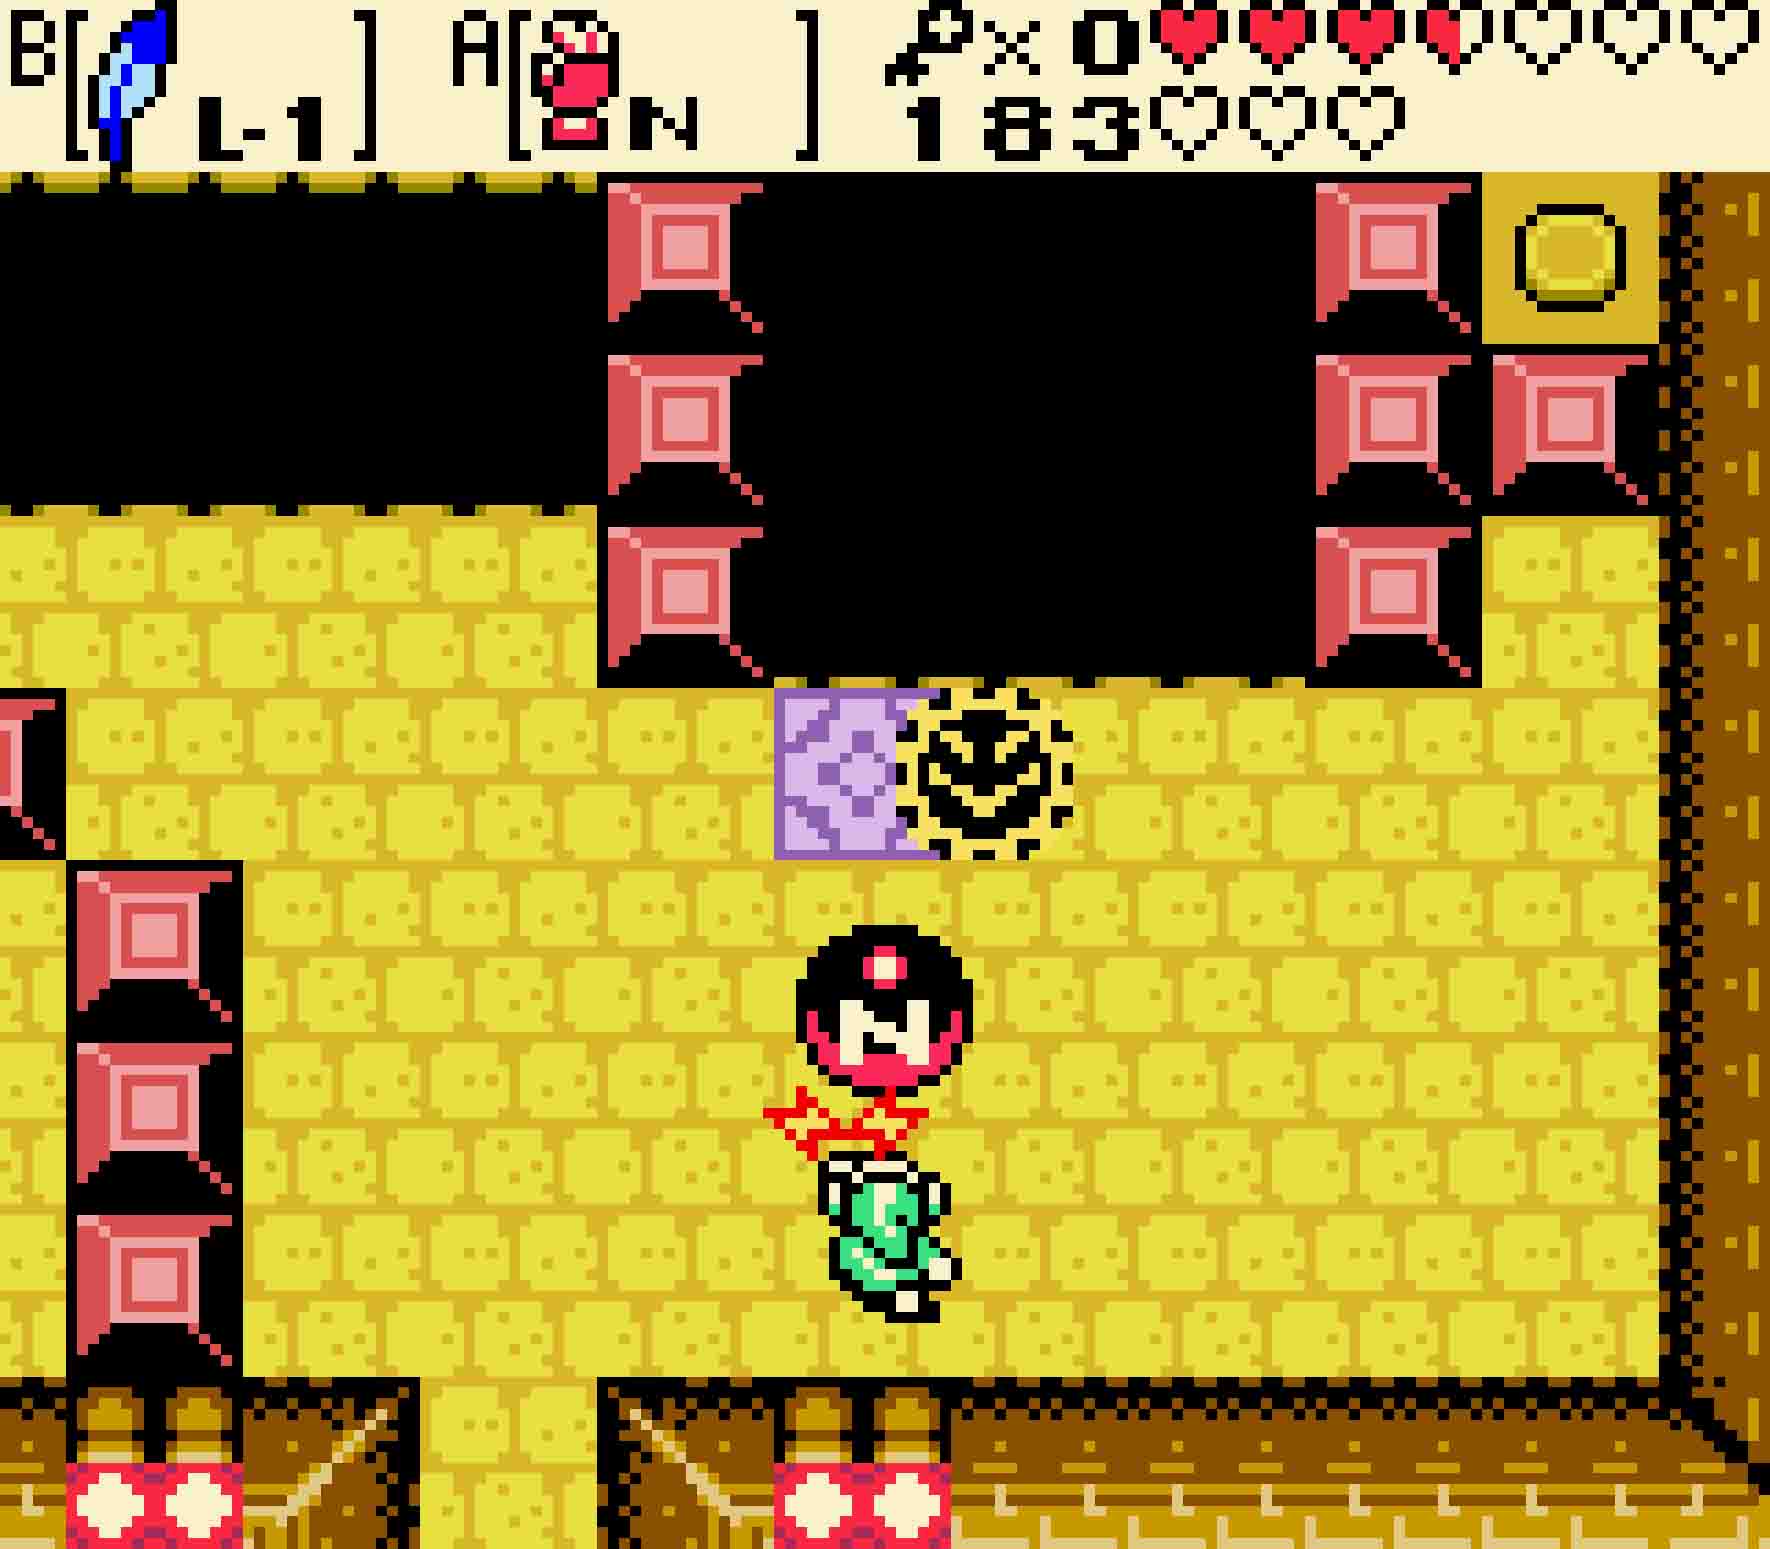
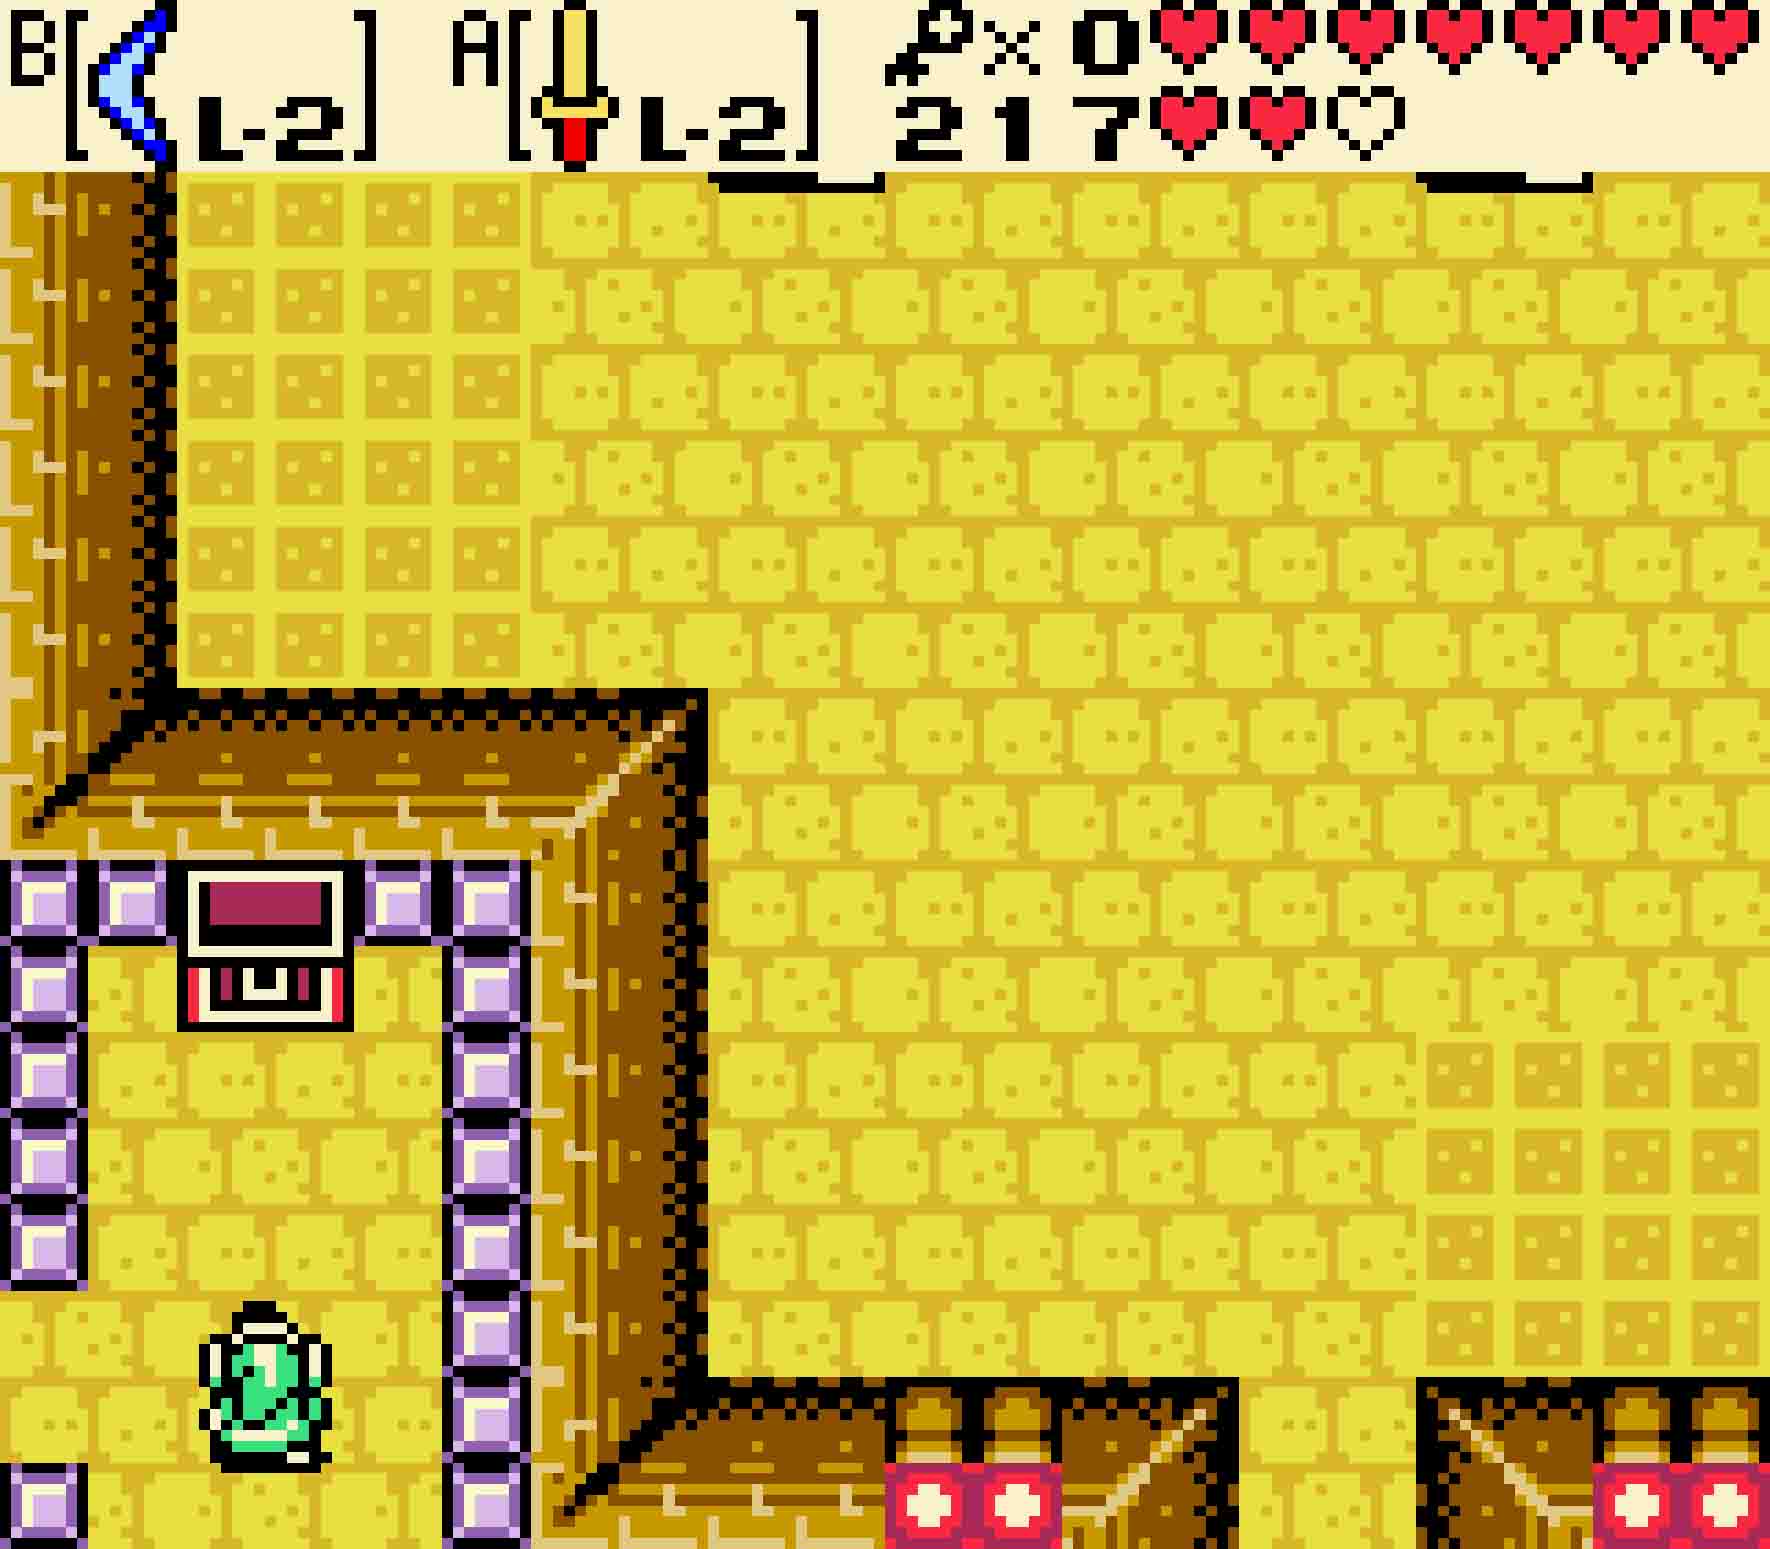
Head back to the west. This room is filled with Gibdo. Worse yet is that the statues in the four corners will continually shoot fireballs at you. Defeat them if you want, but there’s absolutely nothing that you need to do here, so head back to the west, and you’ll return to the room before the turnstile.
Once you head back north, magically the turnstile will be going the other direction, just like you left it. Head west, and you’ll run into a couple of Gibdo. They’re not necessary to kill, so head south once you’re ready to do so. An armada of Ropes will await you. Defeat all of them, and then head up the stairs in the bottom-left corner of the room. Following that raised platform will lead you straight to a chest, and opening it will give you the dungeon’s Map.
-
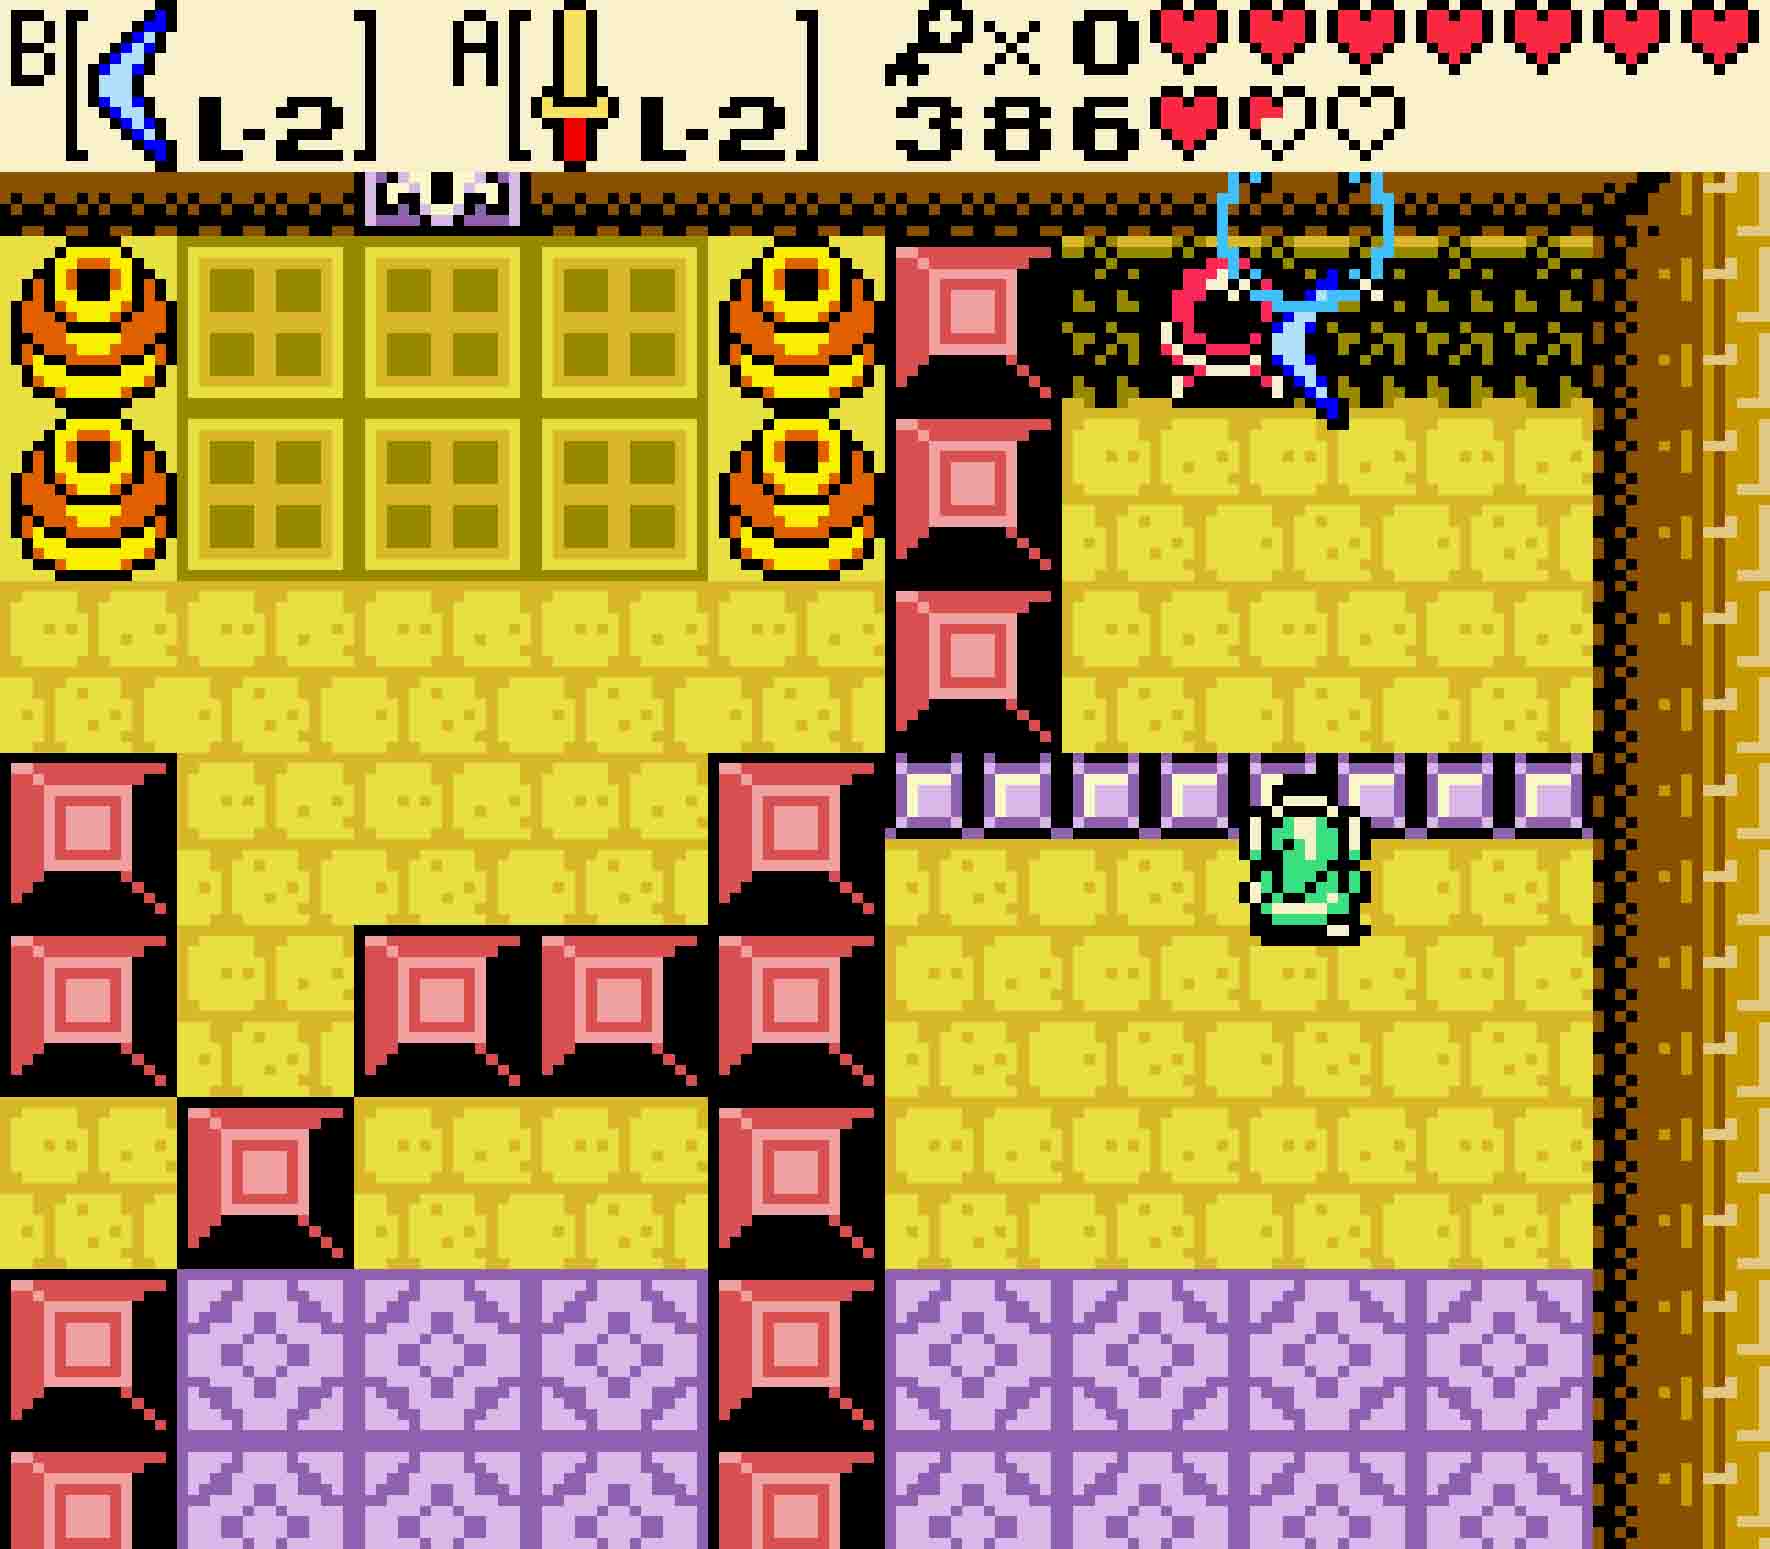
- Once you do your loop, you can head west at the turnstile.
-
- The Gibdo in the next room aren’t necessary to kill, but the chest here is a good steal.
15.2 Collect two keys
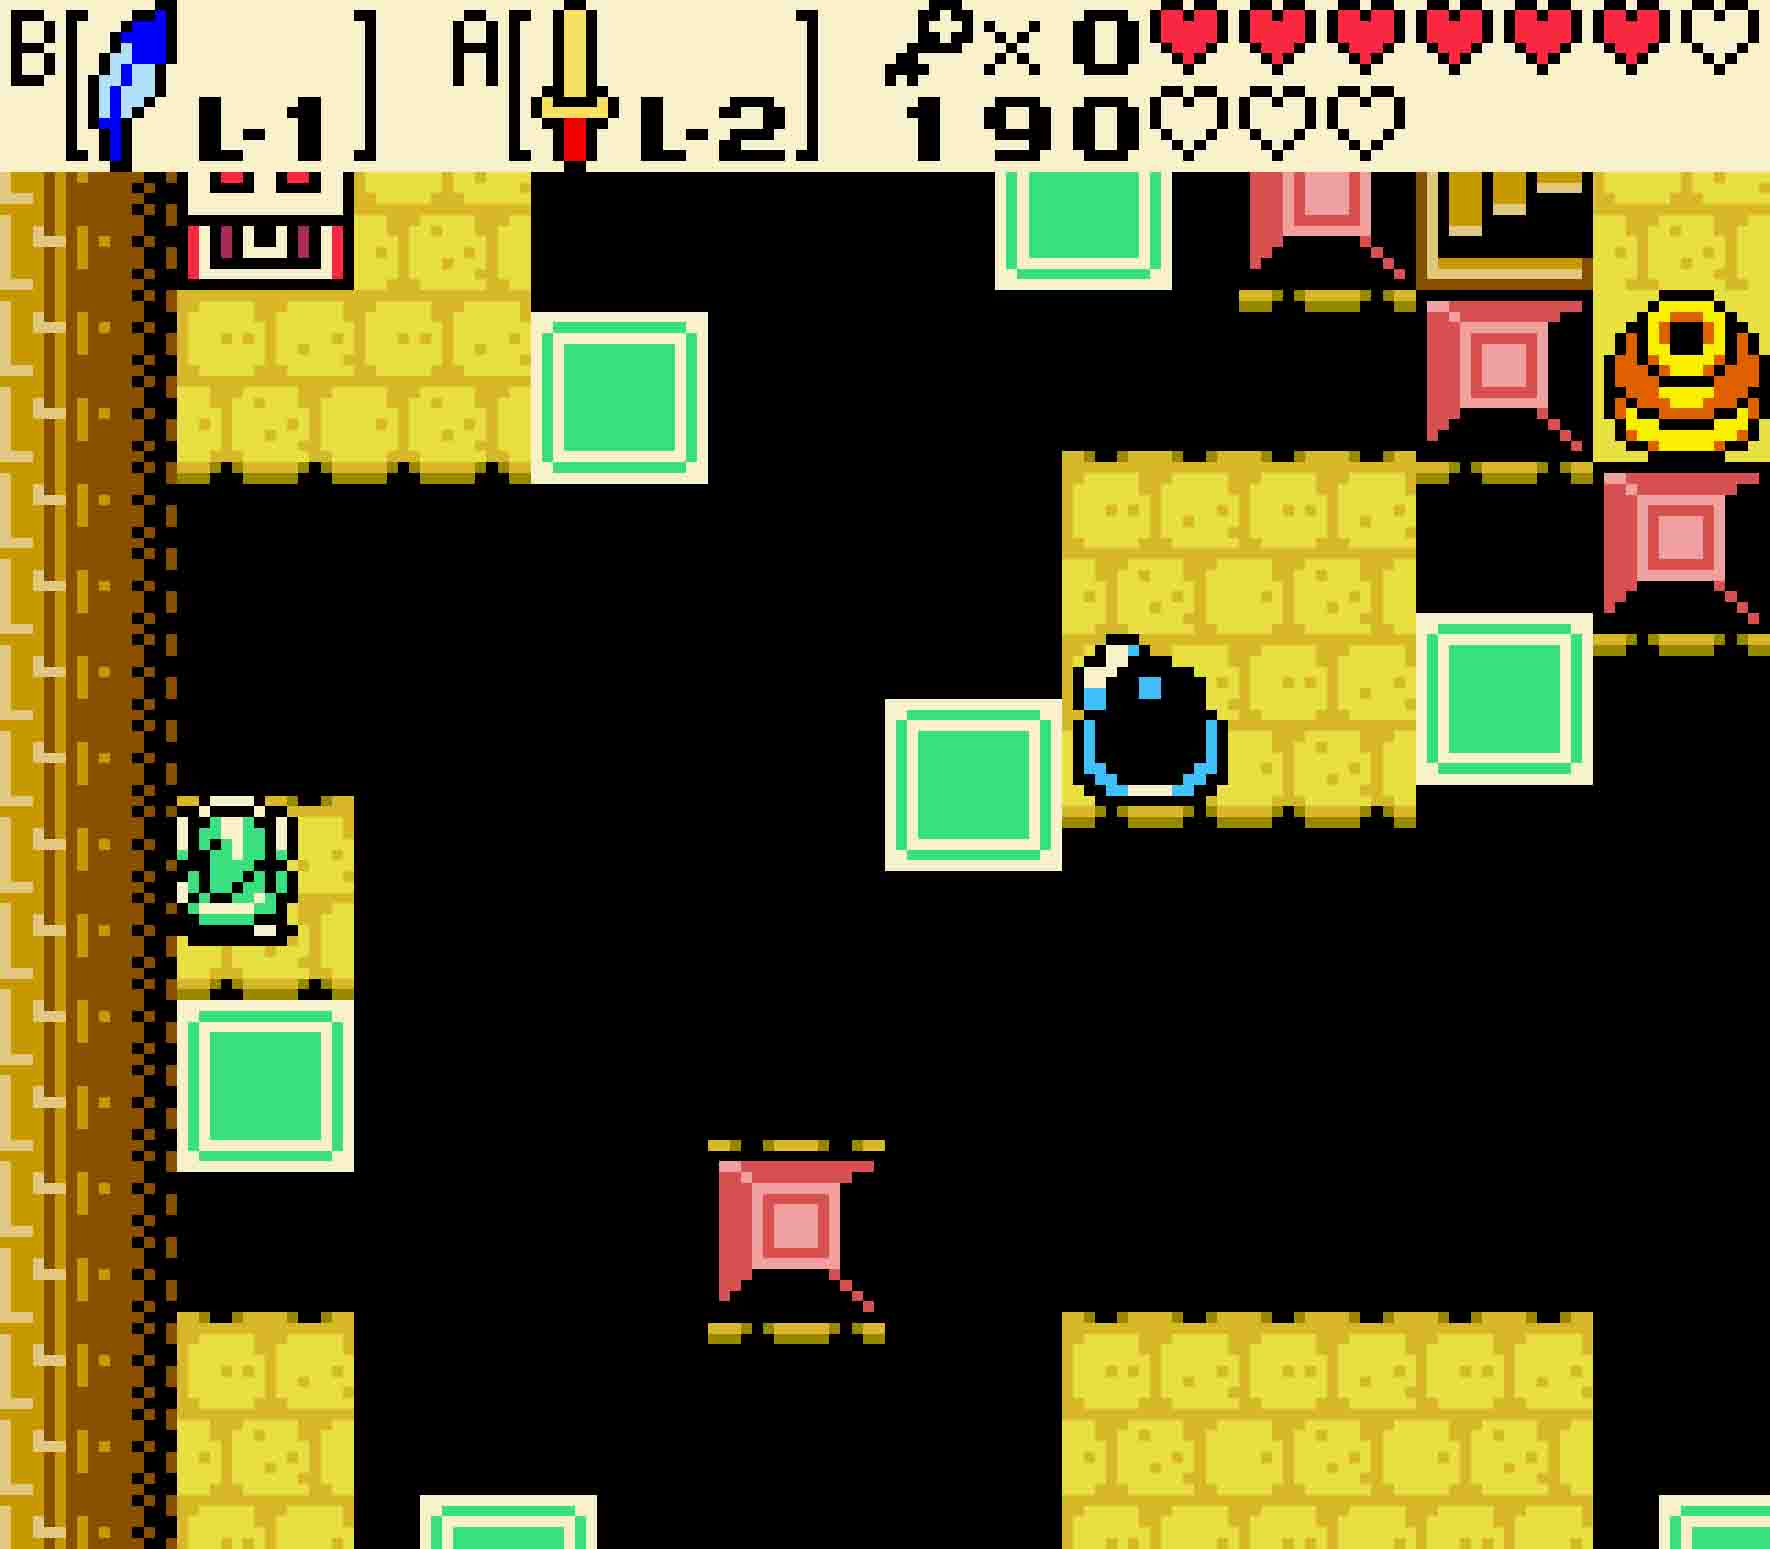
Head back to the south, and then return back through the door you came in to return to the room just to the west of the turnstile. This time, you’ll want to head northward. The first key that you’ll need is here, and it requires navigating a magnetic orb through a rather tricky maze and onto a switch on the opposite corner of the room.
Collecting the first small key
Step One Using alternate polarities, pull and repel the magnetic orb through the left side of the maze.
Step Two Jump up to the top platform in order to weasel the orb out of the left side of the maze, and then propel it with north polarity over the pit.
Step Three Jump down to the southern end of the room, and use north polarity to push the orb over to the far upper-right corner.
Step Four Finally use south polarity to pull the orb down onto the switch. The key will drop down on the colored tile in the room’s center.
Once you have the key, head south, and then back east to the turnstile. Reverse course, following the turnstile back south. But now that you have a key, you can unlock the locked block. With that done, use the Magnetic Gloves to pull the magnetic orb off the pedestal and down onto the switch below. This will unseal the door to the west.
Now it’s time to do another loop around the turnstile. Head through the unsealed door on the west, continue north, and then head east back to the turnstile. This will allow you to head northward this time.

-
- Create another loop about the turnstile so you can head northward.
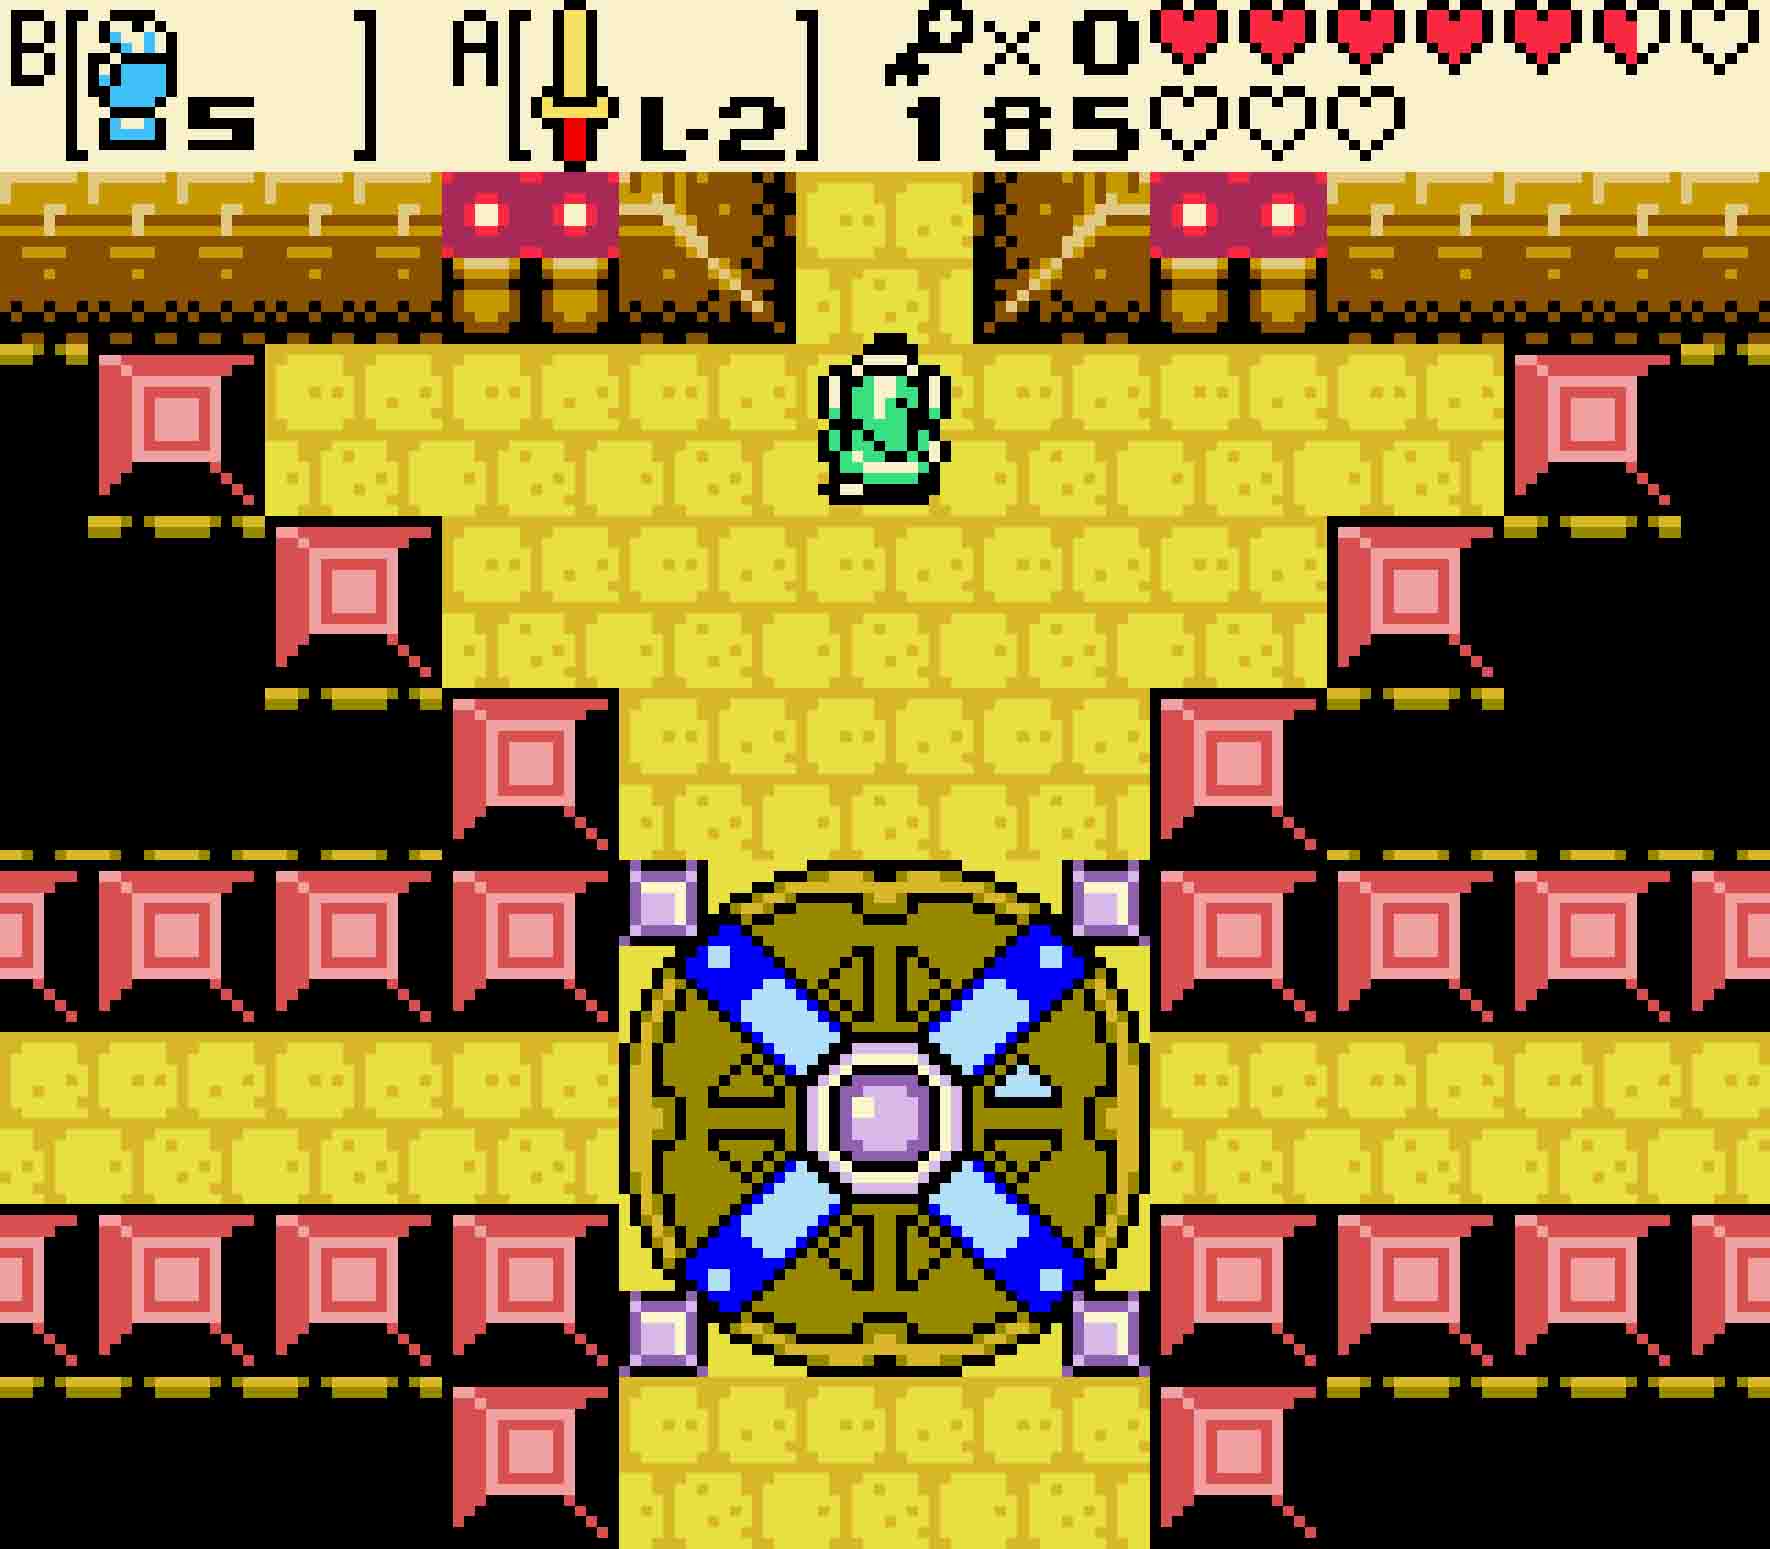
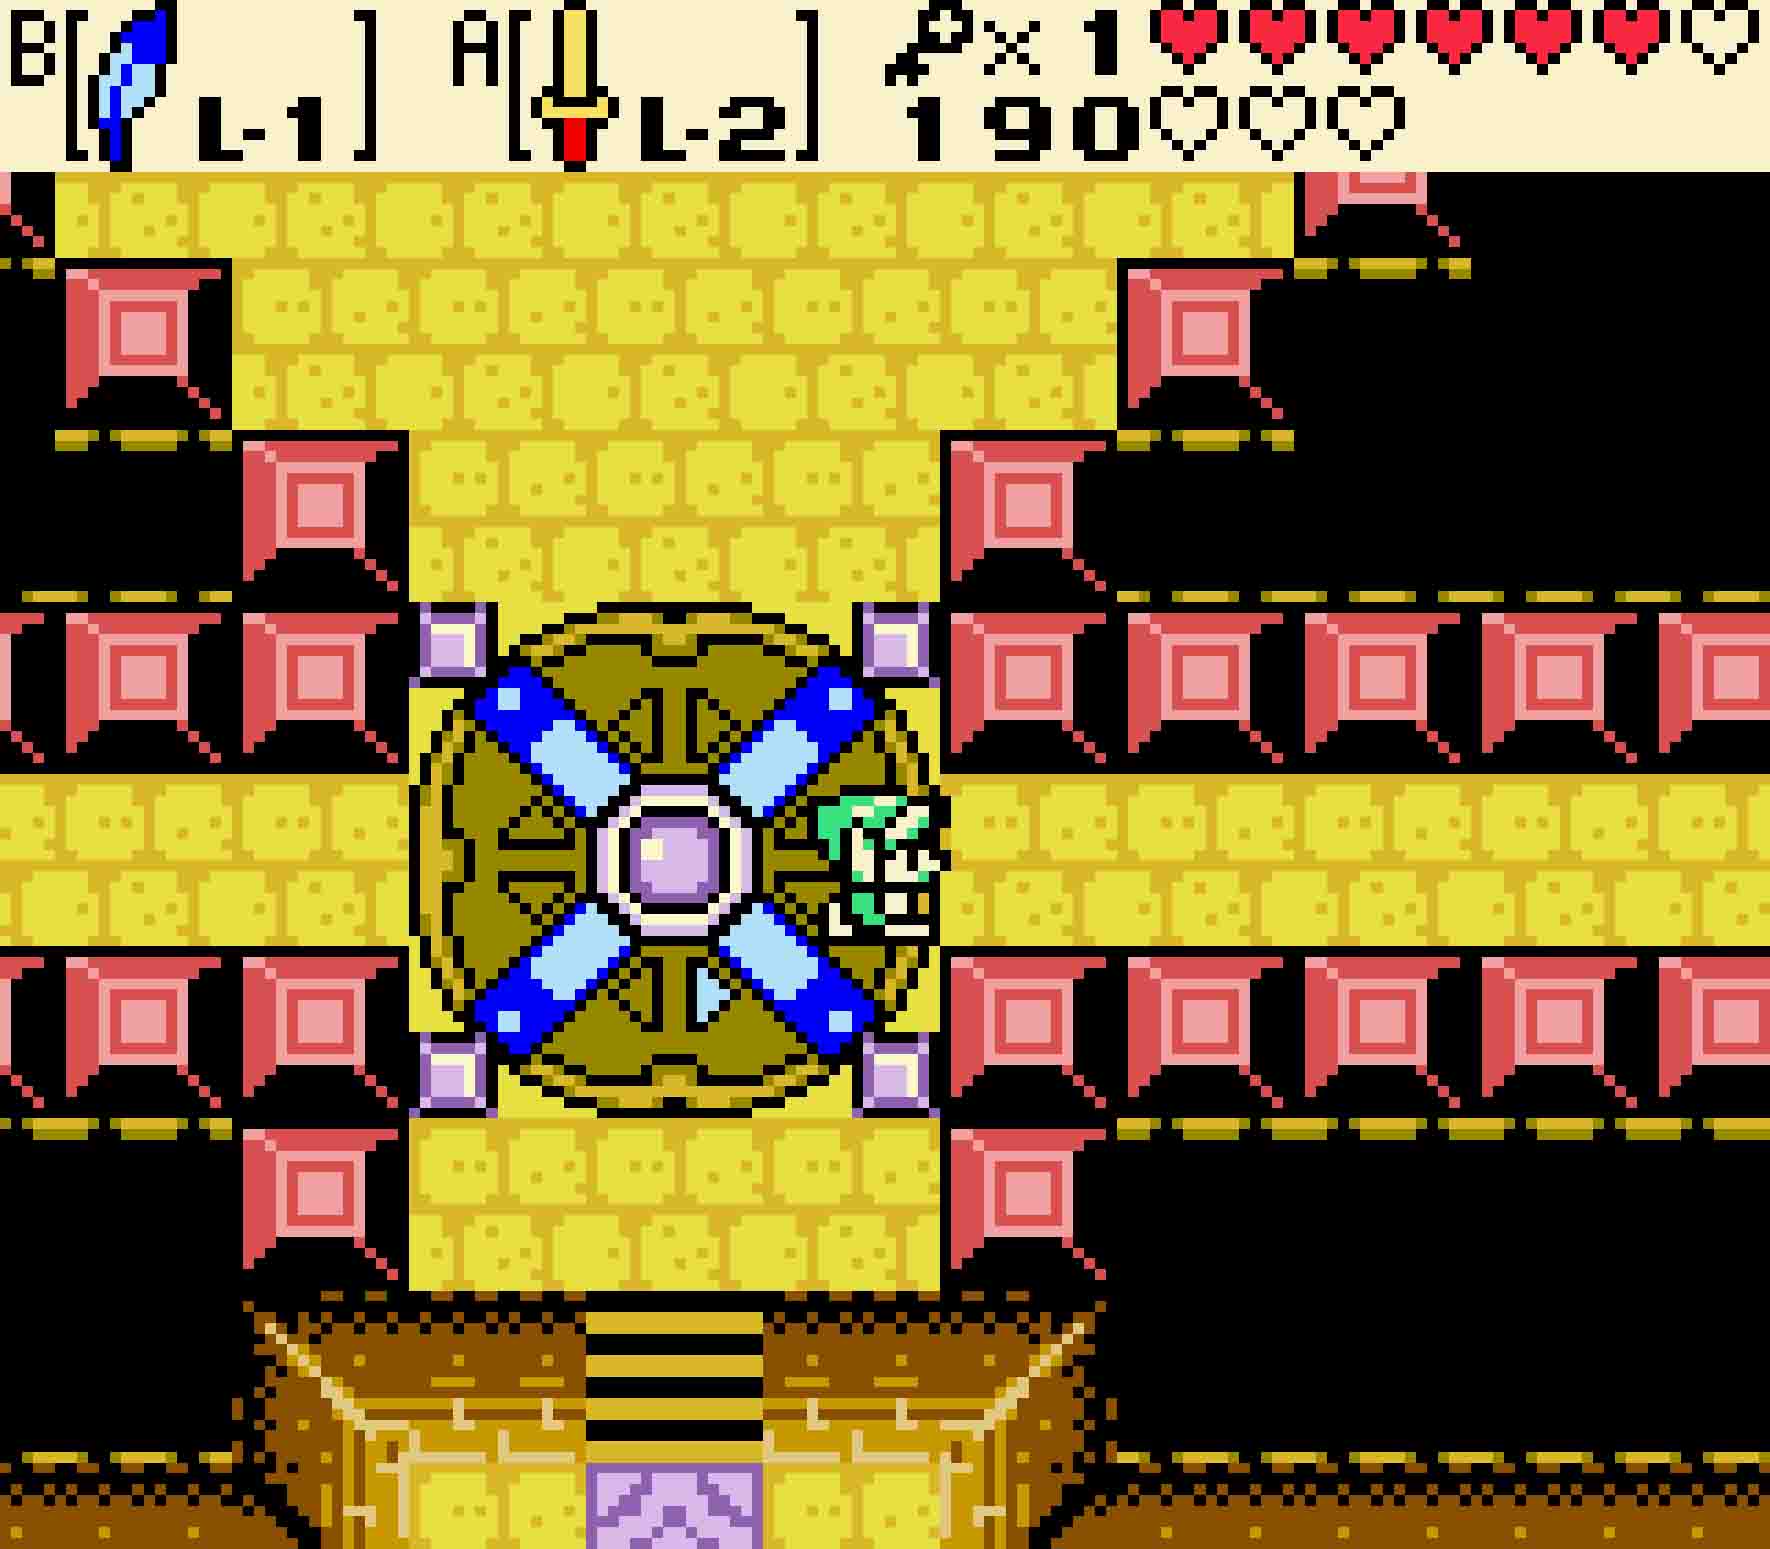
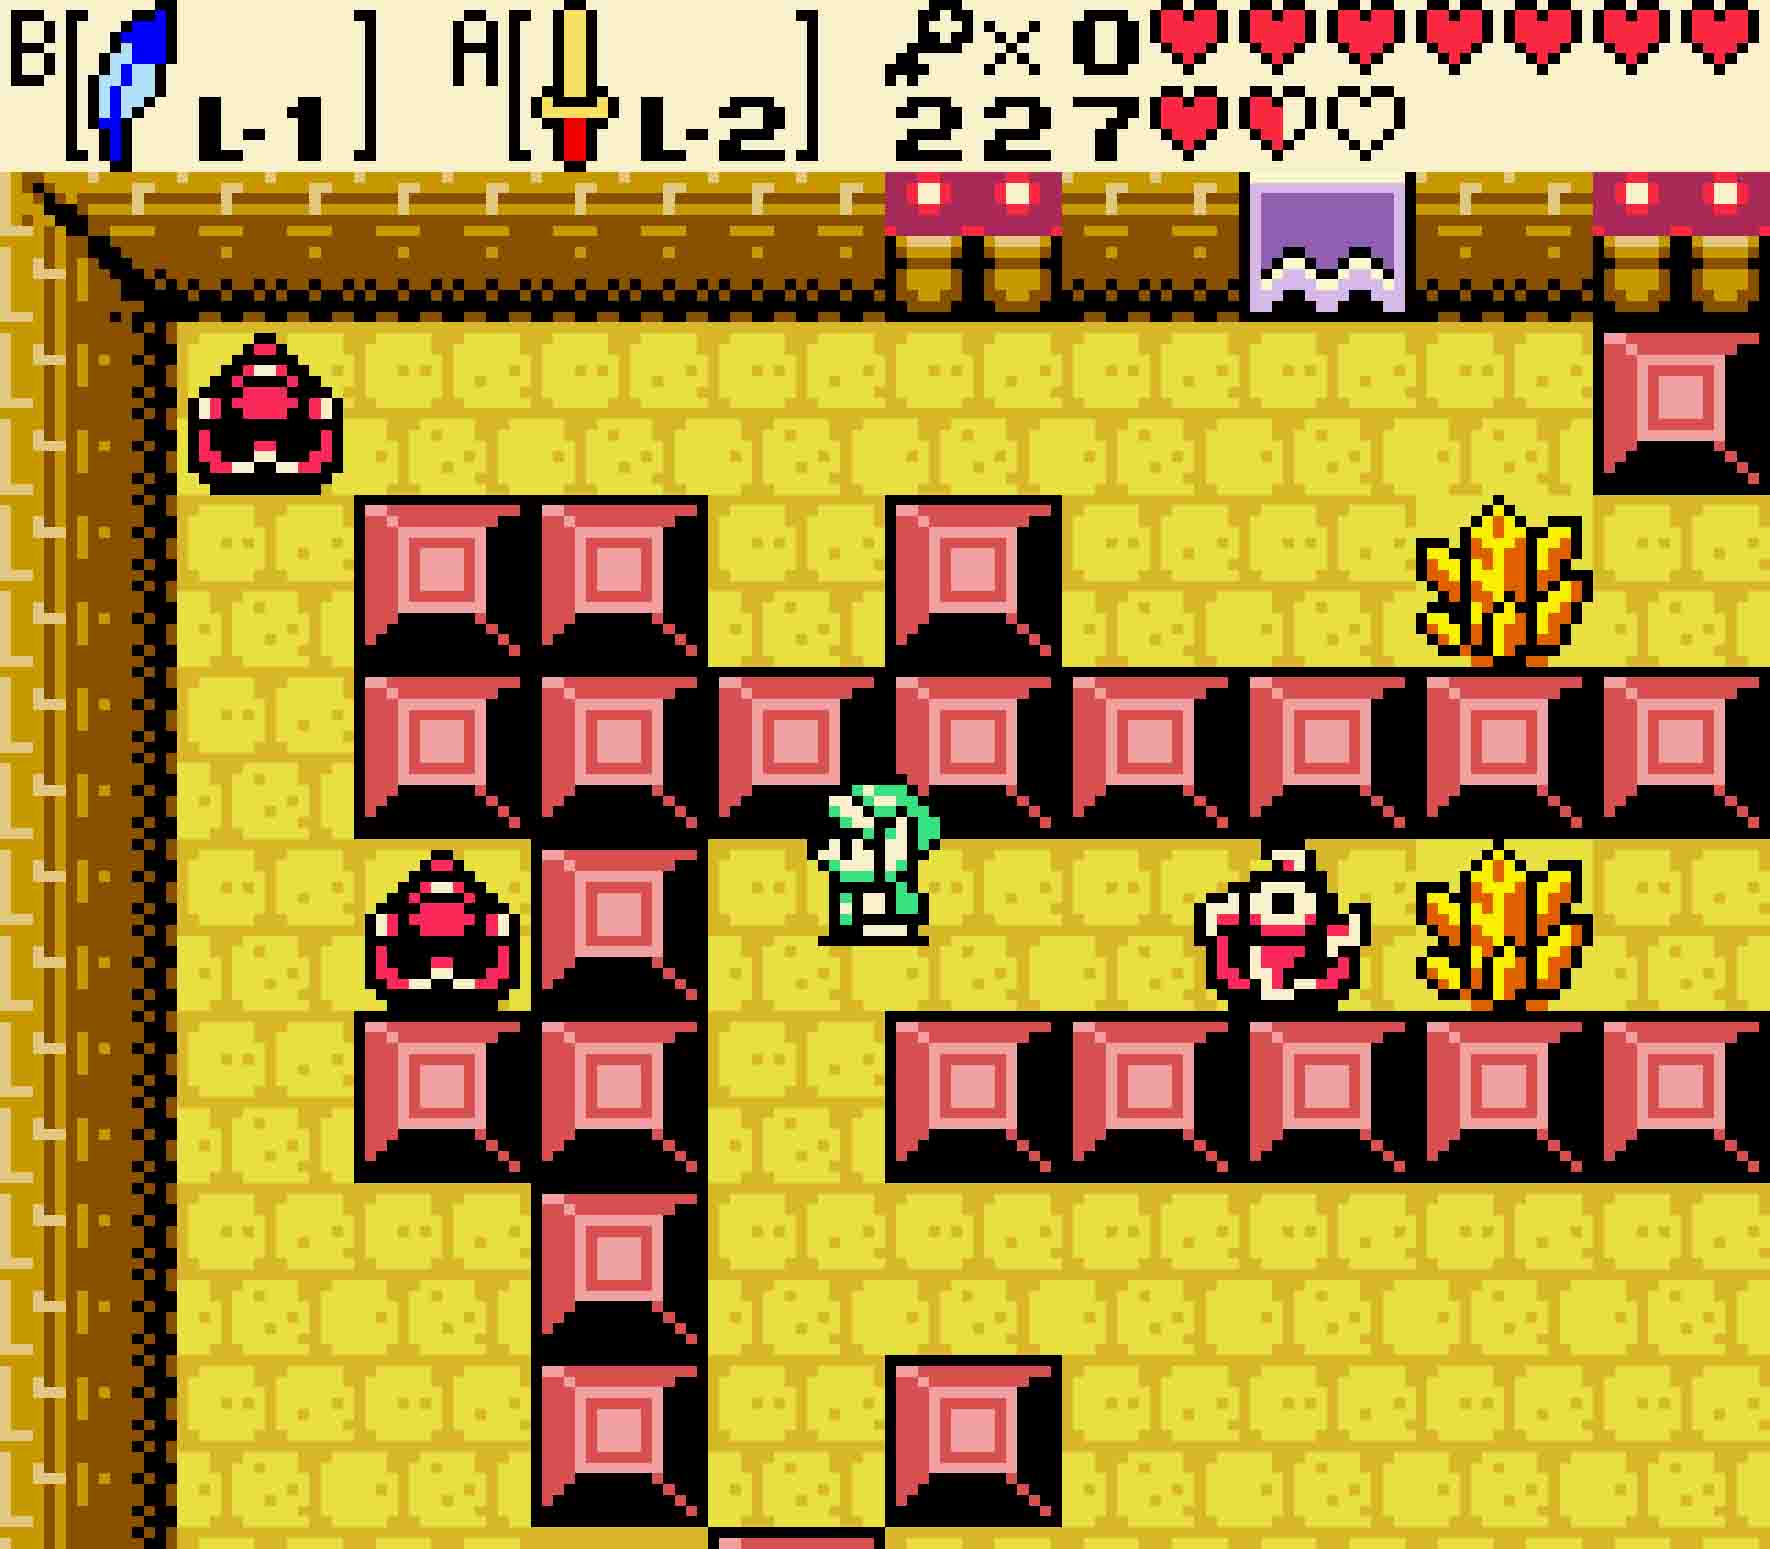
 You’ll be confronted with another knot of Ropes and another Spark. Get rid of the Sparks, and then use the Magnetic Gloves to push and pull the magnetic orb within the blocks onto the switch. This will cause a staircase to appear in the northwest corner of the room. Head on up the steps to the second floor.
The next room requires you to be extremely fast on your feet. Use Roc’s Feather to jump between the spikes, and then jump again quickly before you get crunched by the Bladed Traps. For the rest of the room, you’ll be haunted by Spinning Blade Traps. Trigger the first one, and get out of the way. Then jump over it while it’s on the backswing, clear the obstruction, and then get out the other side. Do the same for the second Trap below. Then head to the south.
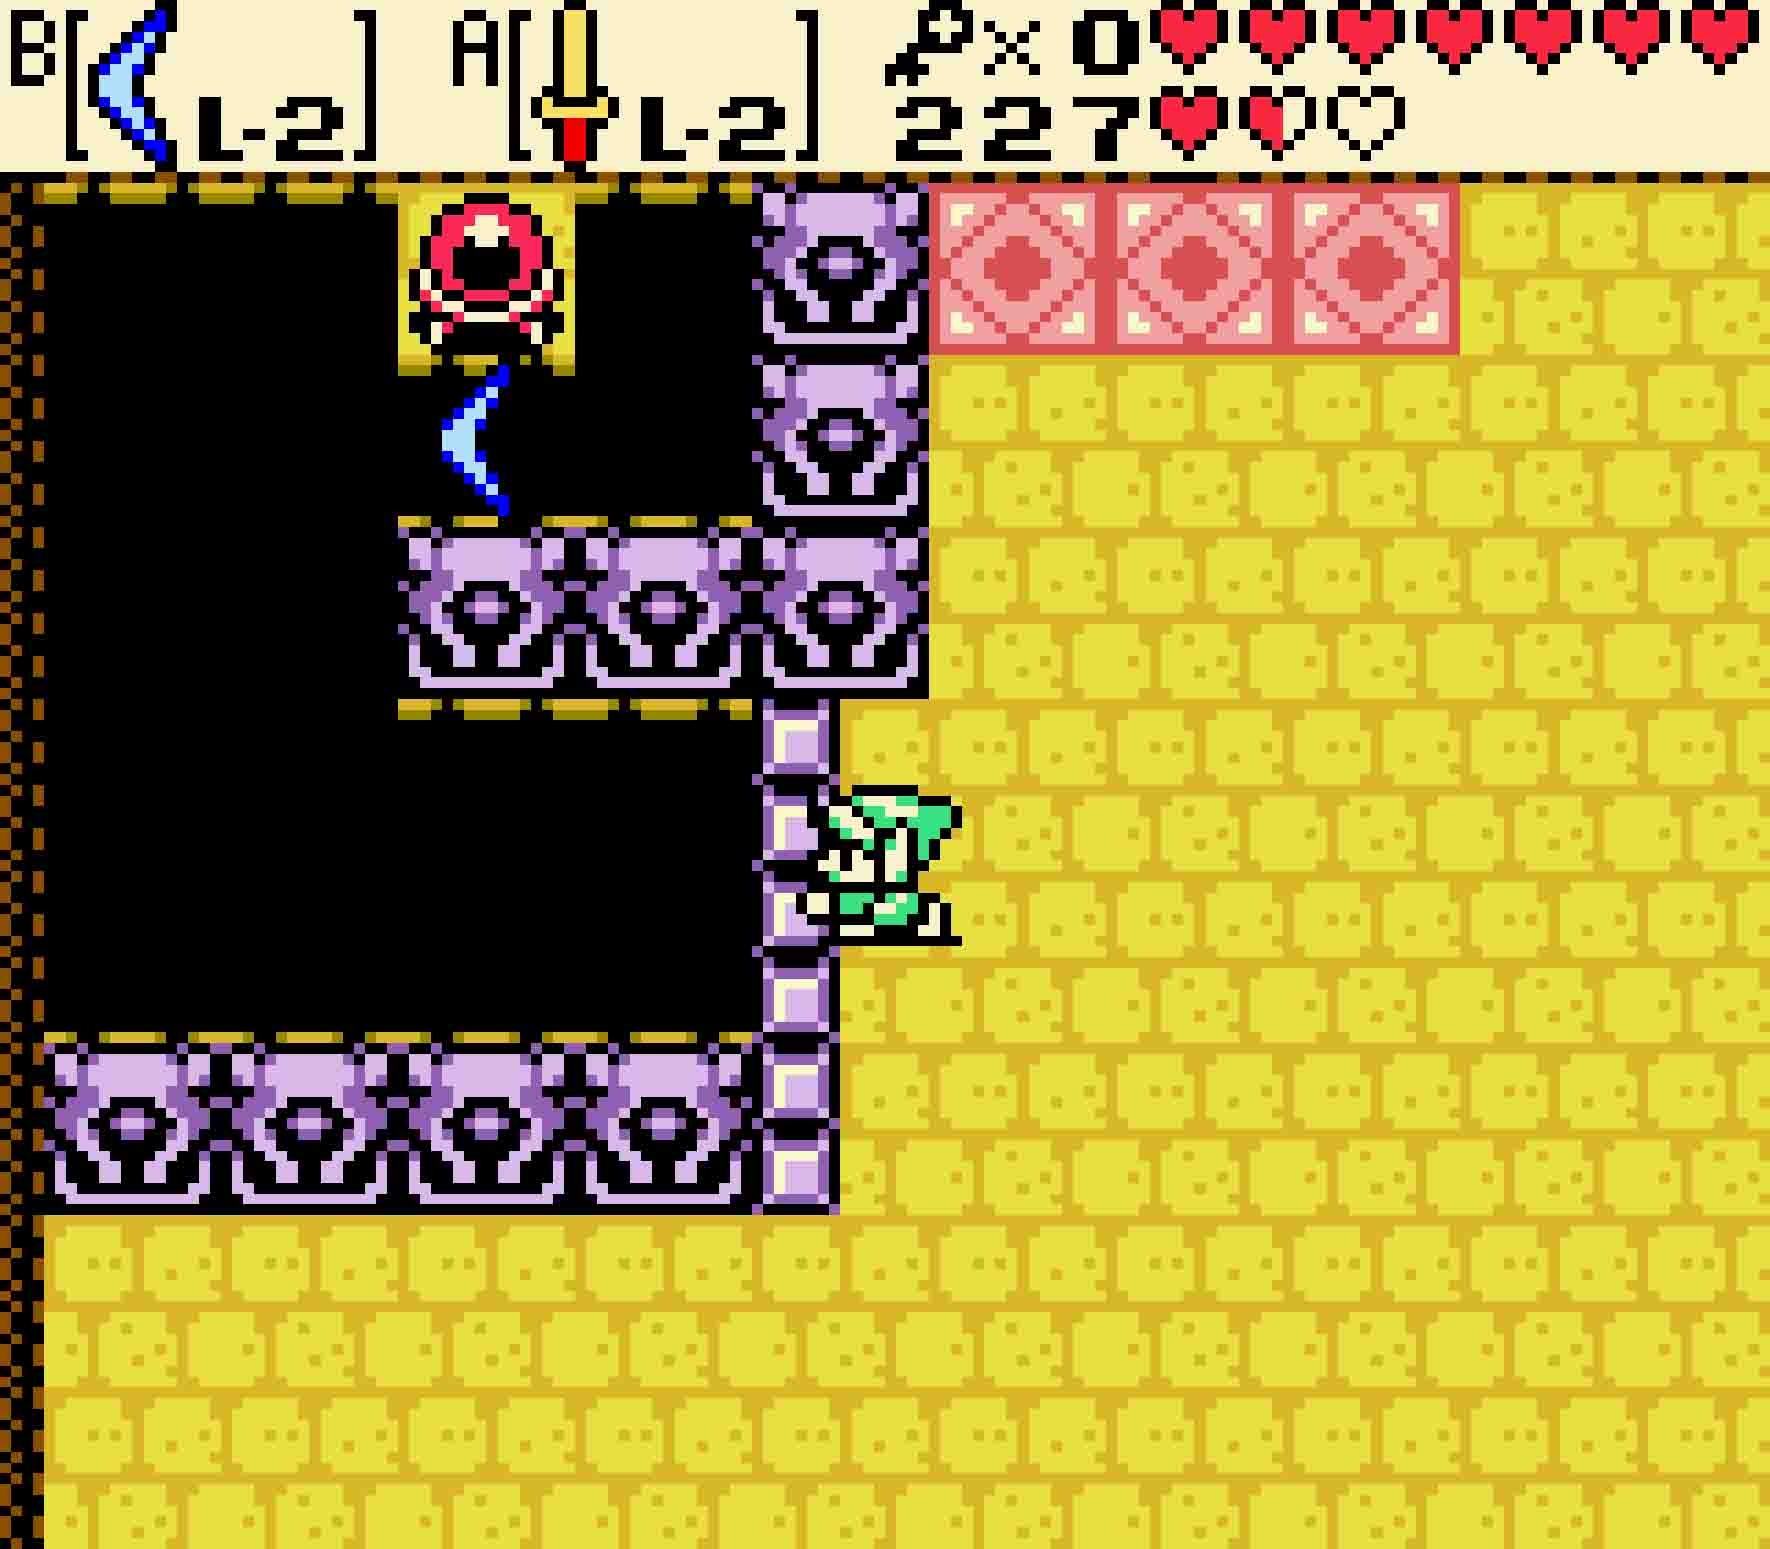
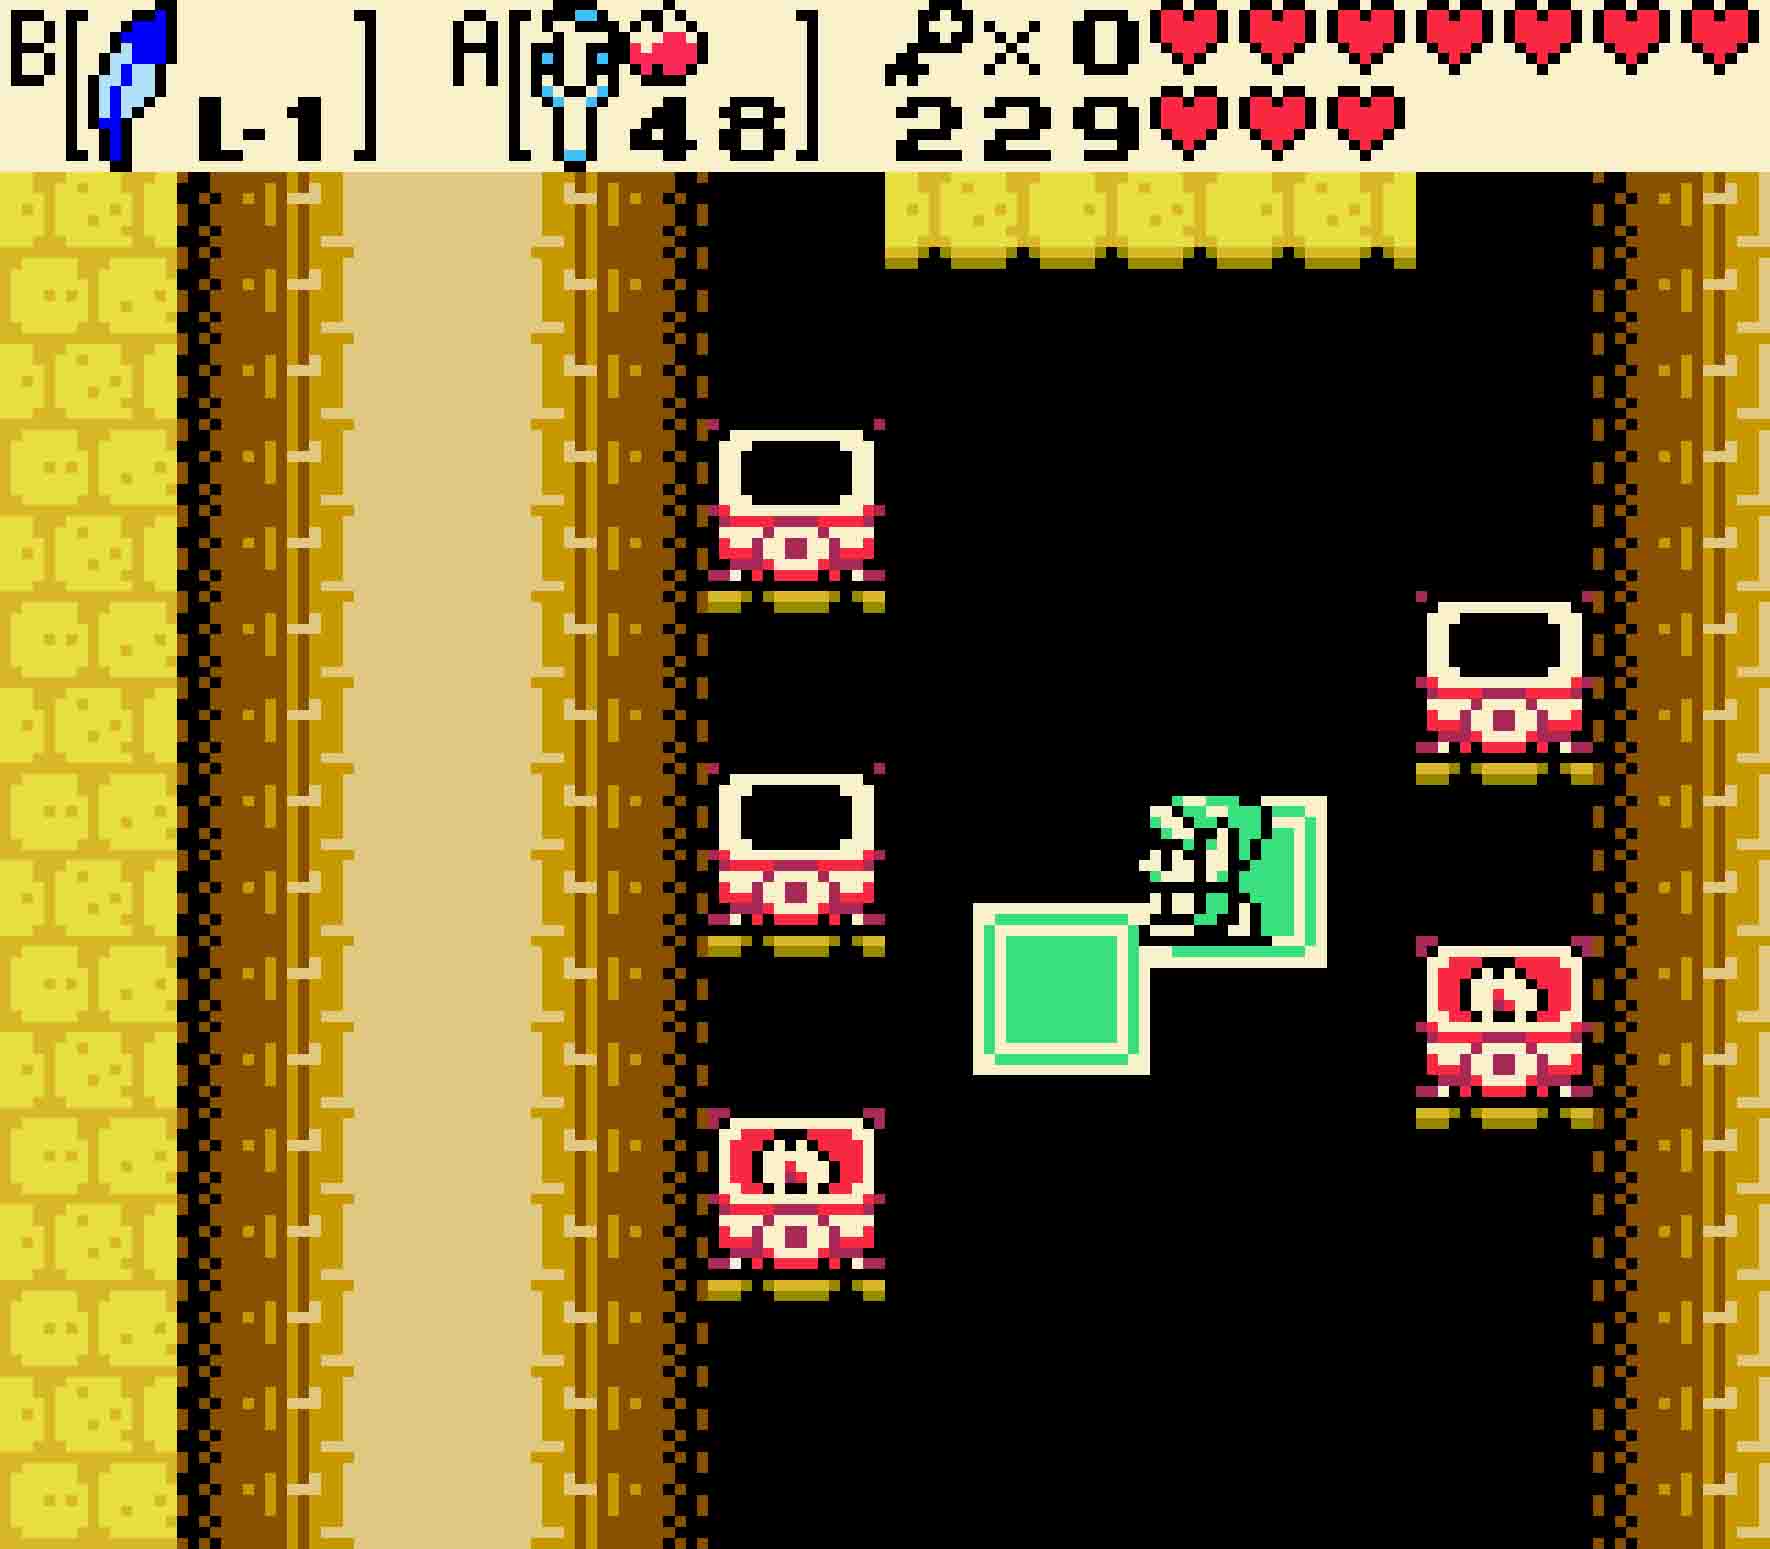
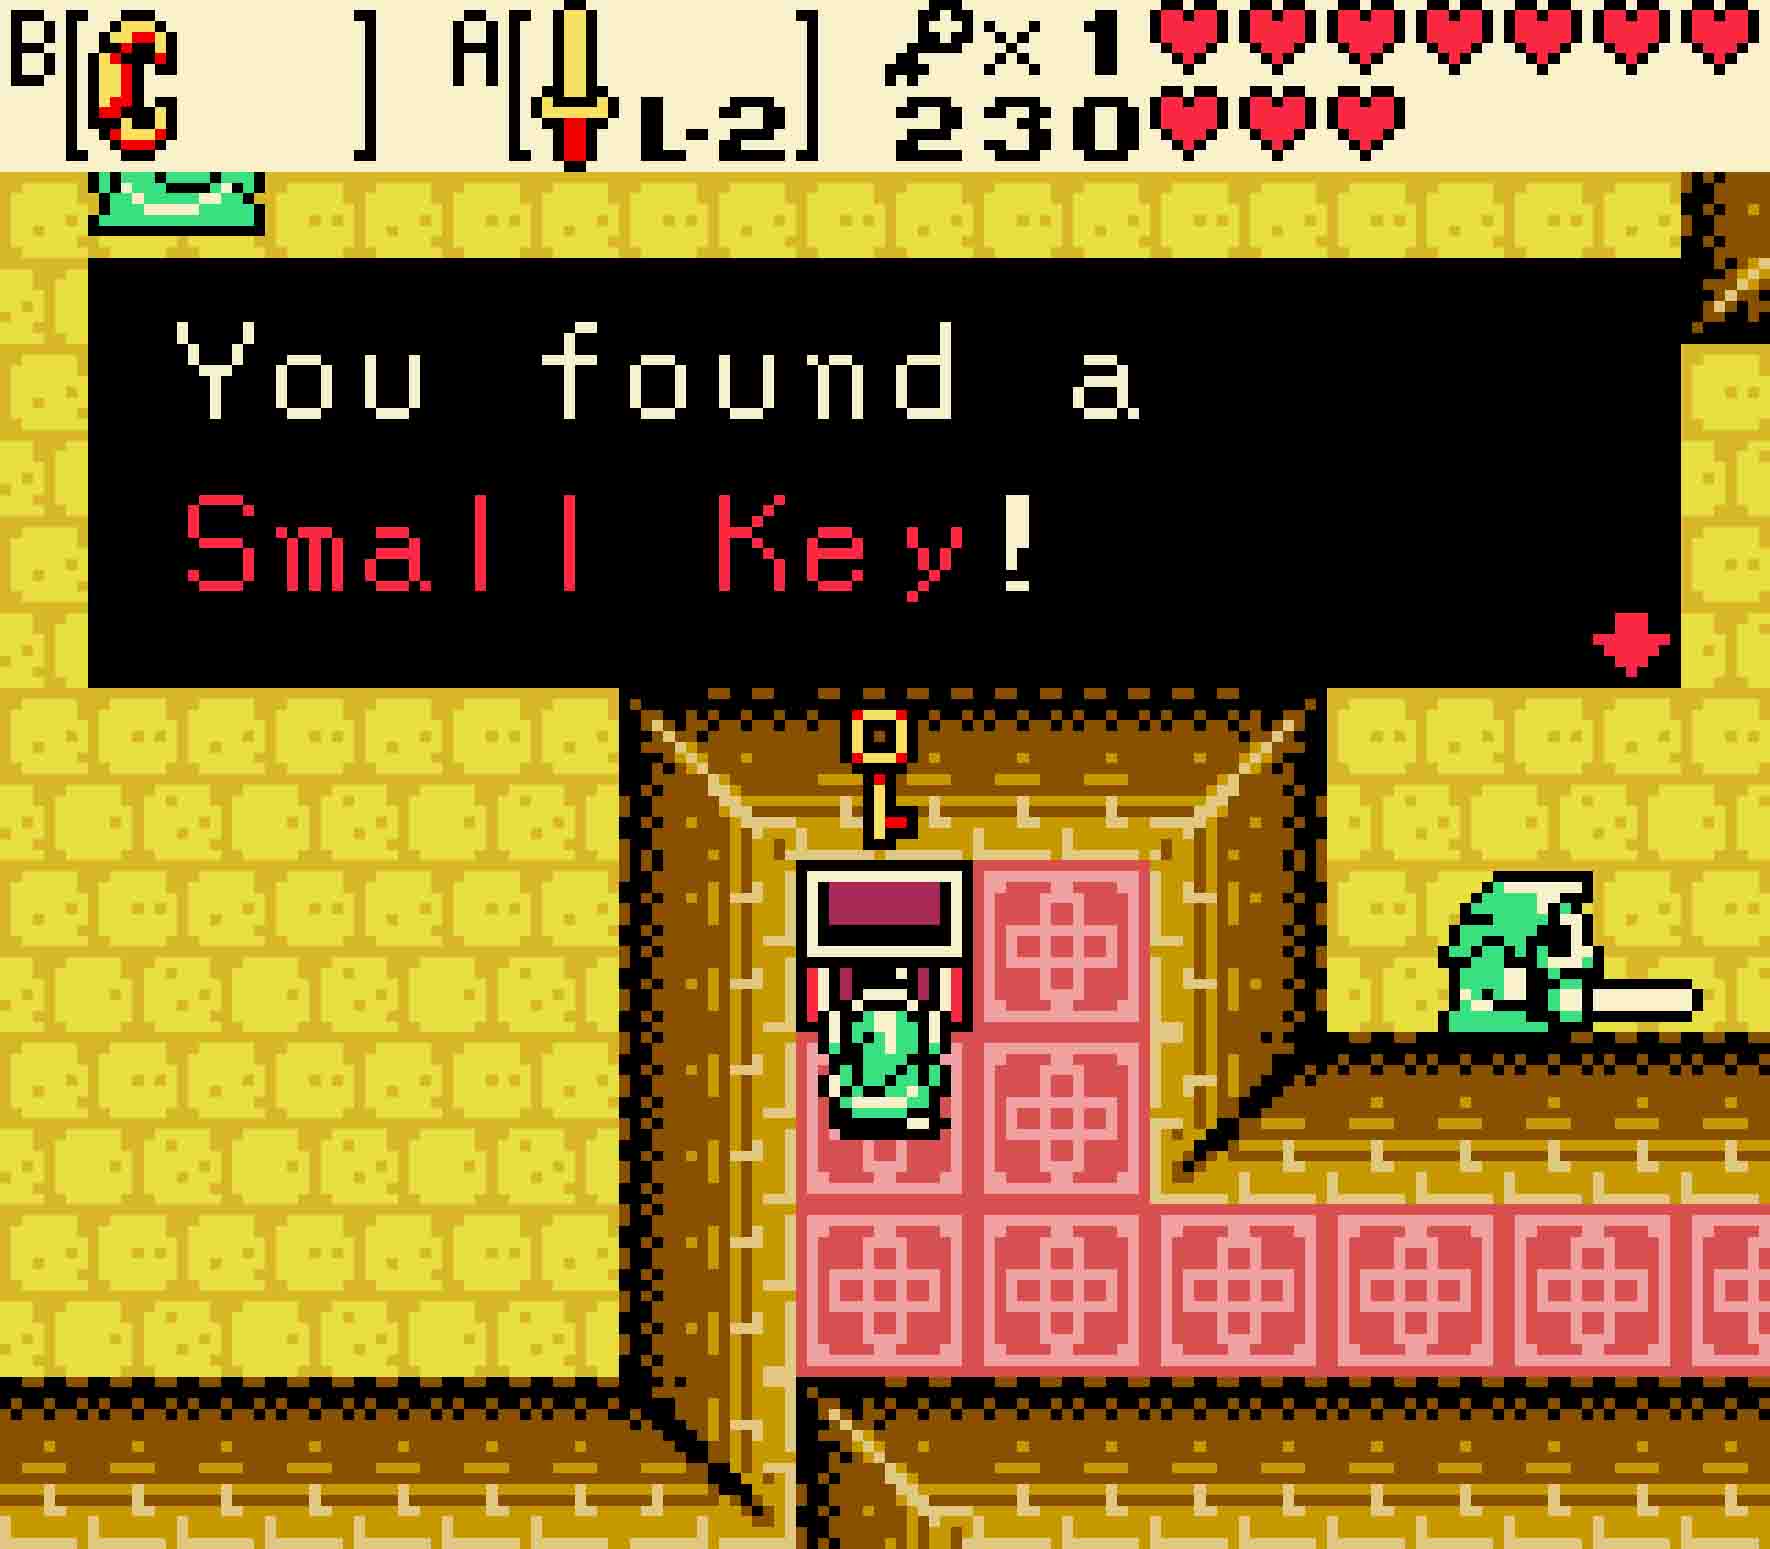
You’ll come into a room with a few Spiked Beetles, but only two of them should be on your side of the room. Get rid of them, and then collect the key in the chest on the left-hand side of the room.
-
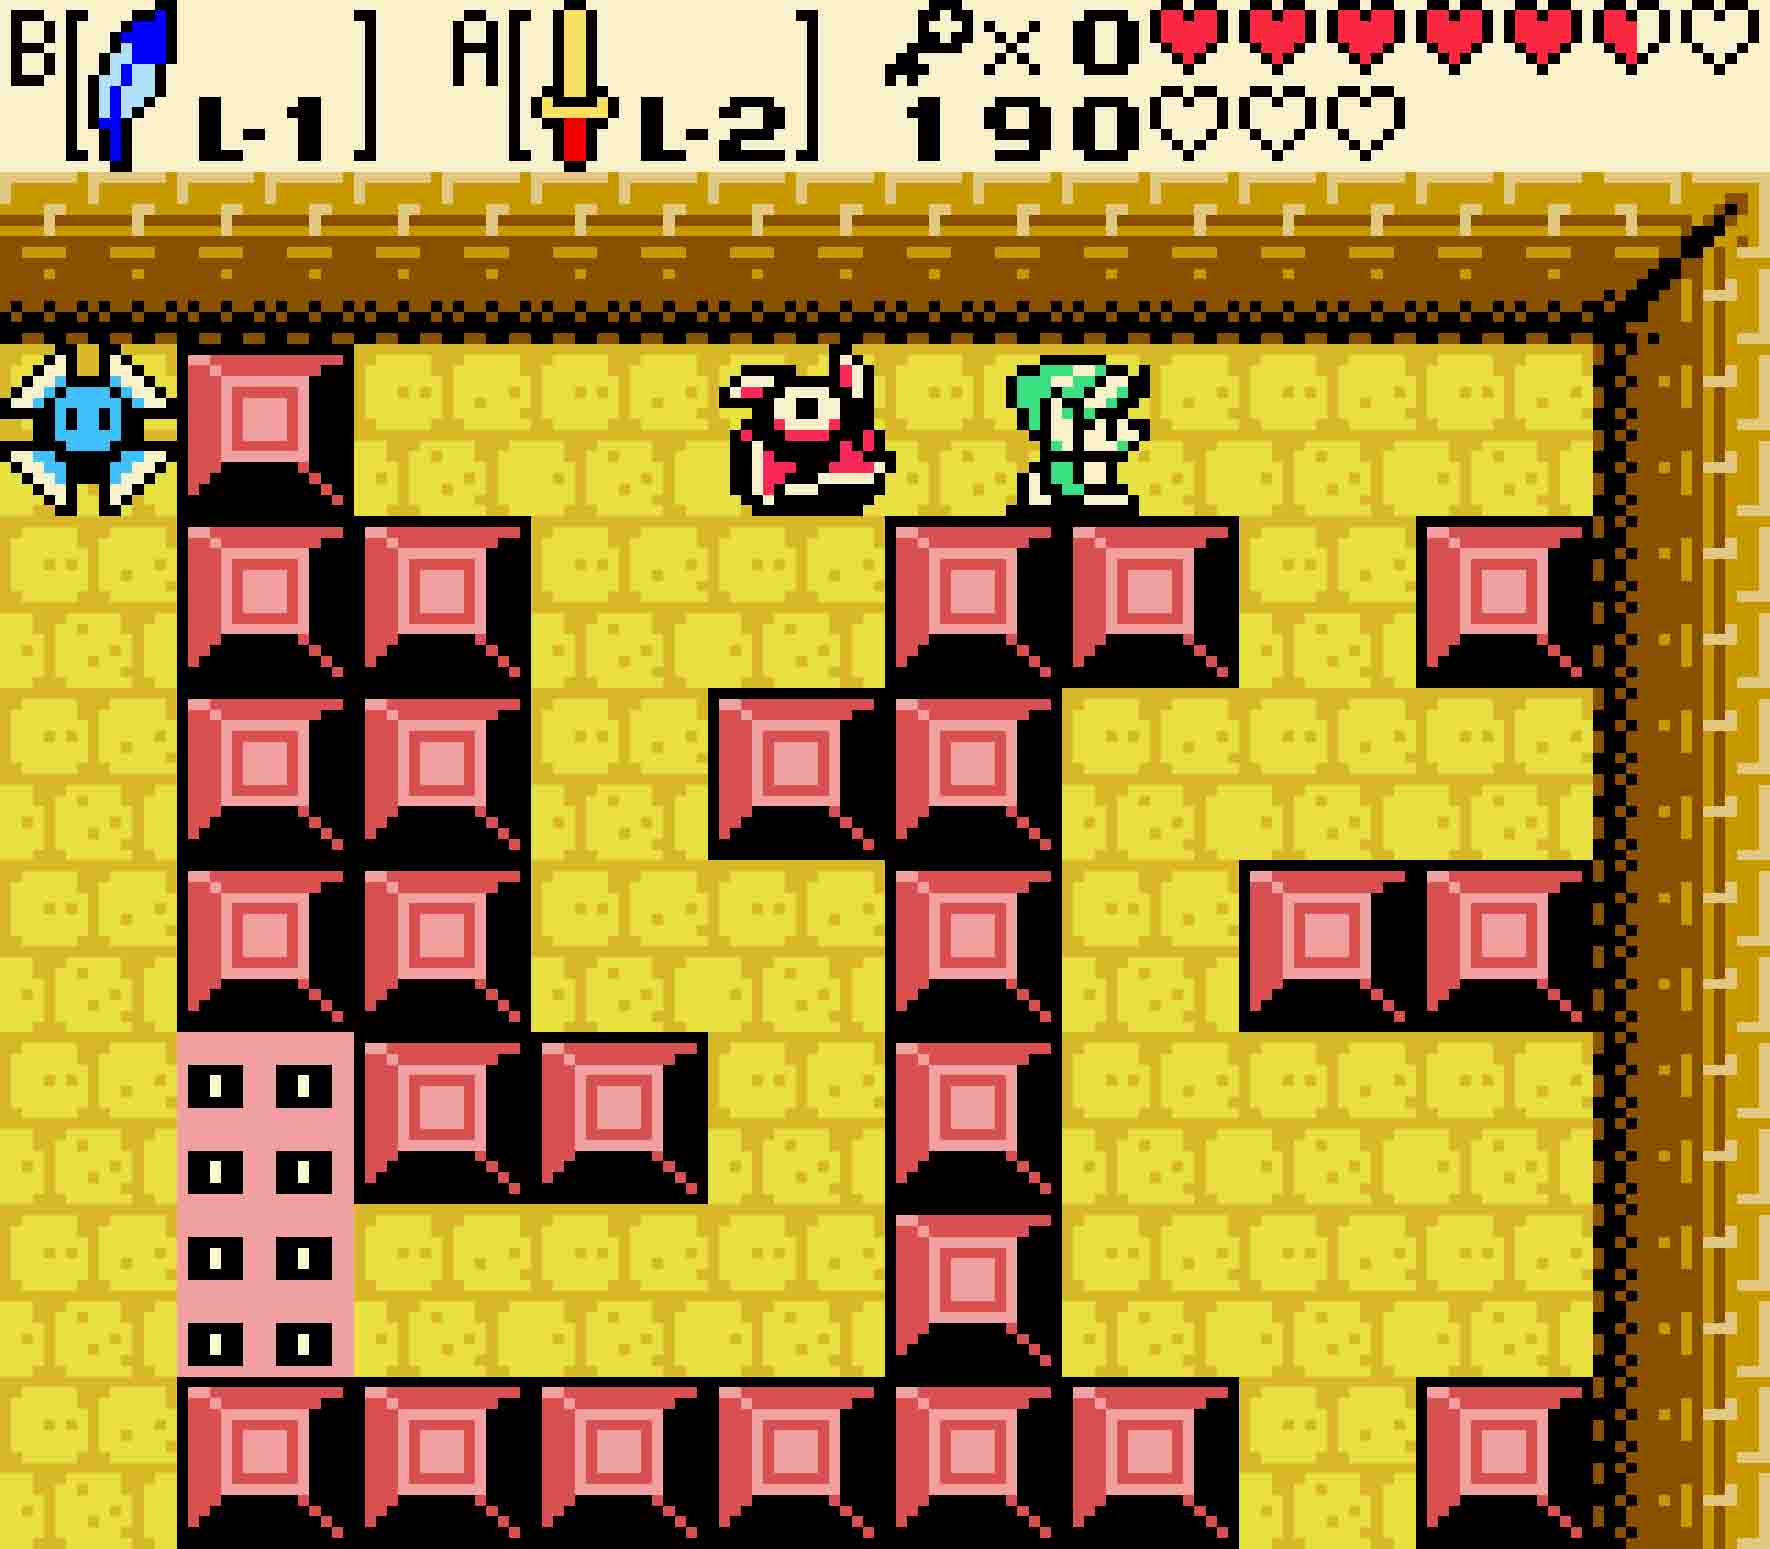
- Be fast on your feet in the block maze to avoid getting sliced up.
-
- Watch out for these Spiked Beetles as you seek the next key.
15.3 Grab the Compass
Return to the previous room, and then navigate the maze of Bladed Traps once more. Once you finally get to the left-hand side of the room, either take the stairs or fall through the floor back down to the first floor. Once there, head south back to the turnstile.
Again, the turnstile is unfortunately heading the wrong direction. But beggars can’t be choosers. Time to do another loop through it. The turnstile will turn you to the west. From there, head south. The door to the east is sealed, but you can cause the door to open by pushing the lone block in the lower-right of the room one square to open it. Then finally, head east and north to get back to the turnstile.
-
- It takes a lot of work just to get going the way you want to go.
-
- And by the time you get there, all those enemies will have respawned.
Again, the turnstile will force you to the west, so one final loop. Head west, south, east, and back north, and finally back to the east. By now, likely the Ropes will have respawned in this room. Kill them, and then finally unlock the door that leads to the north.
This room will force you to think under pressure. There’s a Beamos in the middle of the room, and it will fire mercilessly at you. Furthermore, you’ll be hard-pressed to remain on a scattered set of moving blocks. Hop on the block to your immediate left to ride over to the island in the lower-left corner. You can then use the moving block to head to the island immediately north of it. Finally, use Roc’s Feather to hop to the upper-left corner to open the chest containing the Compass.
The Beamos here is particularly evil. You’ll need to be both quick and evasive.
15.4 Obtain the Magical Boomerang
Your next immediate goal is to ascend the staircase that you can see on your screen. Unfortunately, you’re still in the range of that evil Beamos. You can, if you wish, use the platforms to return to the starting platform. Alternatively, you could just take damage, fall into the bottomless pits, and immediately return to the beginning of the room. Ultimately, take the moving platform to the right to cross the gap to head east.
Kill the Keese in this room; it’s rather important that you do so. Then head to the upper-right of the room. Before you press the switch, you’ll probably want to consume a Pegasus Seed. Once you press the switch, major parts of the floor will start to crumble beneath you, and you’ll need to dash in order to make it to the northwest corner without delay. You don’t need the Pegasus Seed, but it will help a bunch! Once you make it there, head up the staircase back to the second floor.
-
- Sometimesfalling into a hole to warp to the room’s beginning is the right option… It’s the easy way here.
-
- But it isn’t here! Run for your life once the button is pressed lest you be left with no walkway.
This chest isn’t worth it. Besides, it’s actually a devious trap.
Defeat the Gibdo on the upper floor, and then open the treasure chest for 10 Bombs. As it always goes, whenever you get bombs, you should suspect that you’re going to use them. There’s a cracked wall in the bottom-right of the room, so blast it open. You could go for the chest in the next room, but it only has five Rupees in it, and it will cause all of the Armos in the room to activate. But really, you can ignore the whole lot and just head to the west.
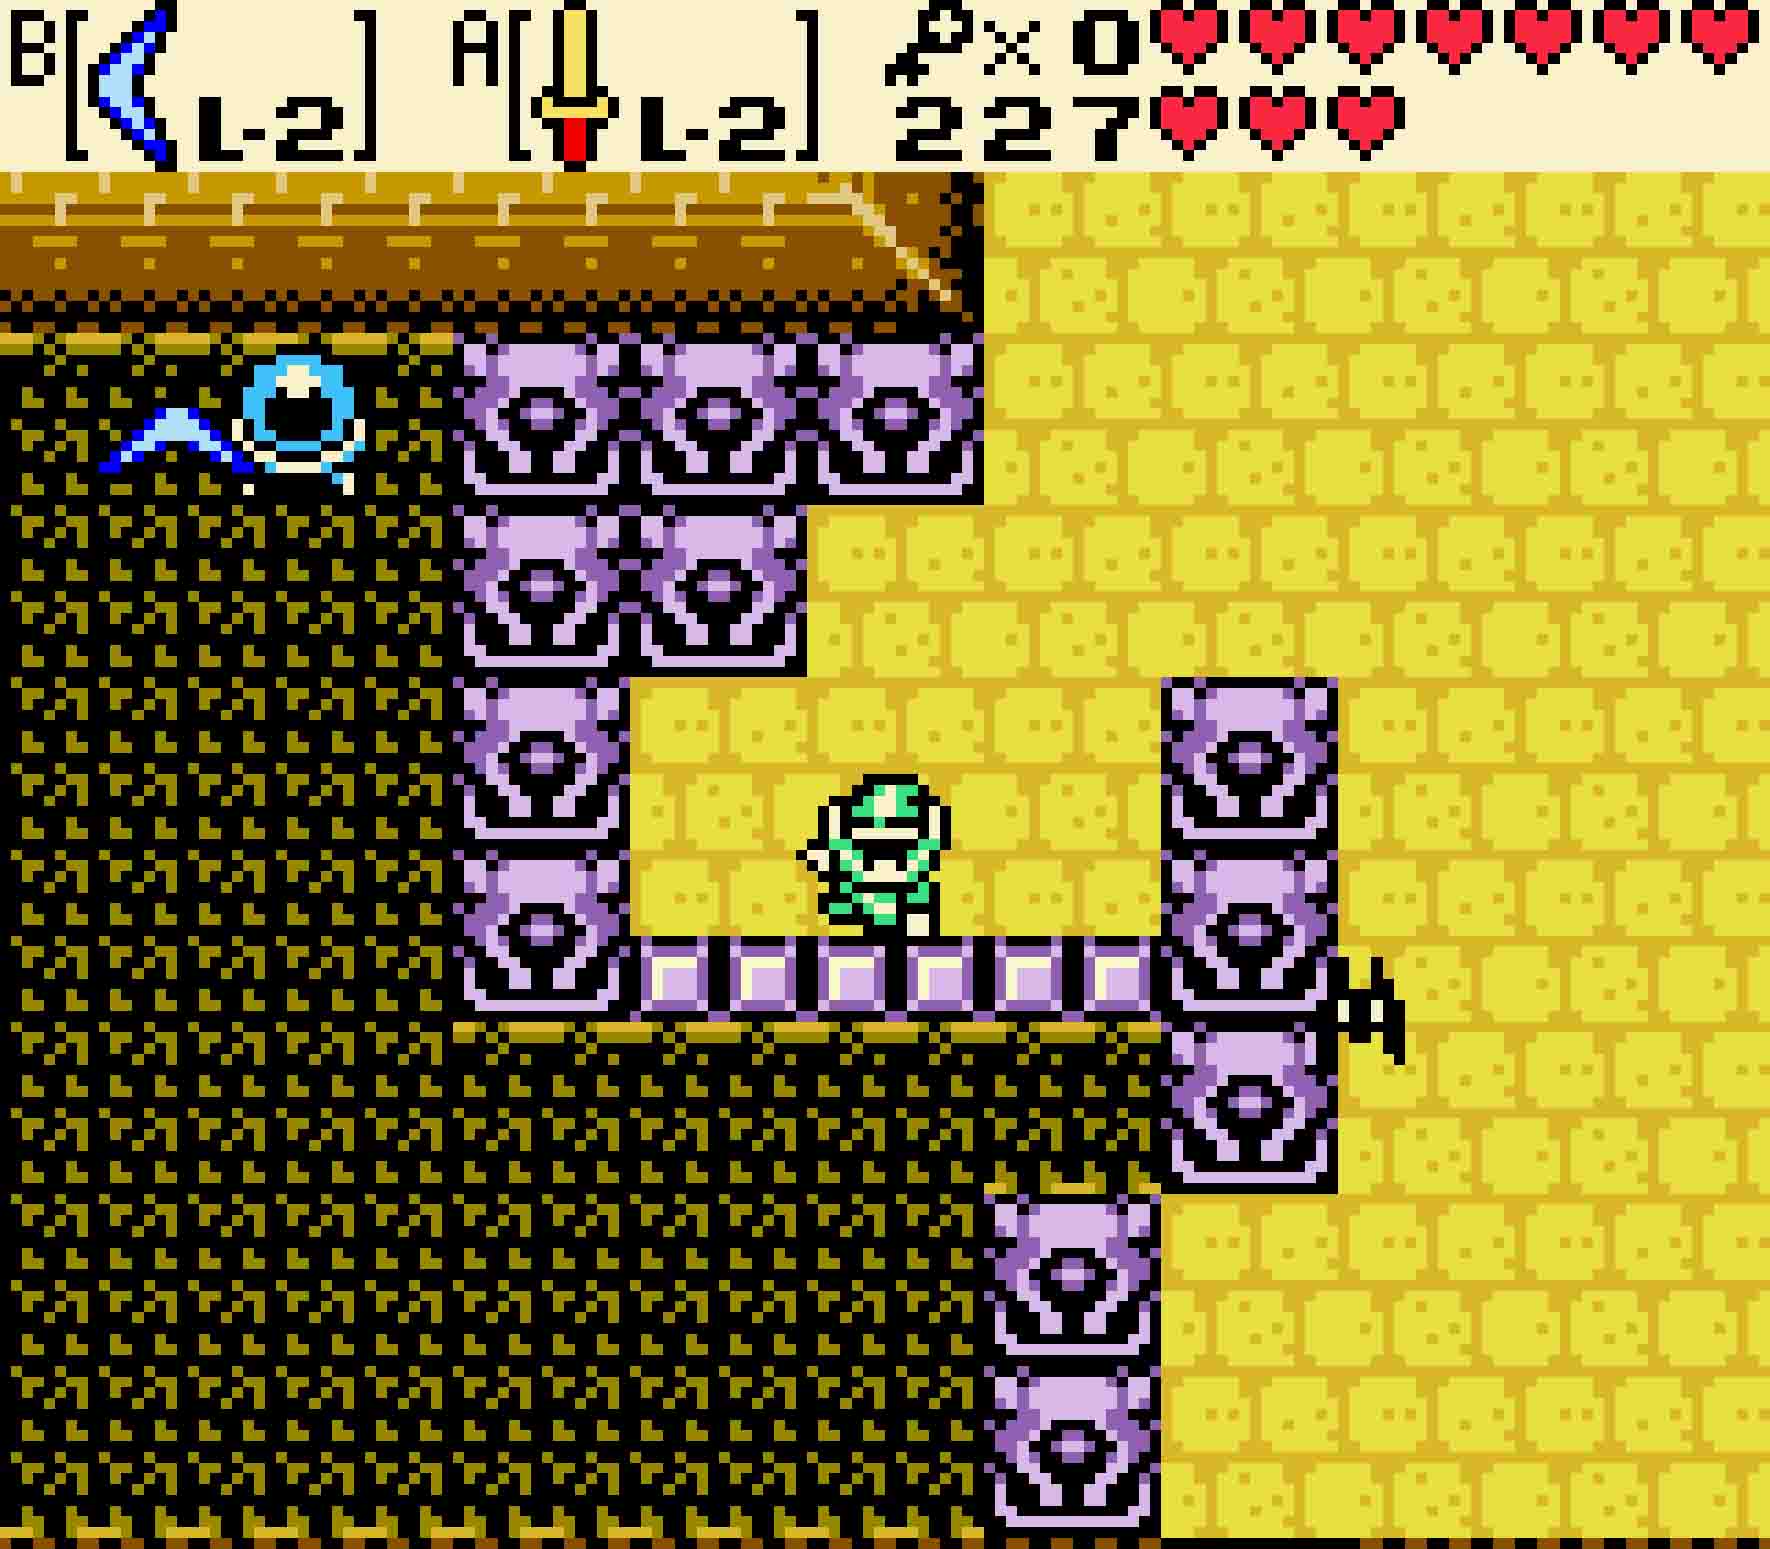
You’ll see more Spiked Beetles in this familiar room, and you’ll likely have to deal with two of them on this side of the barrier of blocks. You’ll have to quickly jump over the pit and then get out of the way of the Spiked Beetles that will almost certainly be rushing you. Immediately grab your Shield or Shovel to flip them over so you can kill them. It’s necessary here because you’ll have to spend a good deal of time repositioning the trampoline on this side of the room.
Push the trampoline to the right until it lands on the purple square on the right side of the room; then jump on top of it to head up to 3F. Land on the ground, and then dispatch the Darknut that will come after you. Then head to the south.
This doesn’t look like a trap at all!
The door will seal behind you as you enter. A Ball and Chain Trooper awaits you in this room, but really this is totally fine because you don’t need to fight it. You can simply escape to the east.
There are two rows of Armos statues in this room, but they aren’t active… at least yet. So boldly cross the room and wander to the right side of the room. You’ll find a treasure chest, and inside will be the L-2 Magical Boomerang.
15.5 Hit two remote Crystal Switches
Yup, definitely a trap. Thankfully, you can easily disarm it.
The moment you acquire the Magical Boomerang, all seven of the Armos in this room will suddenly come to life. Armos were hard to kill before with only Bombs able to take care of them; however, the Magical Boomerang is really their secret weakness. Just whack each of the Armos with the Boomerang, and you’ll have no problem dispatching them. When all seven are defeated, the door will reopen, allowing you access back to the west.
You’re officially done with this wing of the dungeon. As such, the easiest way to get back on the main course is to fall down the hole in the lower-left corner of the room. This will actually cause you to fall down two levels back to 1F into what should by now be a very familiar room. However, you don’t need to mess with the turnstile any longer. From here, simply go west.
-
- Fall back down to reach the beginning of the dungeon to keep progressing.
-
- Now you’ll be retracing your steps to the Map… and then beyond.
Defeat the Ropes in the next room once more, but this time you’ll want to take the steps in the left side of the room and head north, just as if you were heading back to the treasure chest that held the Map. Once you get to that chest, head west to enter new territory.
Once again, you’ll have to deal with a host of Spinning Blade Traps as you plough through a block maze. It’s definitely easier to trigger the first one, wait, jump over it, and then duck into the maze rather than letting it follow you. The door however is sealed, and the button to unseal it is in the bottom-left. How convenient. So you’ll have to dodge all of the Spinning Blade Traps until you get there, only to find that it’s guarded by its own Bladed Trap. Trigger the final trap so that it flies to the left; then quickly step on the button and get out. Head back to the door to the north.
-
- You’ll have to dodge a lot of obstacles on your way through.
-
- Trip the Blade Trap so that it moves left; then flip the switch.
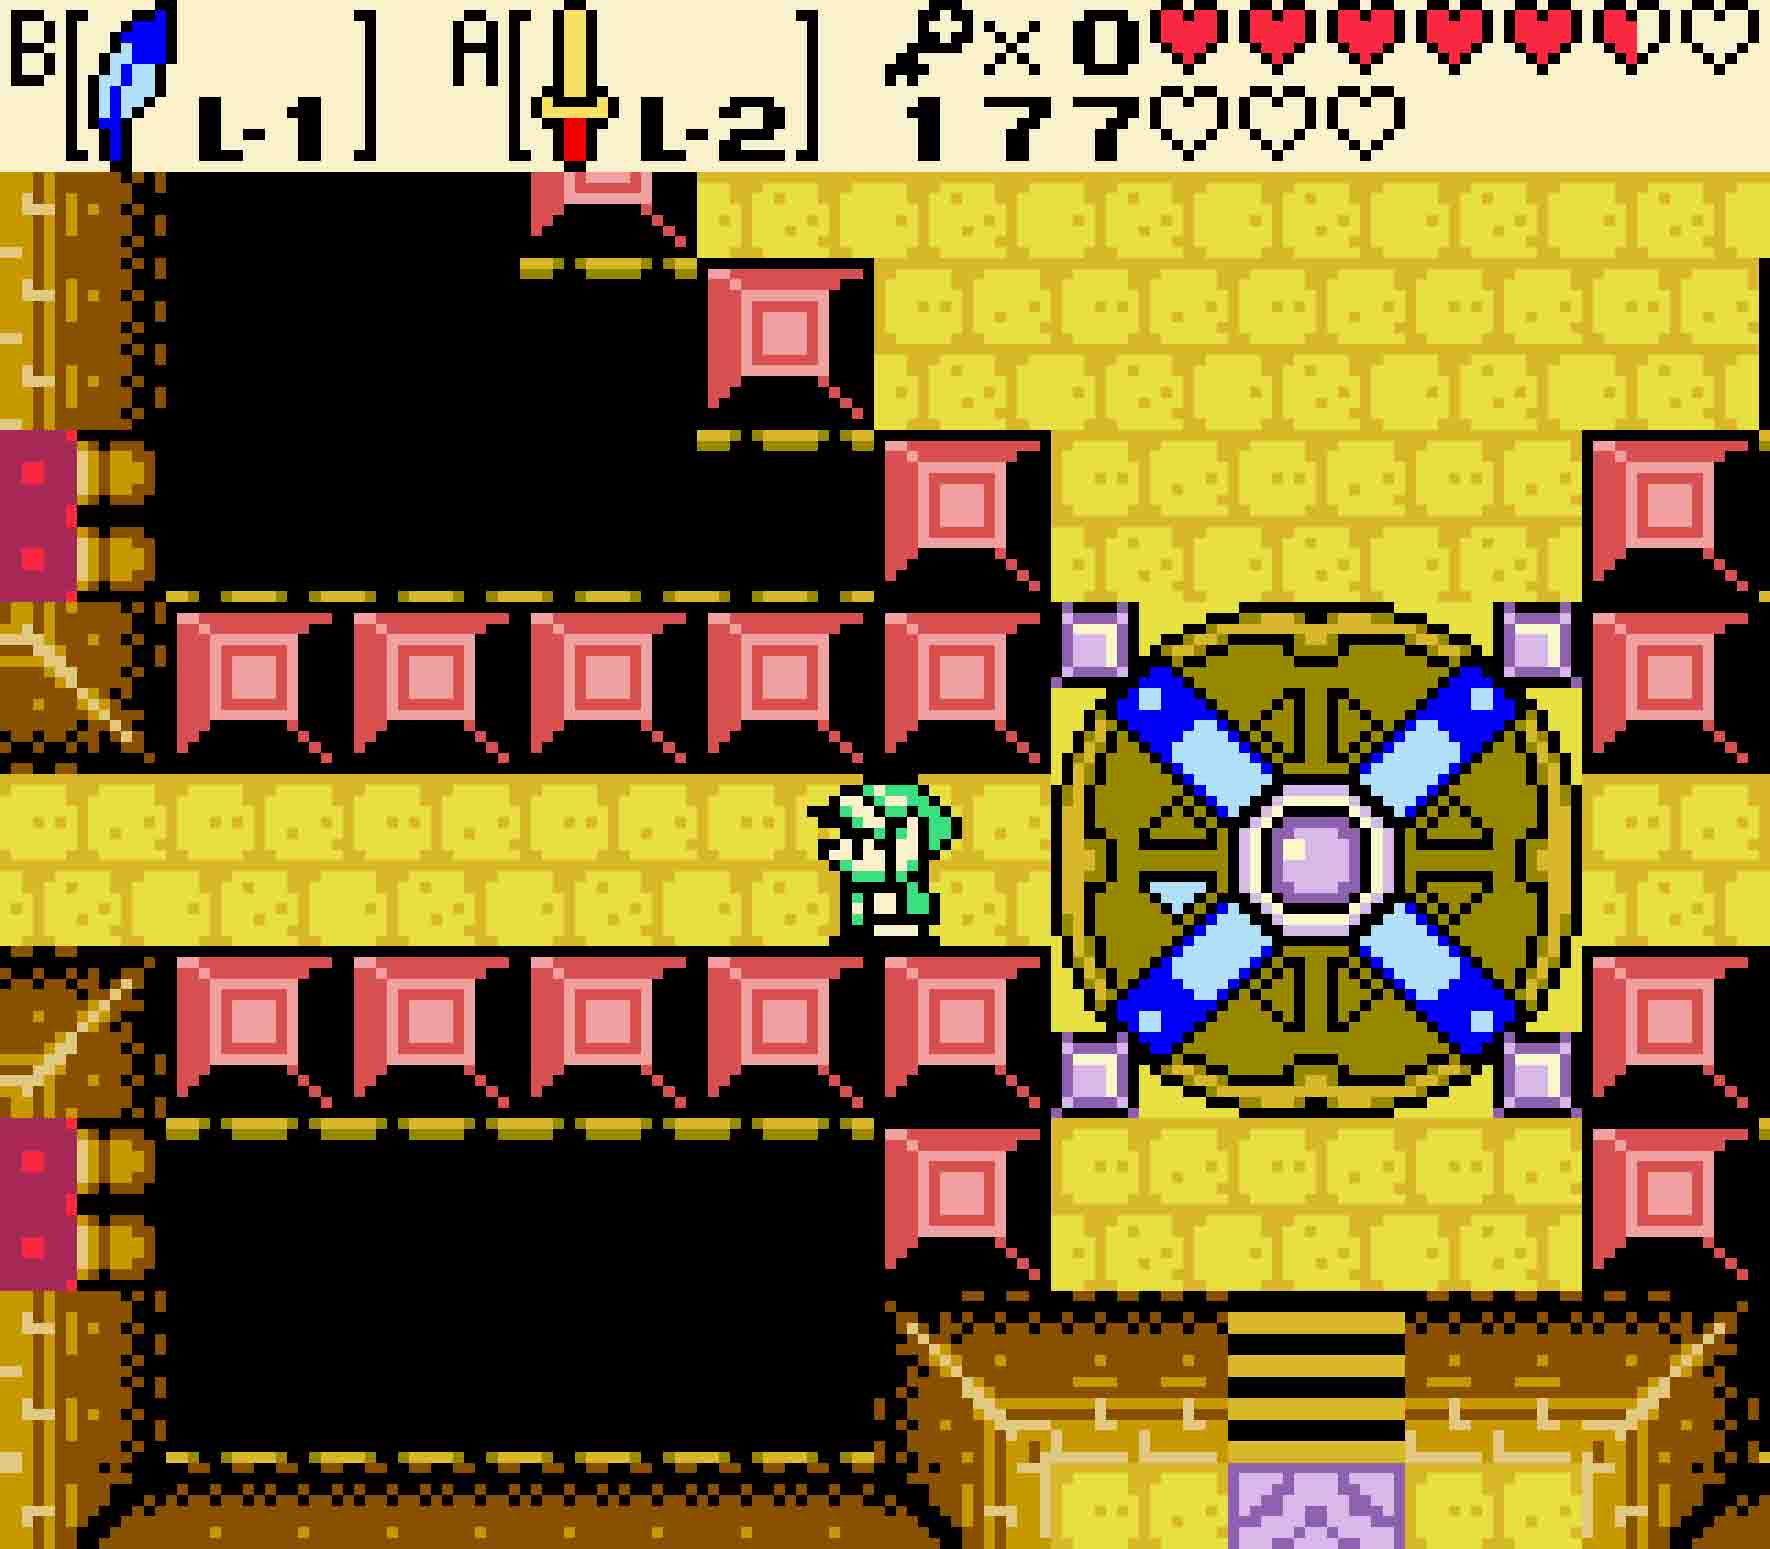
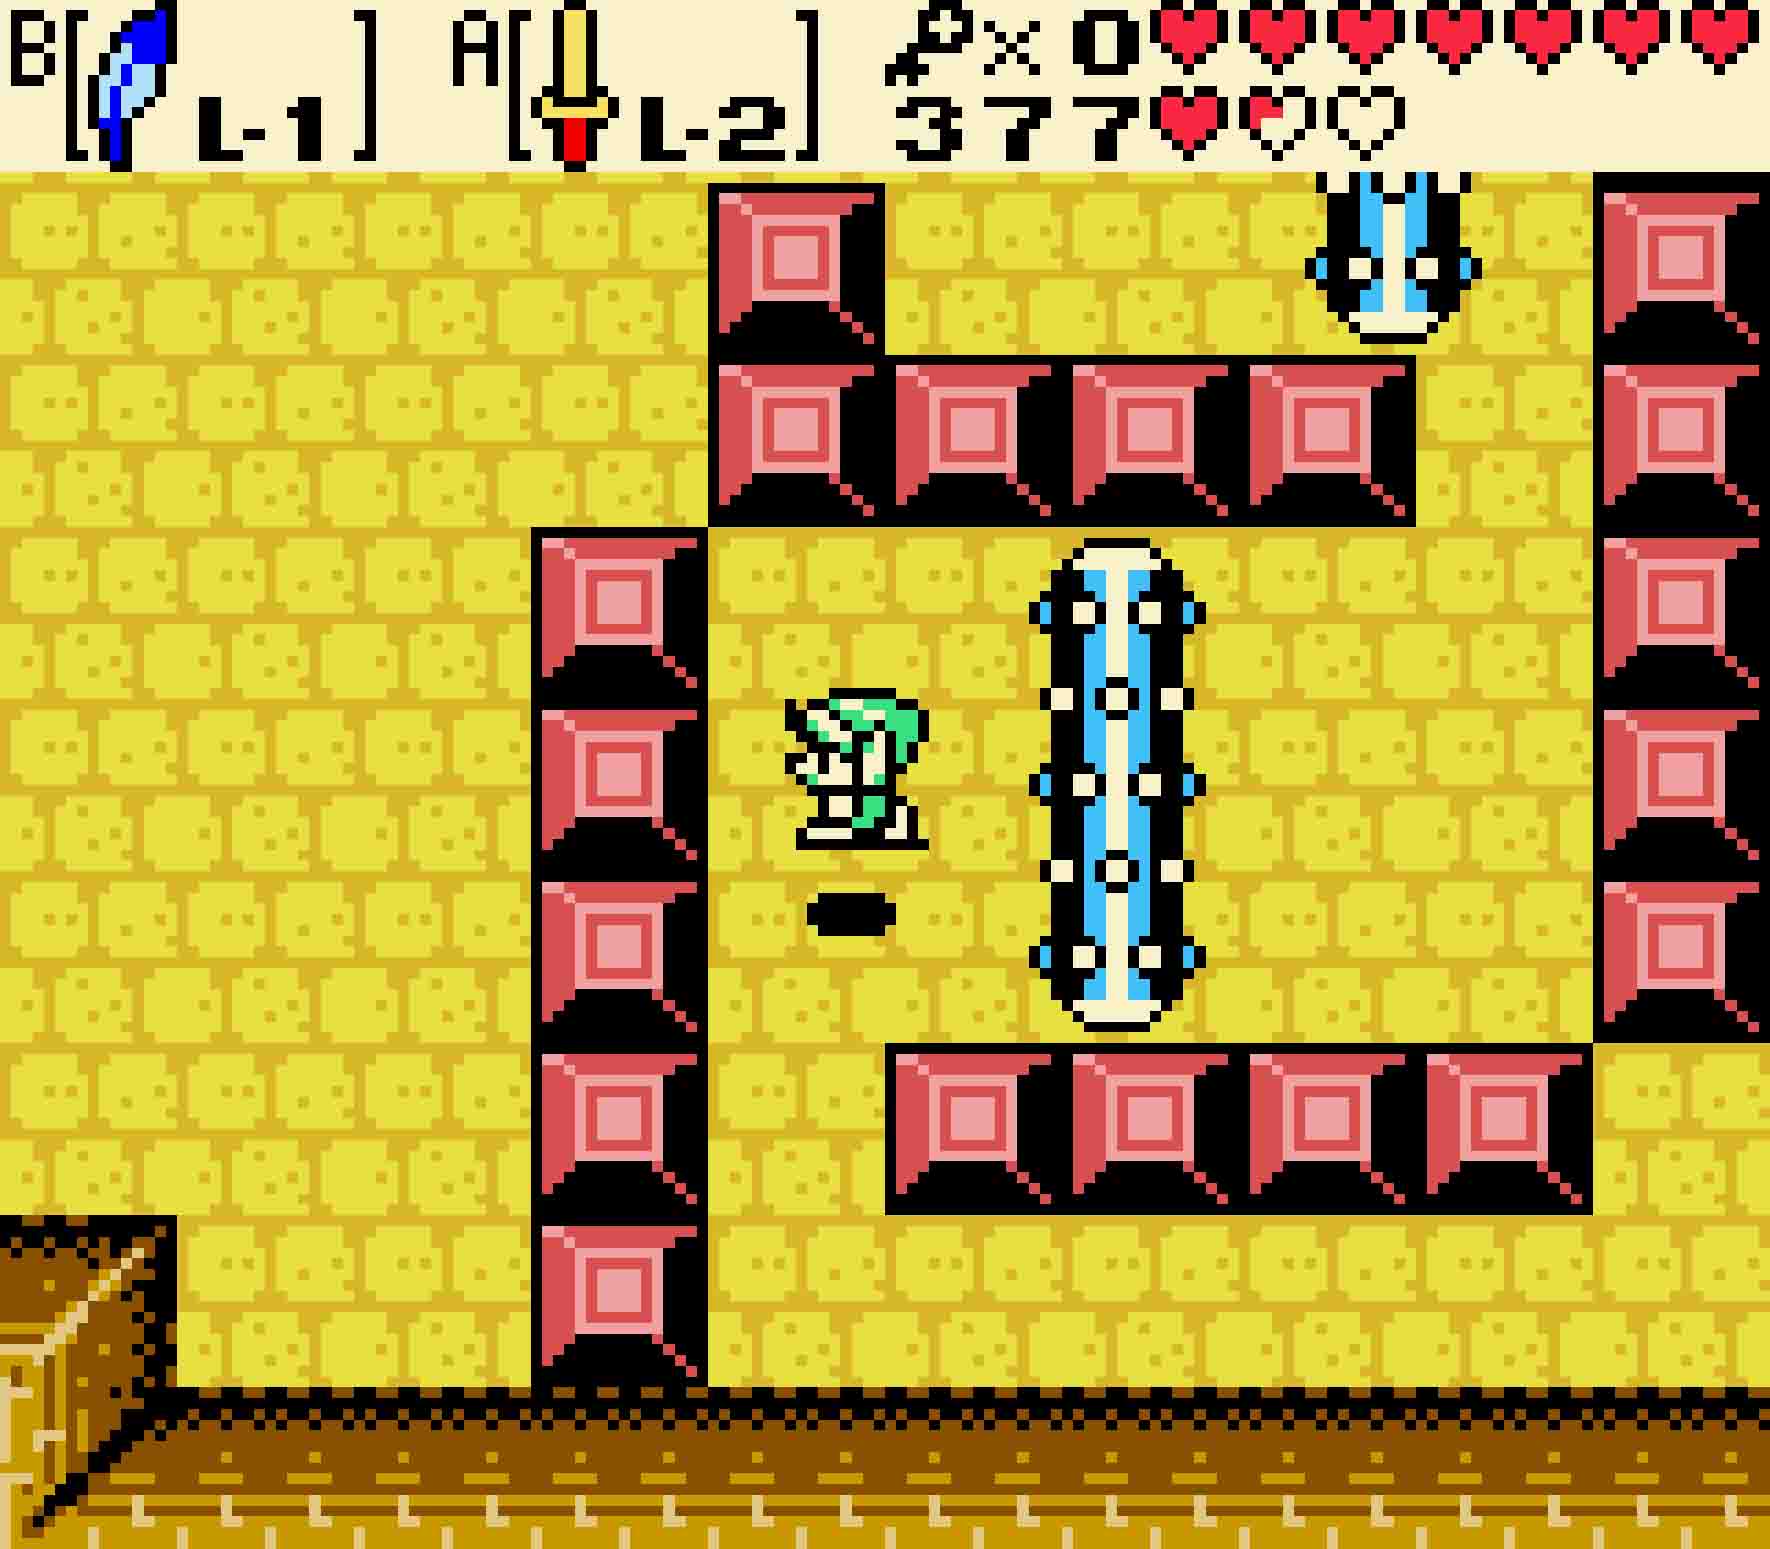
The next room is a chance to rest, and you’ll get to try out the Magical Boomerang’s curving path tendencies. Stand at the edge of the pit, let the Boomerang loose — holding the button down — and then steer it into the Crystal Switch. Once you hit it, a staircase will appear heading back up to 2F.
Upstairs, you’ll enter a room with Gibdos and crumbling floors. The Magical Boomerang will of course freeze the Gibdos in place, making them easier to kill on this precarious flooring. Once you head south, there’ll be two obstacles of interest: arrow-shooting turrets and Keese. Before you brave the turrets, deal with any Keese near you. You’ll want some breathing room in order to hit the floating Crystal Switch with your Boomerang. Once you’re successful, the door to the south will unseal itself.
-
- The Magic Boomerang can curve around corners.
-
- And you’ll need to leverage that to hit these switches.
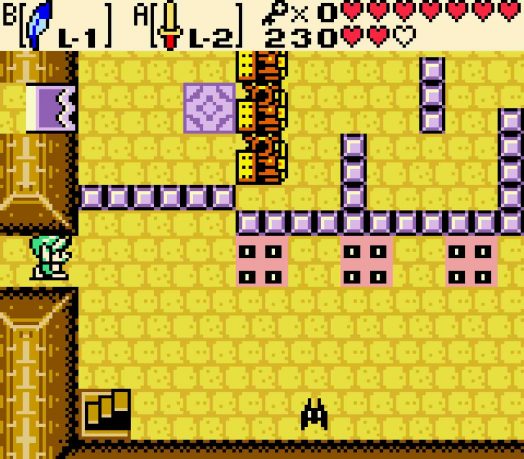
15.6 Snag the Boss Key
With the door to the south now open, you’ll need to tiptoe your way there. The arrow-shooting turrets are touch to avoid, but with fast feet, you can find a space between the two sets of turrets, and Roc’s Feather and/or the Pegasus Seeds will help you from getting hit. Head to the south.
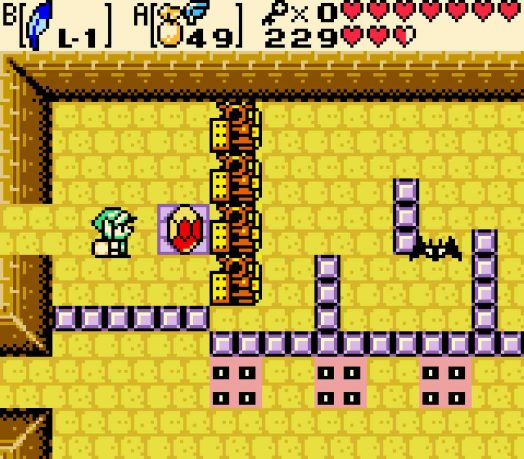
A Spark and two Darknuts will be here to ruin your day, but with the Magical Boomerang you can turn it into a fairy. There’s a chest in this room, but you cannot get it from this side of the room. Instead, you’ll need to fall down the hole in this room for your last jaunt on the first floor.
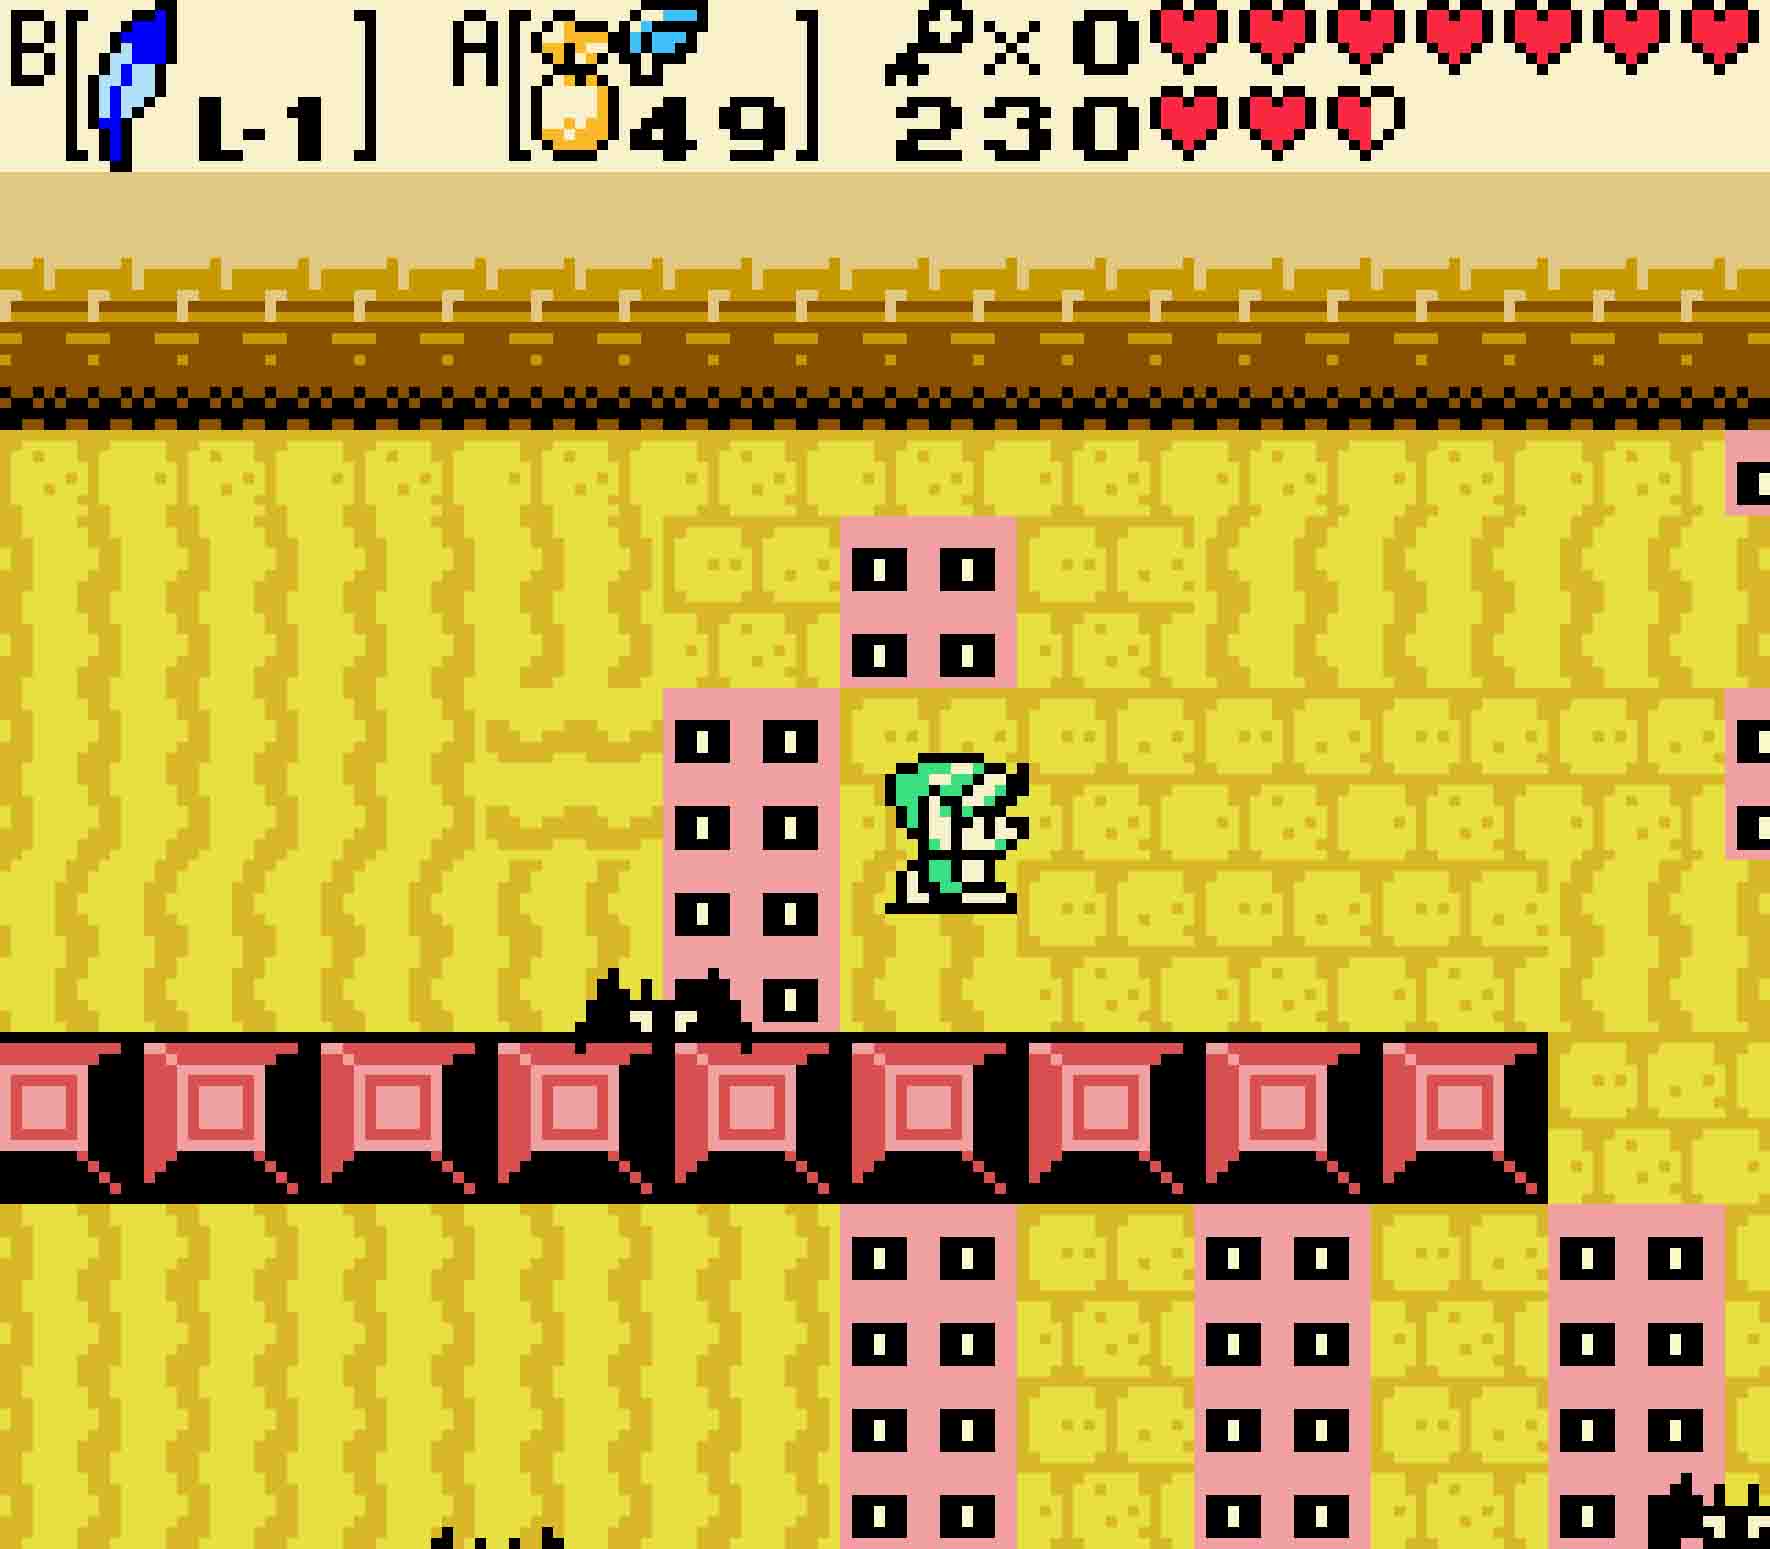
Be at the ready with your sword and shield when you fall as Spiked Beetles will immediately start to rush you. Kill them, and then head south. Two Hardhat Beetles and Keese will be there waiting, but all you need to do is head up through the northeastern exit.
Step onto the moving platforms and arm your Slingshot with some Ember Seeds. As the platform takes you up, fire Ember Seeds into each of the unlit torches. Once they’re all lit, a staircase will appear to bring you back up, and from there you can head eastward.
Definitely not a trap!
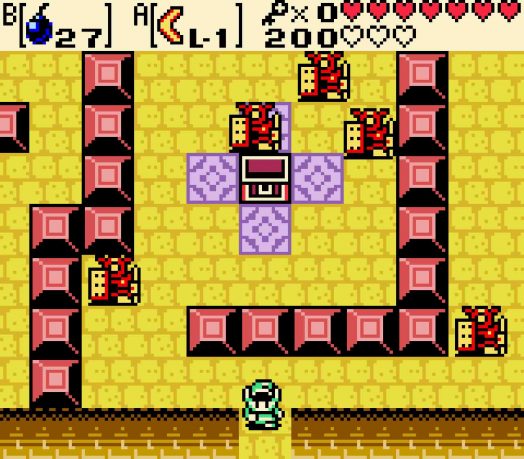
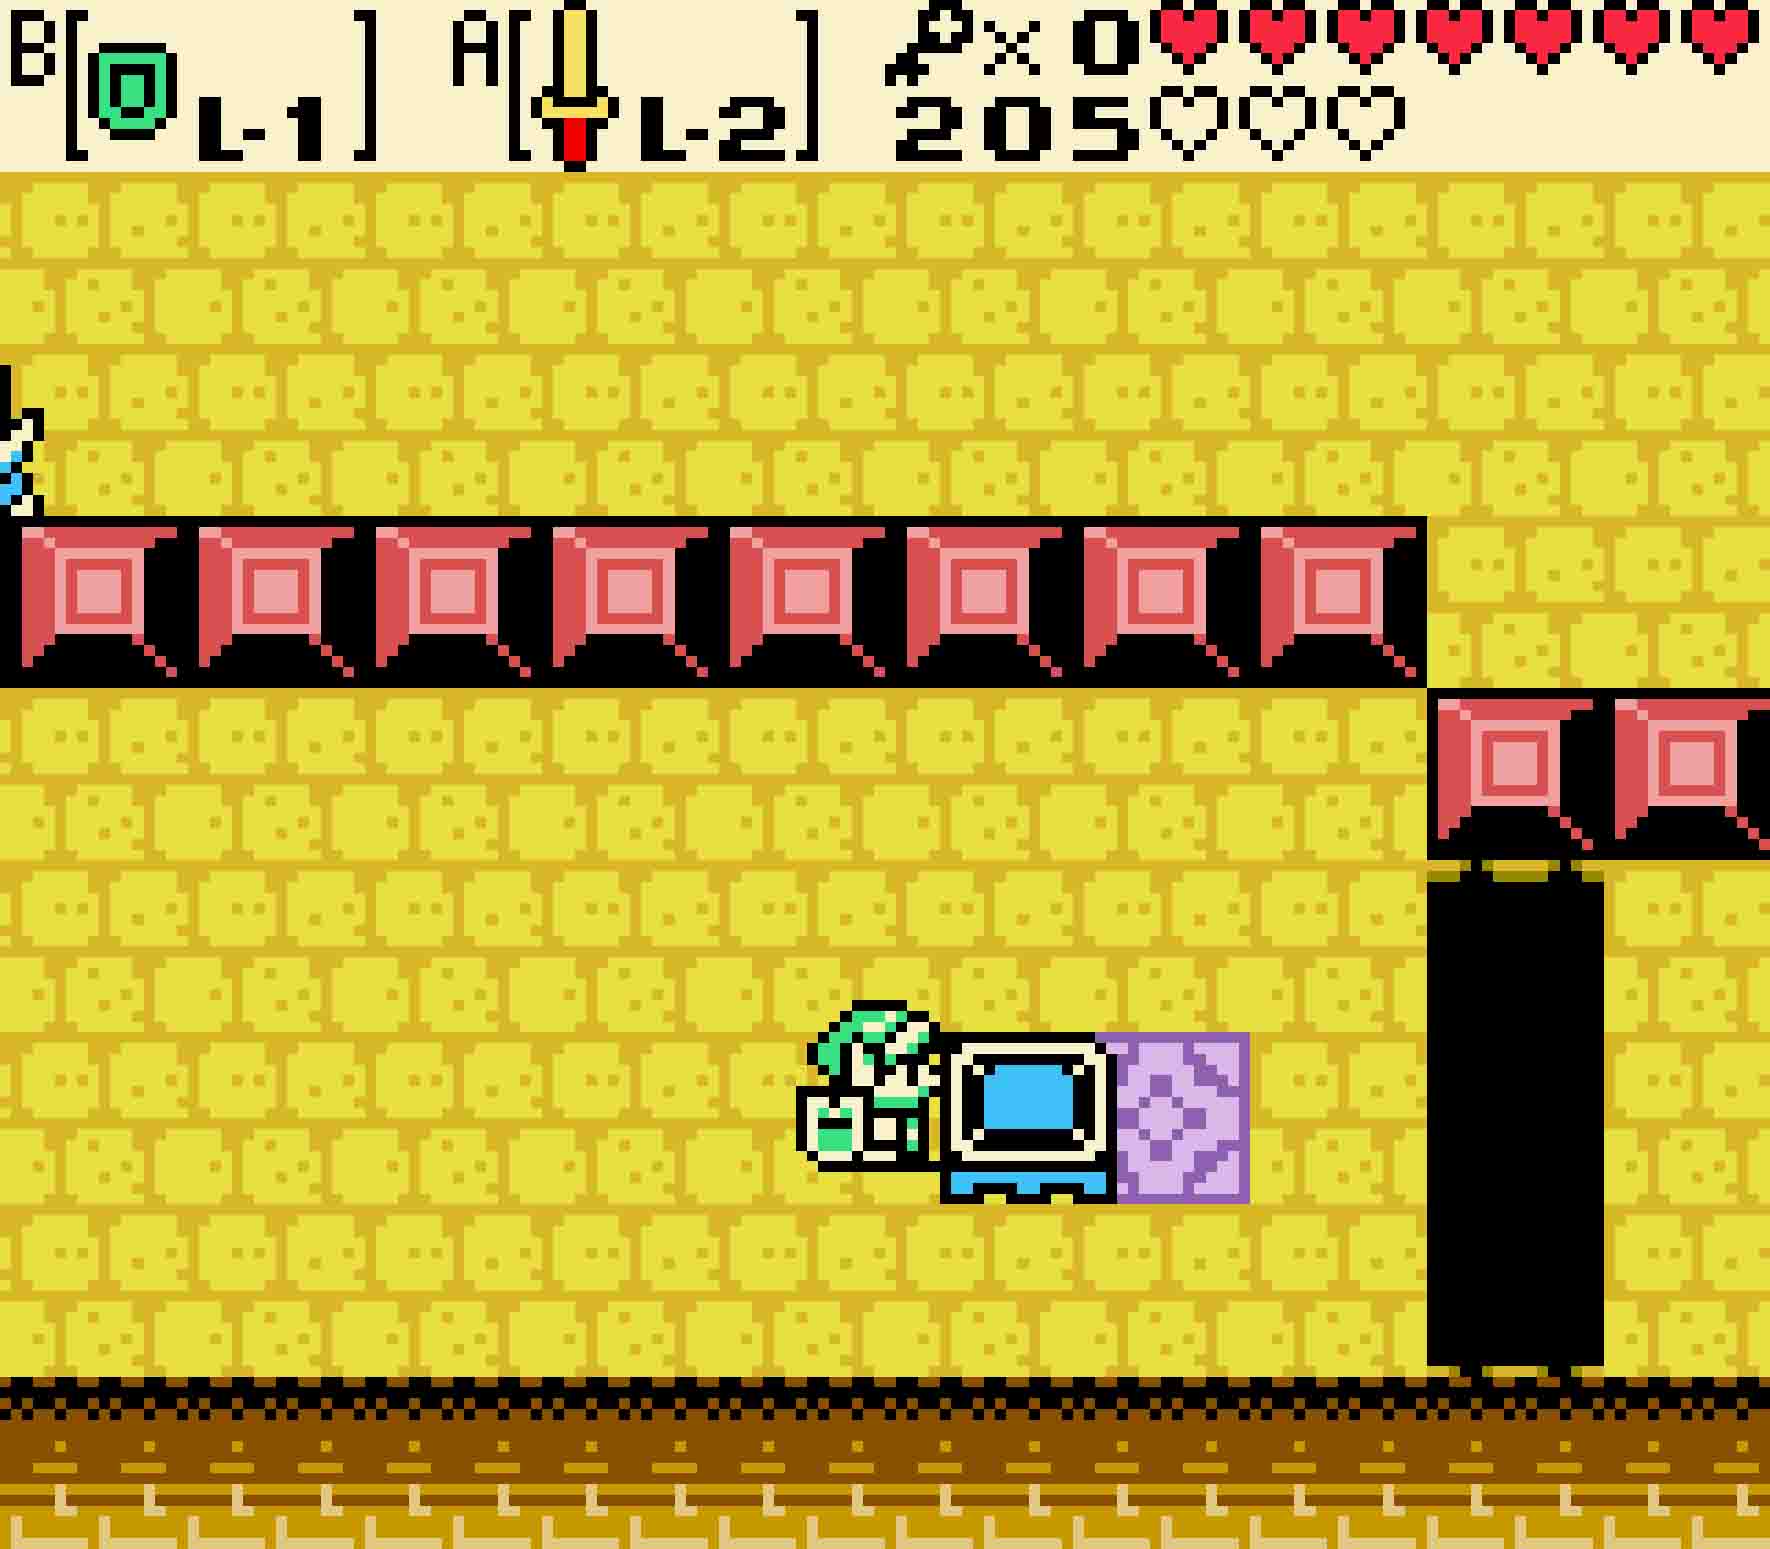
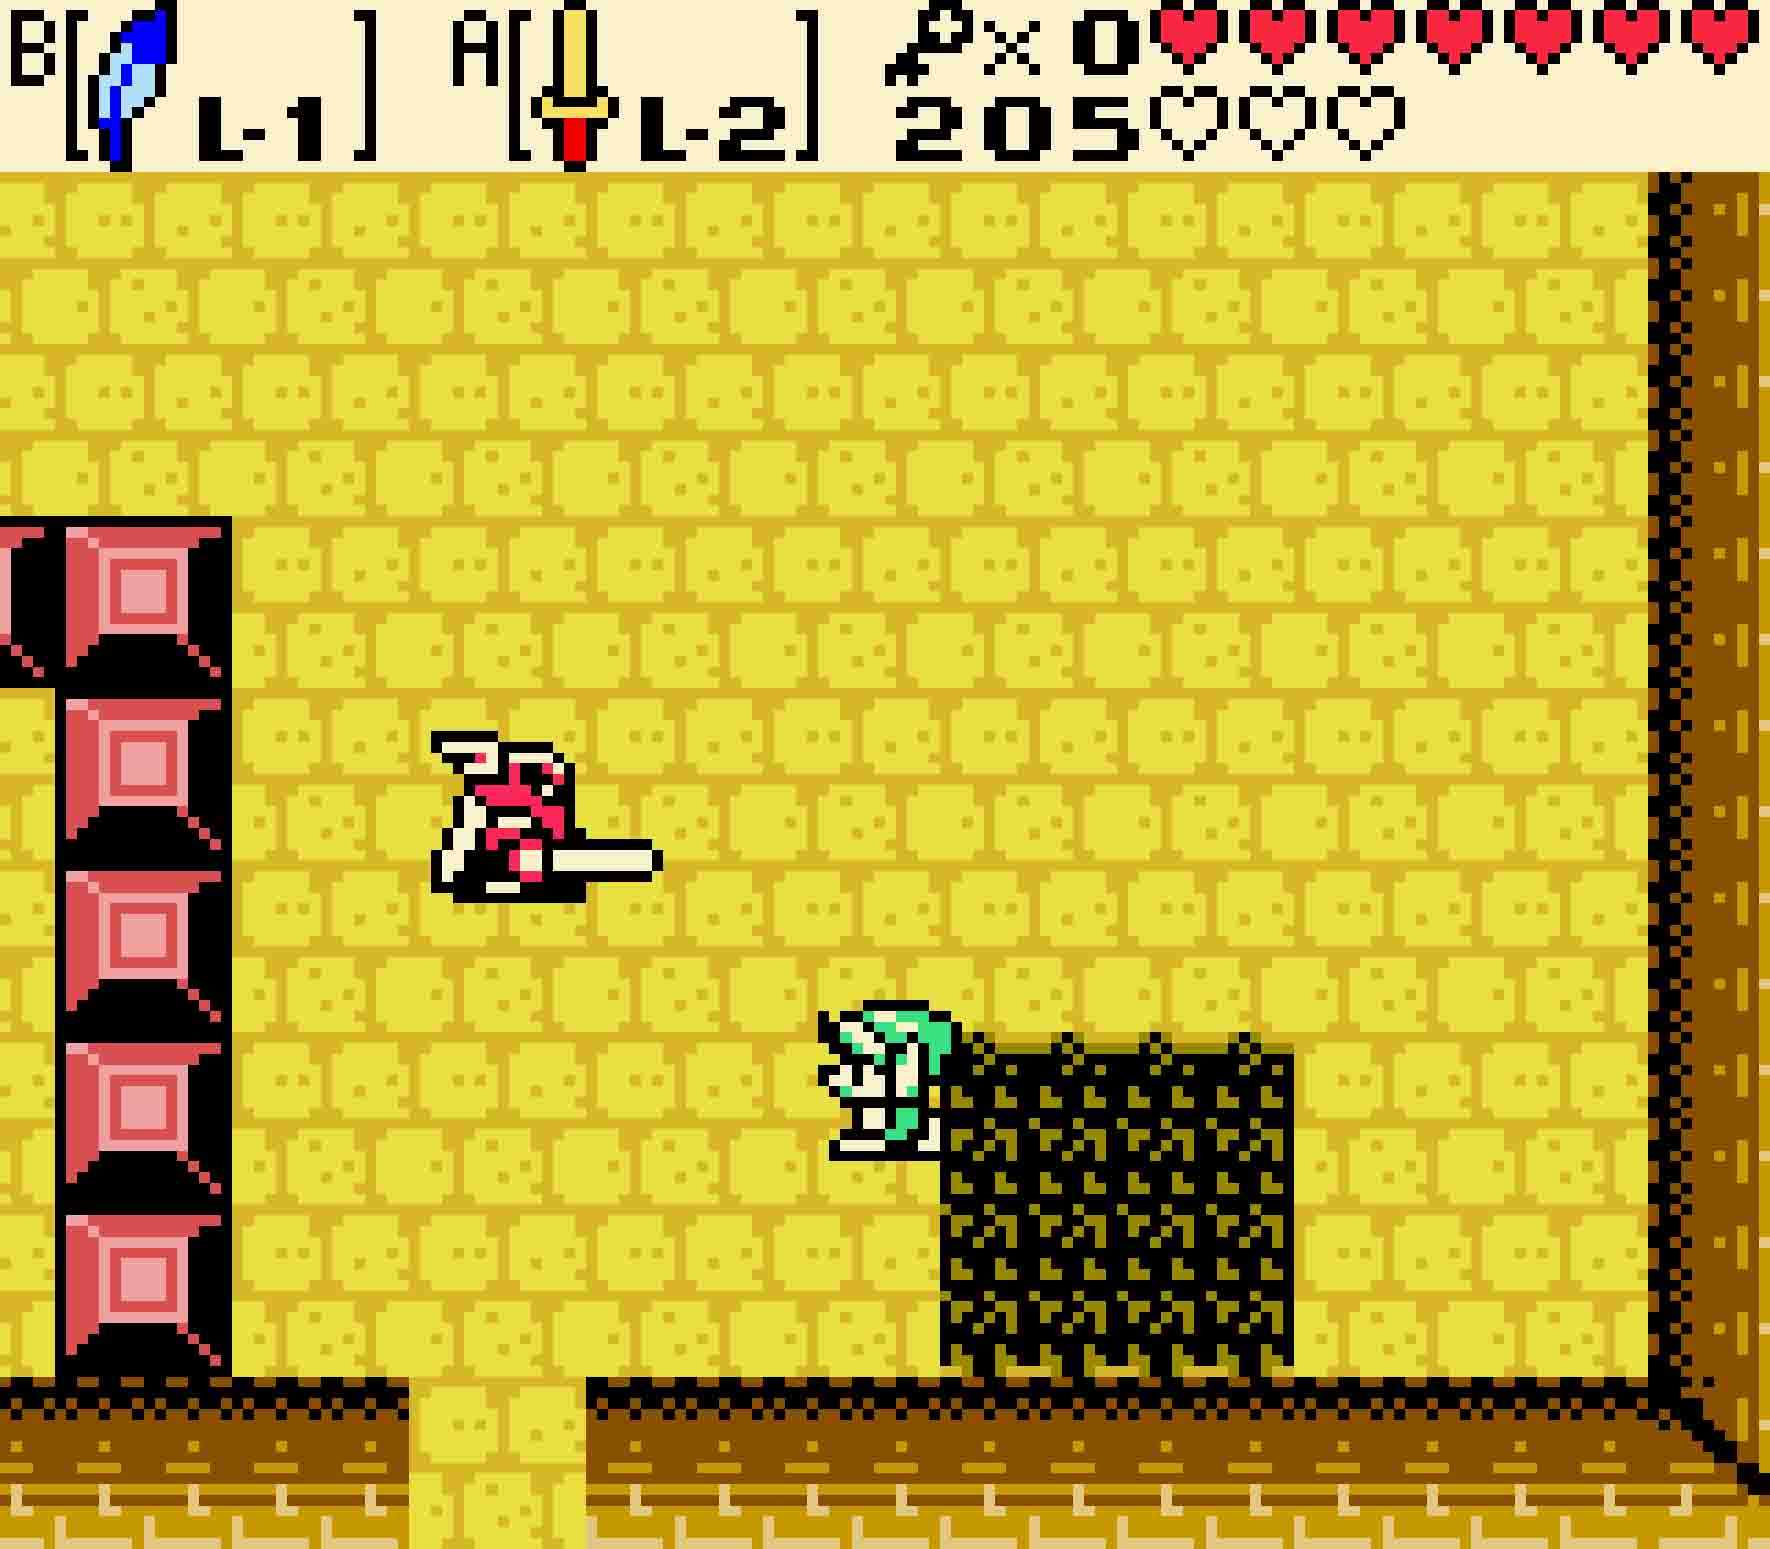
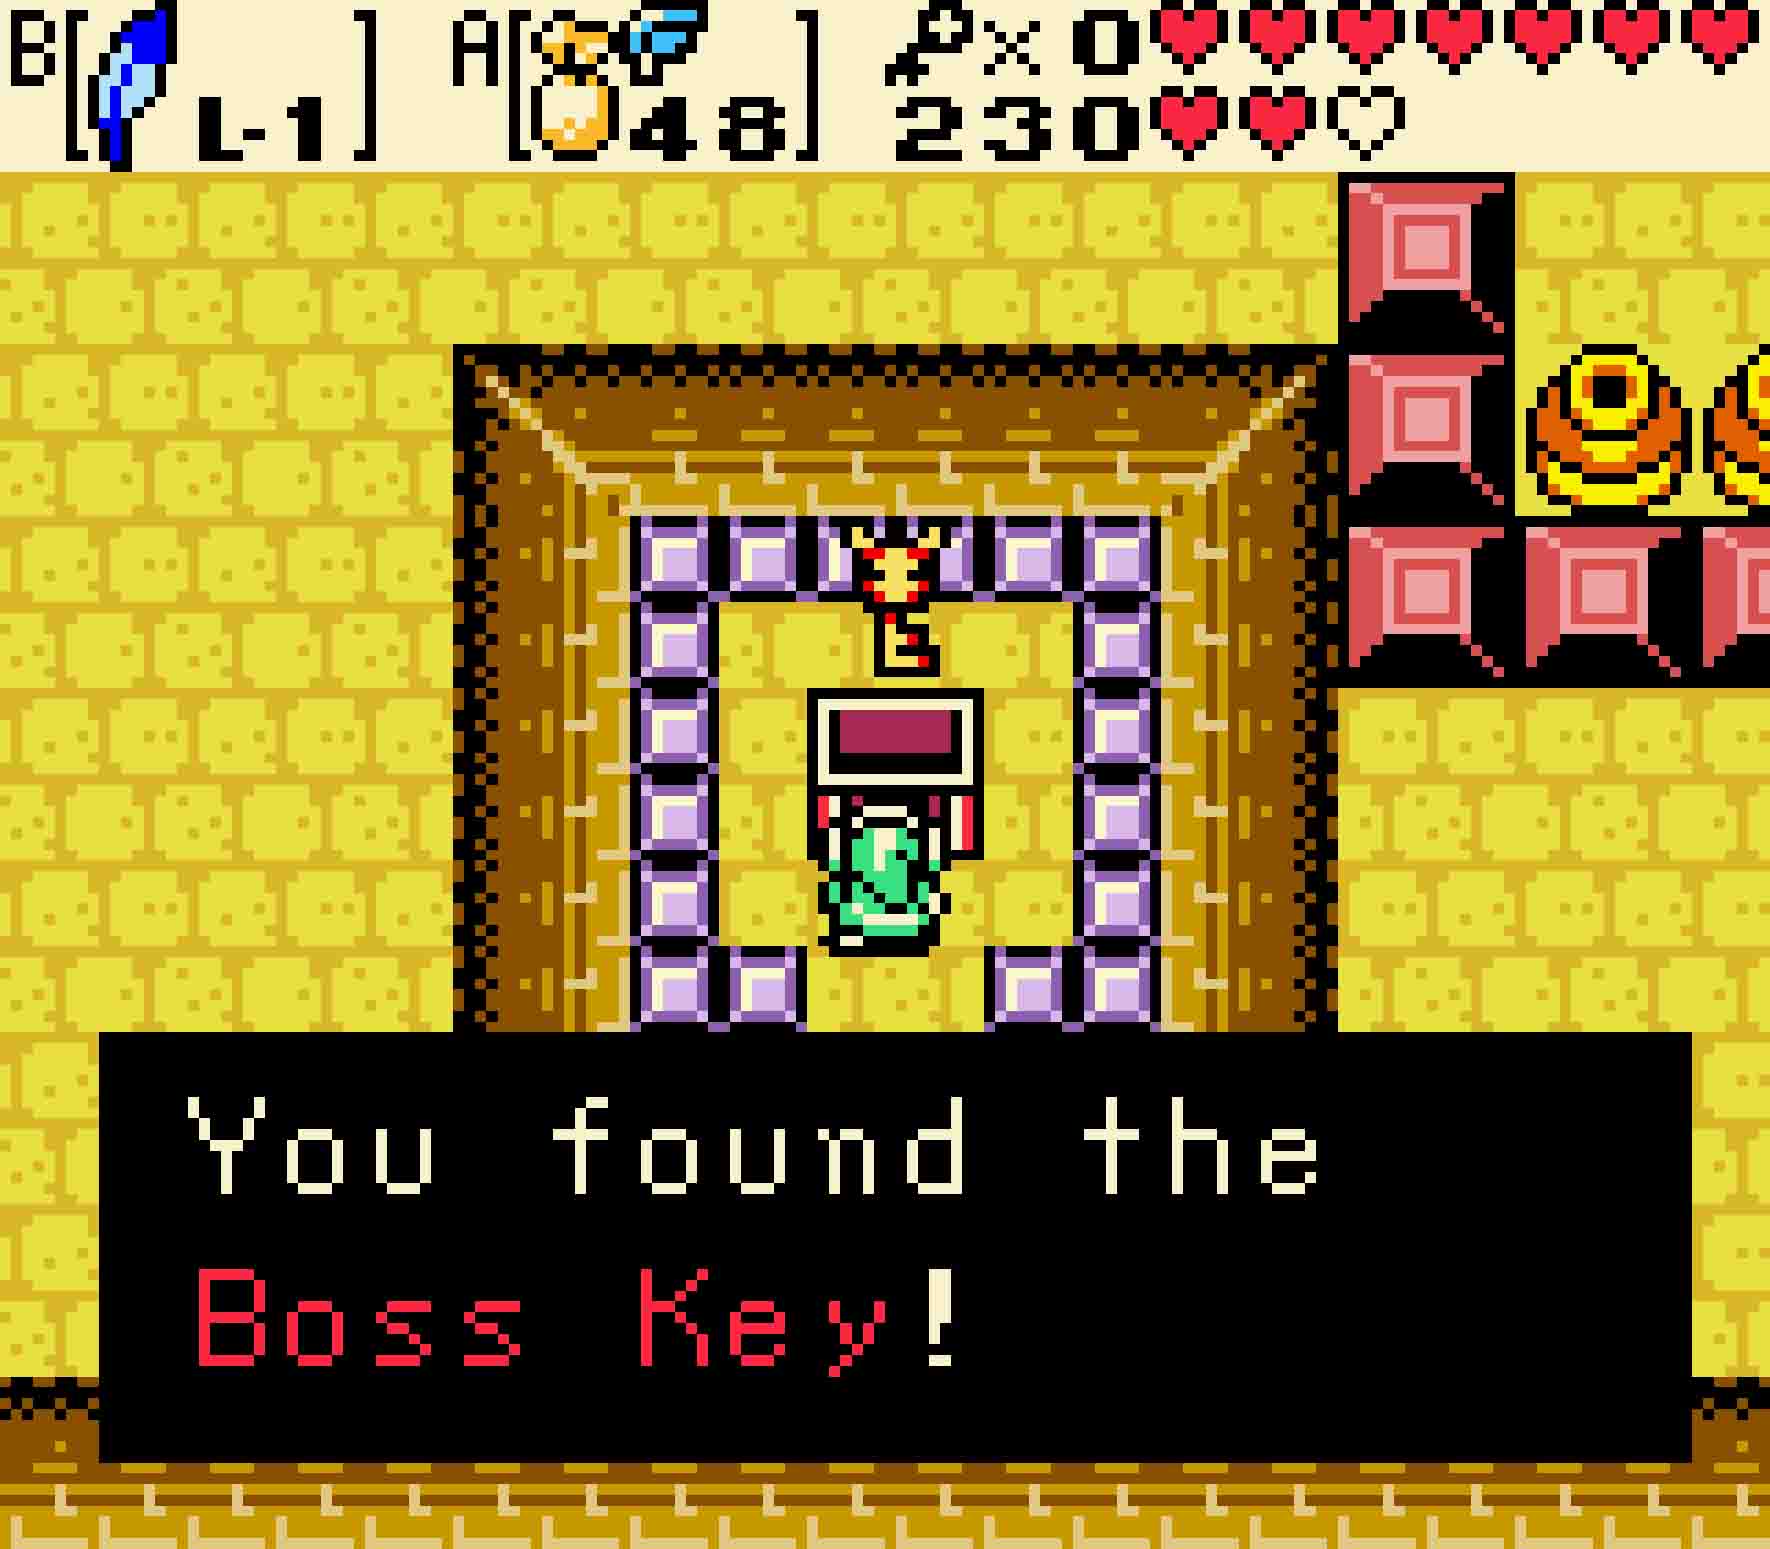
There’ll be a tempting gigantic rupee in front of you, but don’t grab it just yet. This is a total trap, and you should see through it. To get through this, arm your Roc’s Feather and Pegasus Seeds, and use a Pegasus Seed right before you grab the rupee. It’ll actually just disappear, the Armos will vanish into thin air, and then the entire room will start shaking. Your mission now is to run. The walls of both this room and the next will start to close in on you, attempting to flatten you into a pancake, instantly killing you if successful.
You really will just want to ignore the Keese; it’s better to take damage than it is to waste time killing them. Run all the way to the right, hopping over the spikes as you come to them. When you reach the end of the room, U-turn and head back west both screens. To get out alive, you need to exit through that far door on the west end of this long hallways before you’re squished. If you manage to make it, the treasure chest with the Boss Key will finally be yours.
-
- Dash with Pegasus Seeds through the shrinking corridor so that you can get the prize at the end.
15.7 Grab the last small key
Go back into that trapped hallway. We assure you it’s safe.
It will seem nonsensical at first, but given that the only way out of the room is to head back east, take the exit. Don’t worry; the walls will have reset. But with the walls reset, you’ll be able to reach the stairway heading upward that you couldn’t have reached before. Head back up to 3F.
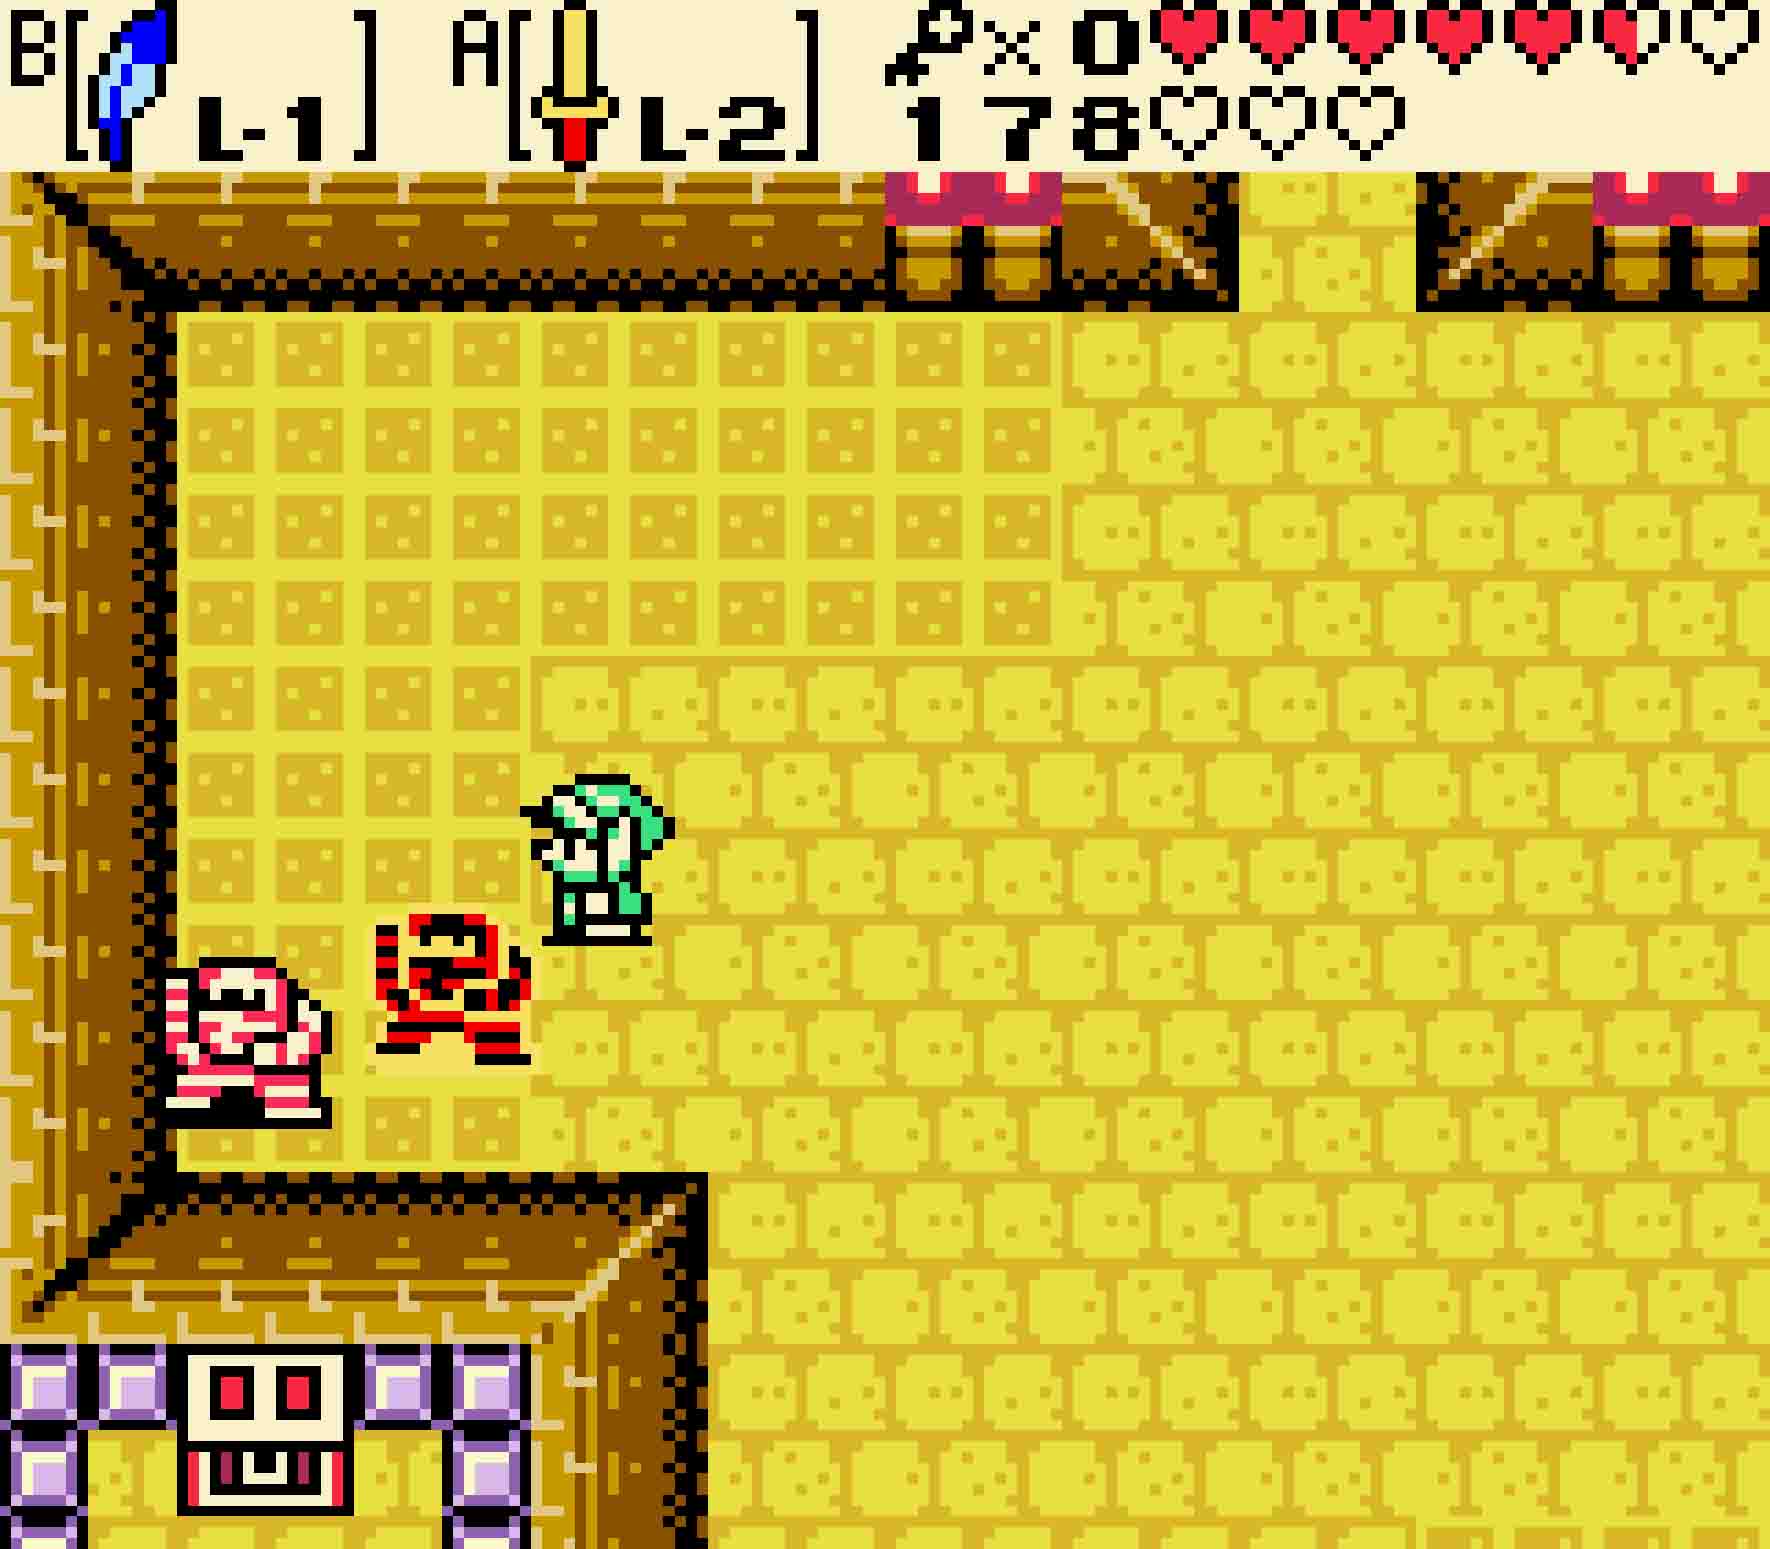
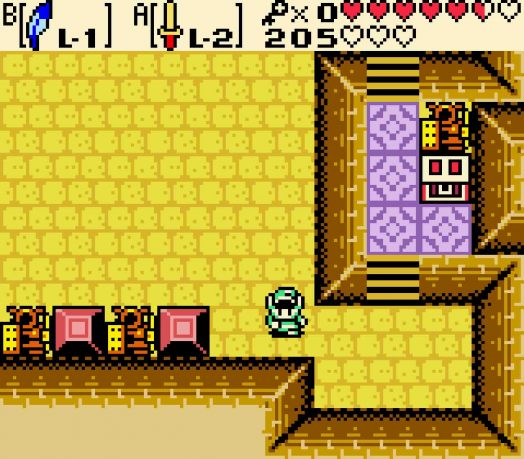
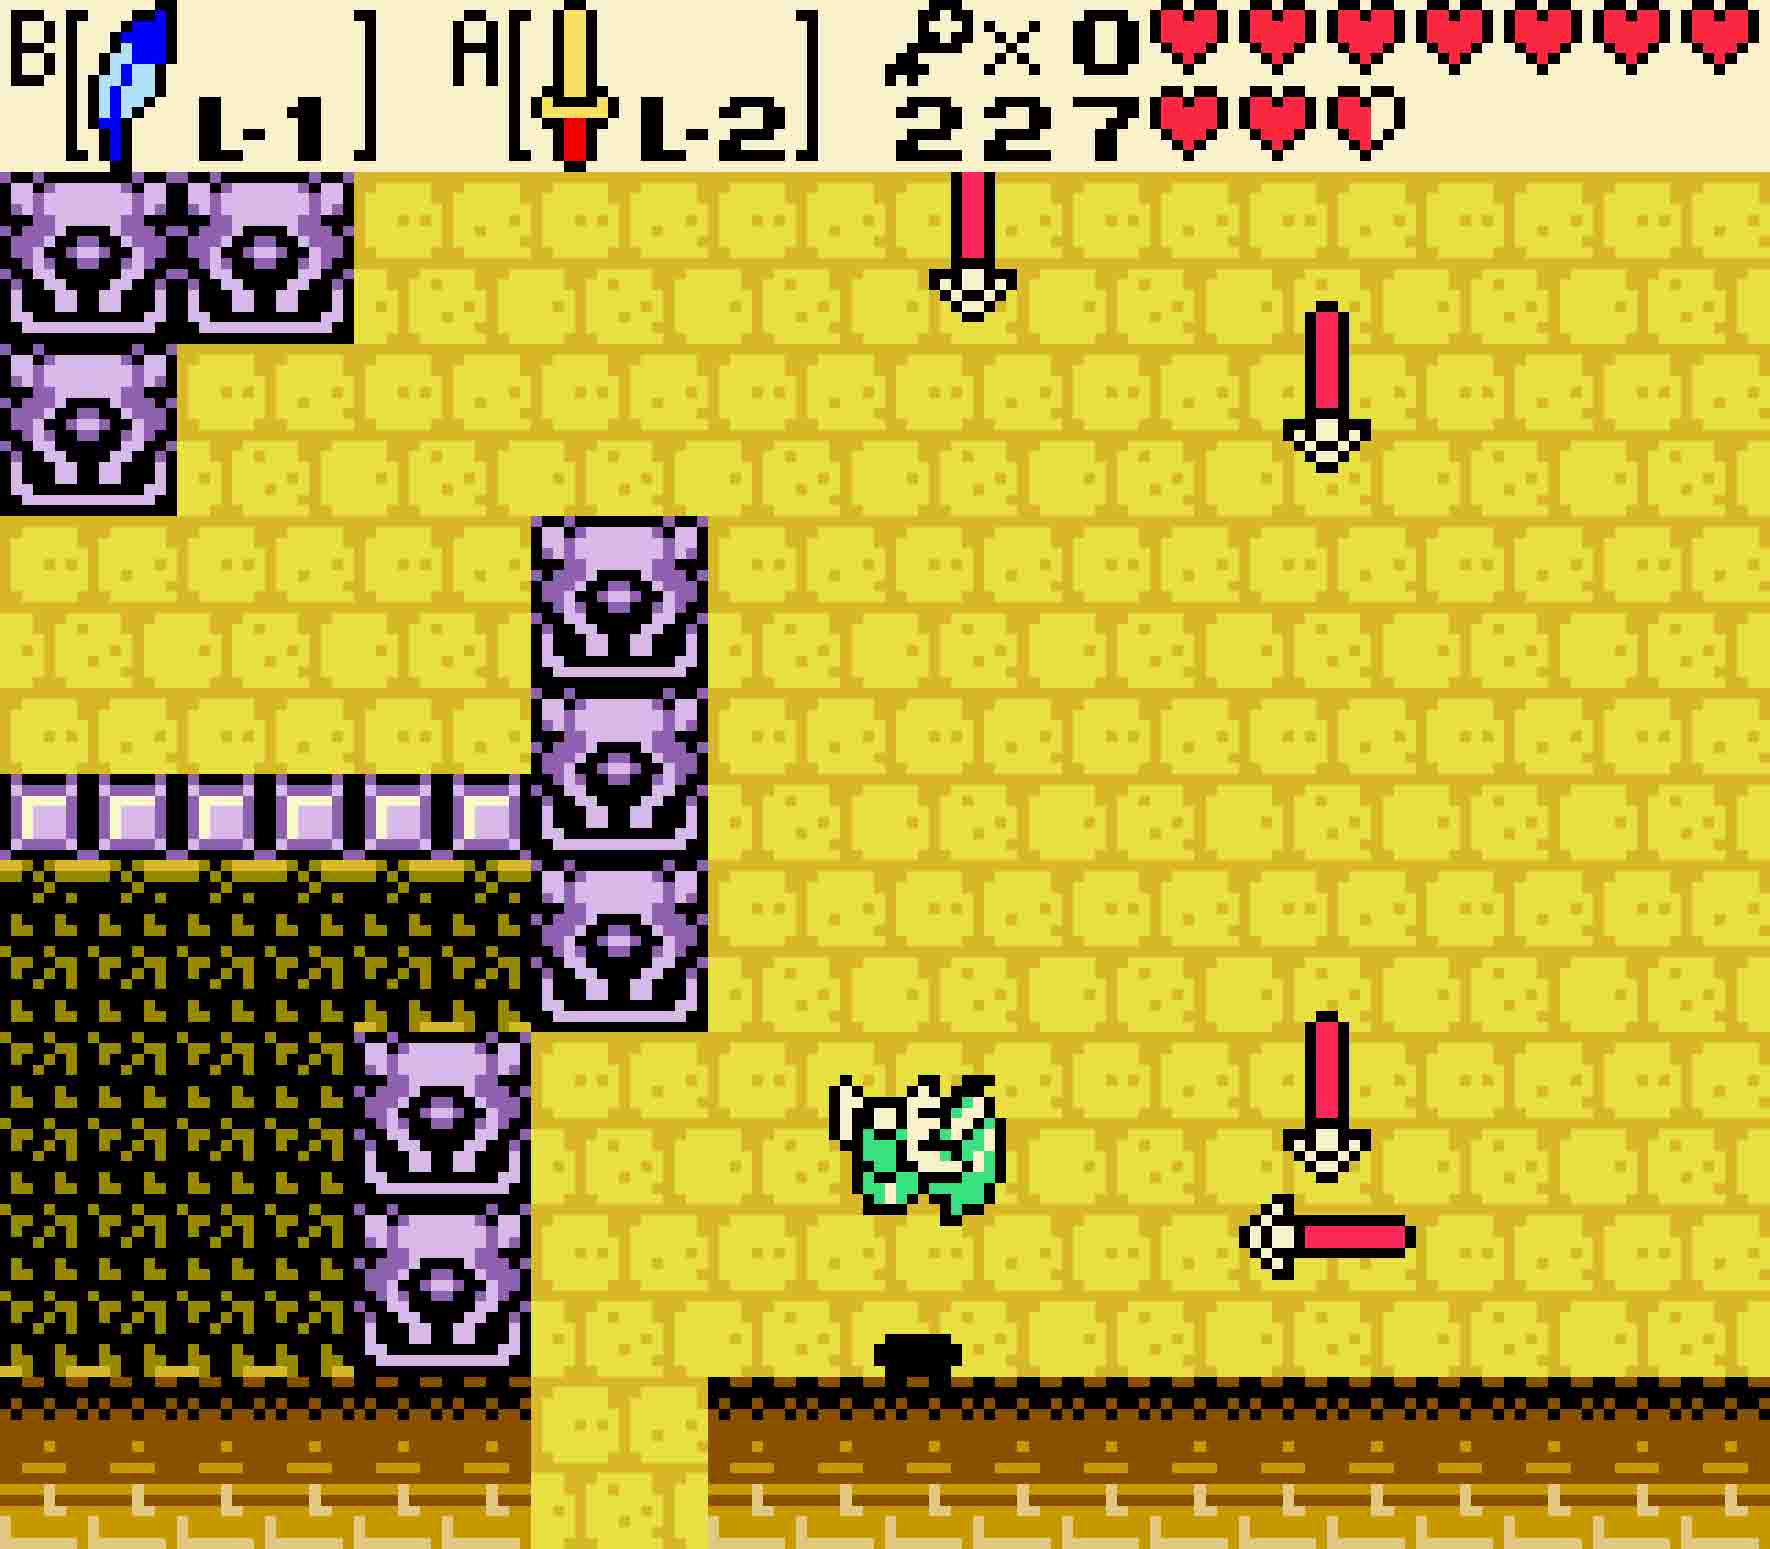
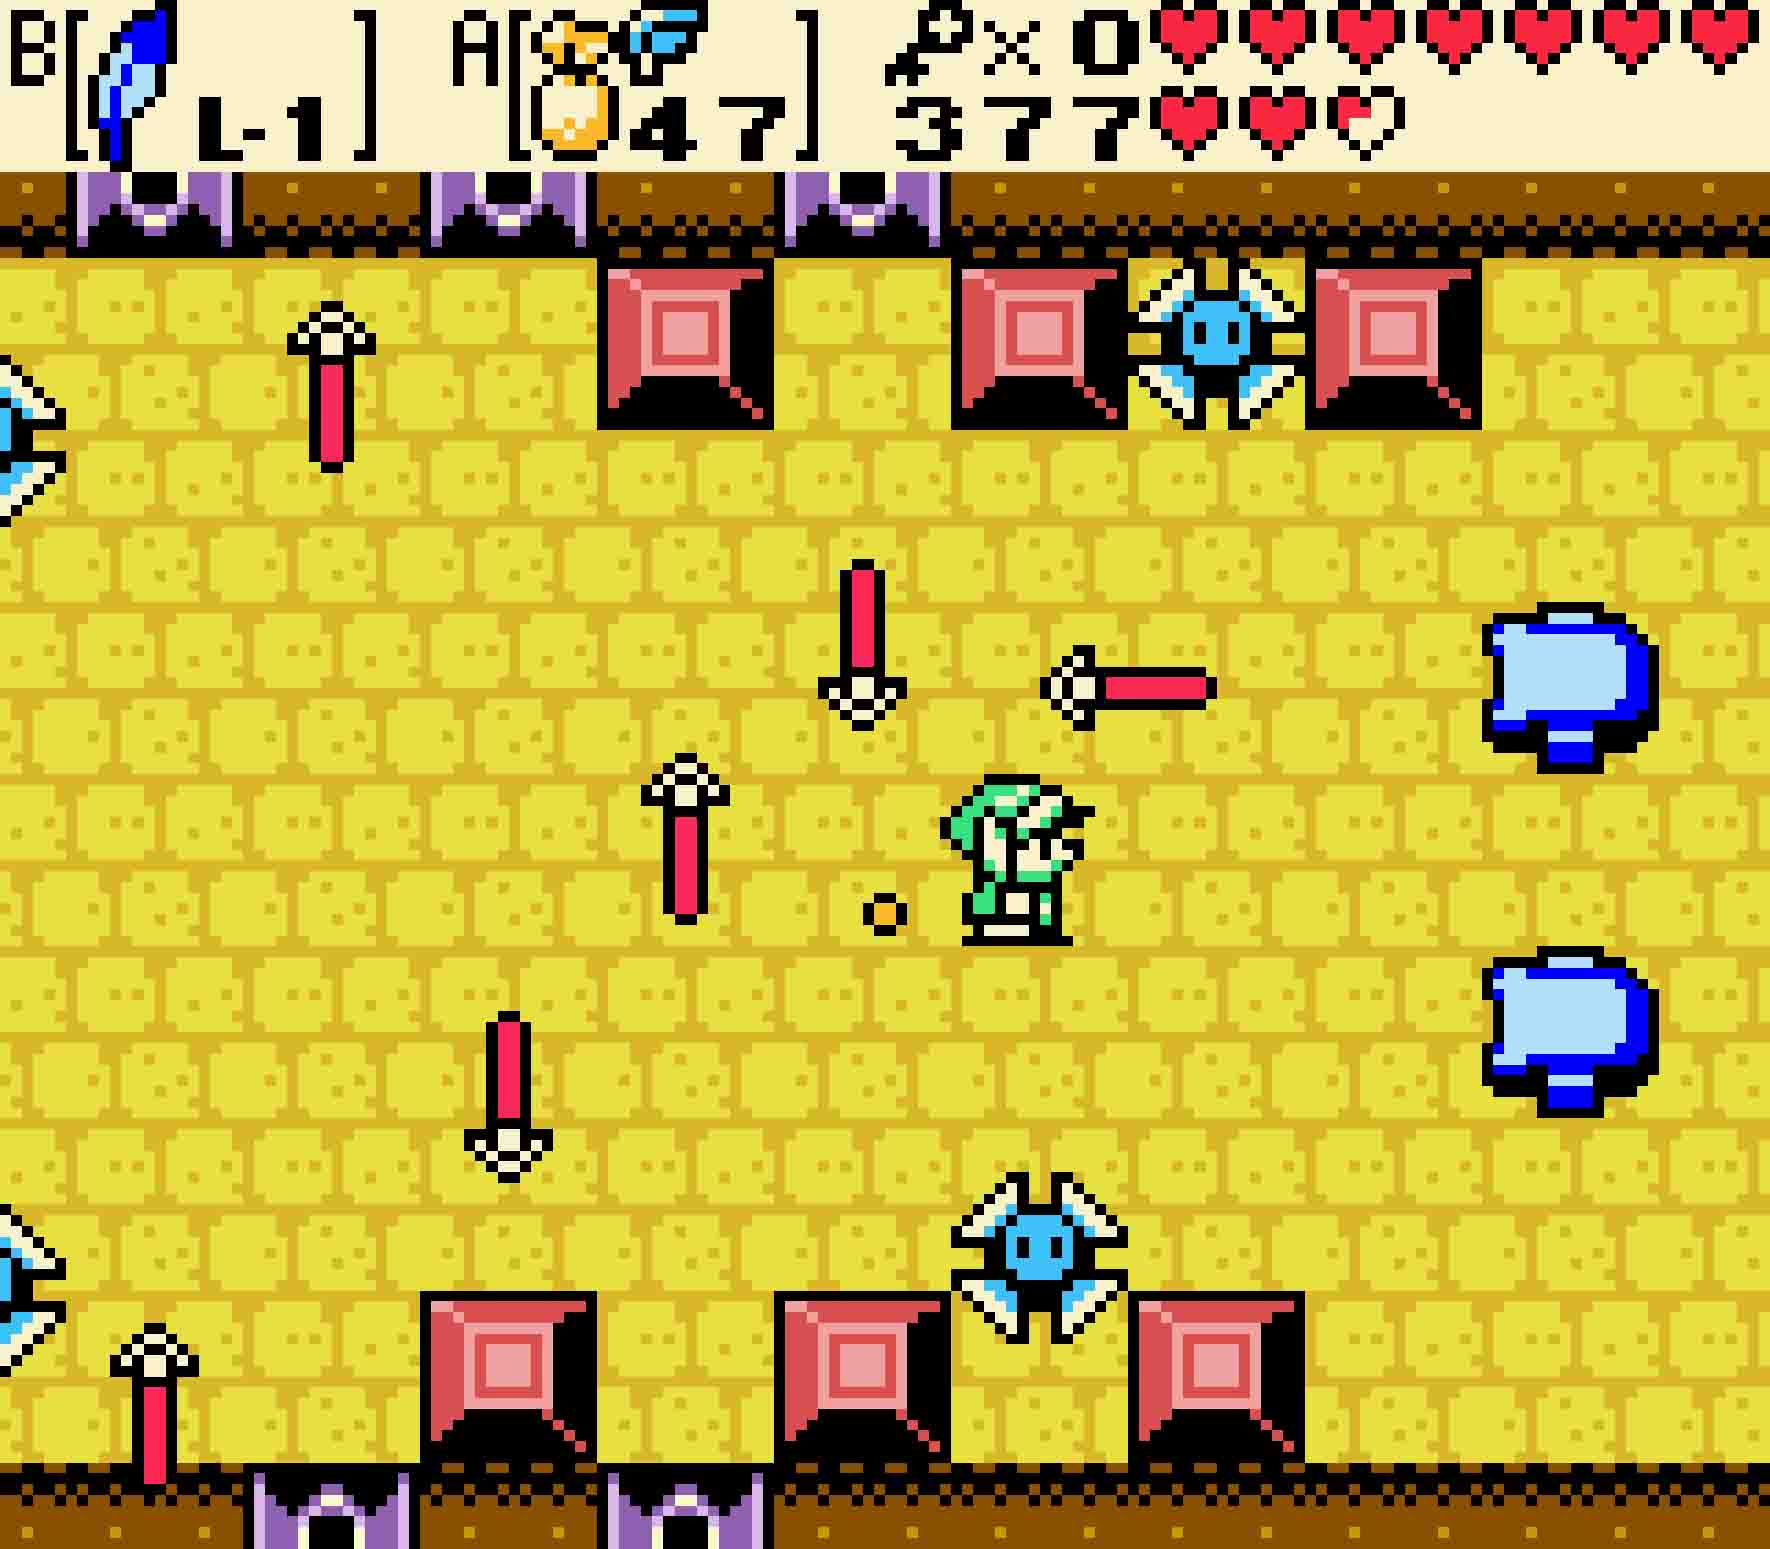
From here on out, you just have to face the gauntlet of enemies and obstacles in your way. Your first obstacle is a quartet of Sword Stalfos. Defeating them won’t open the door to the north, but pushing the upper-left block up one square will. Head north.
A swarm of Ropes will attack you in the next room; kill them all before they mob you. There’s a locked door to the north, but you’re all out of keys. Yet there’s one small key left to find, and you’ll need to fall into the pit to get it. Down there, do not jump off of the raised platform or else you’ll have to do the last bit all over again. Instead, just follow the raised catwalk until you reach the chest. That will contain the dungeon’s last key. Head back around, jump on the trampoline, and then open the door to the mini-boss’ lair.
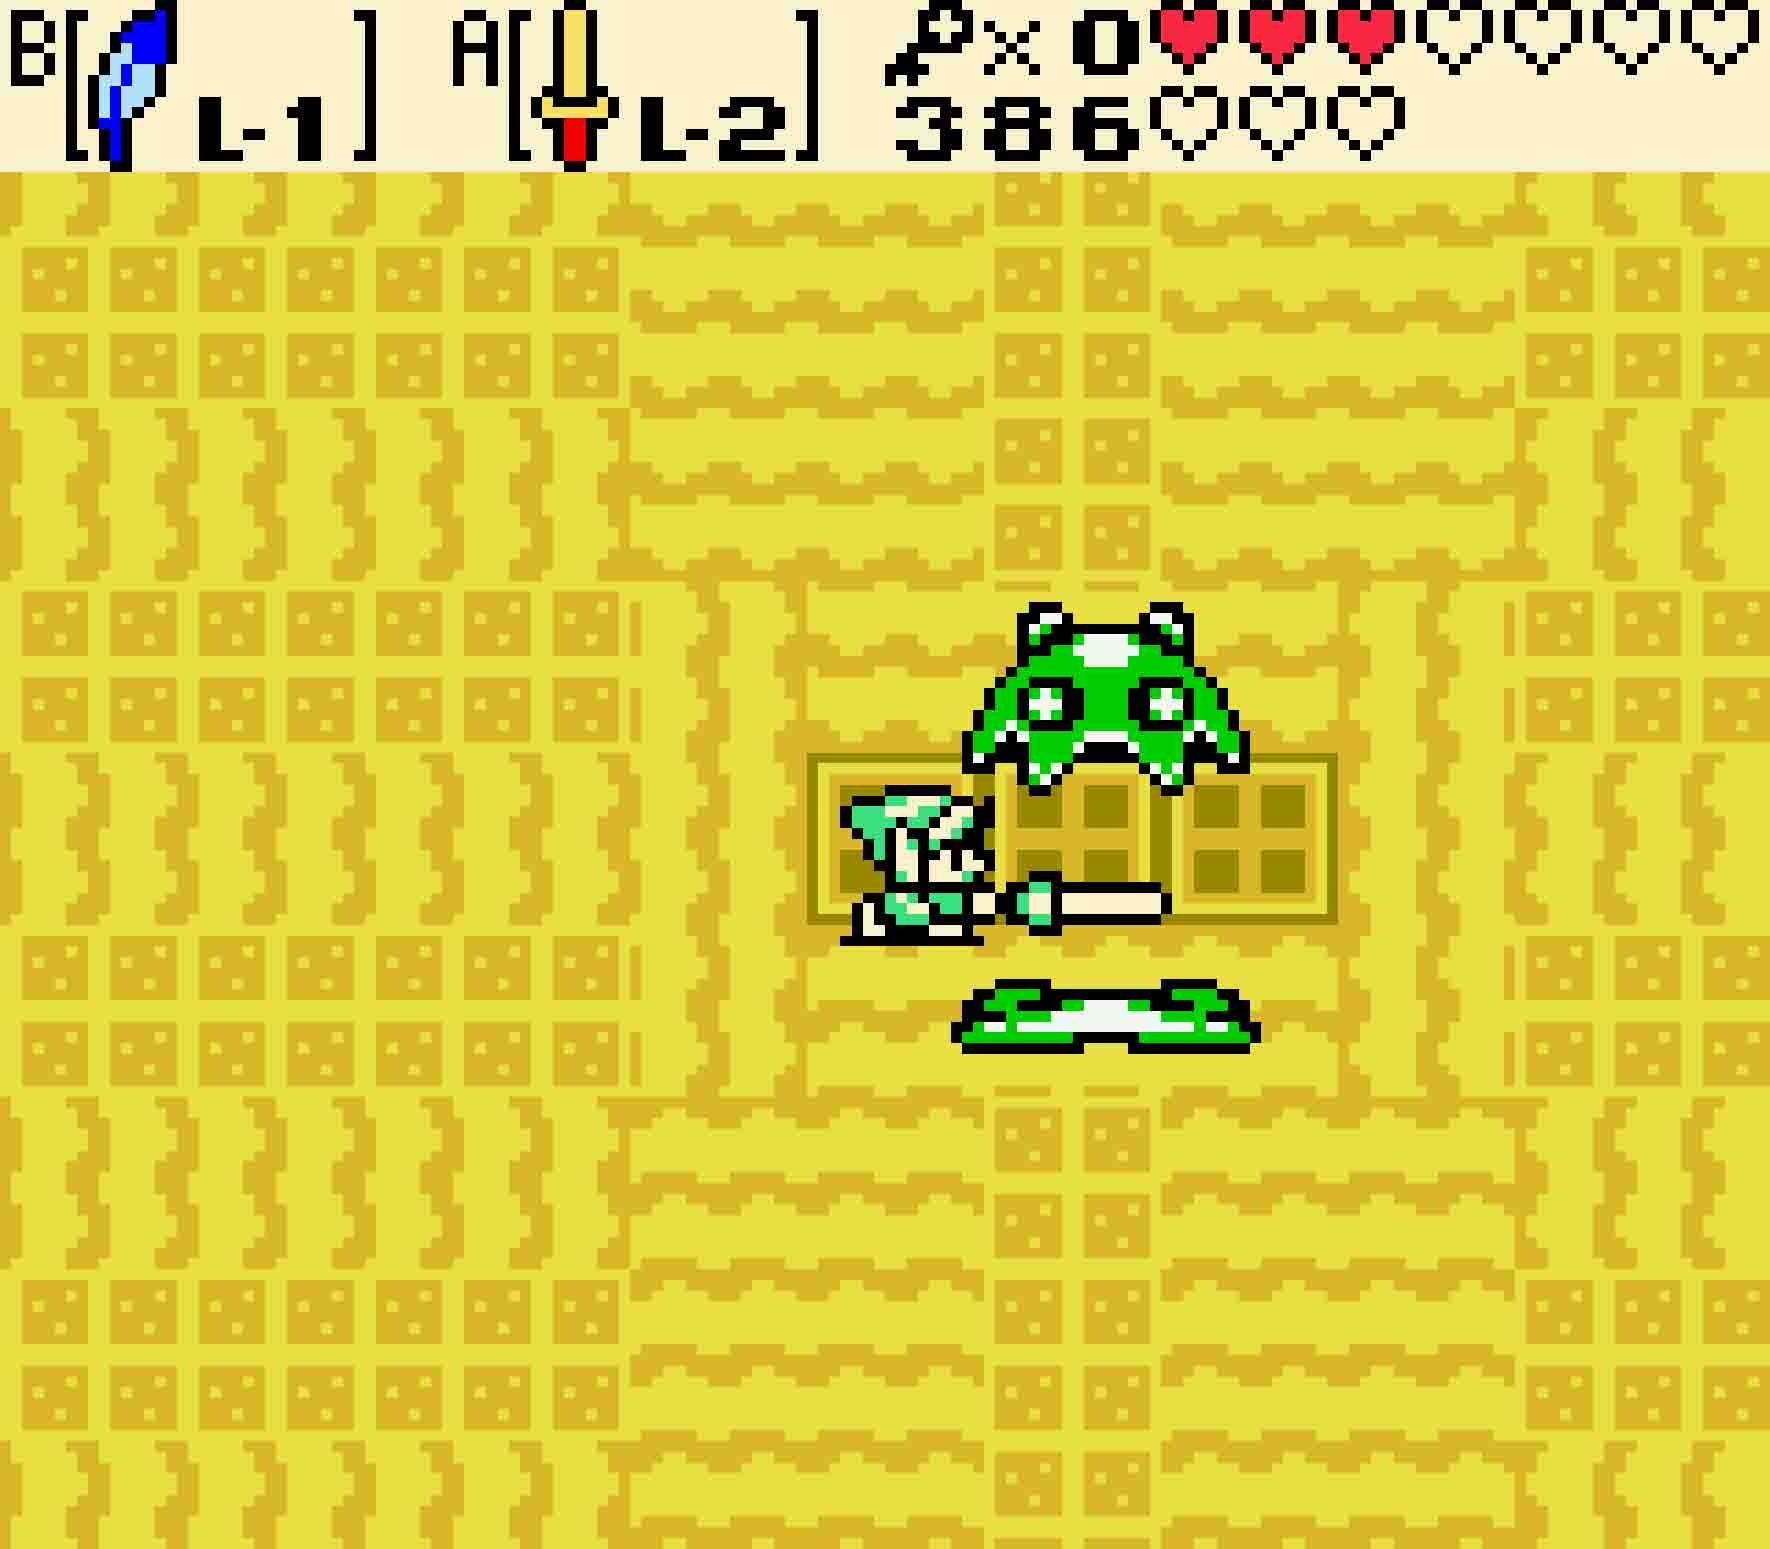
15.8 Defeat Vire
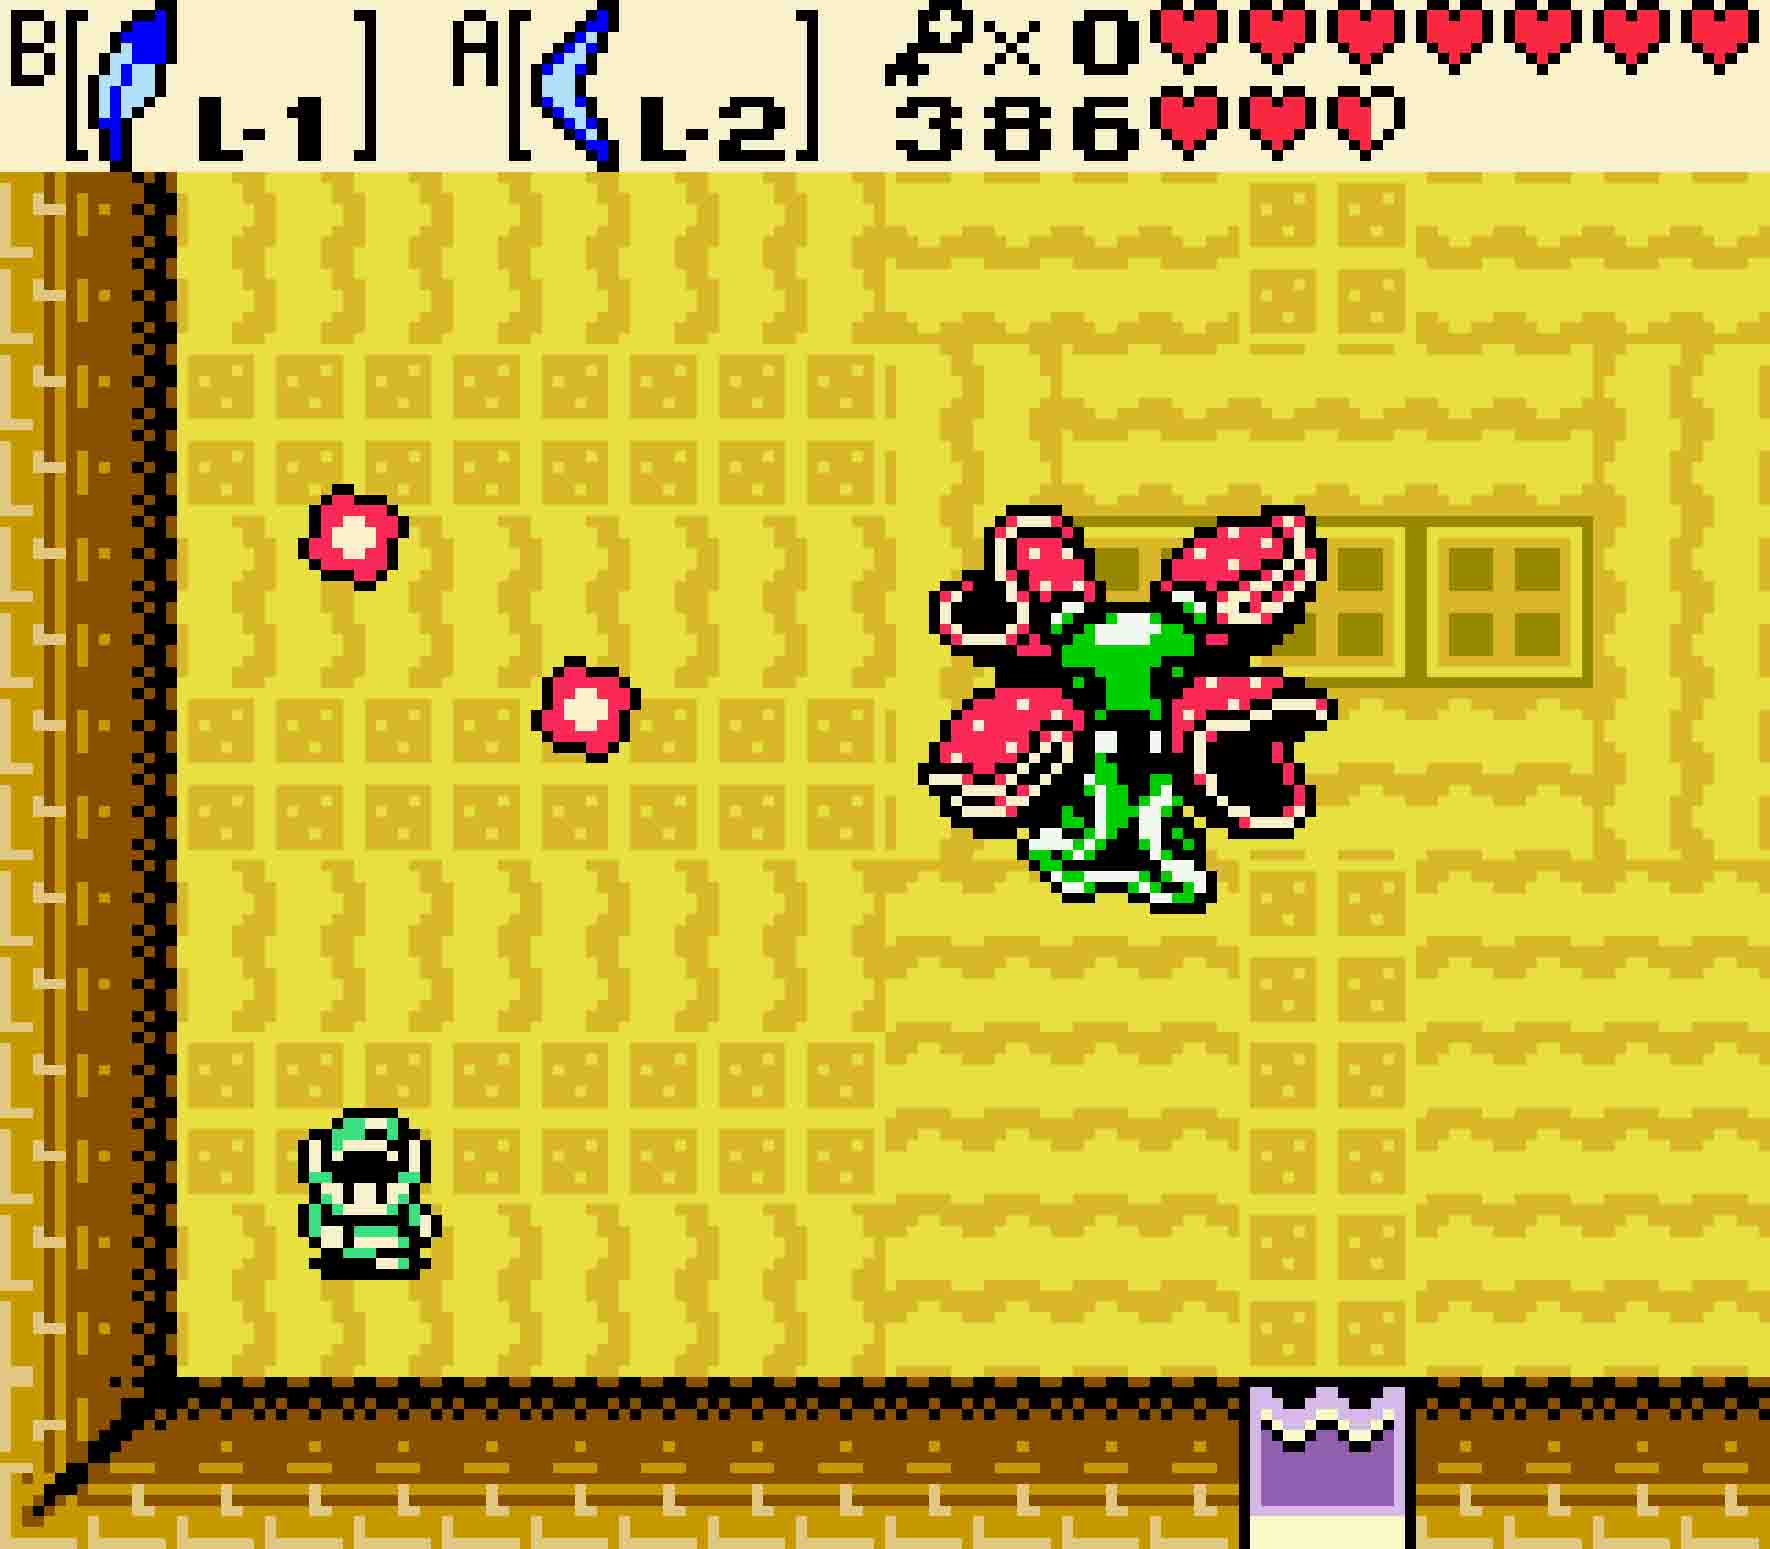
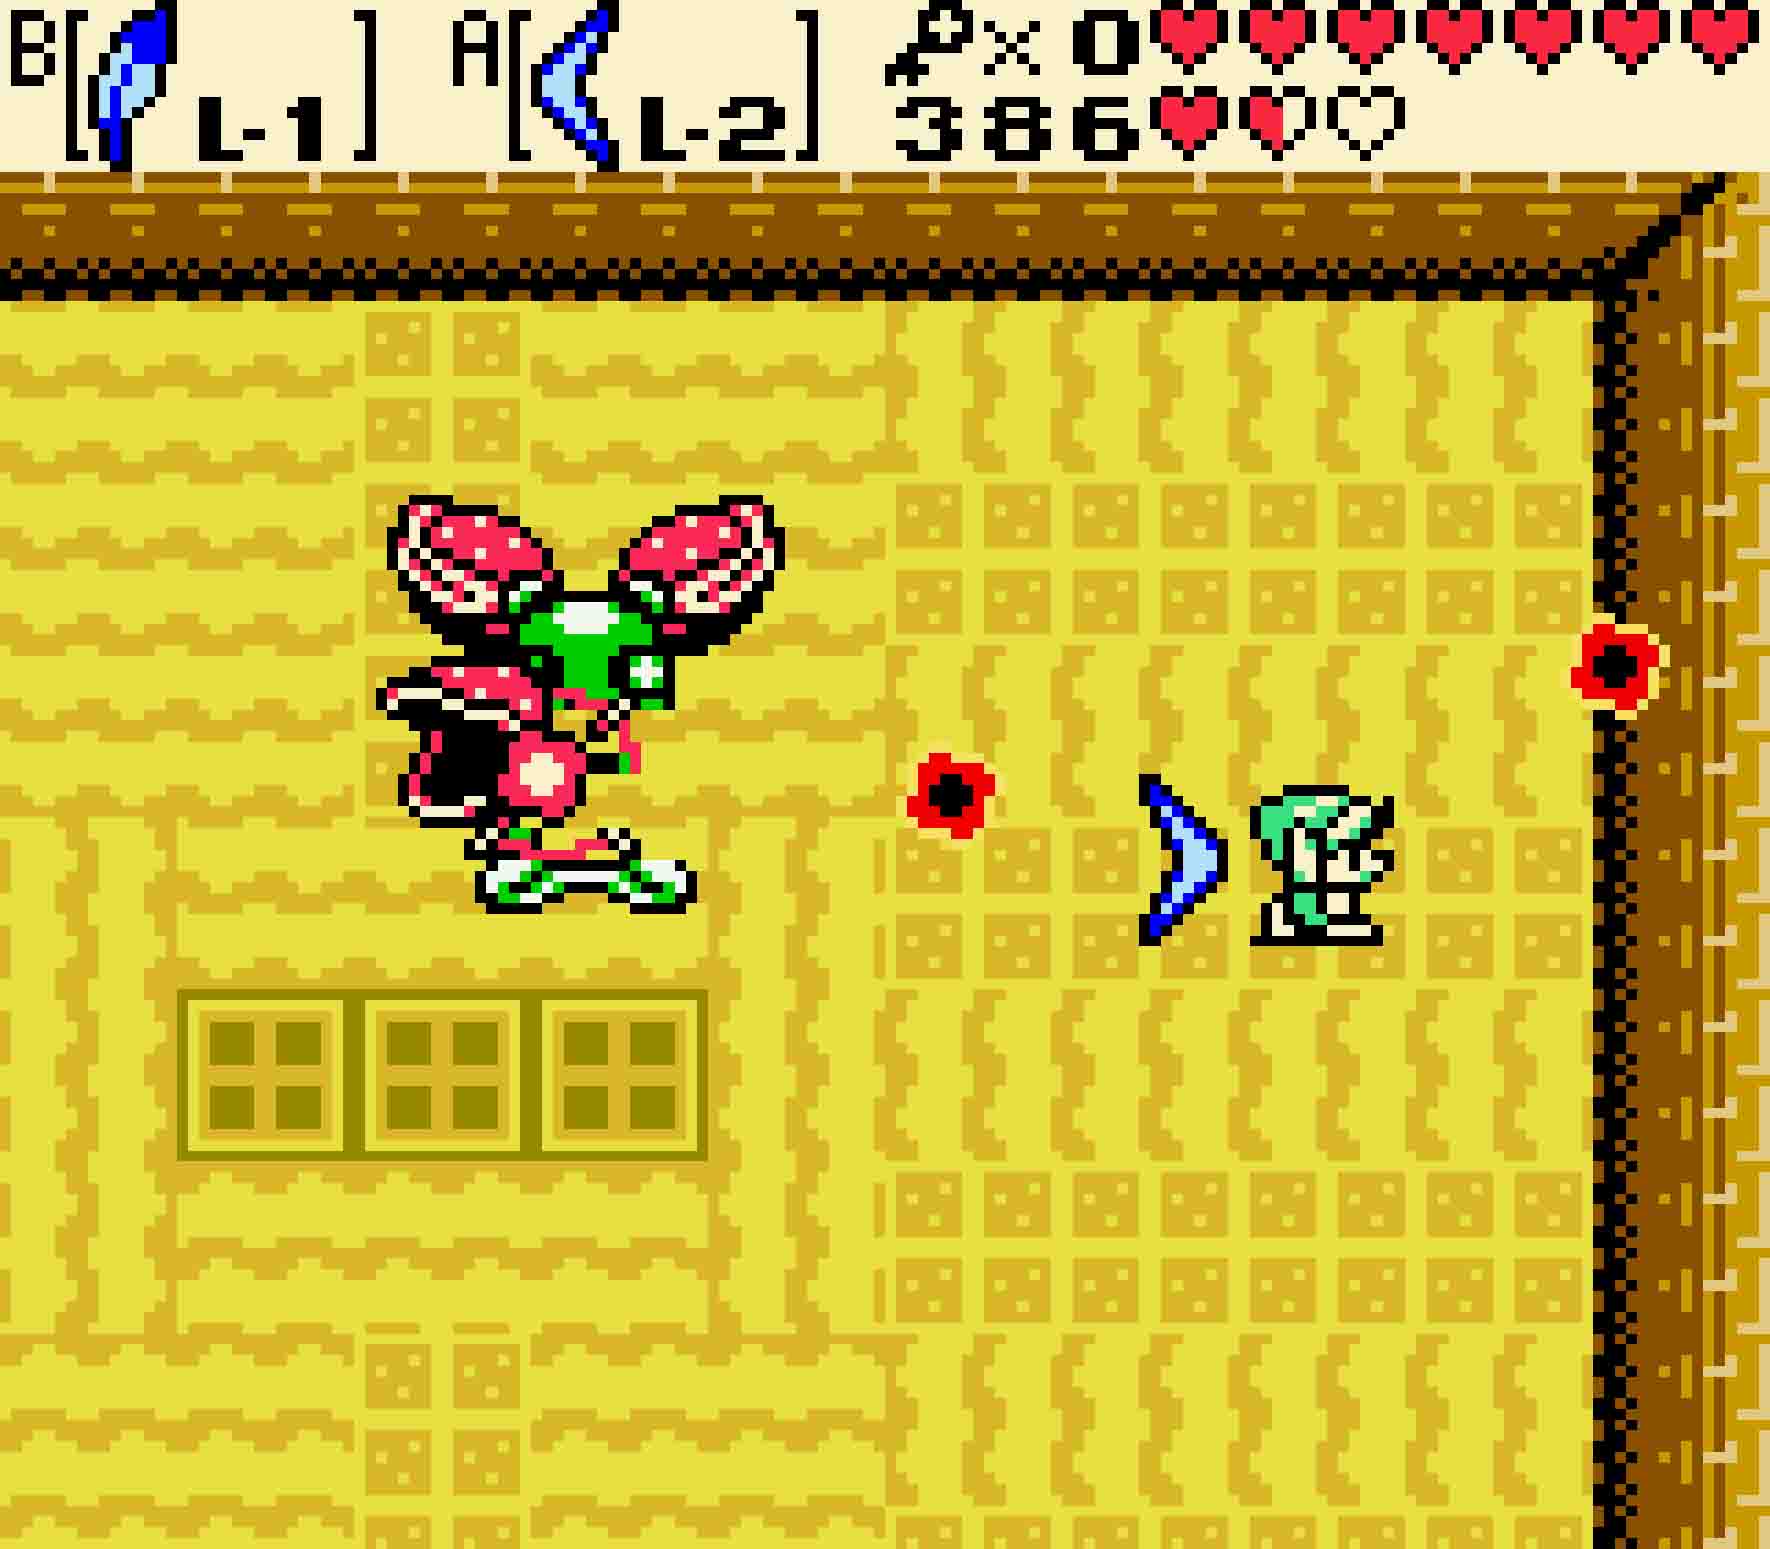
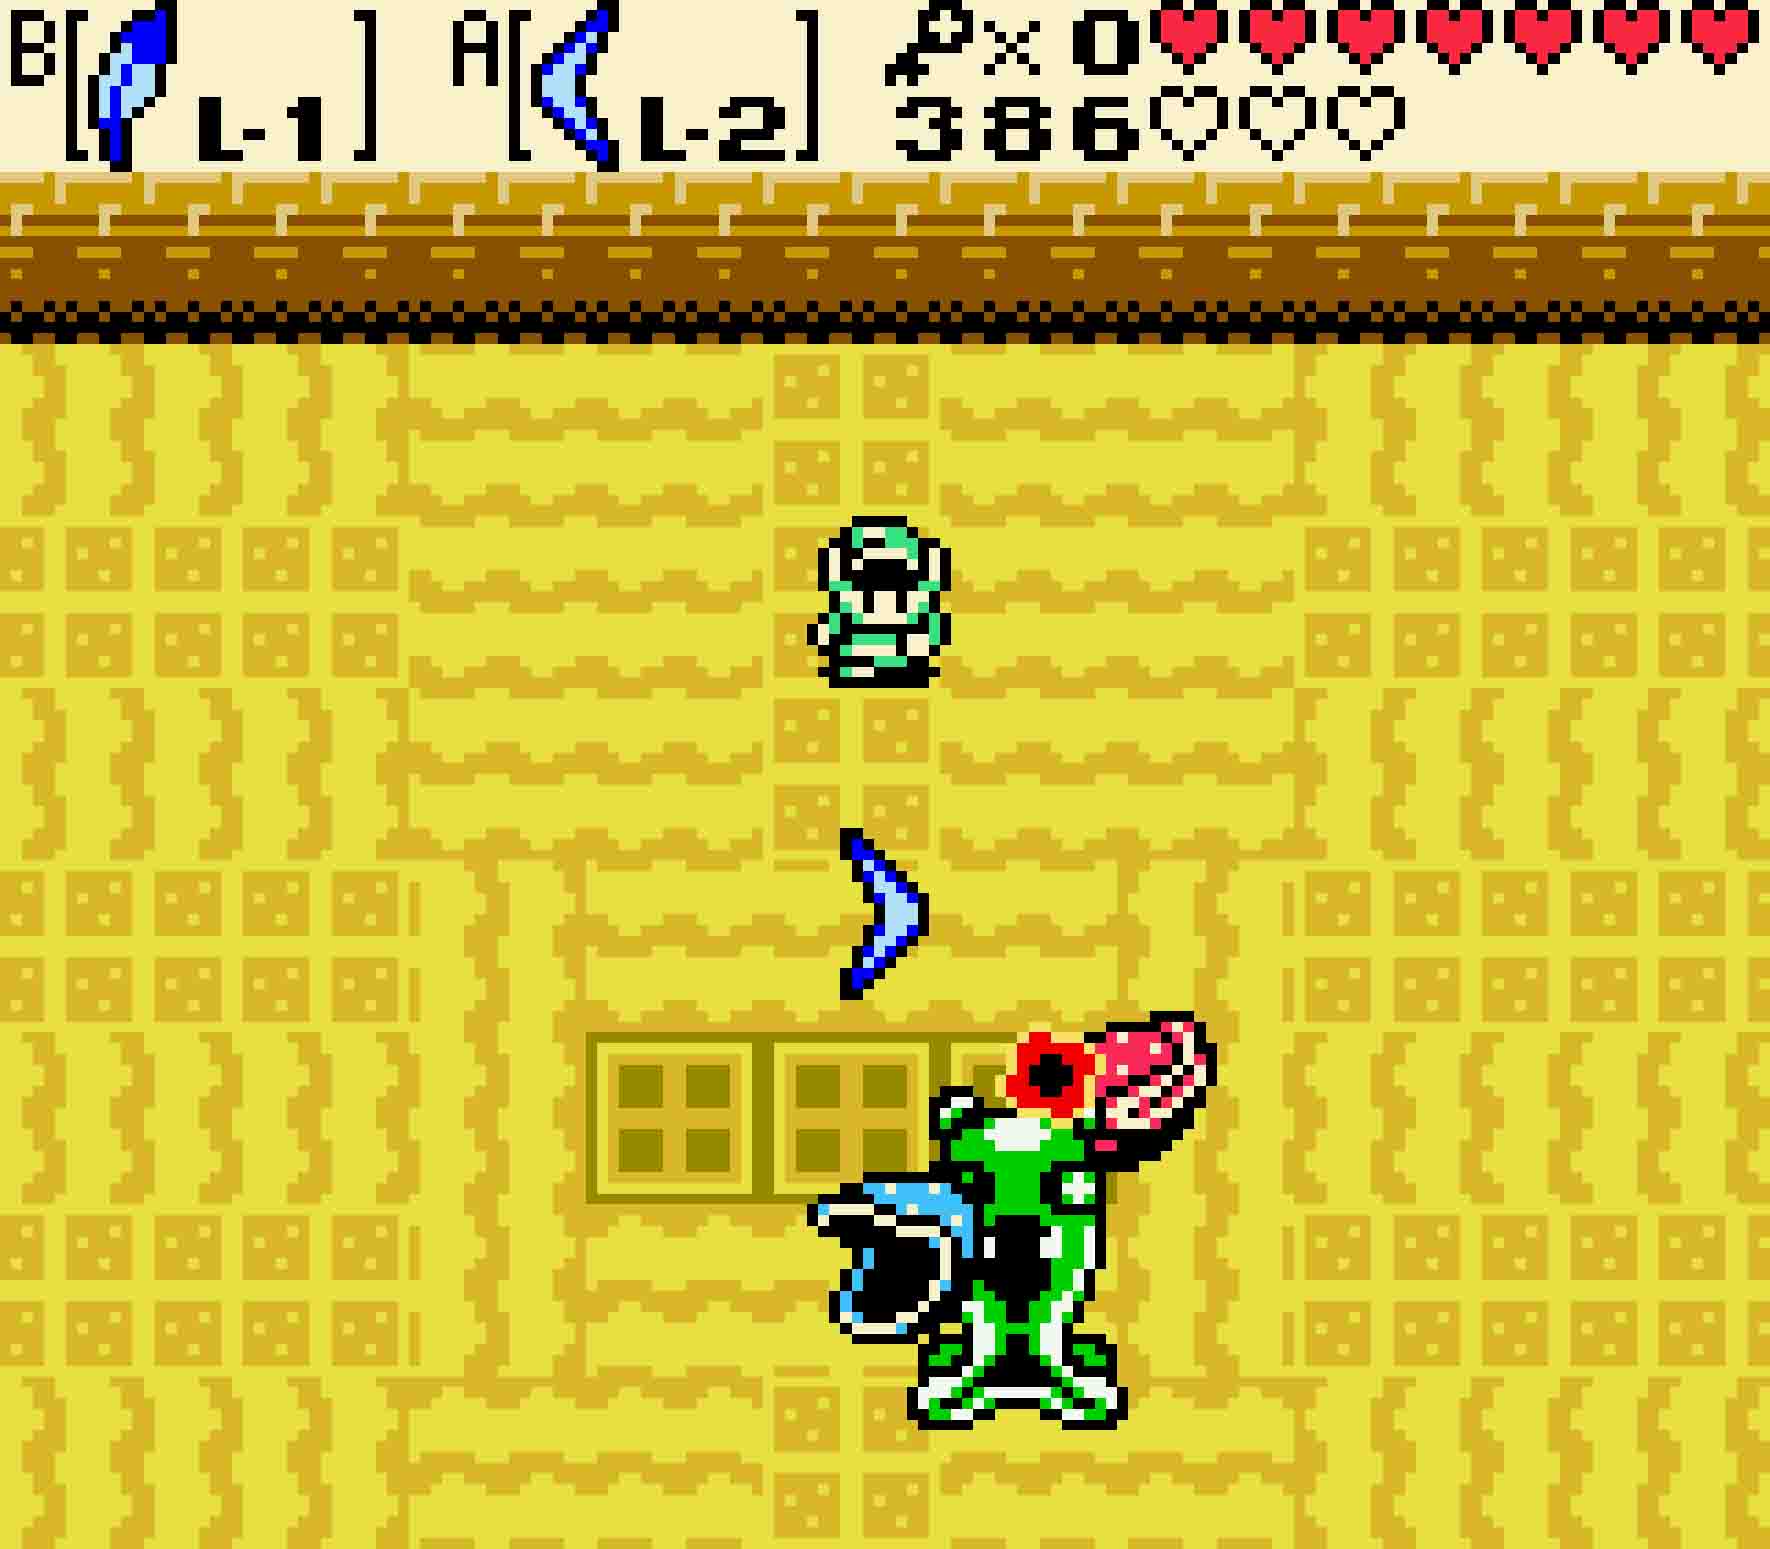
 Vire is a boss that’s a little bit shy. It will generally stay around the edges of the room far away from Link, usually pulling back whenever you get close to melee range. During this shy phase of the battle, Vire will occasionally spit fireballs at you, though these fireballs can simply be destroyed with your sword or easily dodged.
Once you manage to avoid several of his projectiles, Vire will disappear off-screen before swooping quickly after you. When it does this, you should use your sword to strike it. This will cause Vire to complain to you, but once you hit Vire a few times, it will split into two smaller Keese-like creatures. Once you kill both of them, each of which will only require a single sword hit, Vire will be defeated, providing you with a teleporter to the beginning of the dungeon.
15.9 Find the boss’ lair
After Vire, you’ll face a room with a myriad of traps. Not only are there multiple Bladed Traps, but there are also heaps of arrow-shooting turrets to avoid. However, the best solution here is to be a complete coward and run. Consume a Pegasus Seed, and run quickly to the right to avoid it all.
Keese flit about ahead while Rolling Spike Traps roll about in the middle of the passageway. The trick here is obvious; kill any Keese that come near you at the beginning, and use Roc’s Feather to hop over the rolling logs as you weave between the blocks. Then on the far side, step on the switch in the upper-right to open the door to the south below you.
-
- This trap is much easier to avoid than it looks.
-
- Leap over the spiked logs and keep going.
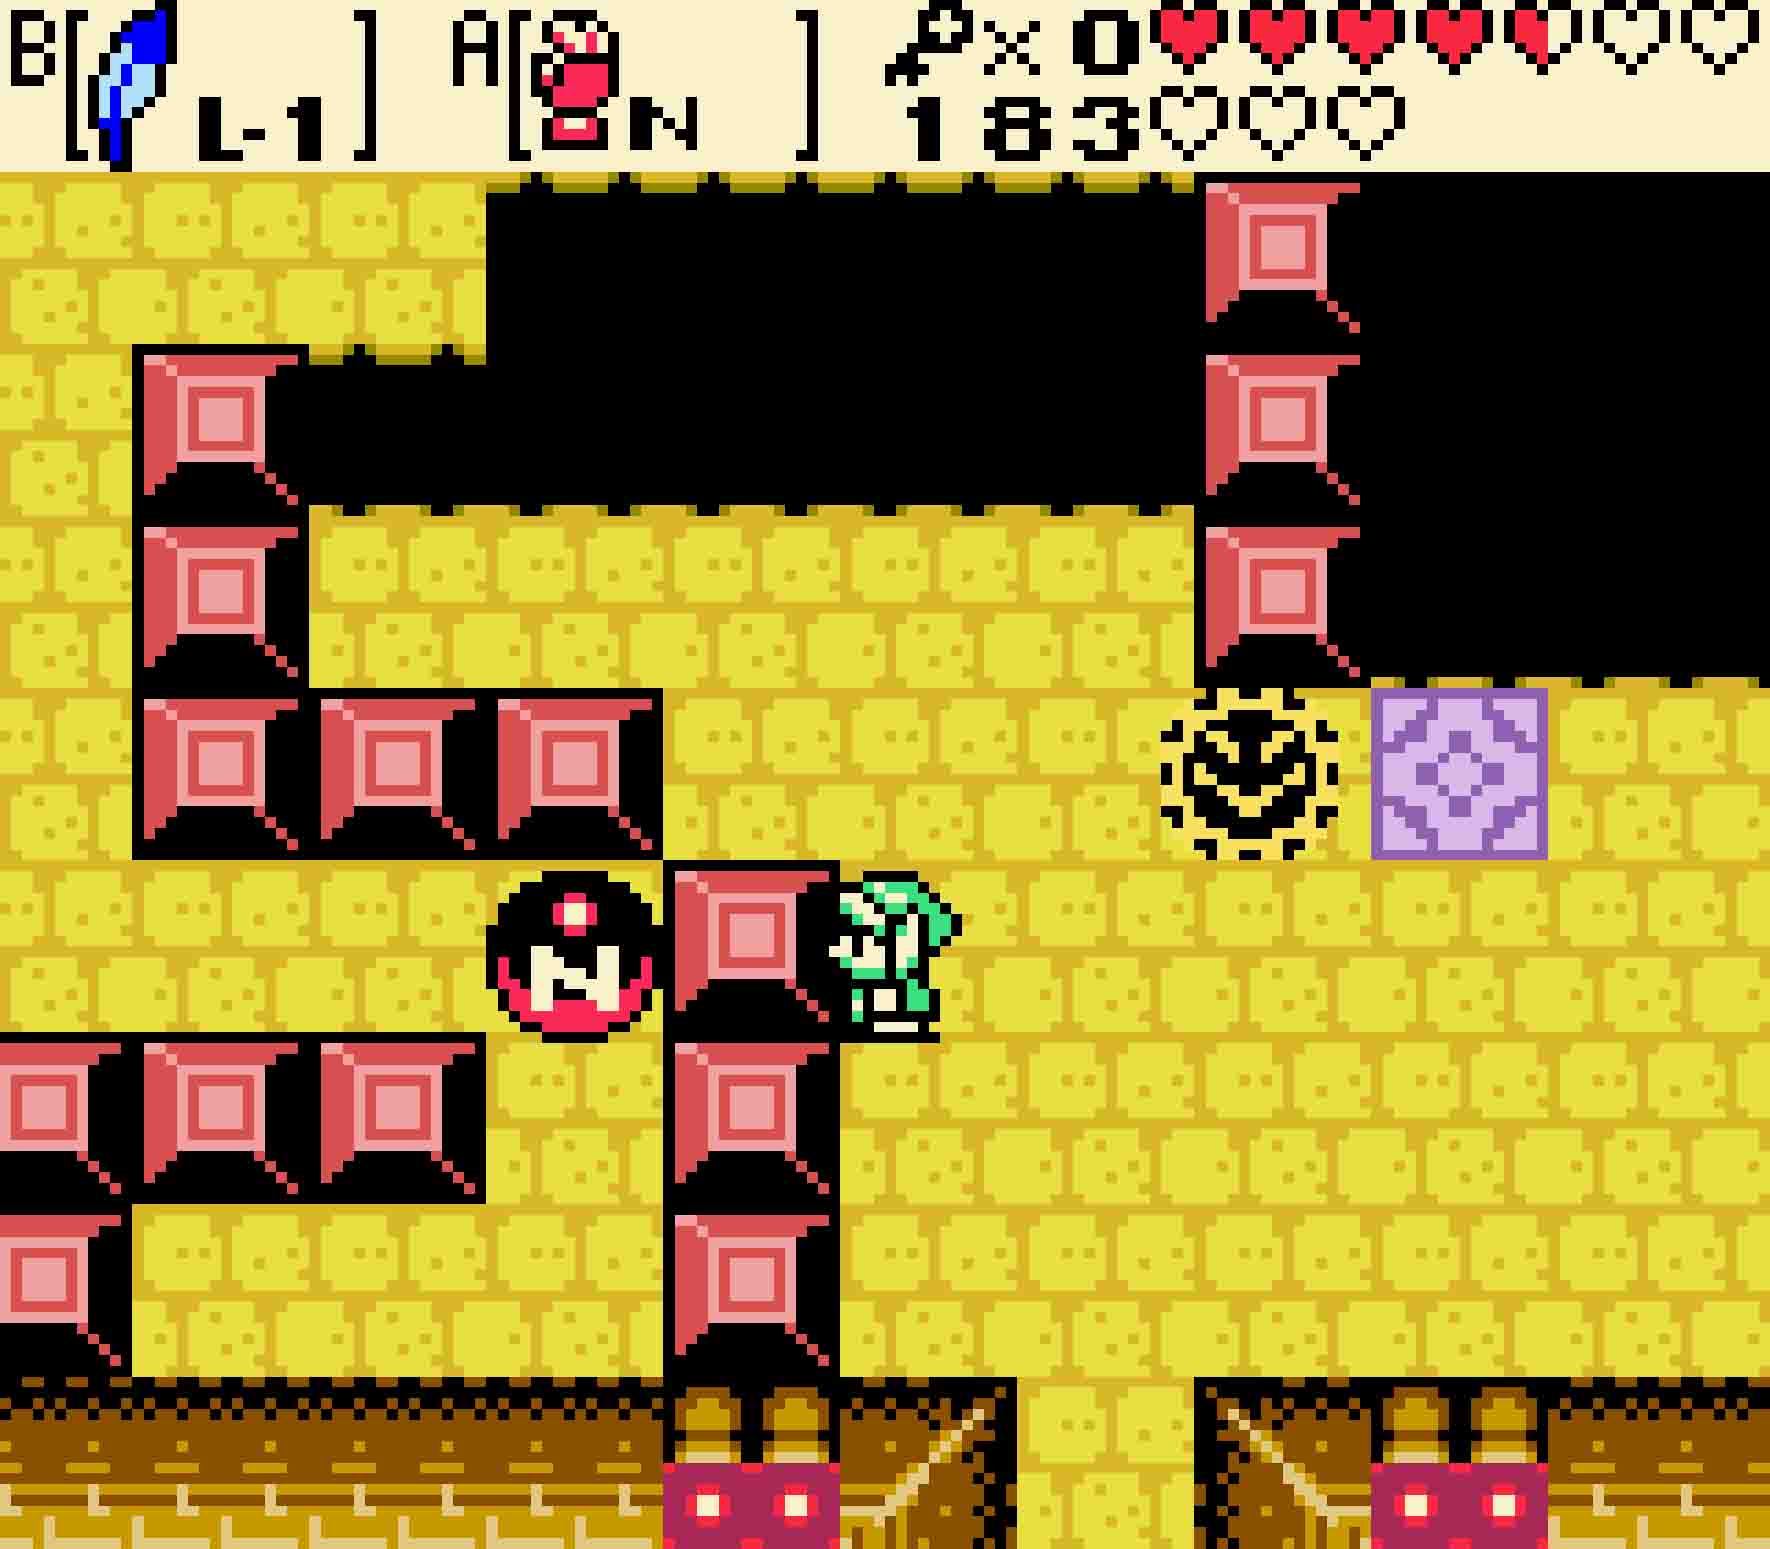
 You’ll now enter a suspiciously empty room with two switches in it. It seems to be a dead end, though one of the two switches will make a staircase appear. Which button will do the trick is completely random. In fact, every time you step on the switch, it will be random which one works and which one drops a heap of Ropes atop your head. Just keep pressing buttons until the stairs appear to take you to the fourth floor.
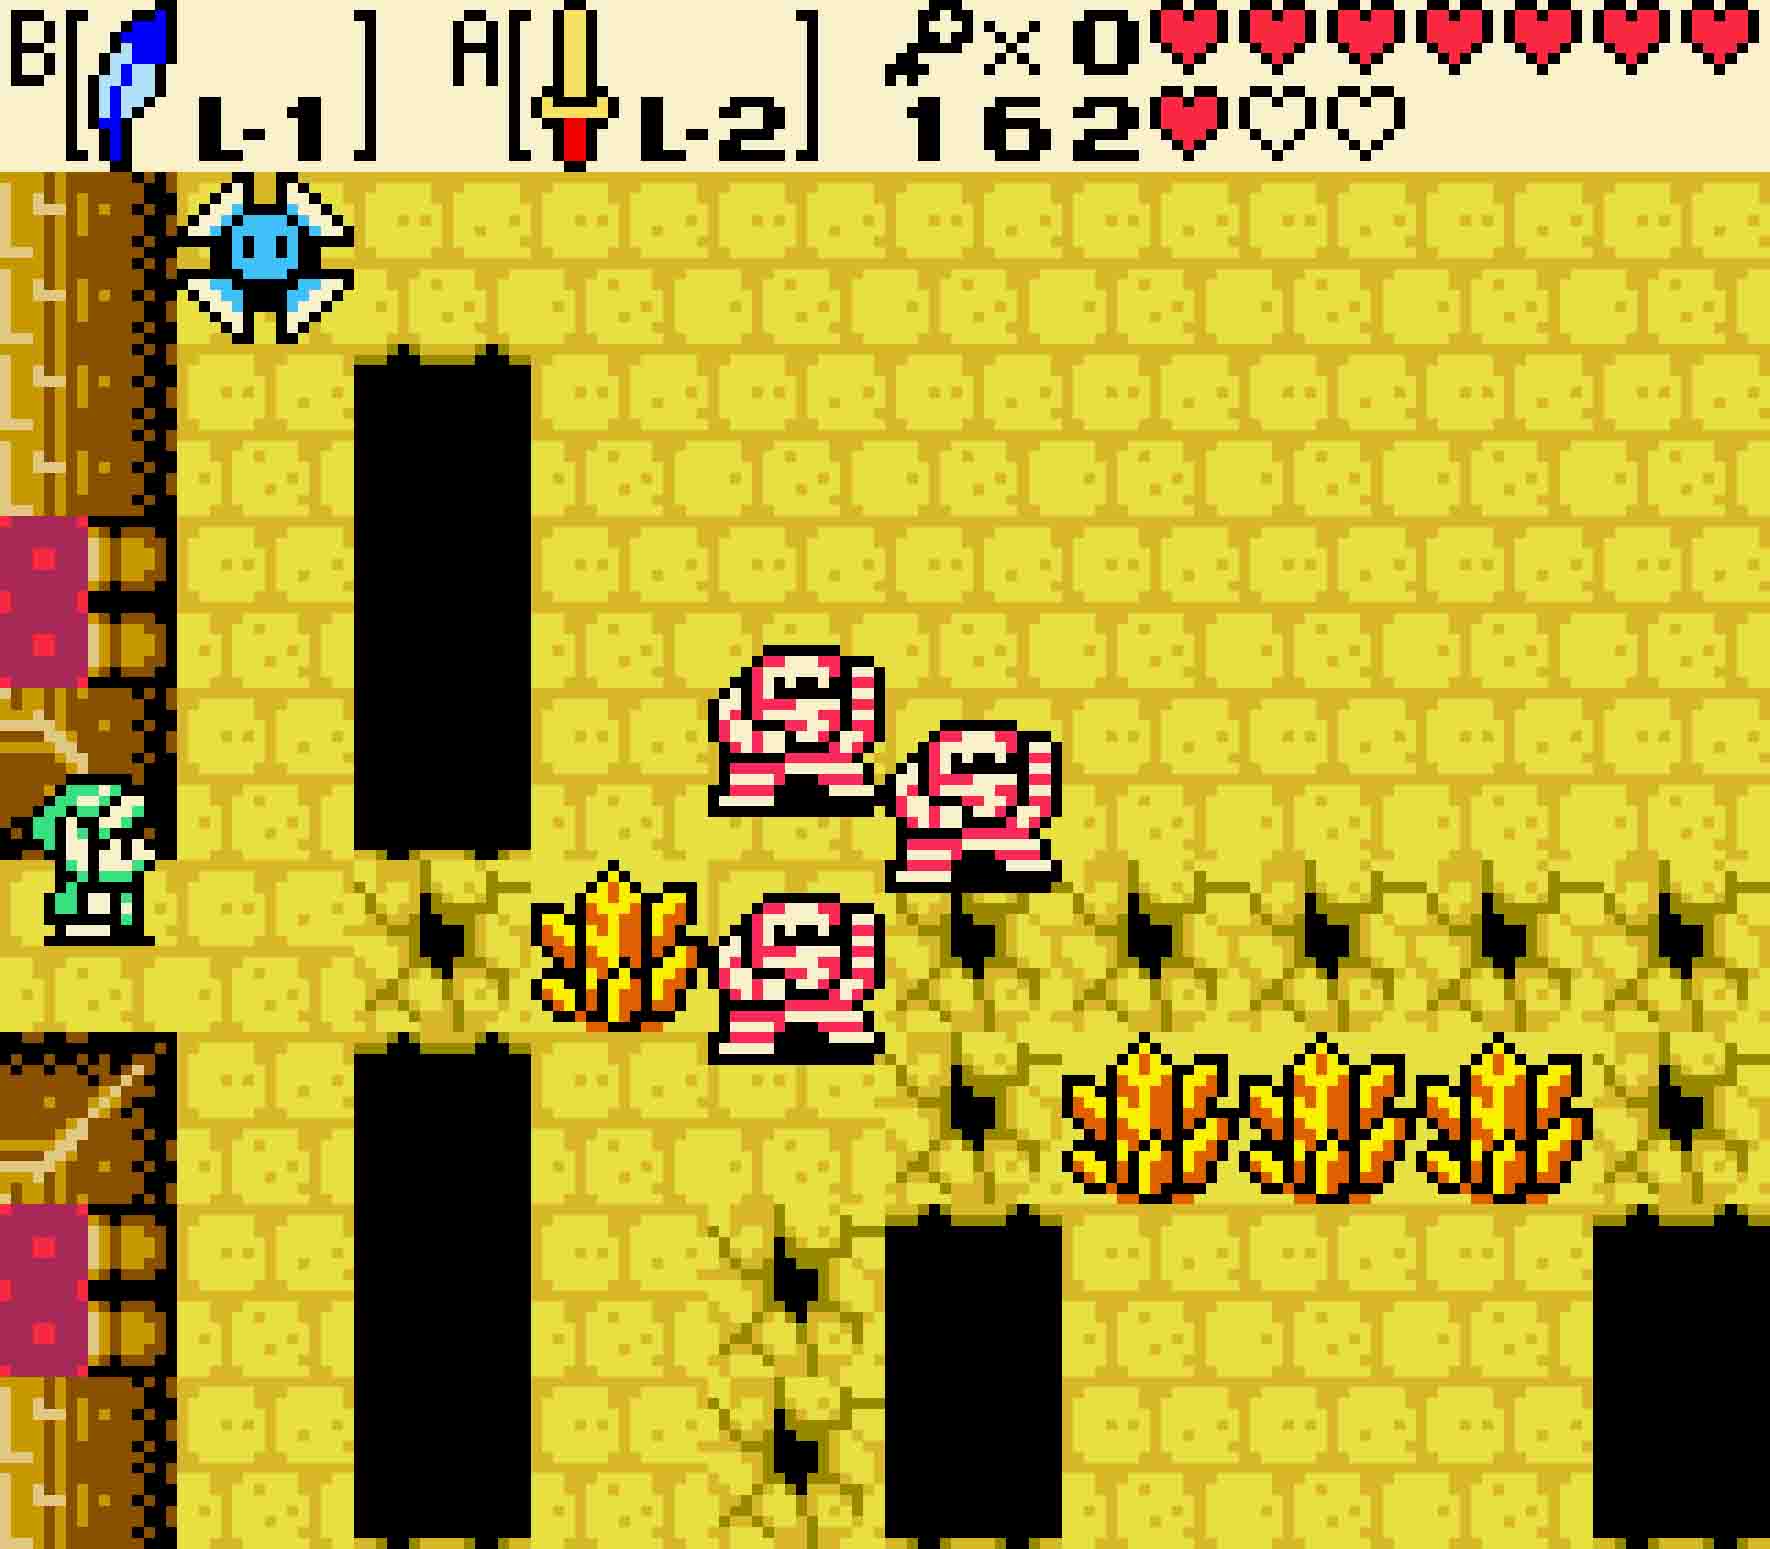
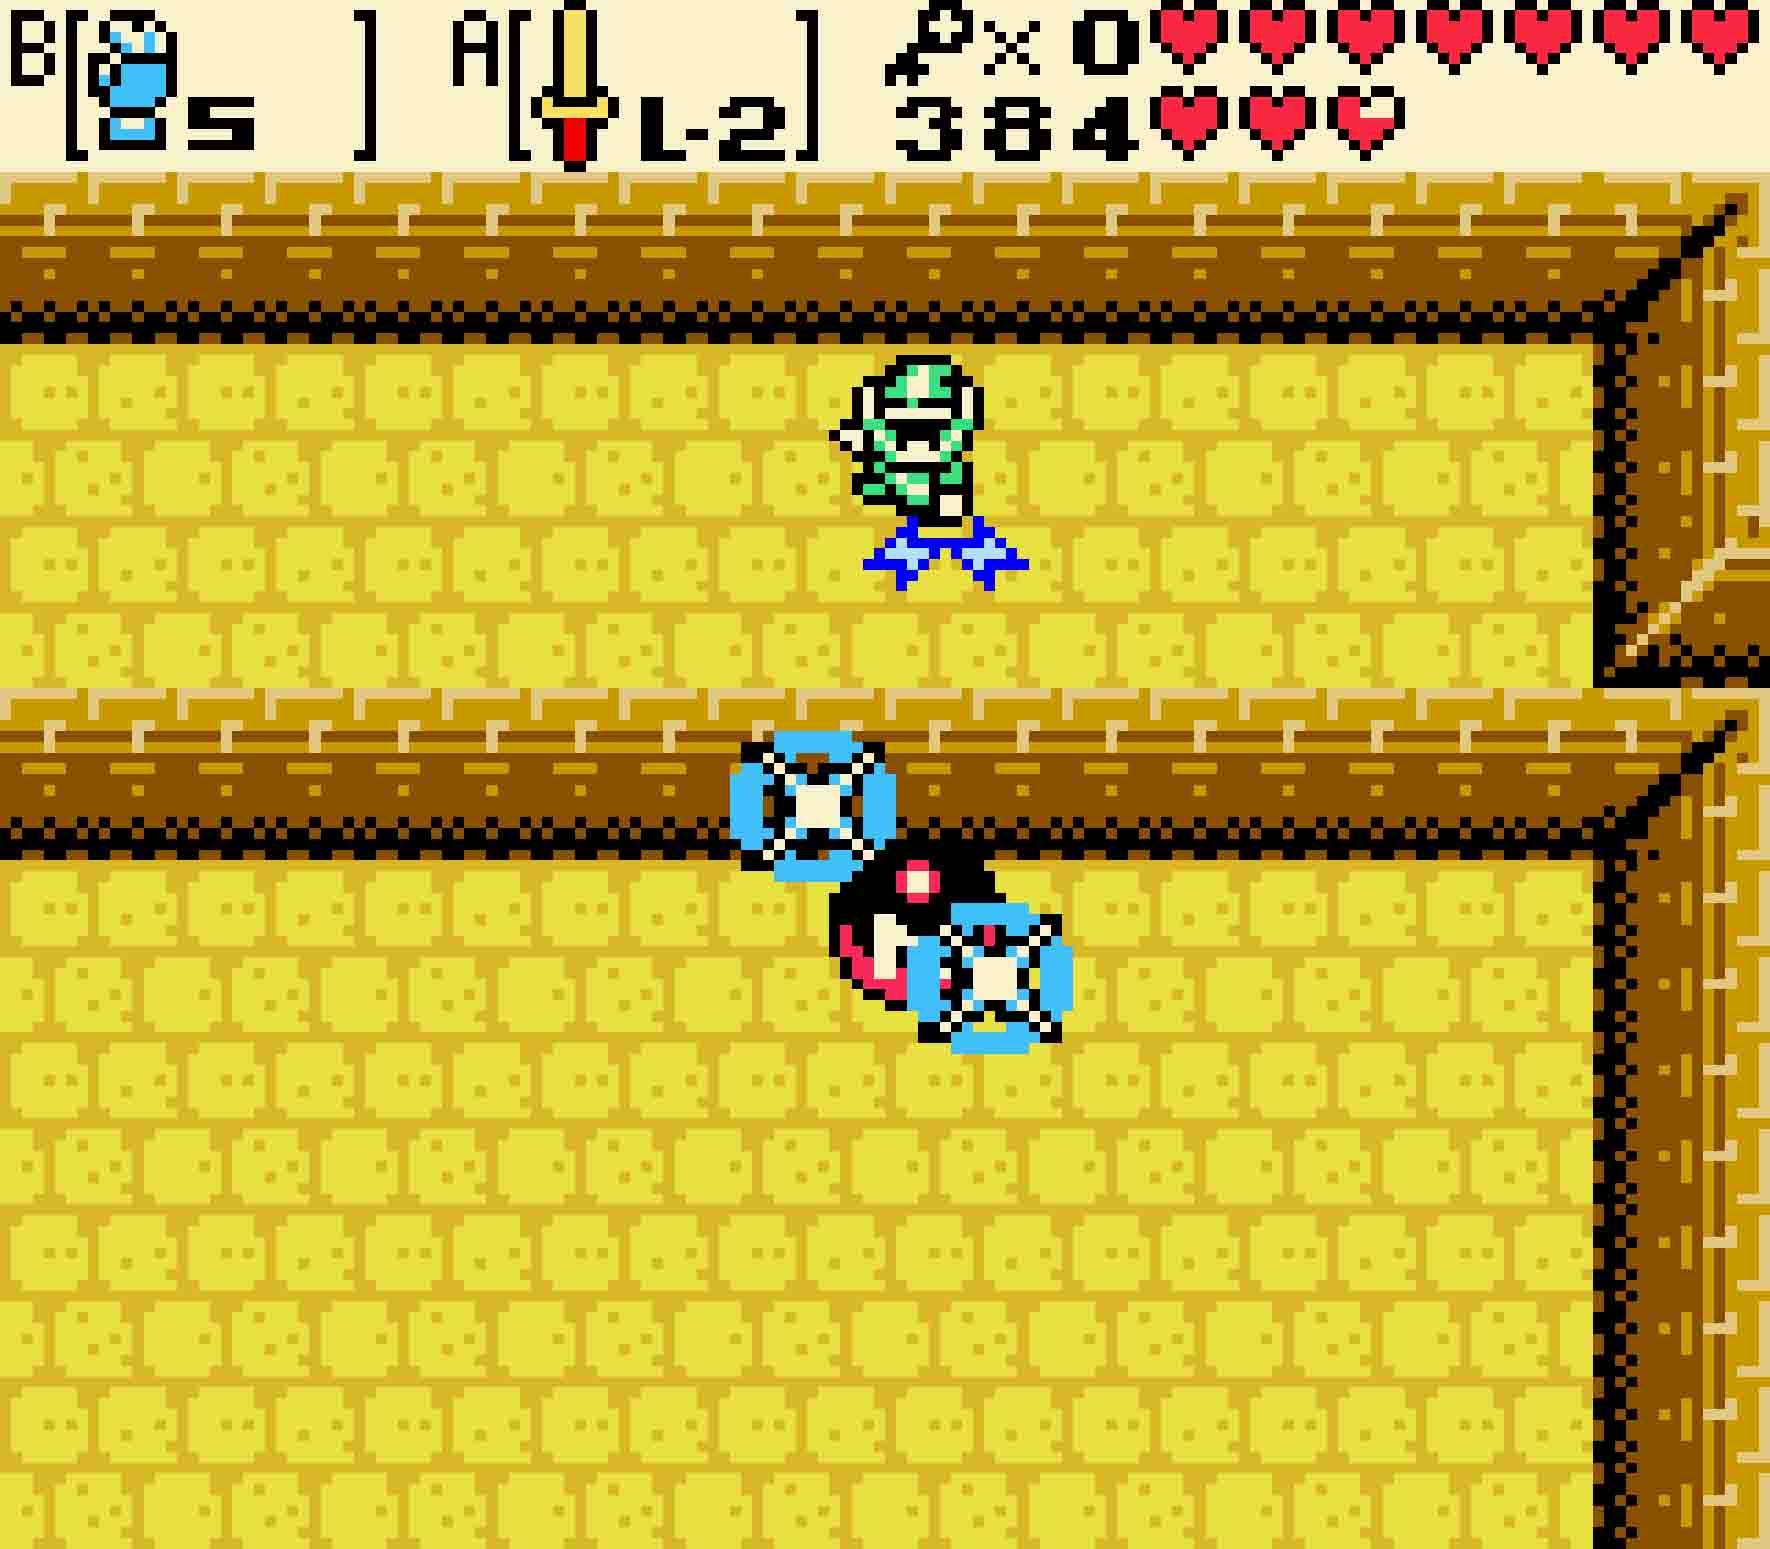
Upstairs, you have your favorite enemy to deal with: Floormasters. Four of them will appear, just as they always do; destroy them before they grab you or else they’ll send you to the beginning of the dungeon. Once you’ve defeated the lot, continue north to meet two Hardhat Beetles. You actually need to kill them, but there’s no pit to drop them down. Instead, you’ll need to use a clever solution. Equip the Magnetic Gloves and use them to push or pull the magnetic orb off the cliff. Send the orb into the Hardhat Beetles to destroy them, thus opening the room to the west.
Kill the two Darknuts and the green Wizzrobe in the next room (though in truth, the Wizzrobe is out of the way and won’t do you any harm). There are three Crystal Switches hovering over the pit on the left side of the room, and you’ll need to hit each one of them with the Magical Boomerang. Remember that they’ll need to all be red, so if you flip one from red back to its original blue, you’ll need to hit it again.
-
- The only way to kill this Hardhat Beetle is to use this magnetic orb.
-
- Getting all of these Crystal Switches flipped to red requires accuracy and patience.
Heading south, there are two Sword Stalfos lurking about this room, but otherwise it’s devoid of everything but a trampoline. Jumping on it as it is will cause you to hit your head, but there are three purple squares below that indicate a hole in the ceiling. Unfortunately, that won’t be good either as it’ll lead you to a dead end. What you need to do is push the trampoline to three to four squares right of the purple tiles to enter a secret hole that’s not marked. Once you’re up there, you can use the Magical Boomerang to hit one last Crystal Switch to cause a staircase to appear.
Drop back down, and this time ascend to 5F via the stairs. It just takes pushing that central block one tile to the right to access the boss room. Unlock the door and head in.
-
- This unmarked hole in the ceiling is the “true” access to the boss’ room.
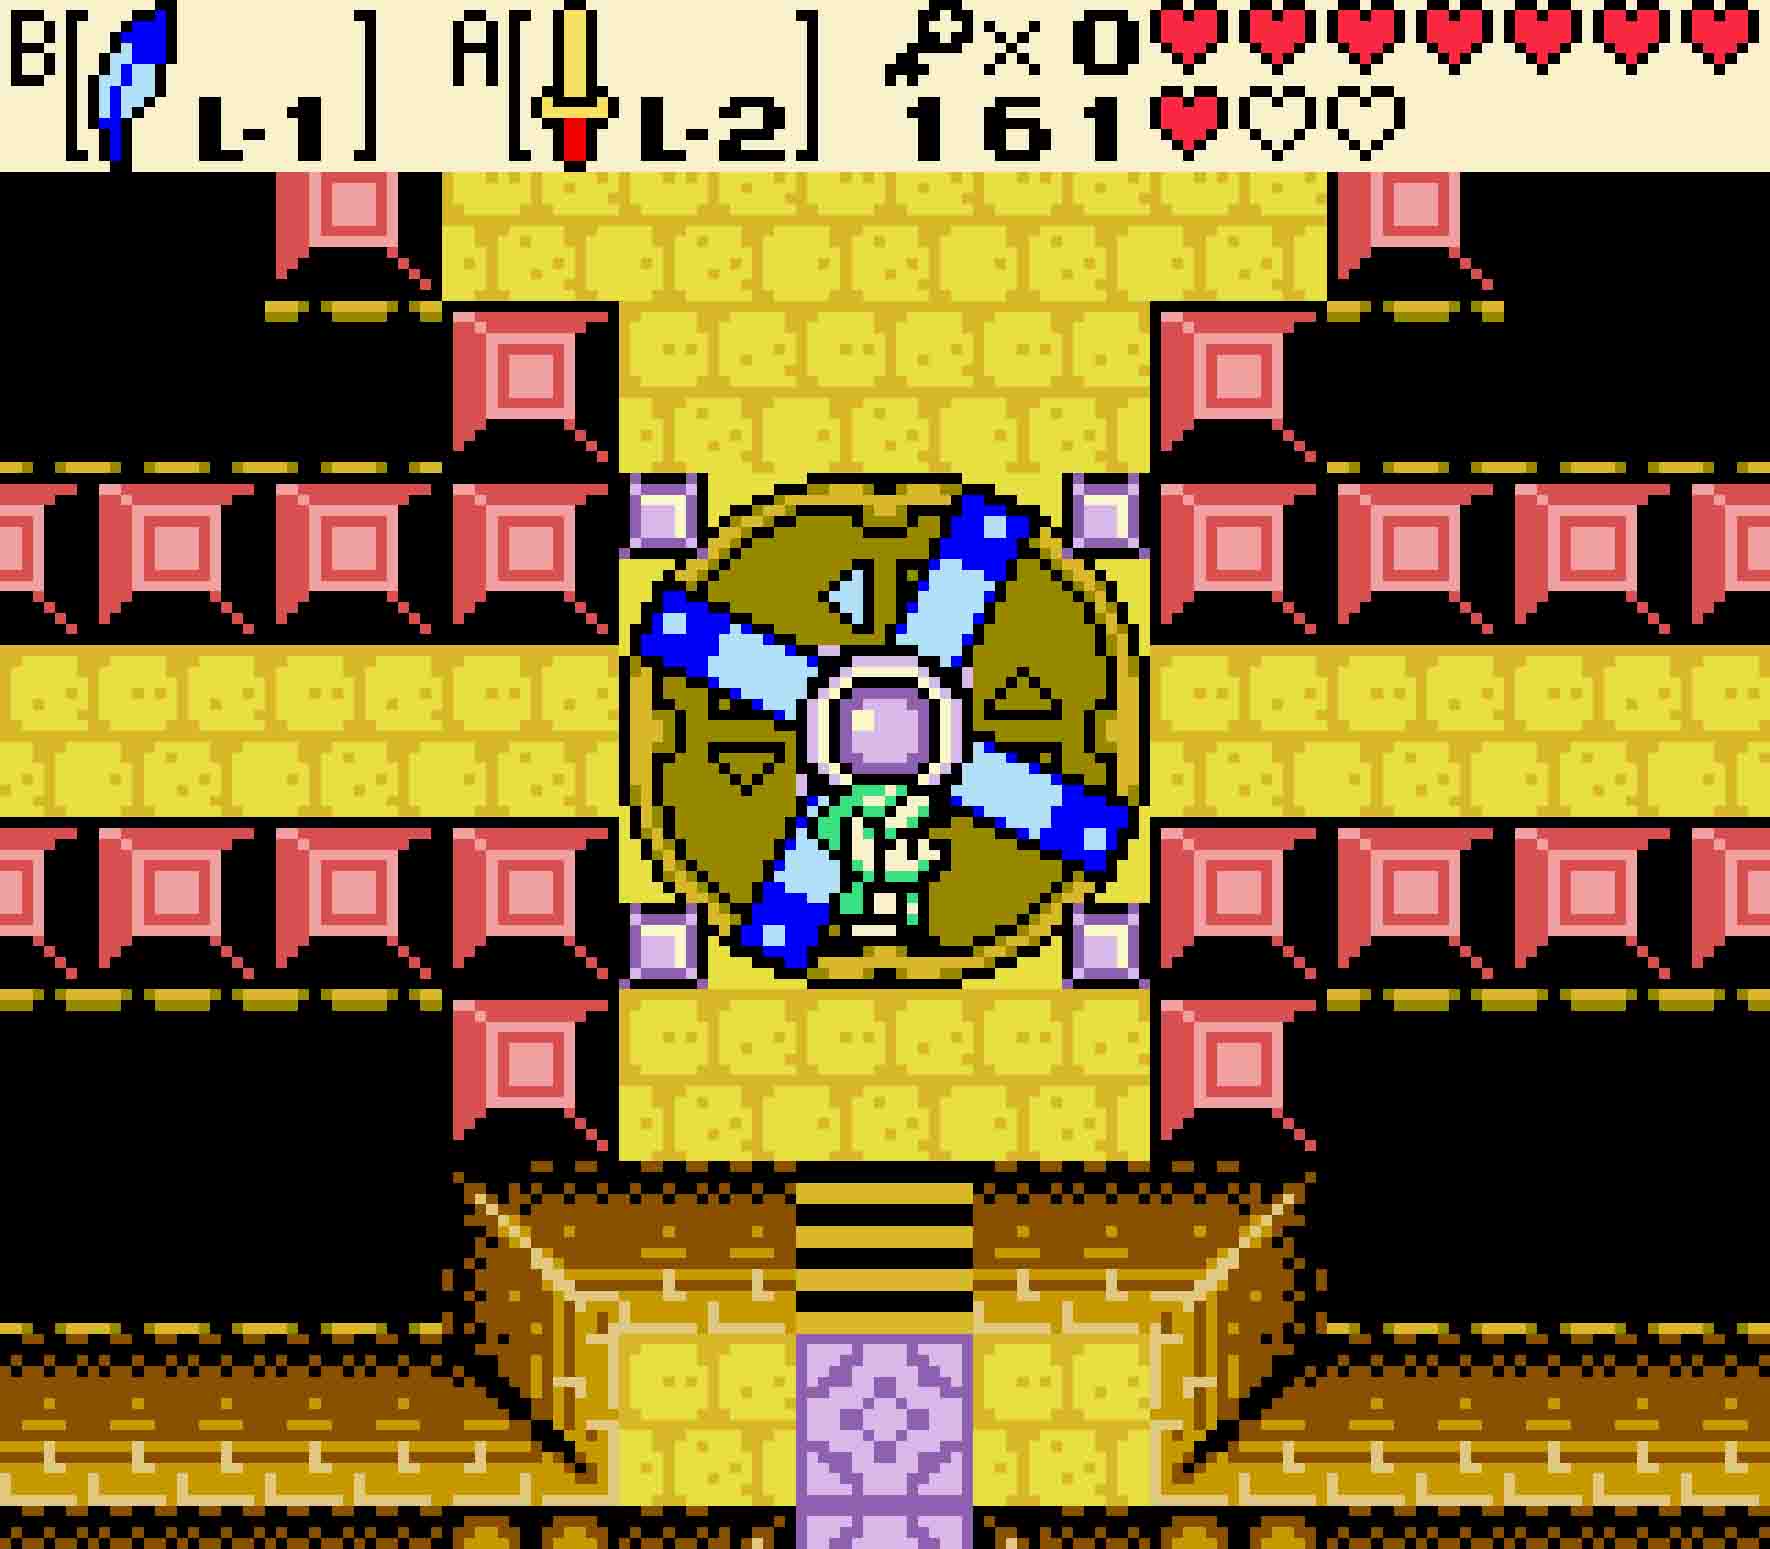
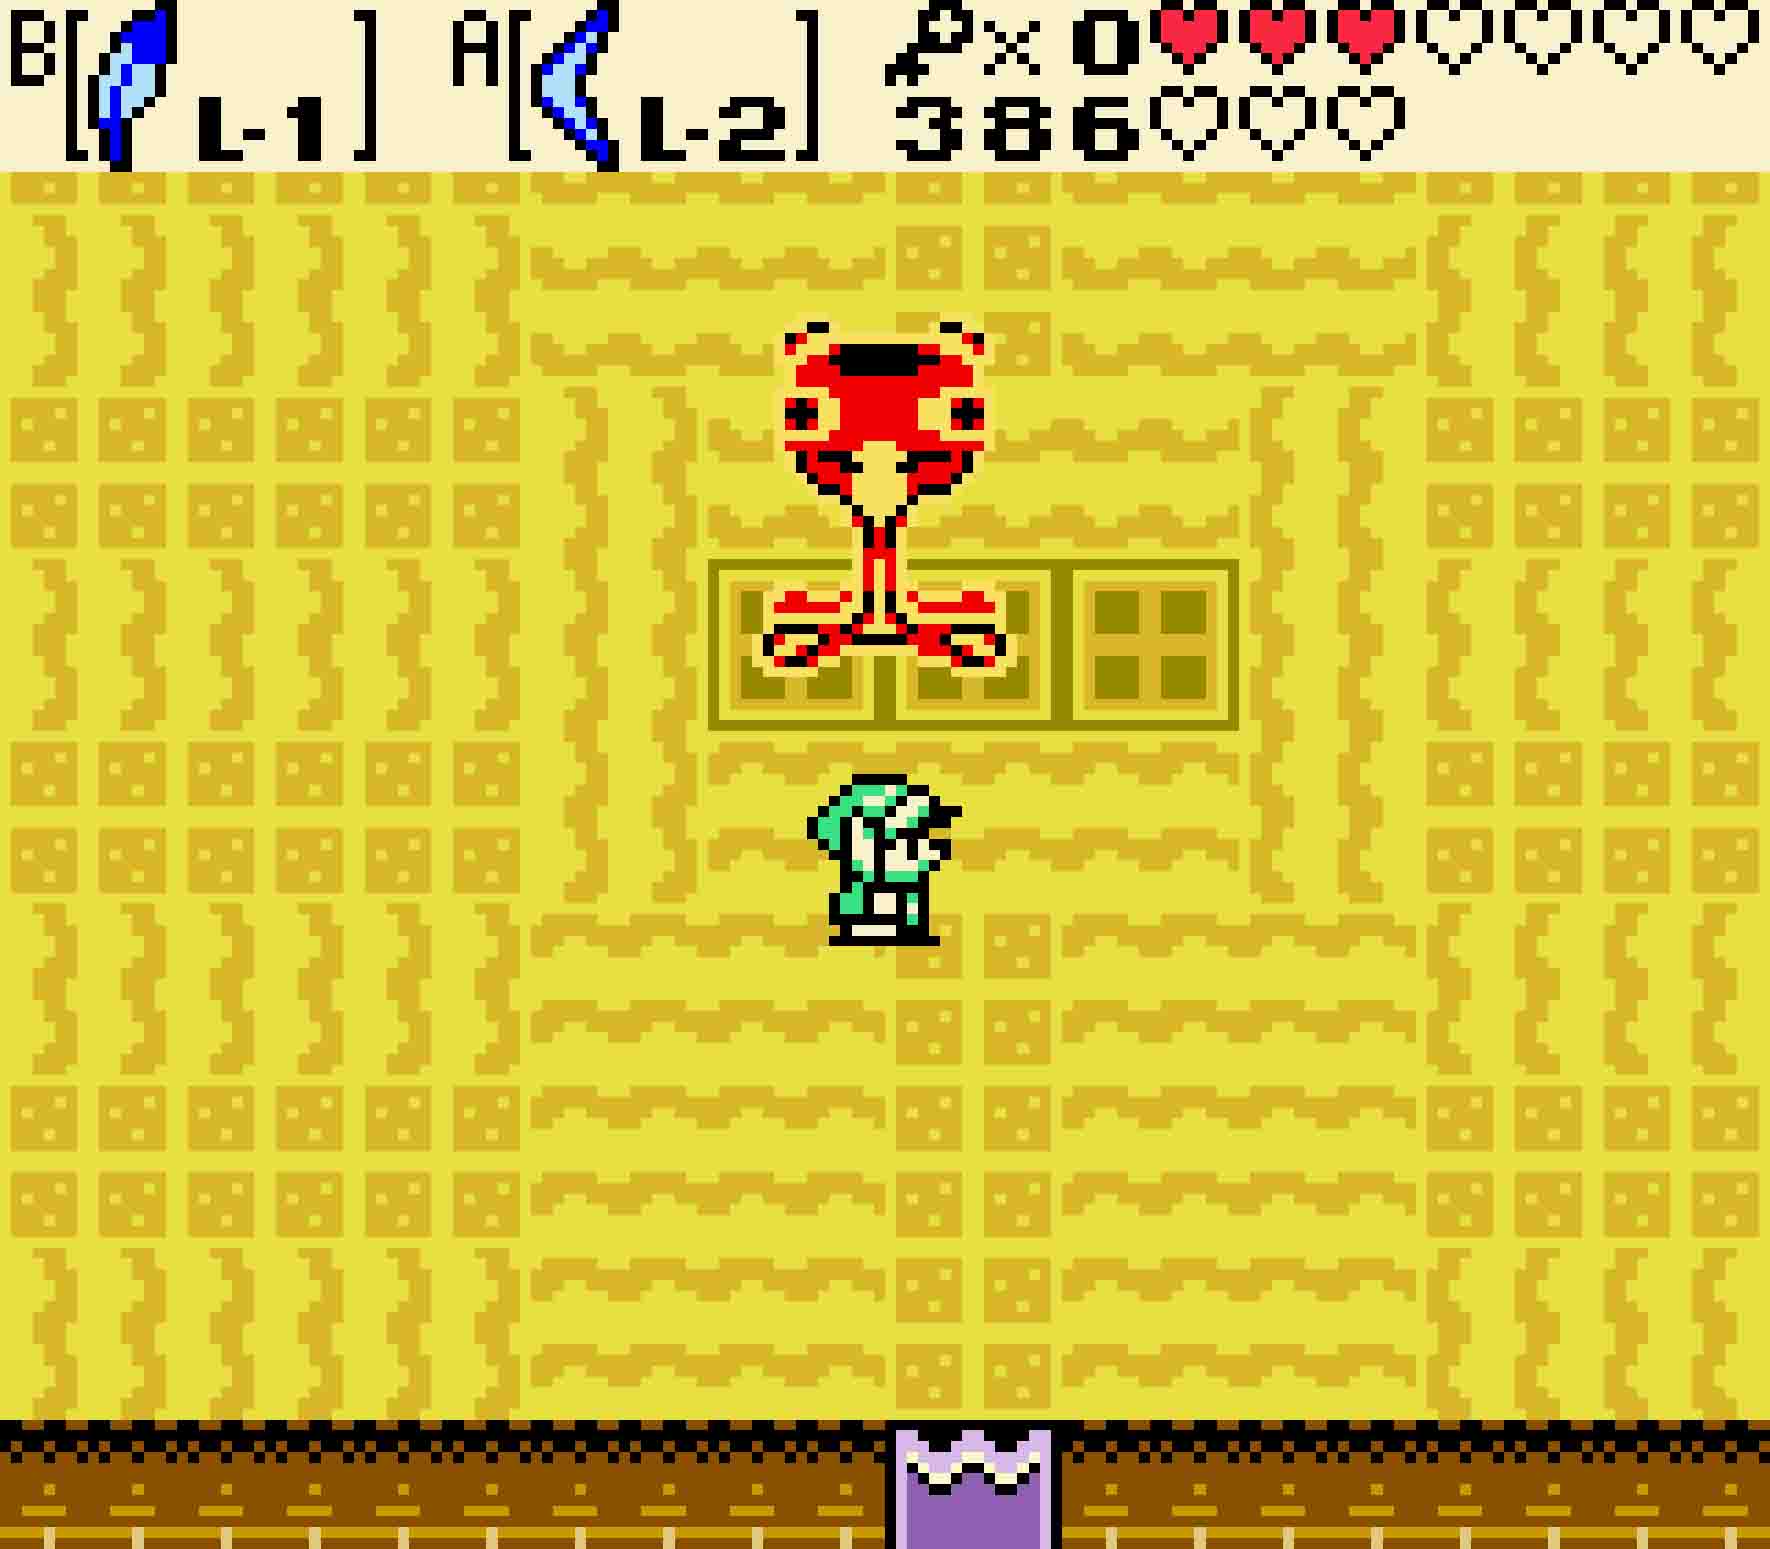
15.10 Defeat Manhandla
Manhandla is something of a nightmare. Were it just you and Manhandla to concern yourself with, the battle might be more or less okay. However, having half of the floor being a shifting floor makes finding sure footing somewhat precarious, and certainly it means you’ll be spending a little more attention than you’d like just finding solid ground to stand upon.
First thing’s first: Do not use your sword against Manhandla until the very, very last part of the fight. Manhandla looks similar to a Buzz Blob with four plant-like mouths, and it will shock you accordingly. Instead, Manhandla is only vulnerable to the Magical Boomerang. And even then, Manhandla can only be damaged in its red mouths only when they are open. This will cause a great deal of frustration because the window with which you have to attack is relatively small.
-
- The Magic Boomerang is the way to get rid of these heads, but it can only do damage when the mouths are open.
The first phase of the fight will see Manhandla’s mouths constantly shooting fireballs at you. This, along with the moving floor, can be maddening. Really, this is the sum of the first phase of the fight. You’ll position yourself on a non-sliding floor and wait for an opportunity to attack. As you do so, other mouths may shower you in projectiles, meaning you’ll have to move (and get out of position) to dodge, only to eventually miss your window. In all reality, one of the best ways to score hits is to toss the Magical Boomerang to the other side of the room and let it attempt to hit Manhandla on the way back, which could cause you to be lucky and score double hits on the return trip.
After a few hits on each mouth, the mouths will destroy, meaning they’re fewer fireballs, but Manhandla will progressively speed up with each decapitation. Once all four heads are gone, you’ll be left with the green blob, and it will speed up again, but now there’ll be no more projectiles, a welcome relief.
-
- Once Manhandla is defenseless, keep using the Magic Boomerang.
-
- Once its inner core has finally been revealed, only then is it safe to use the sword.
Continue hitting it with the Magical Boomerang. Once you score a hit, it will pause in place and be squeezed tighter. Each successive hit will pinch it further, and eventually its top and bottom will separate, revealing a small core in its middle.
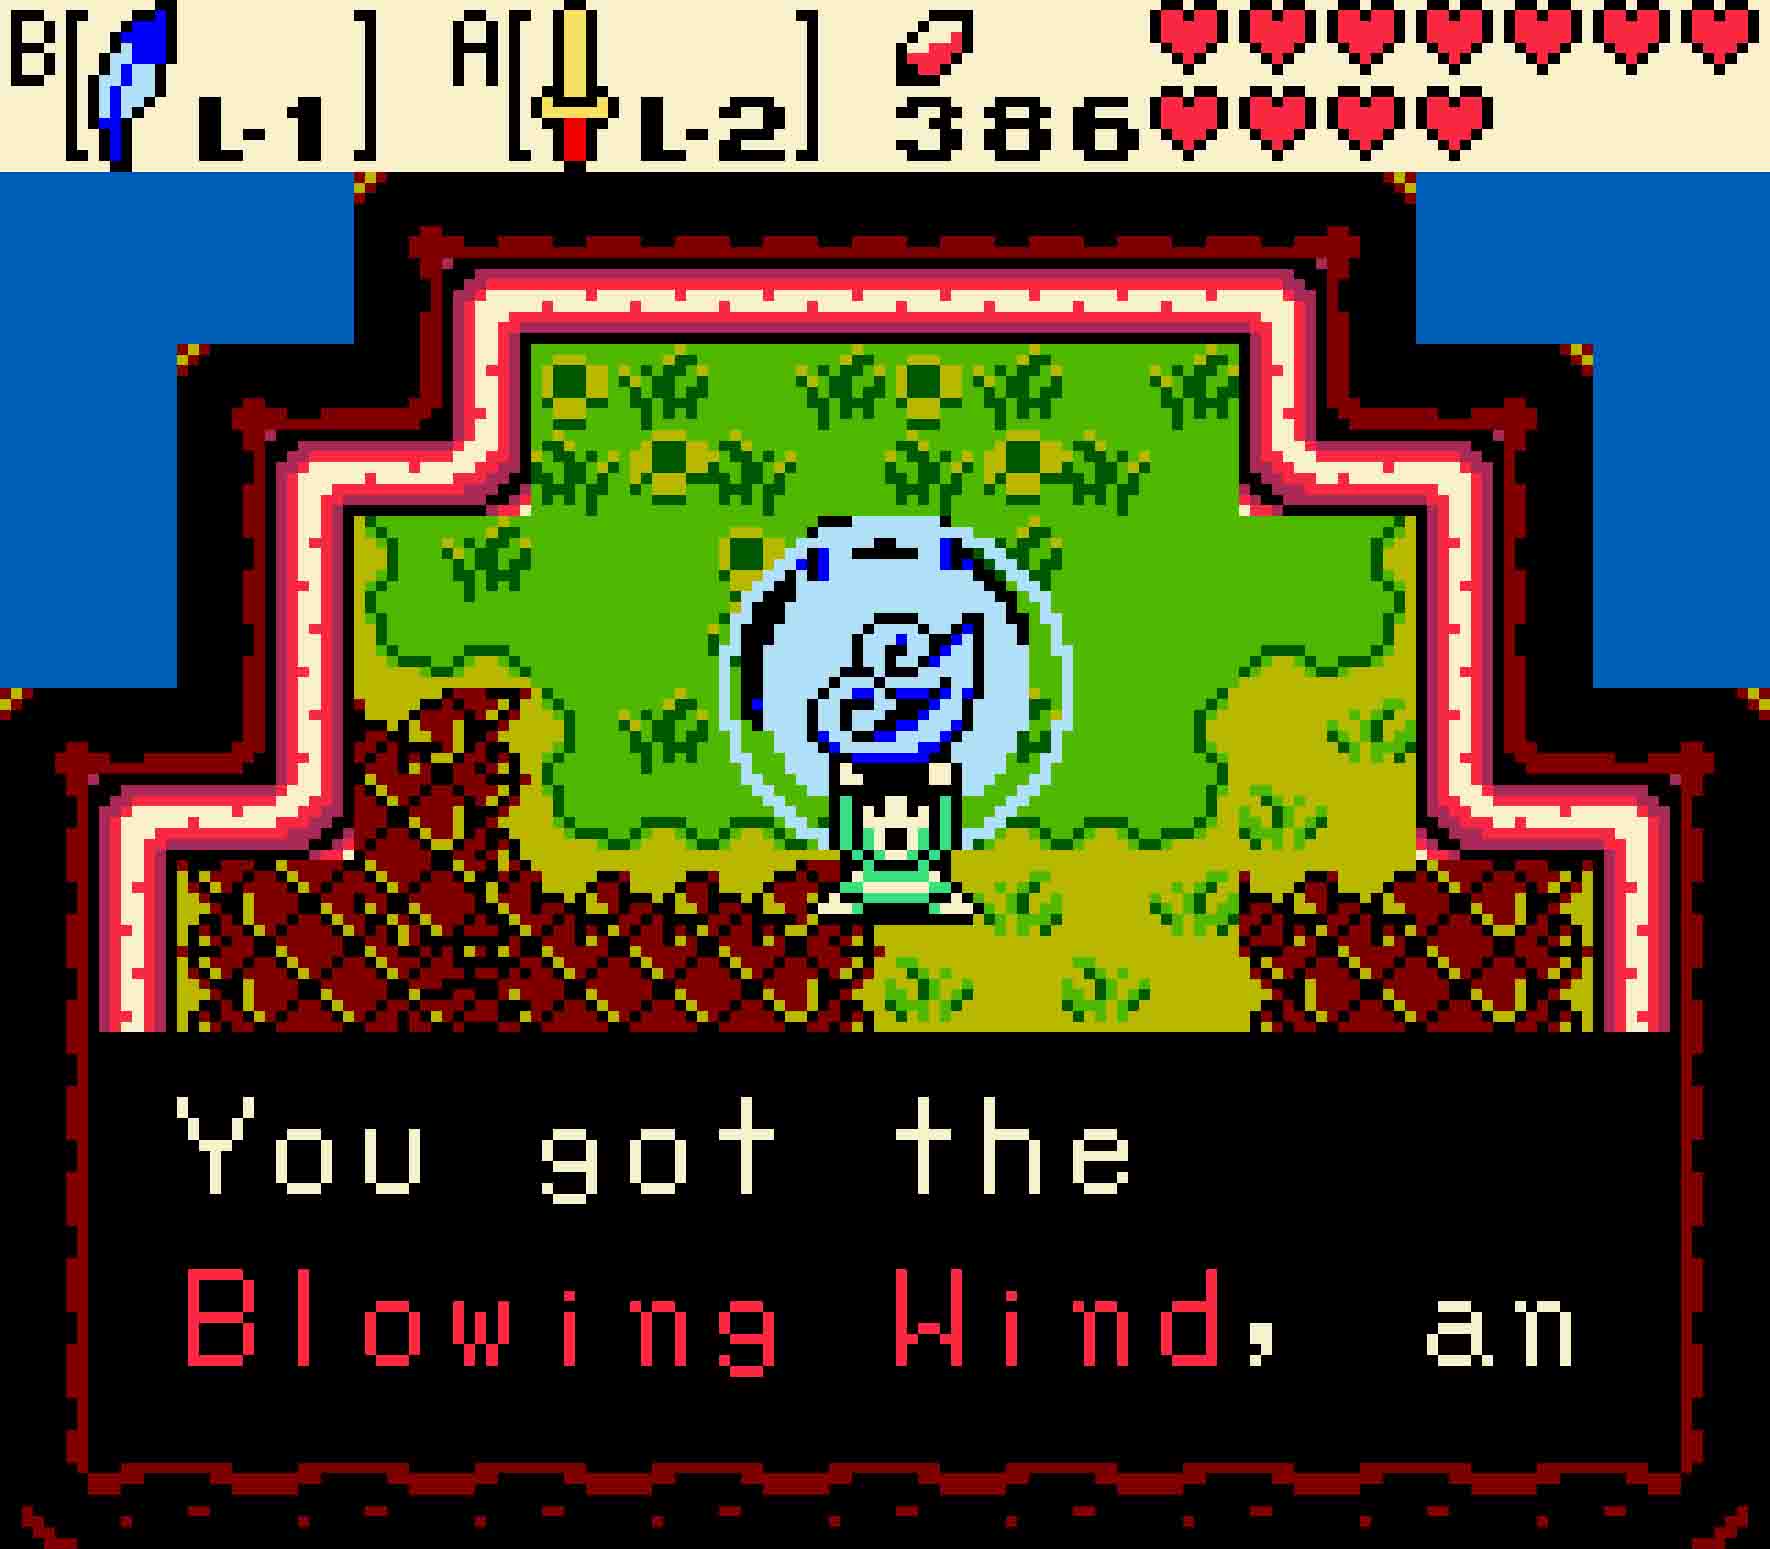
Now is the time to use your sword. Hit it once, and Manhandla will vanish. For your effort, you’ll get a Heart Container and the Blowing Wind, the sixth of the Essences of Nature.